連携プロセス
Twitter連携をするには、ワークスペースのページを開きます。
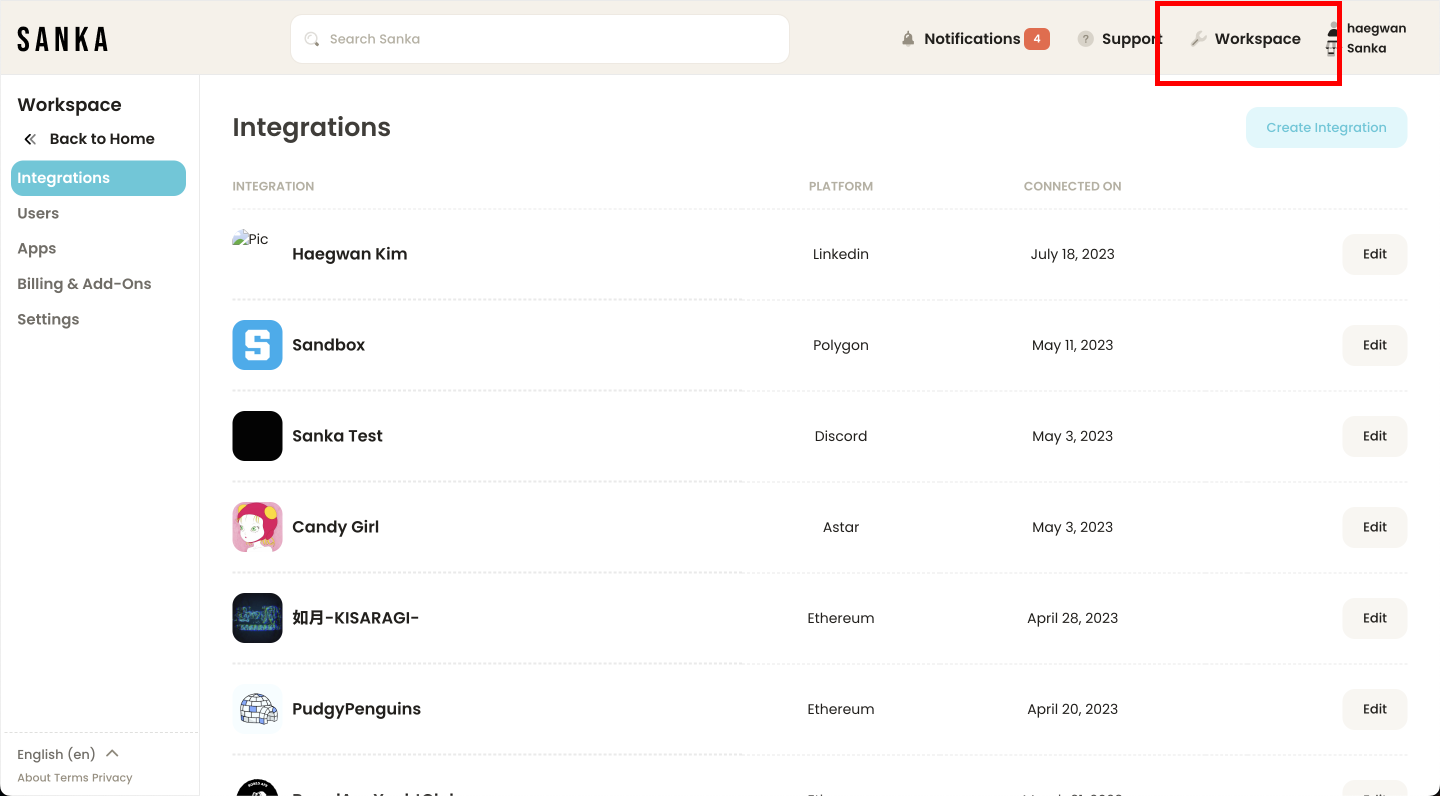
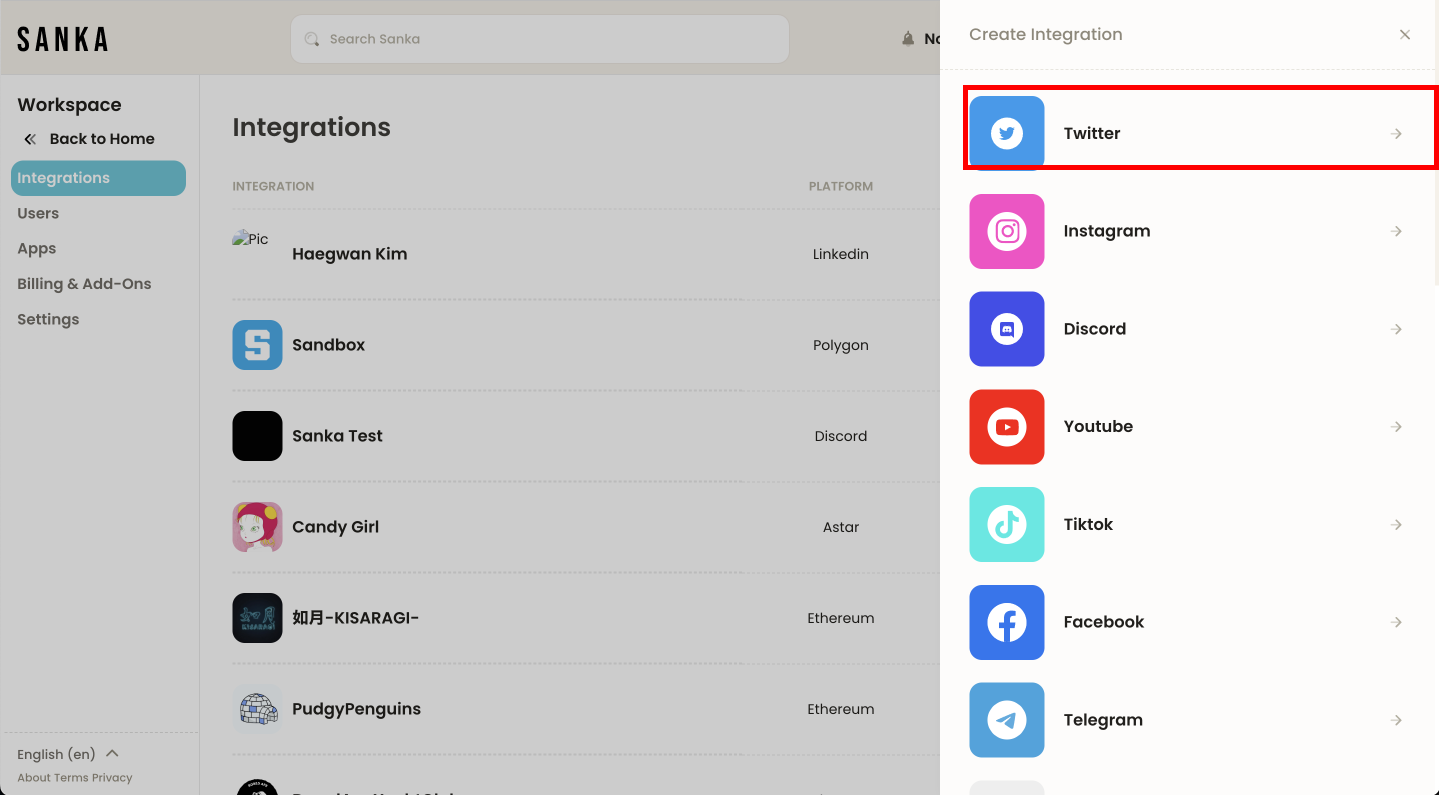
その後にTwitterを選択します。
以下のURLから、無料の開発者アカウントを作成します。
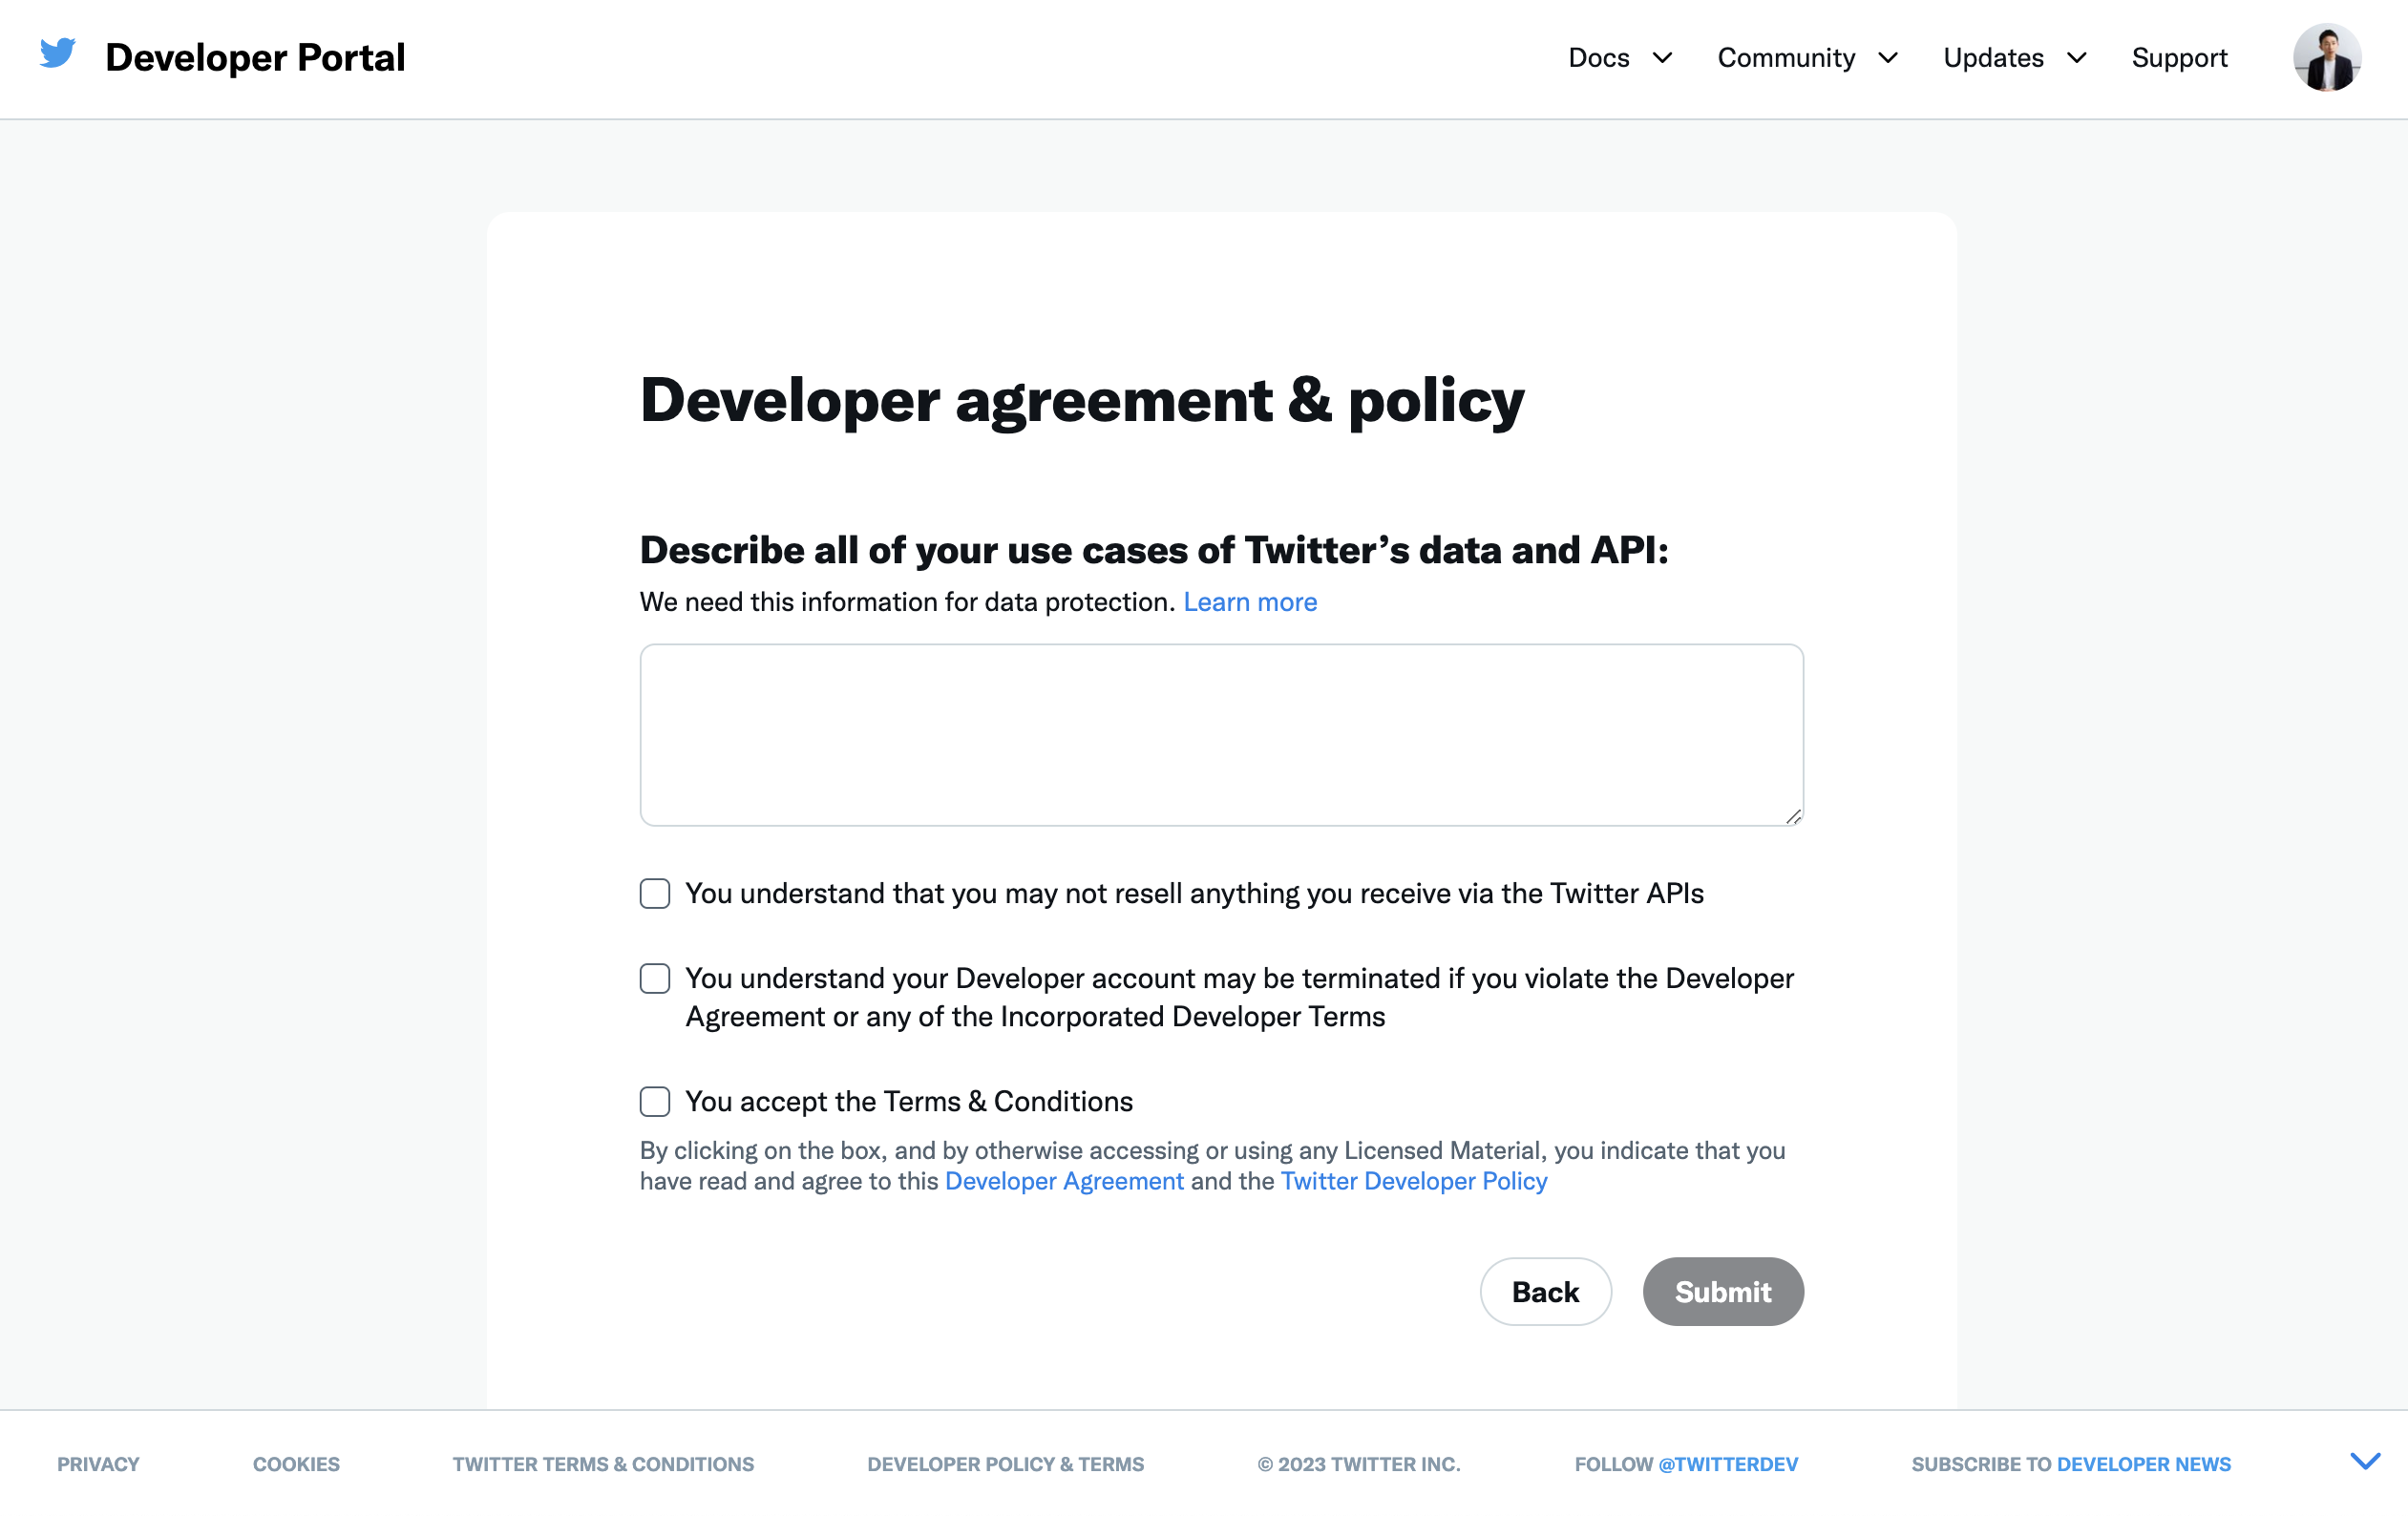
アカウントの作成理由を求められるので、以下のような形で記入しましょう。(そのままコピー・ペースト)
1. Data Analysis: With the API, I want to pull relevant tweets for sentiment analysis, trends, or any other kind of research.

2. Automation: With the API, I want to schedule tweets, auto-respond to mentions, manage DMs, and run other automations that are not possible from the standard user interface.

3. Monitoring and Alerts: With the API, I want to track keywords, brand mentions, or hashtags in real-time.

4. Advanced Search: With the API I want to run more powerful search capabilities than the standard search, allowing for more specific queries with custom filtering.

5. Archiving and Record Keeping: With the API, I want to maintain a proper archive of tweets for my business.

6. Audience Engagement: With the API, I want to better understand and engage my audience.
チェックボックスにチェックをして次に進みます。
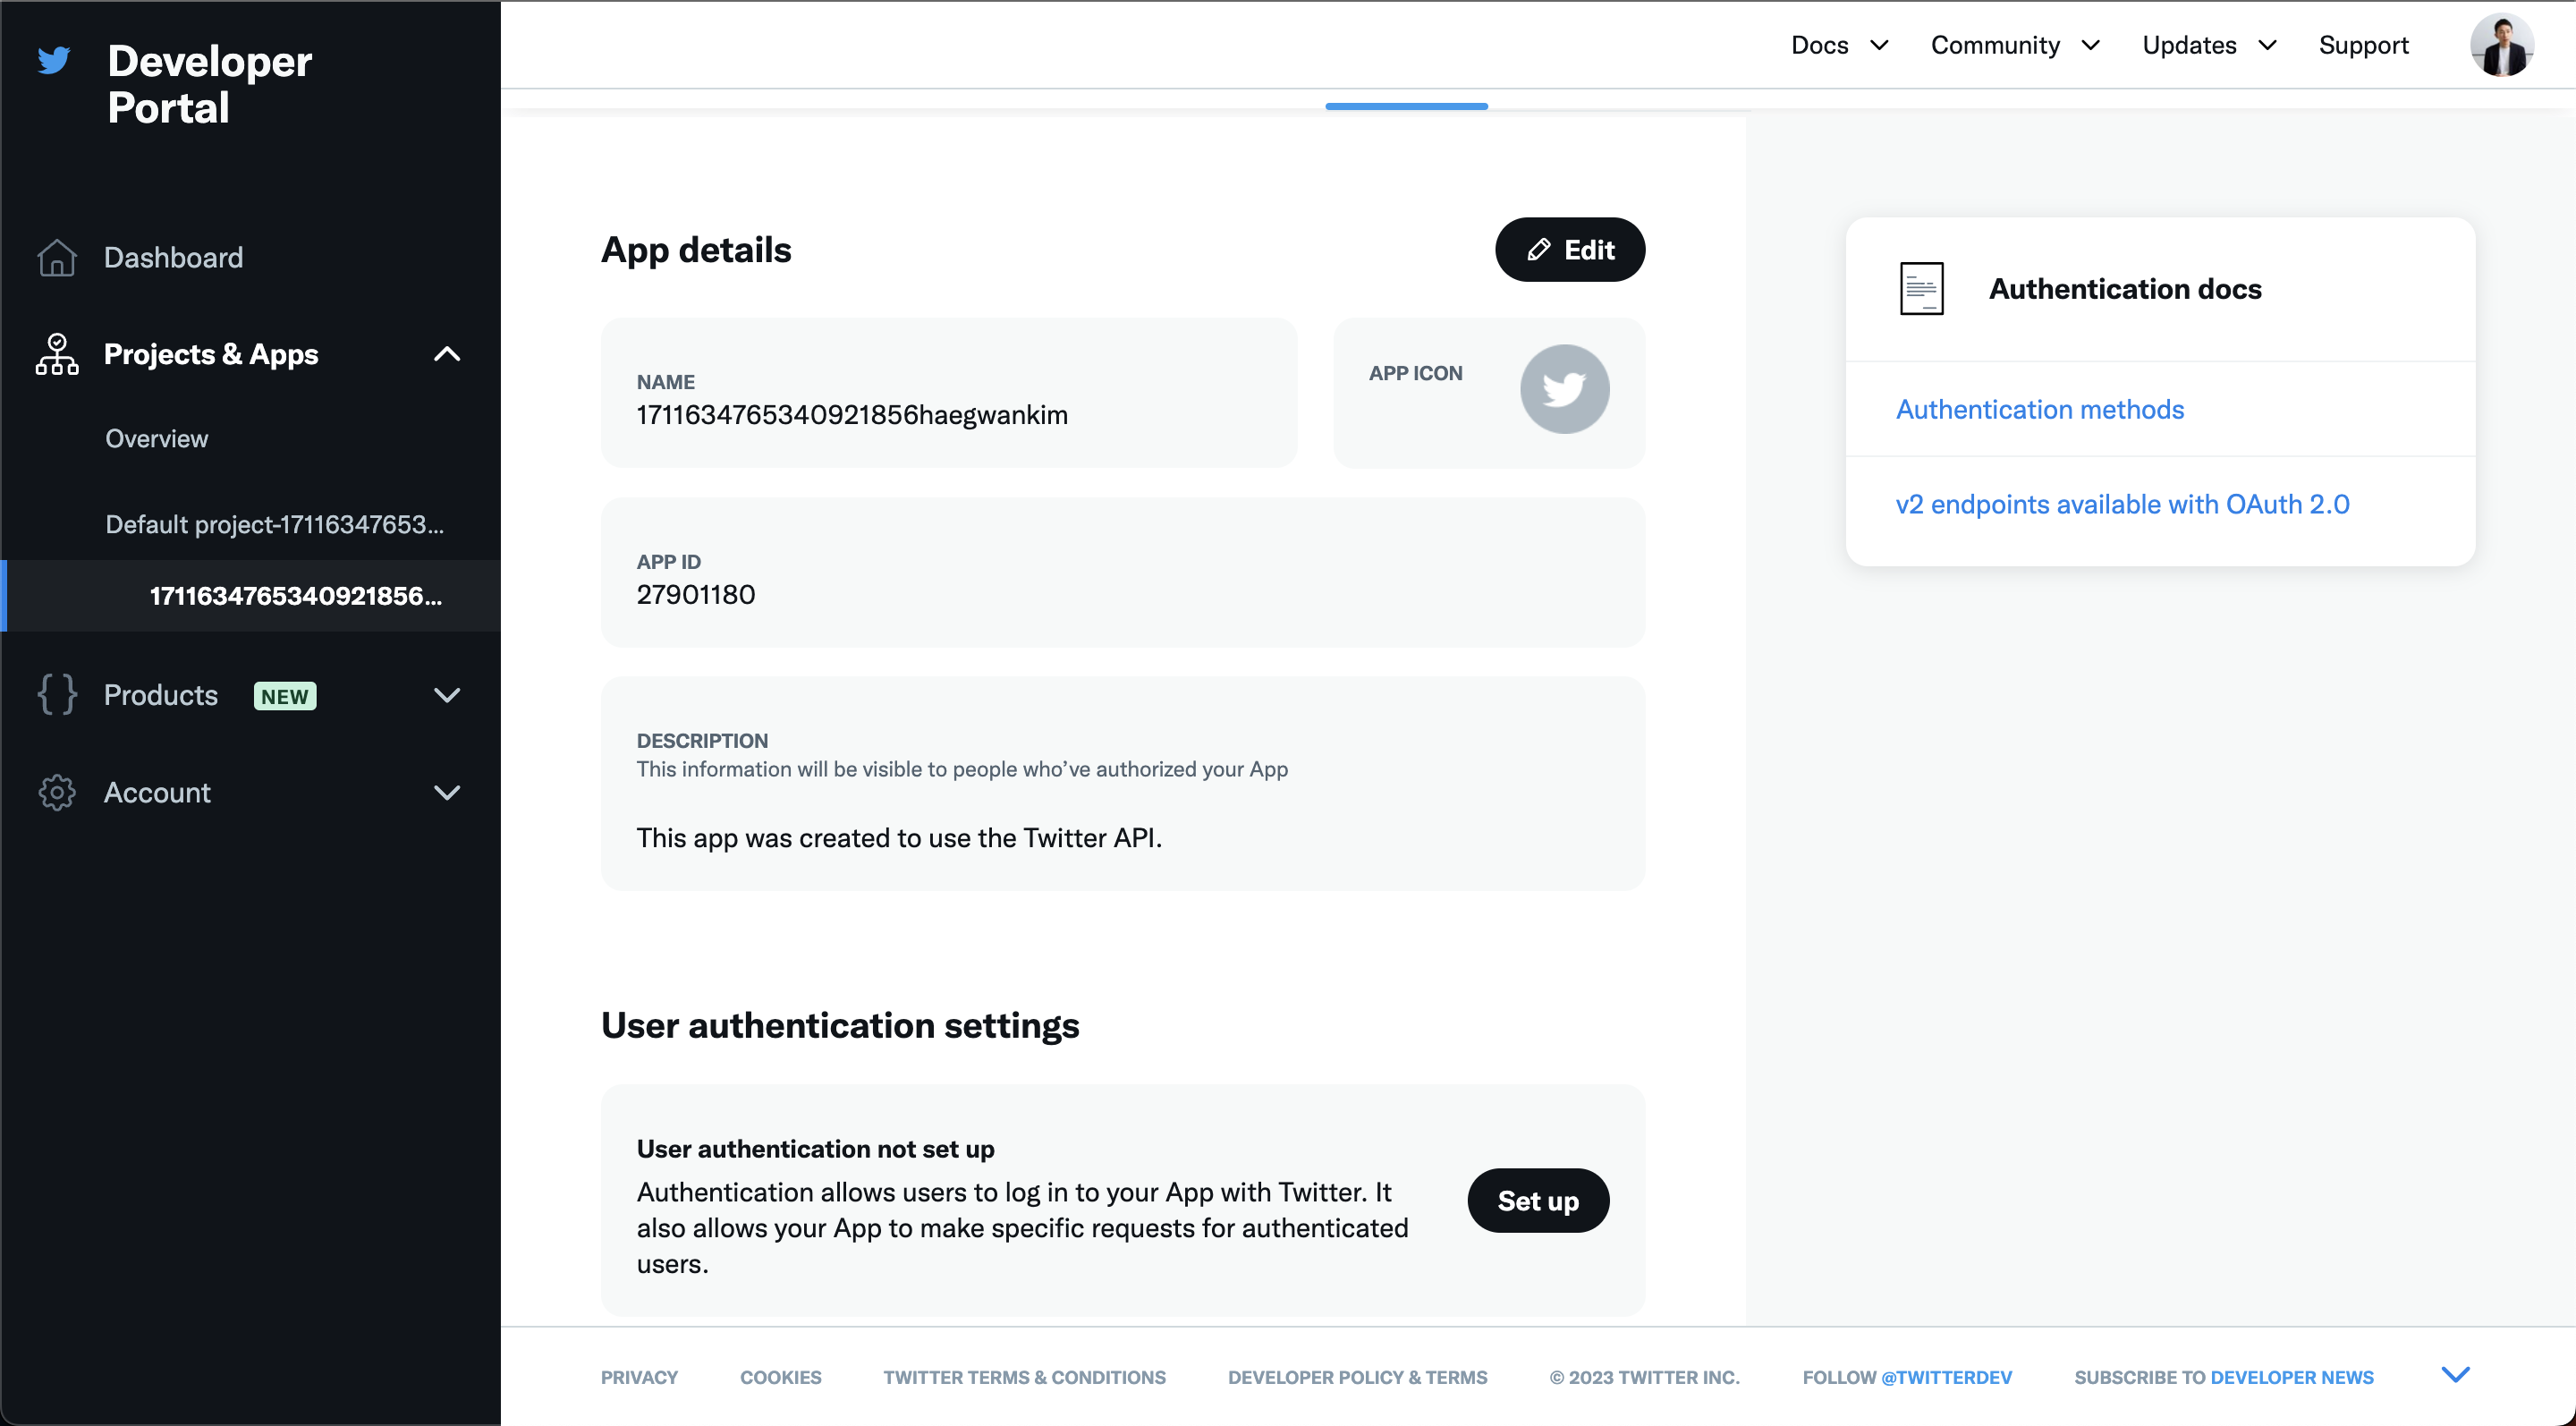
開発者ポータルに入った後、以下のUser Authentication Settingsに進みます。
App PermissionshはRead, Write, Direct Messageを選びます。
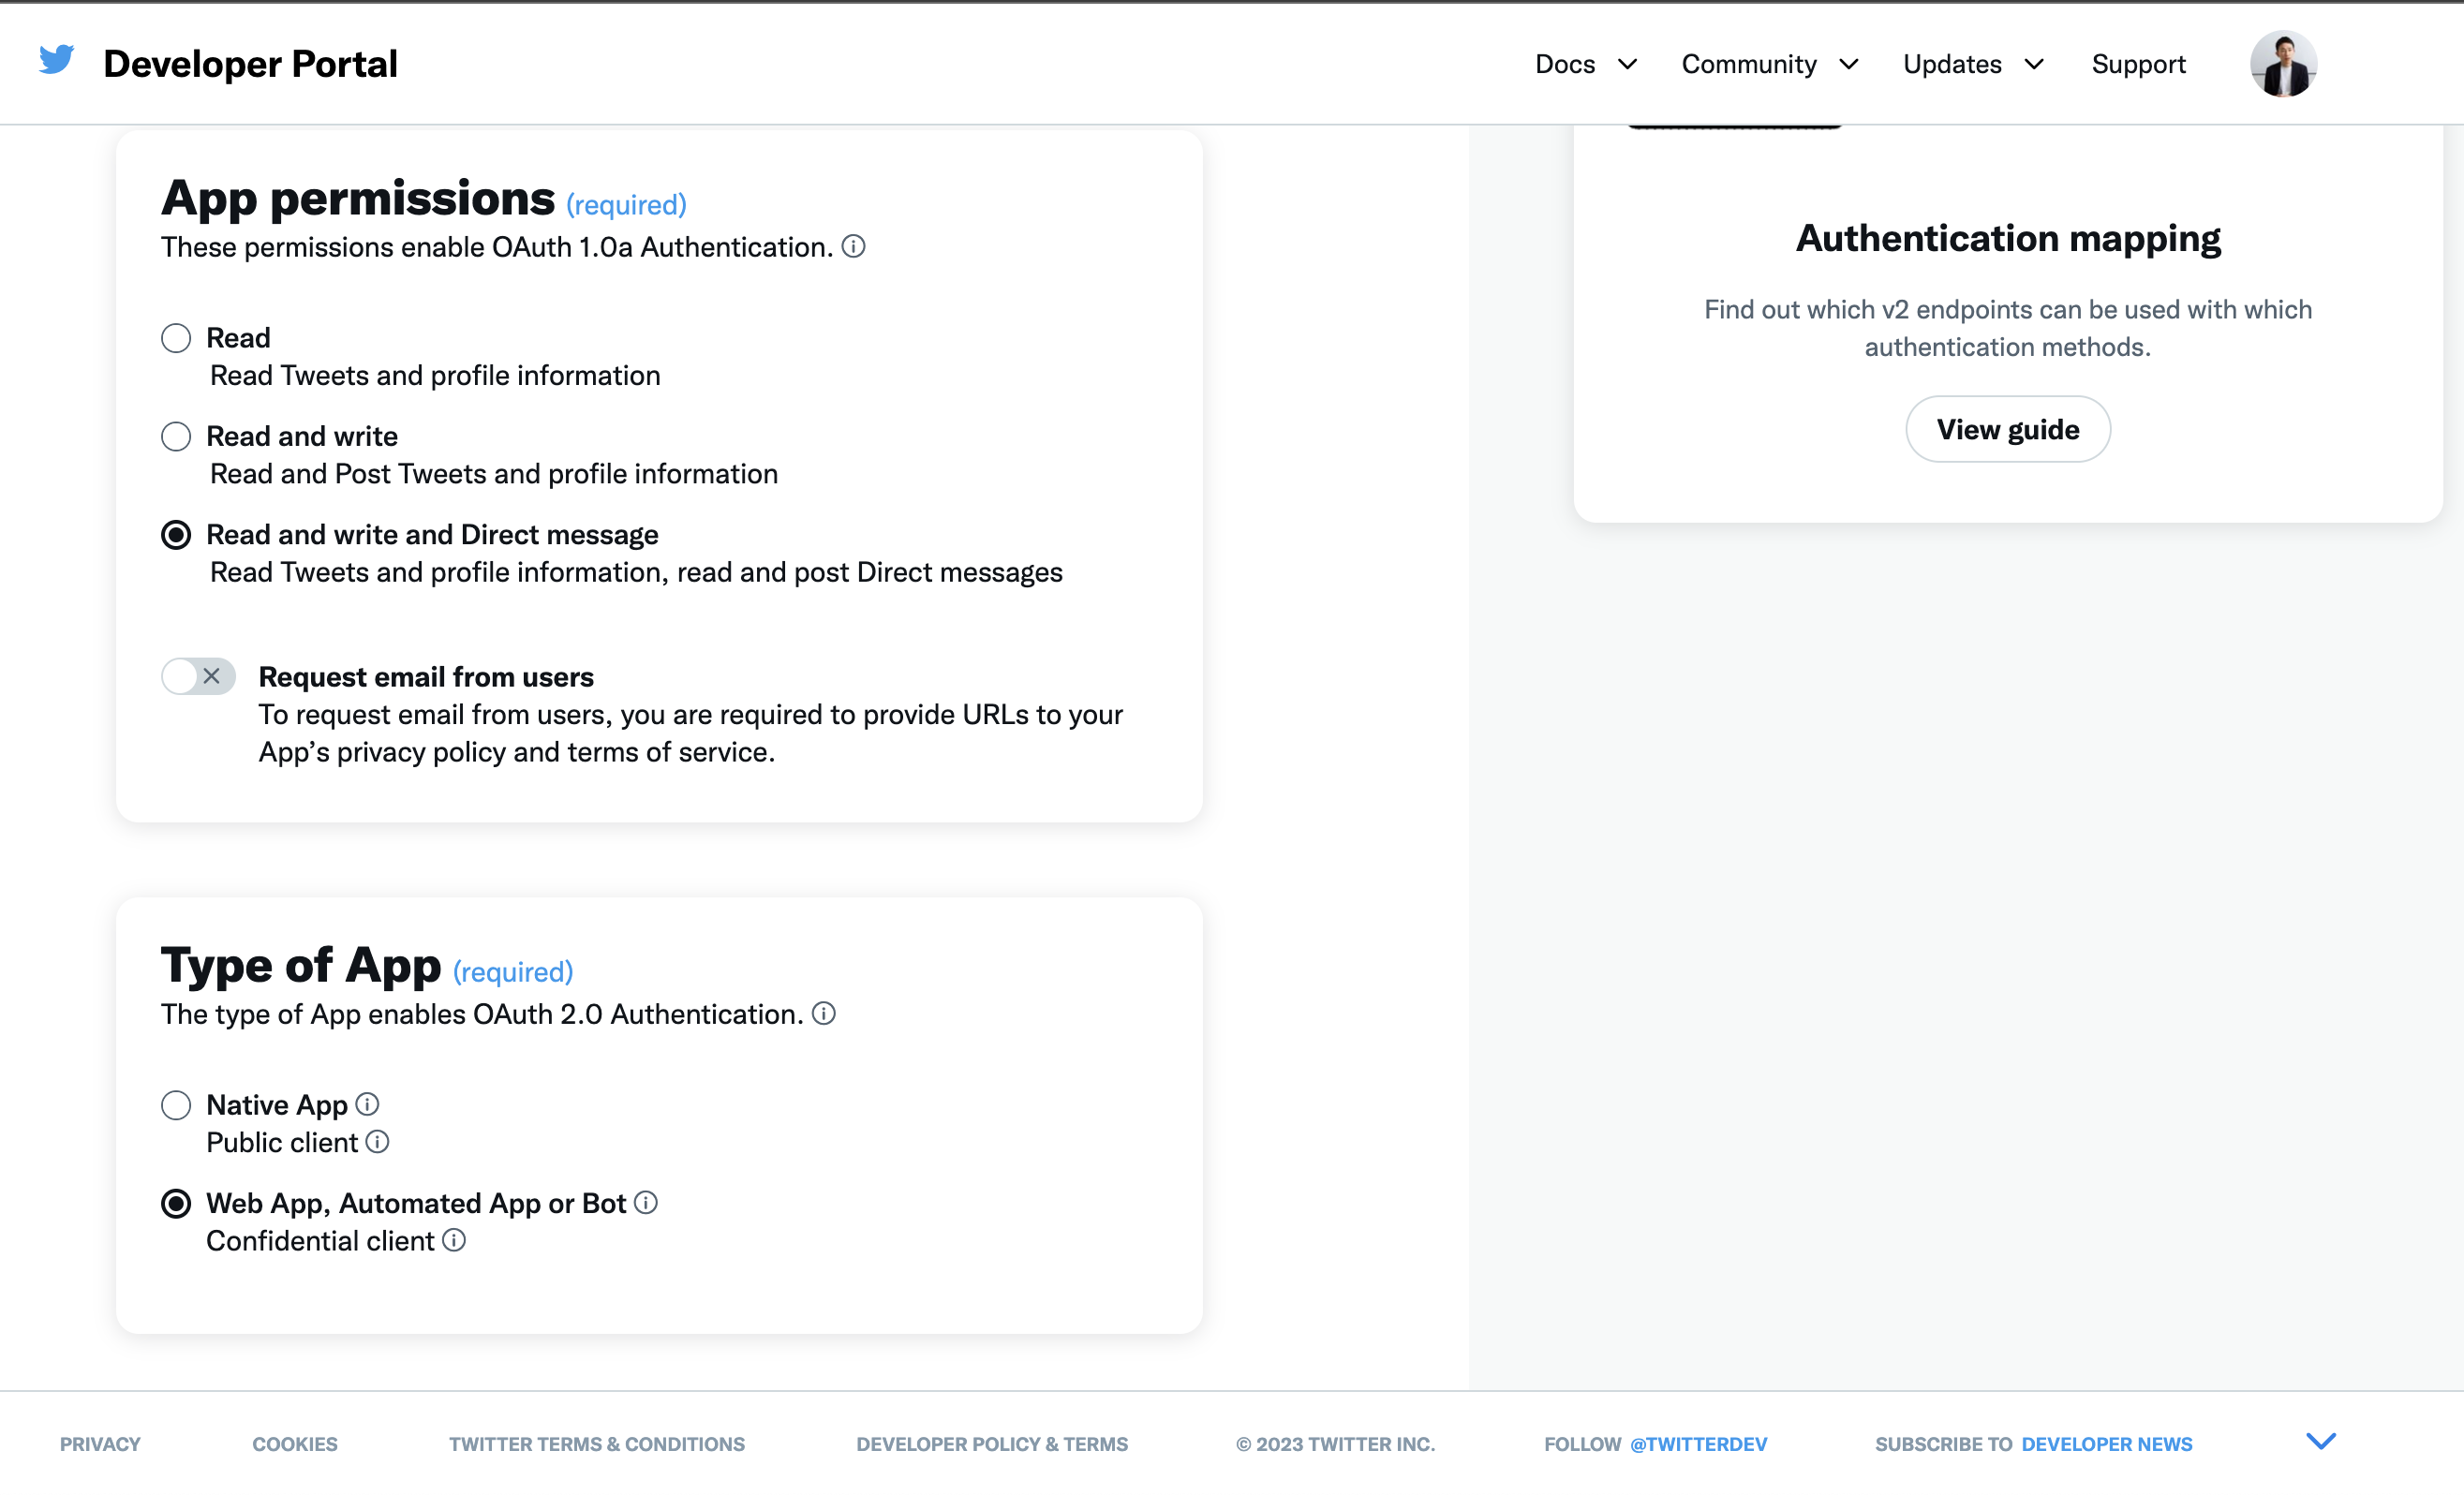
Web URLはhttps://sanka.io/ja/、Callback URI / Redirect URLはhttps://sanka.io/twitter_callbackと入力してください。
これで準備が整いました。あとはKeys and TokensからAPI Key, API Secret、 Access Token, Access Token Secretを取得し、Sankaに入力すれば準備が整います。