At Sanka, each delivery note is assigned a unique ID and can be linked with necessary information such as items and suppliers.
Additionally, you can set statuses (Draft, Sent, Scheduled, Paid) for each delivery note, making it easier to track the status.
※ For basic concepts such as "Objects" and "Modules," please refer to "Sanka Basics".
What You Will Learn in This Guide
- How to create a delivery note
- How to edit registered information
- How to archive delivery note information
- Next steps
How to Create a Delivery Note
① Click on the "Order & Invoice Management" module on the left side of the screen, then select the "Delivery Notes" object.
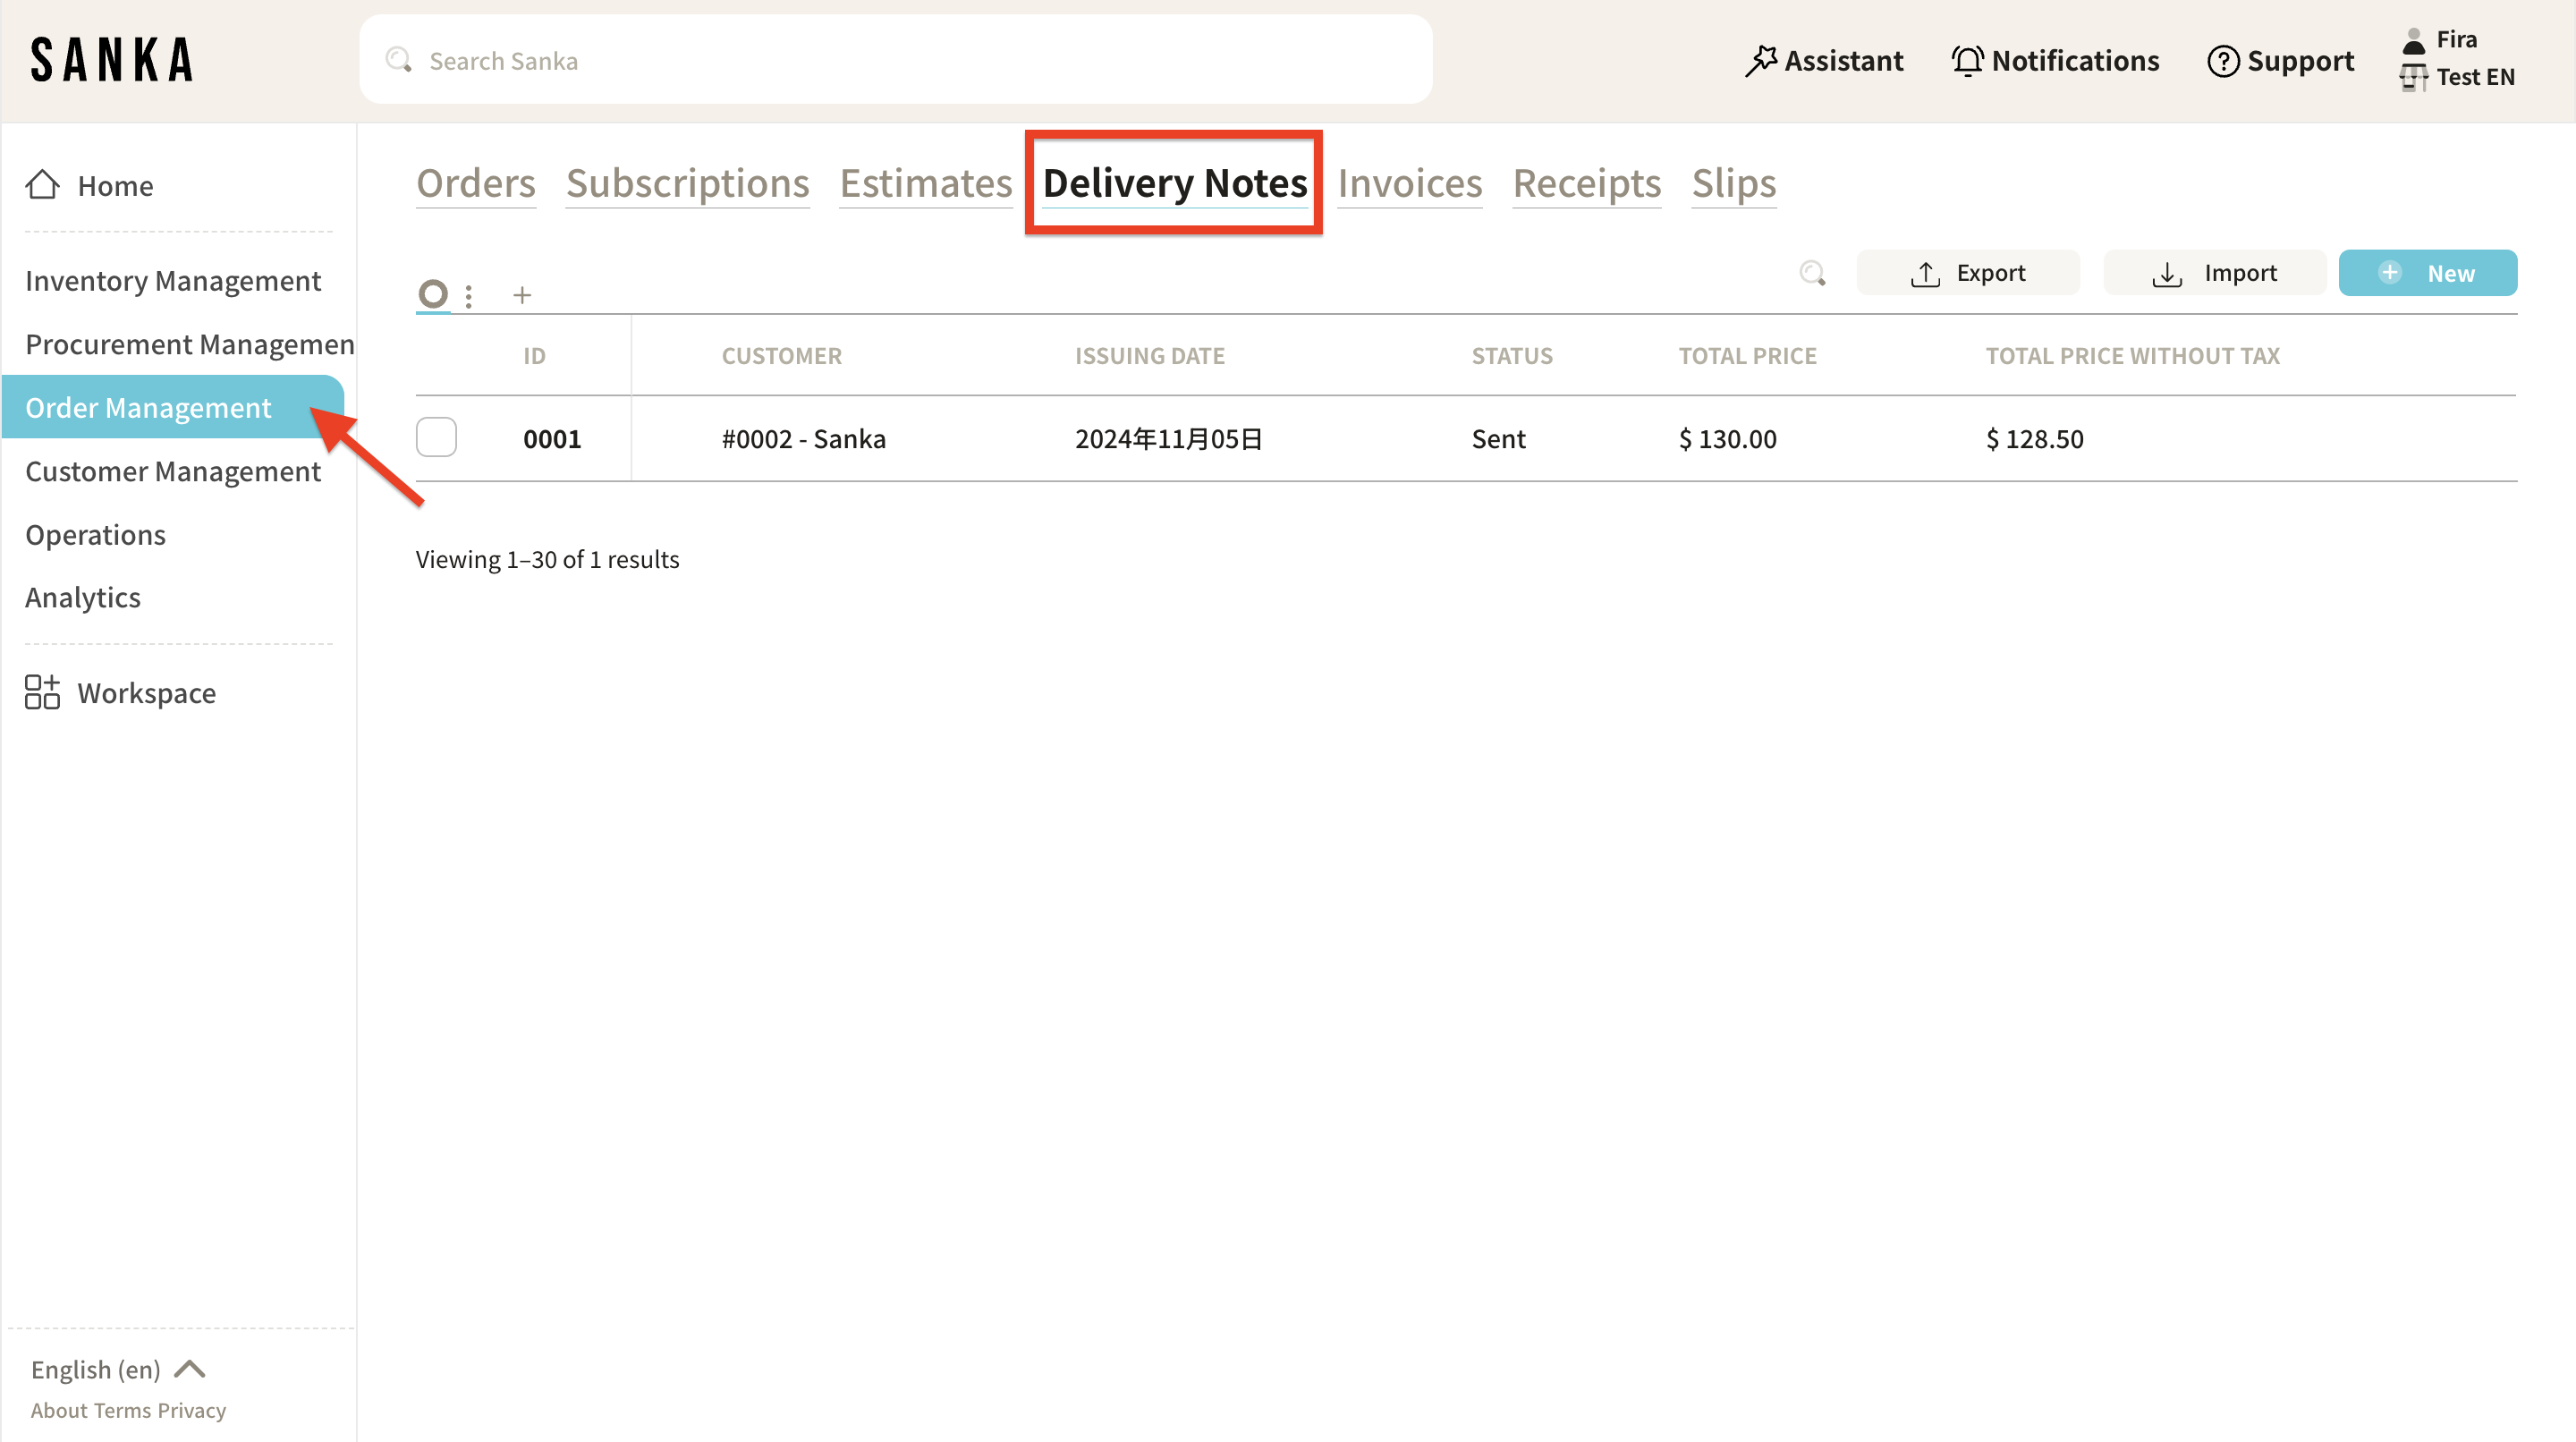
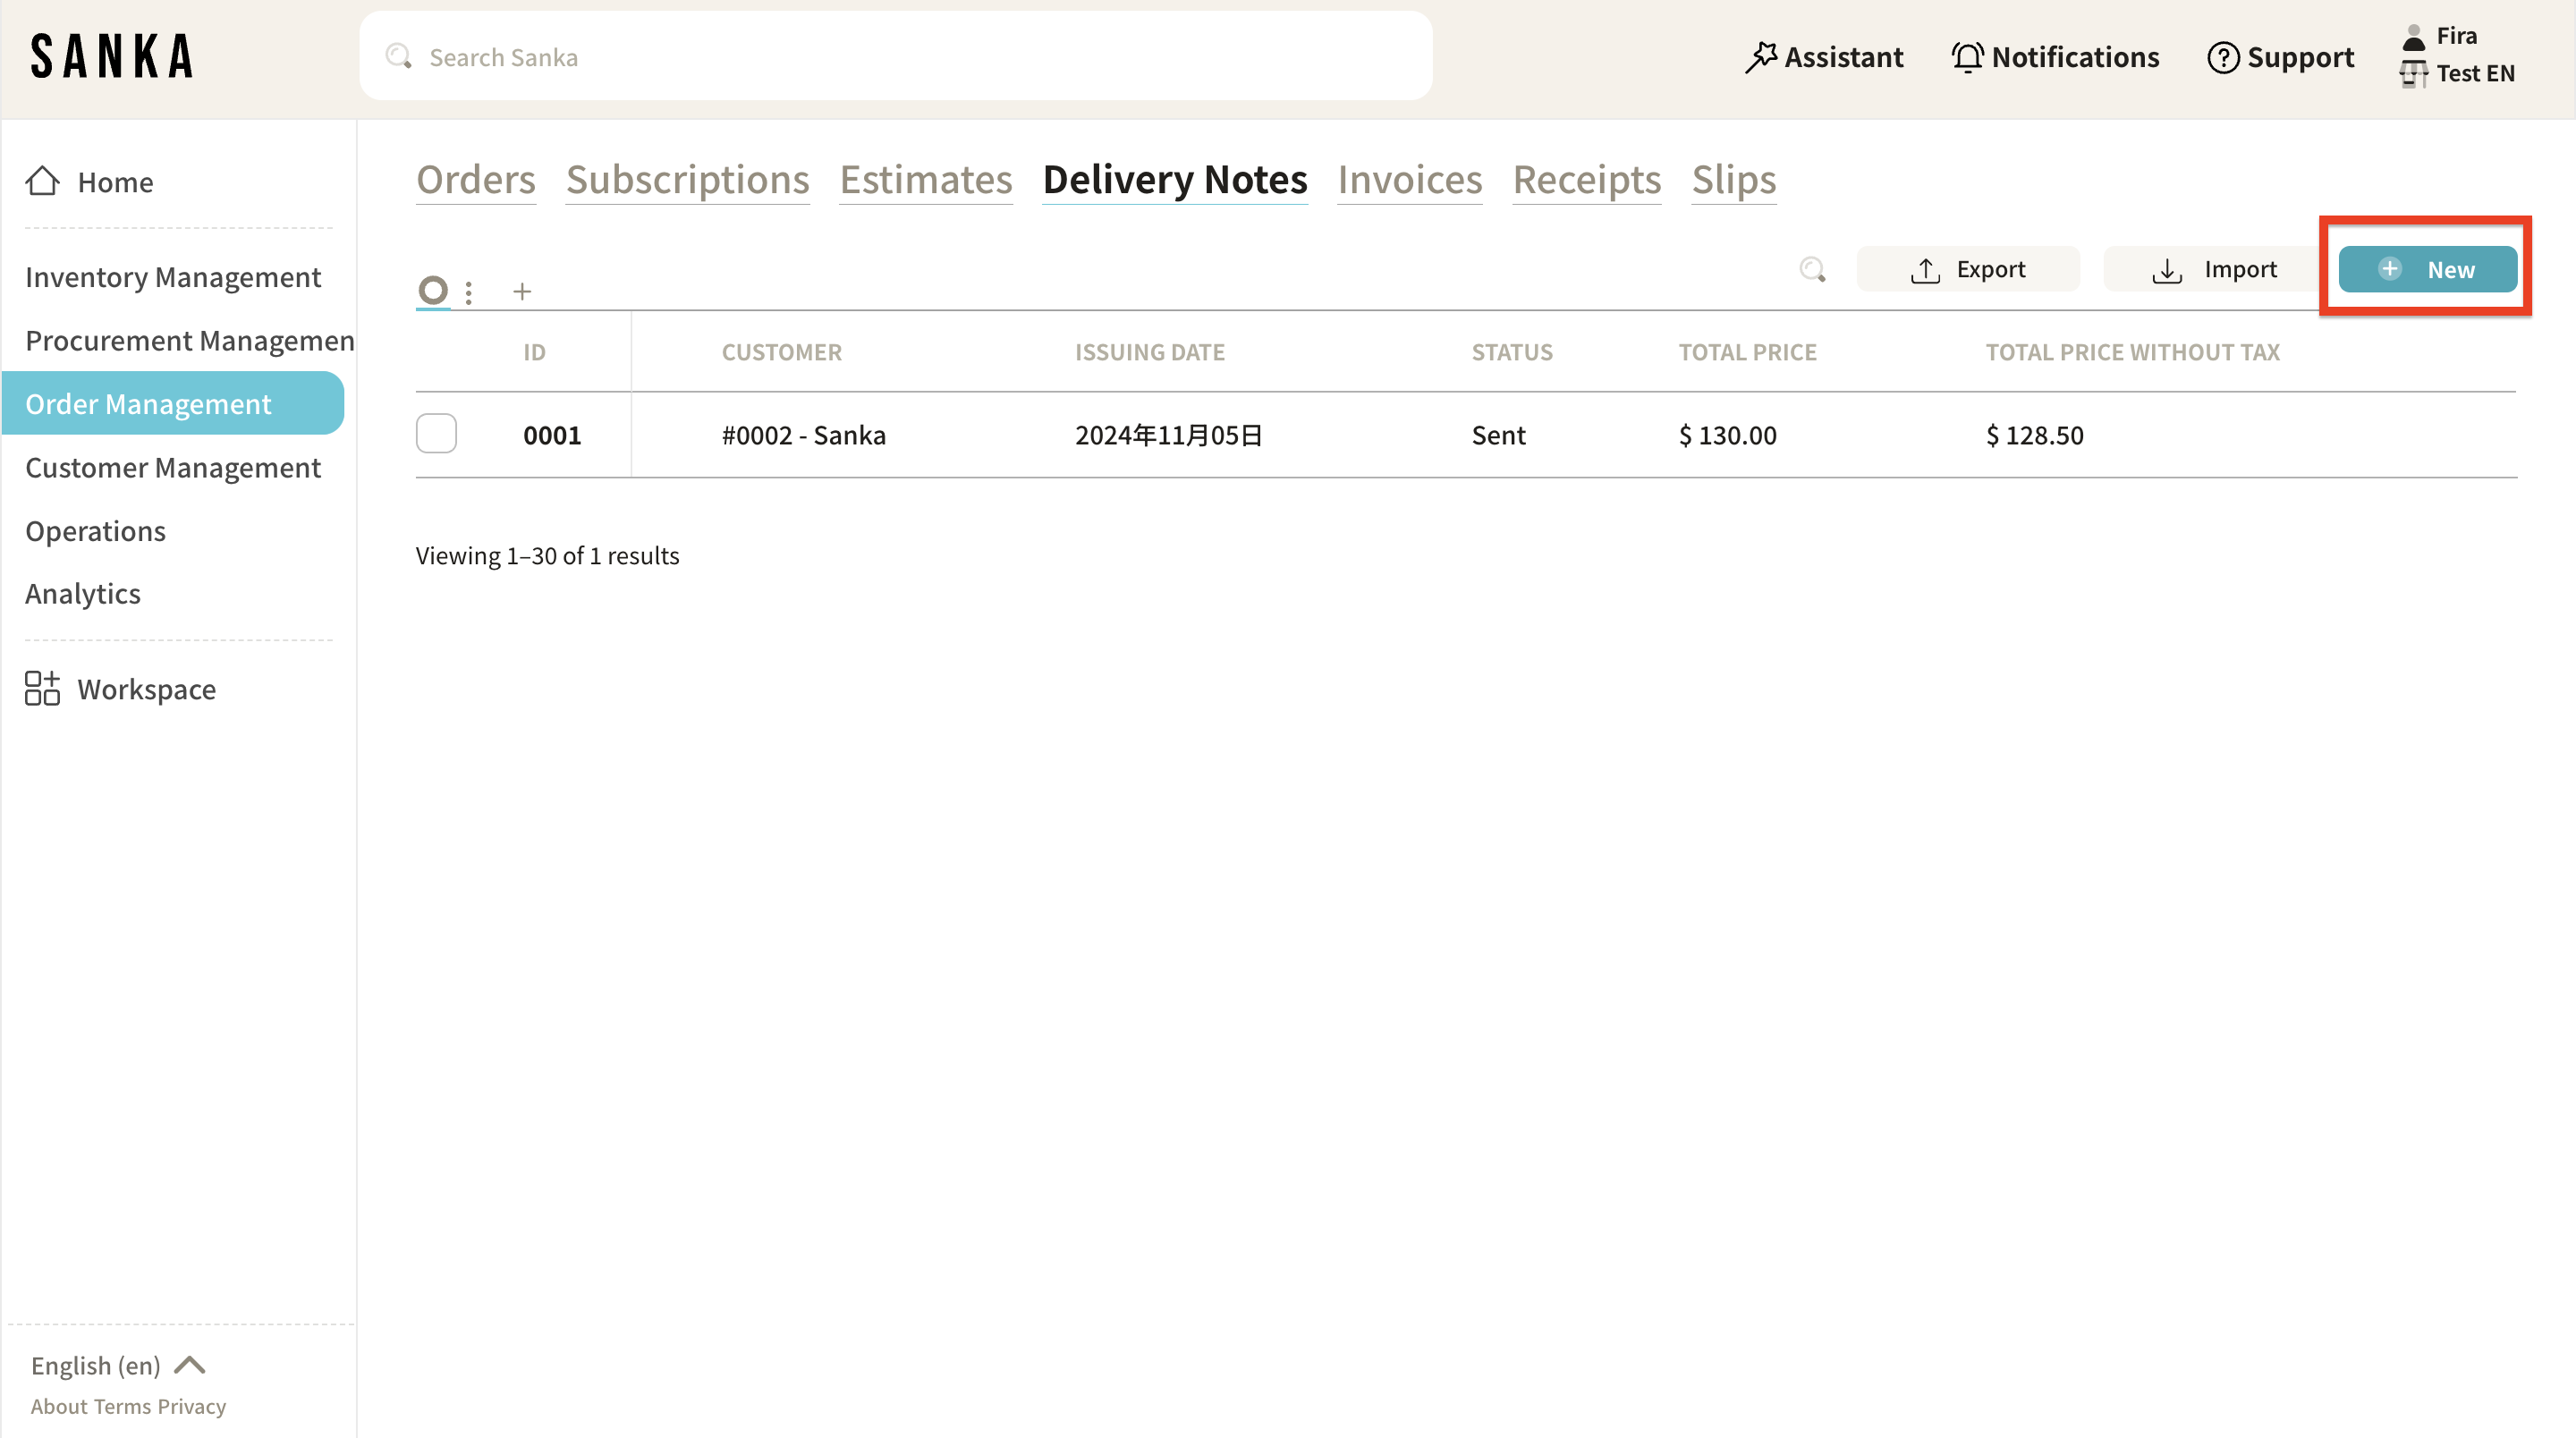
② Click on the "New" button in the upper right corner of the screen.
③ The "Create Delivery Memo" detail page will appear, where you can enter the required information.
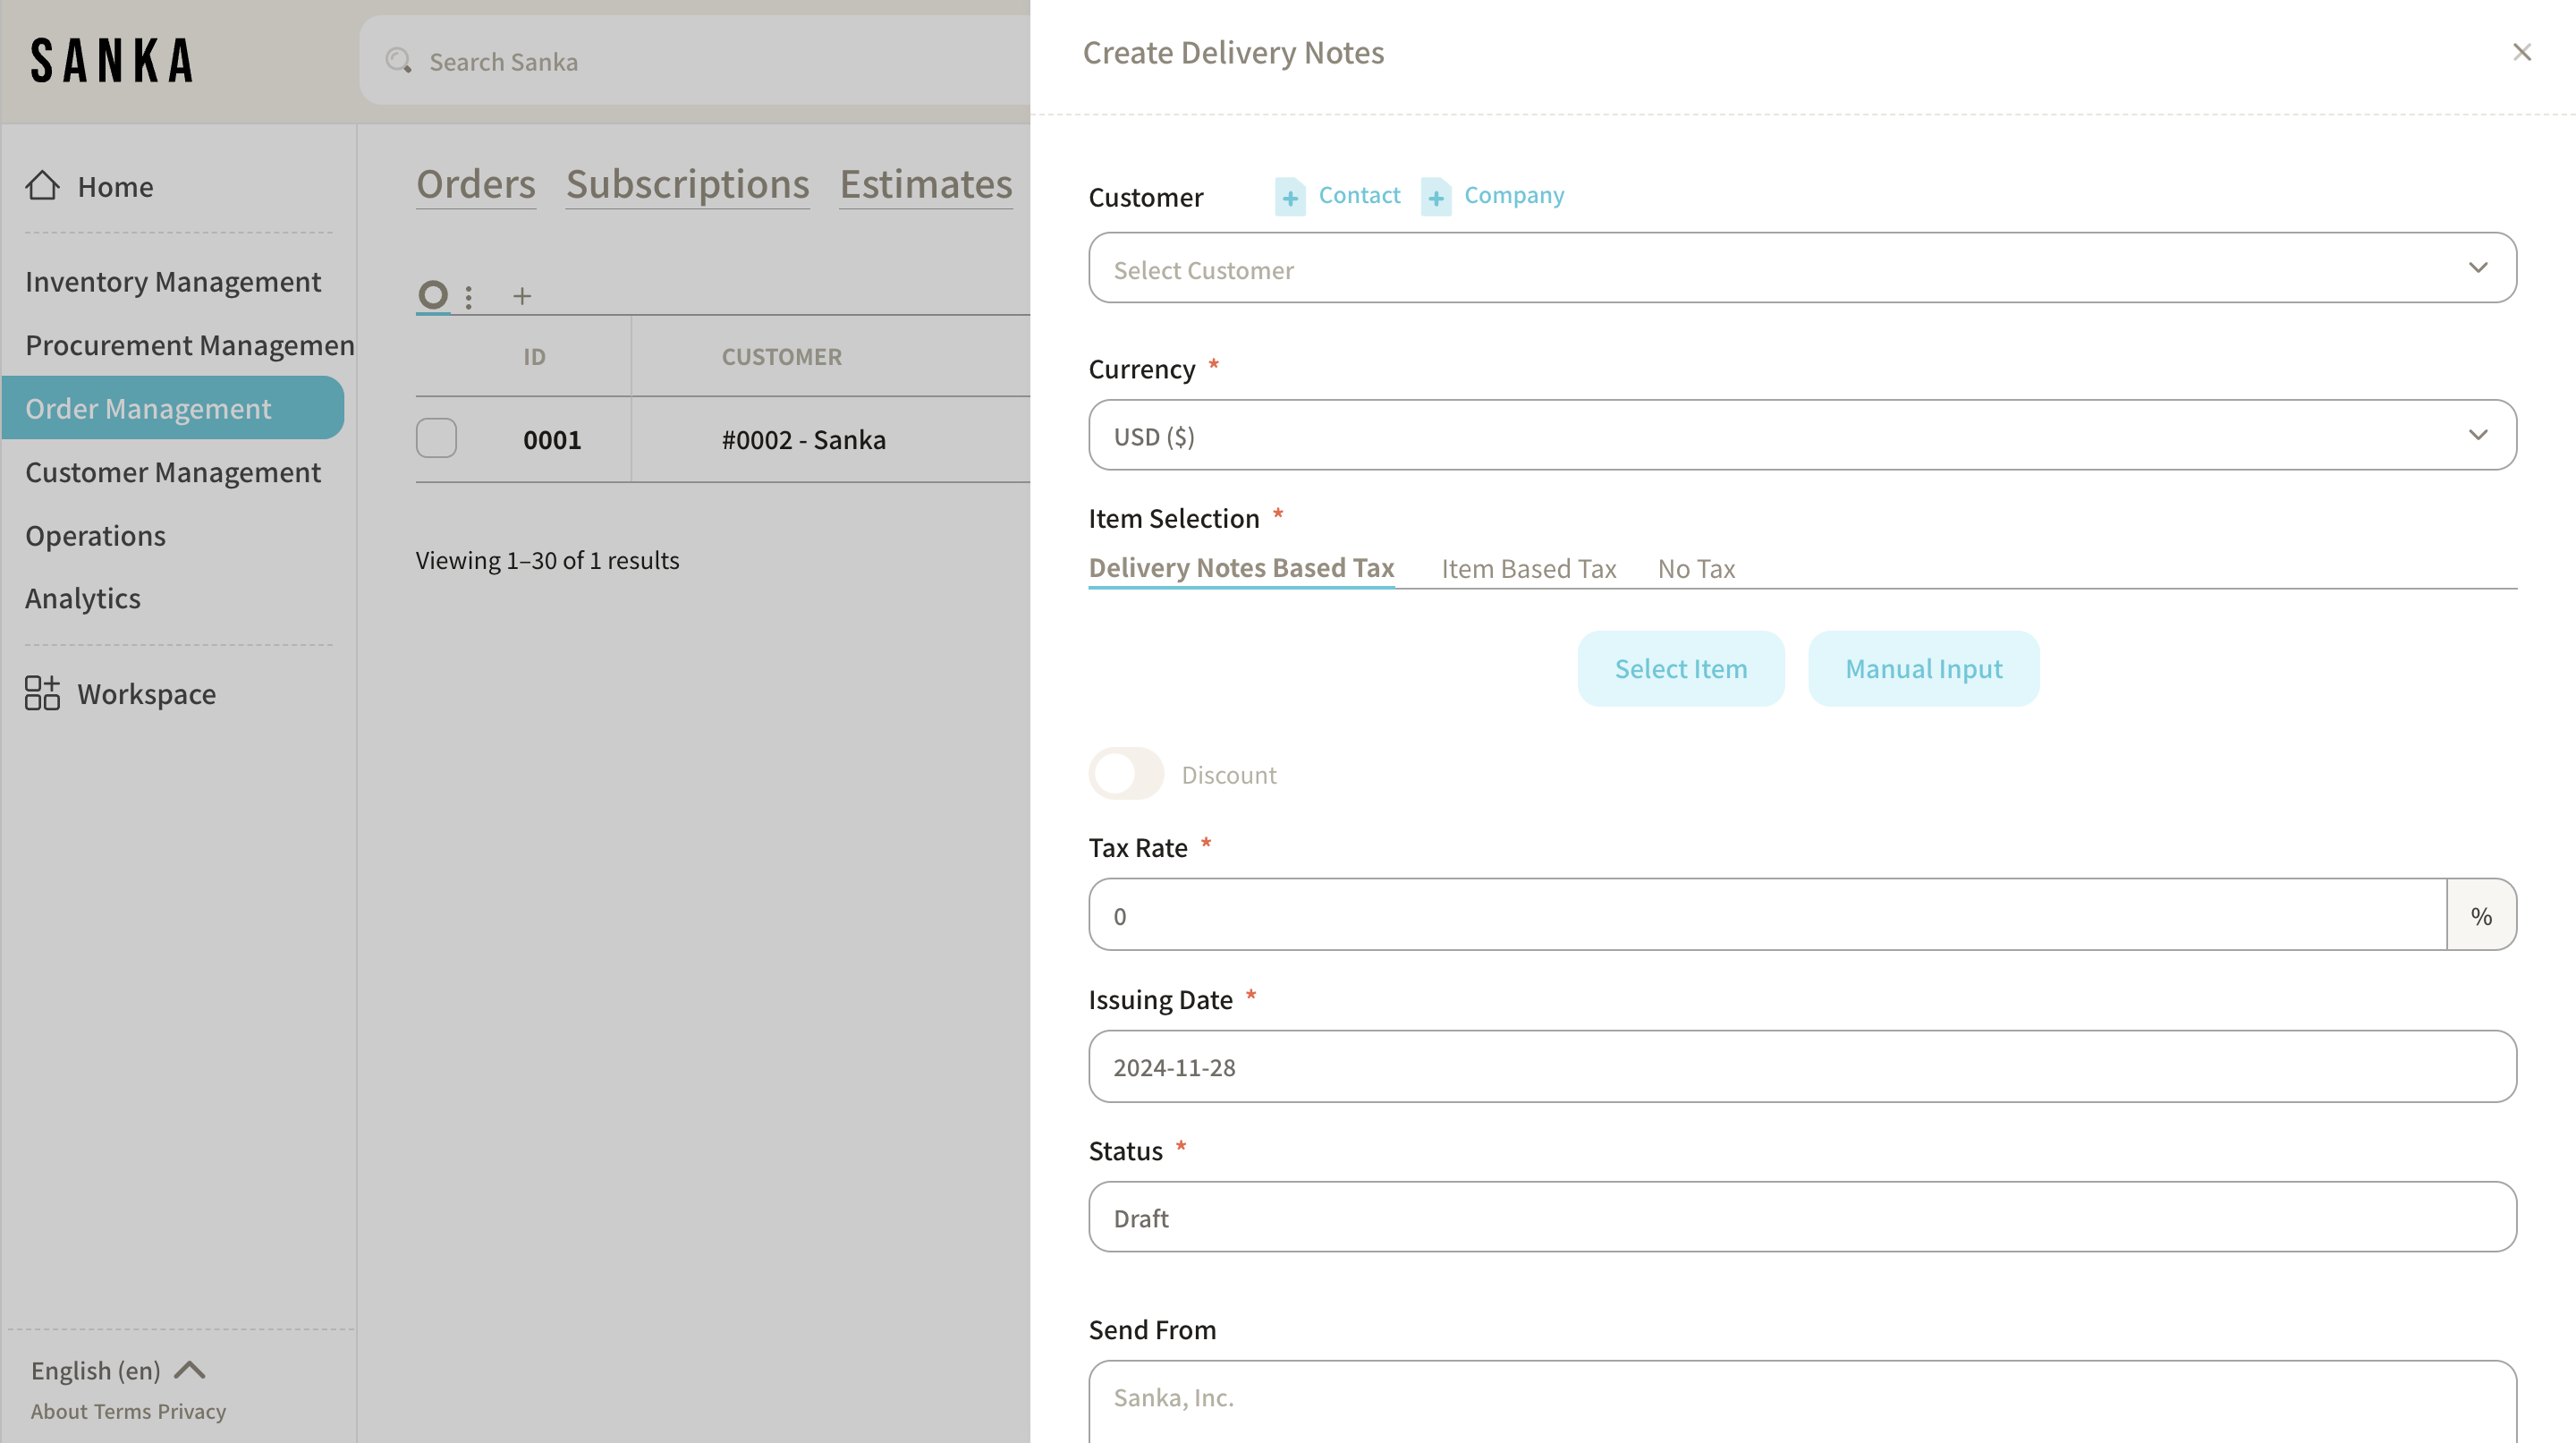
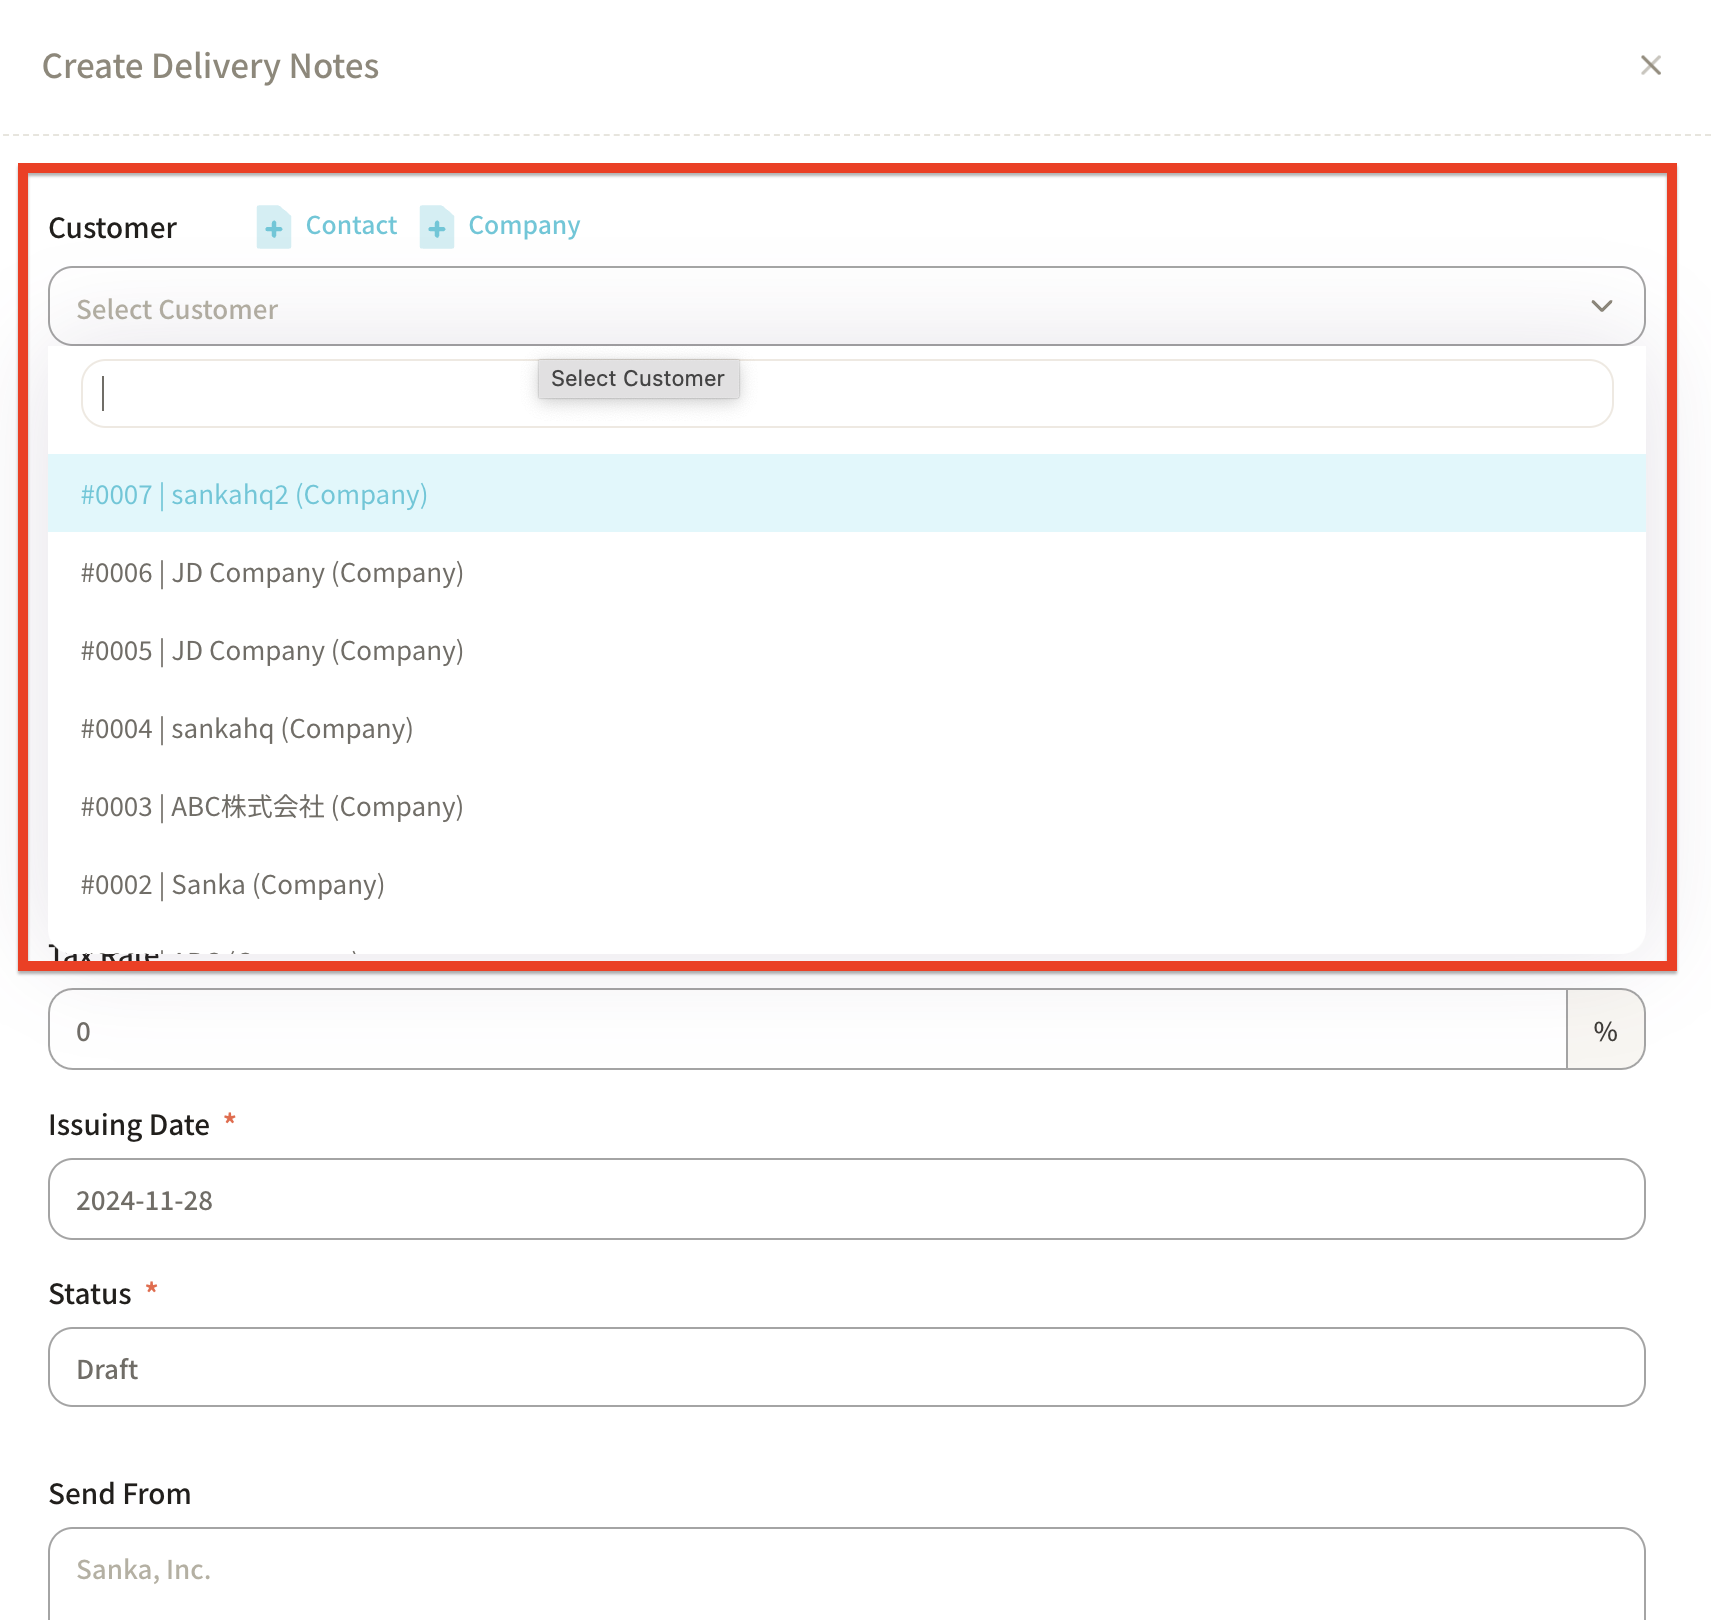
④ Click on "Customer Information" to display the registered supplier information (for instructions on how to create a Supplier Master, click here).
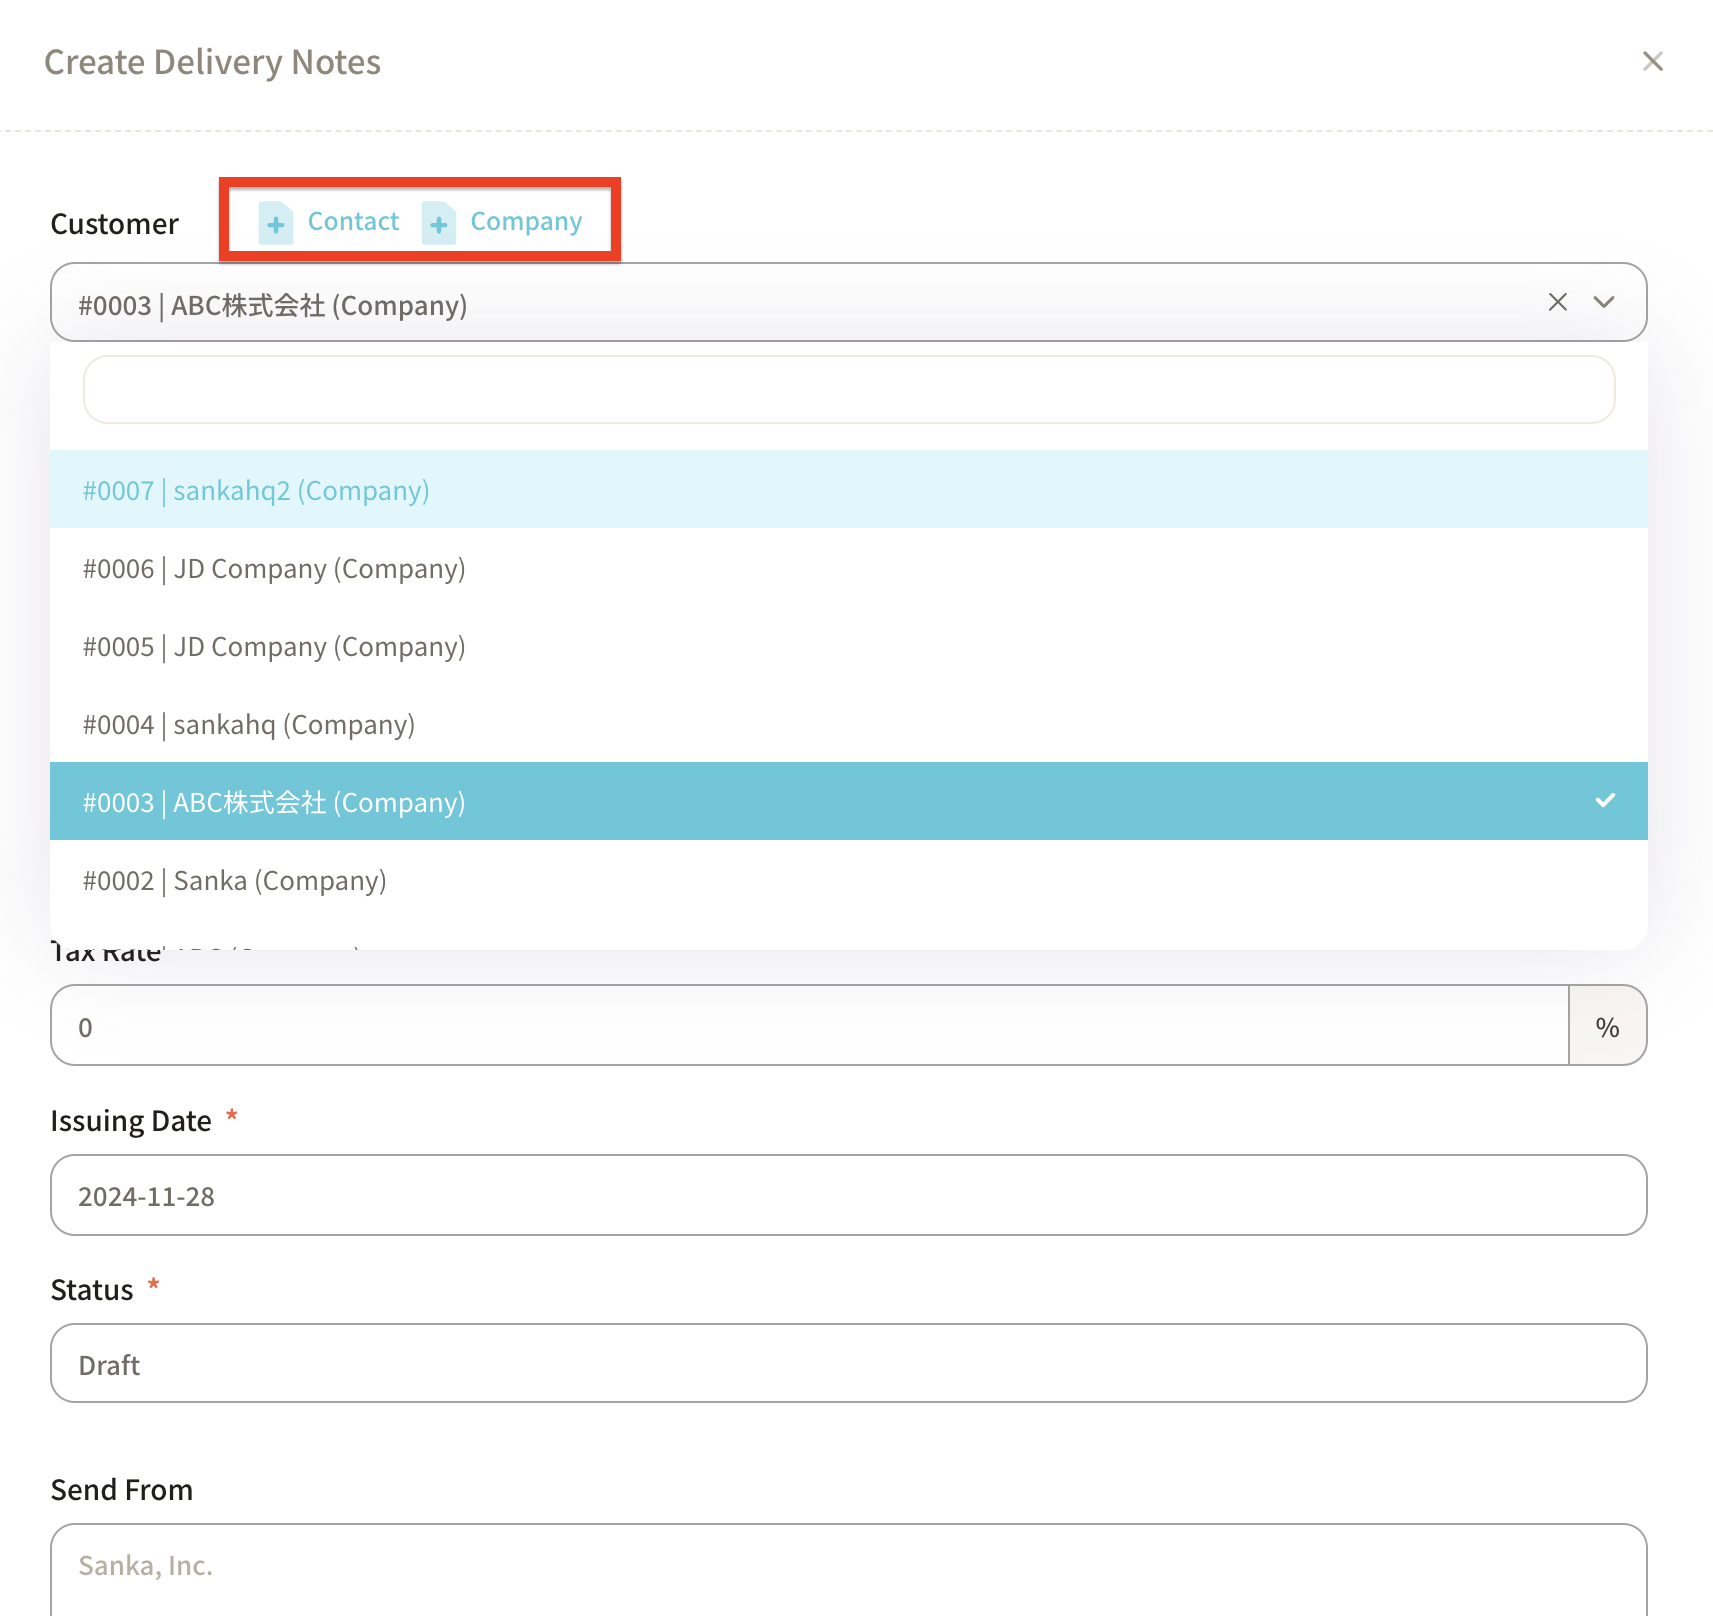
If there is no supplier information, you can add it directly by clicking the "+Contact" or "+Company" button.
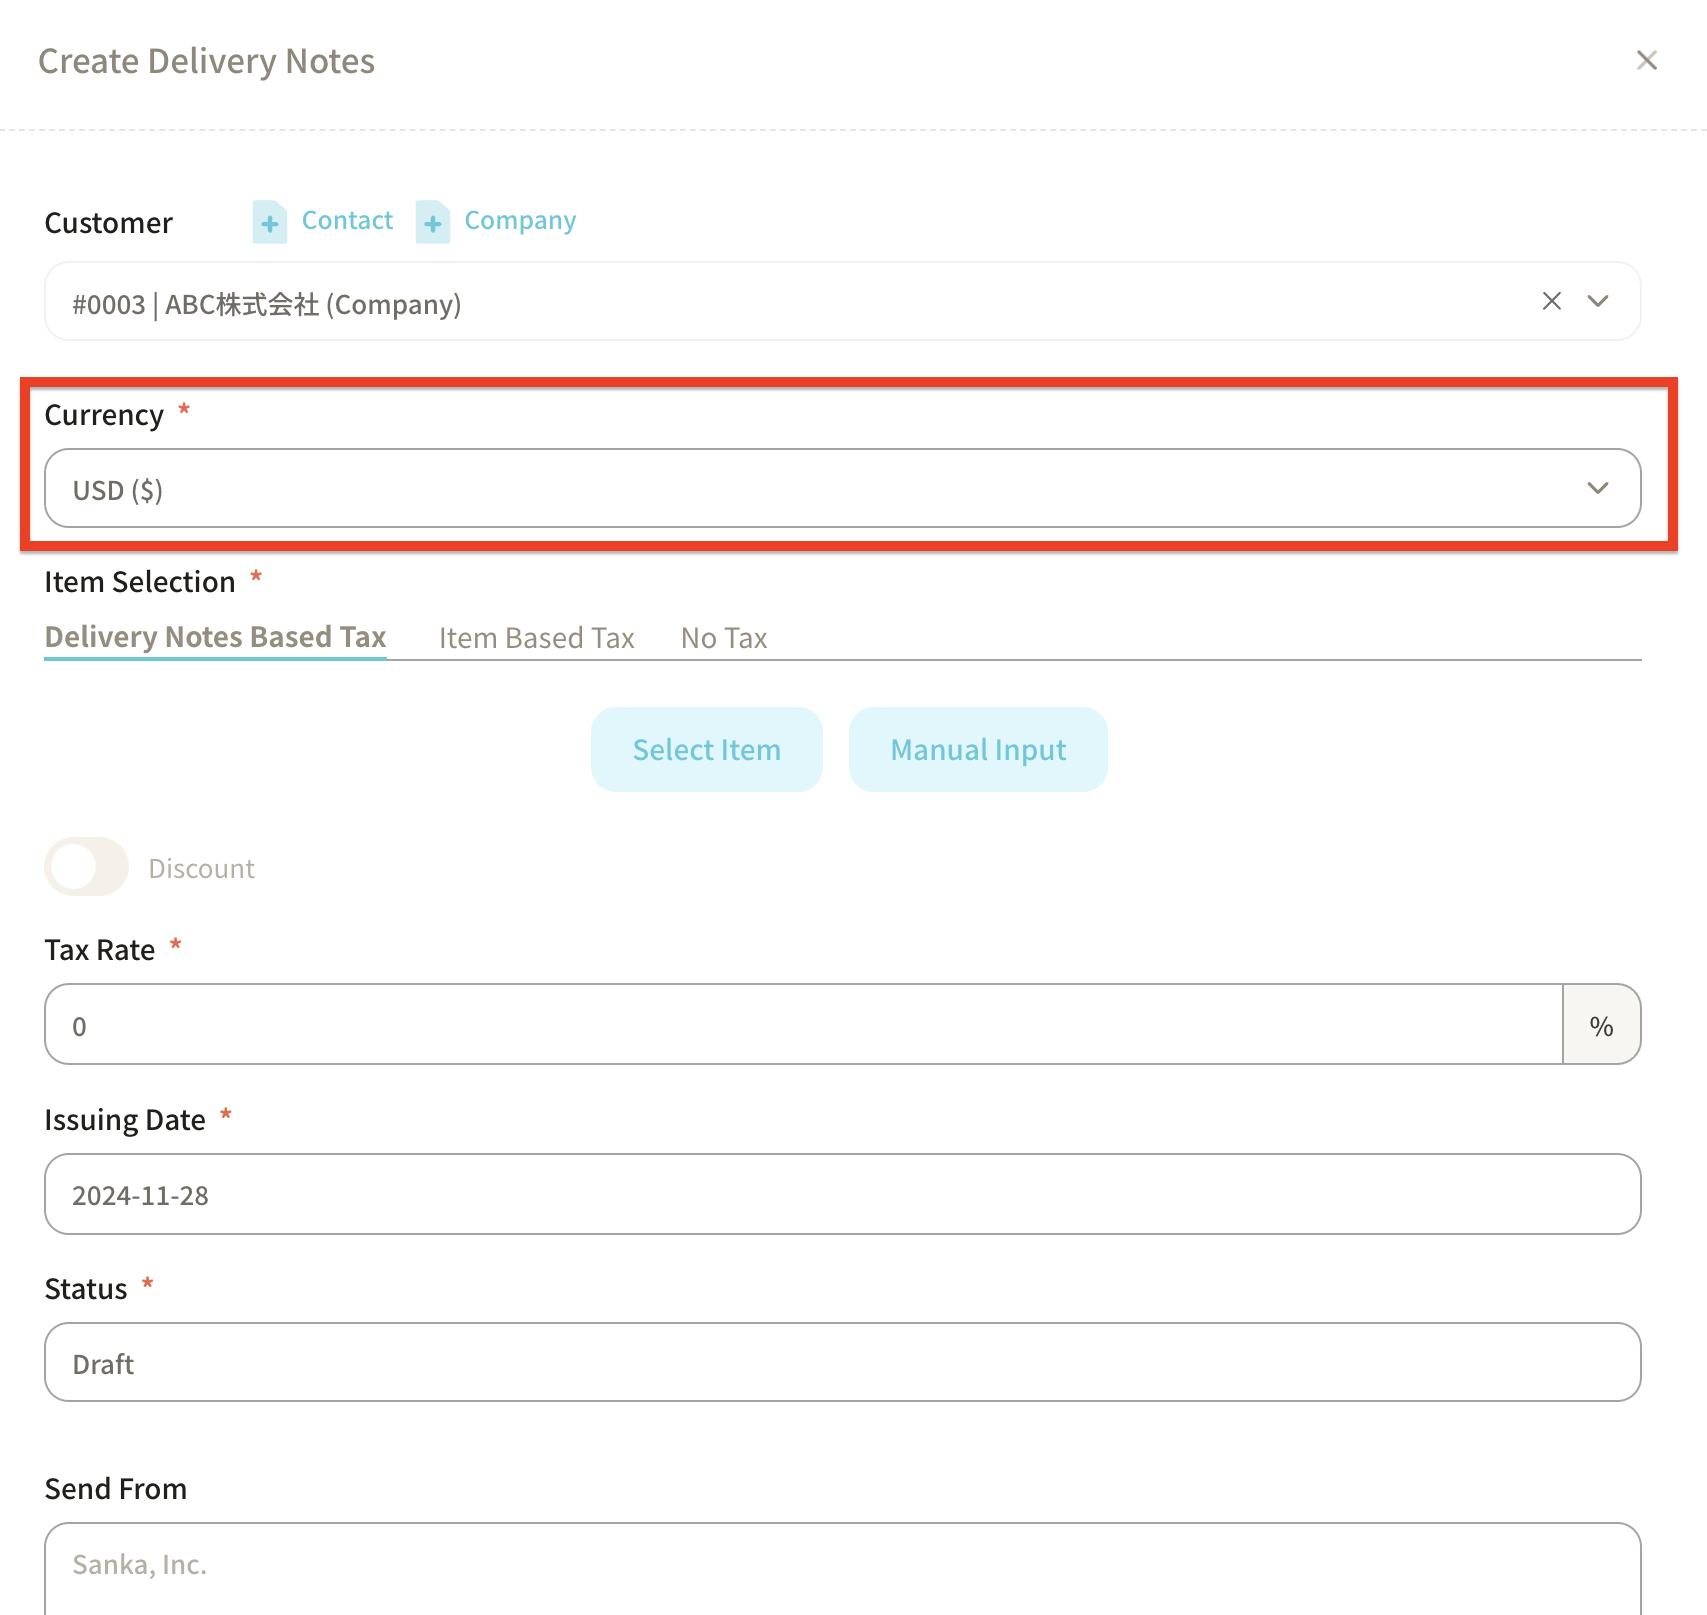
⑤ Select the currency.
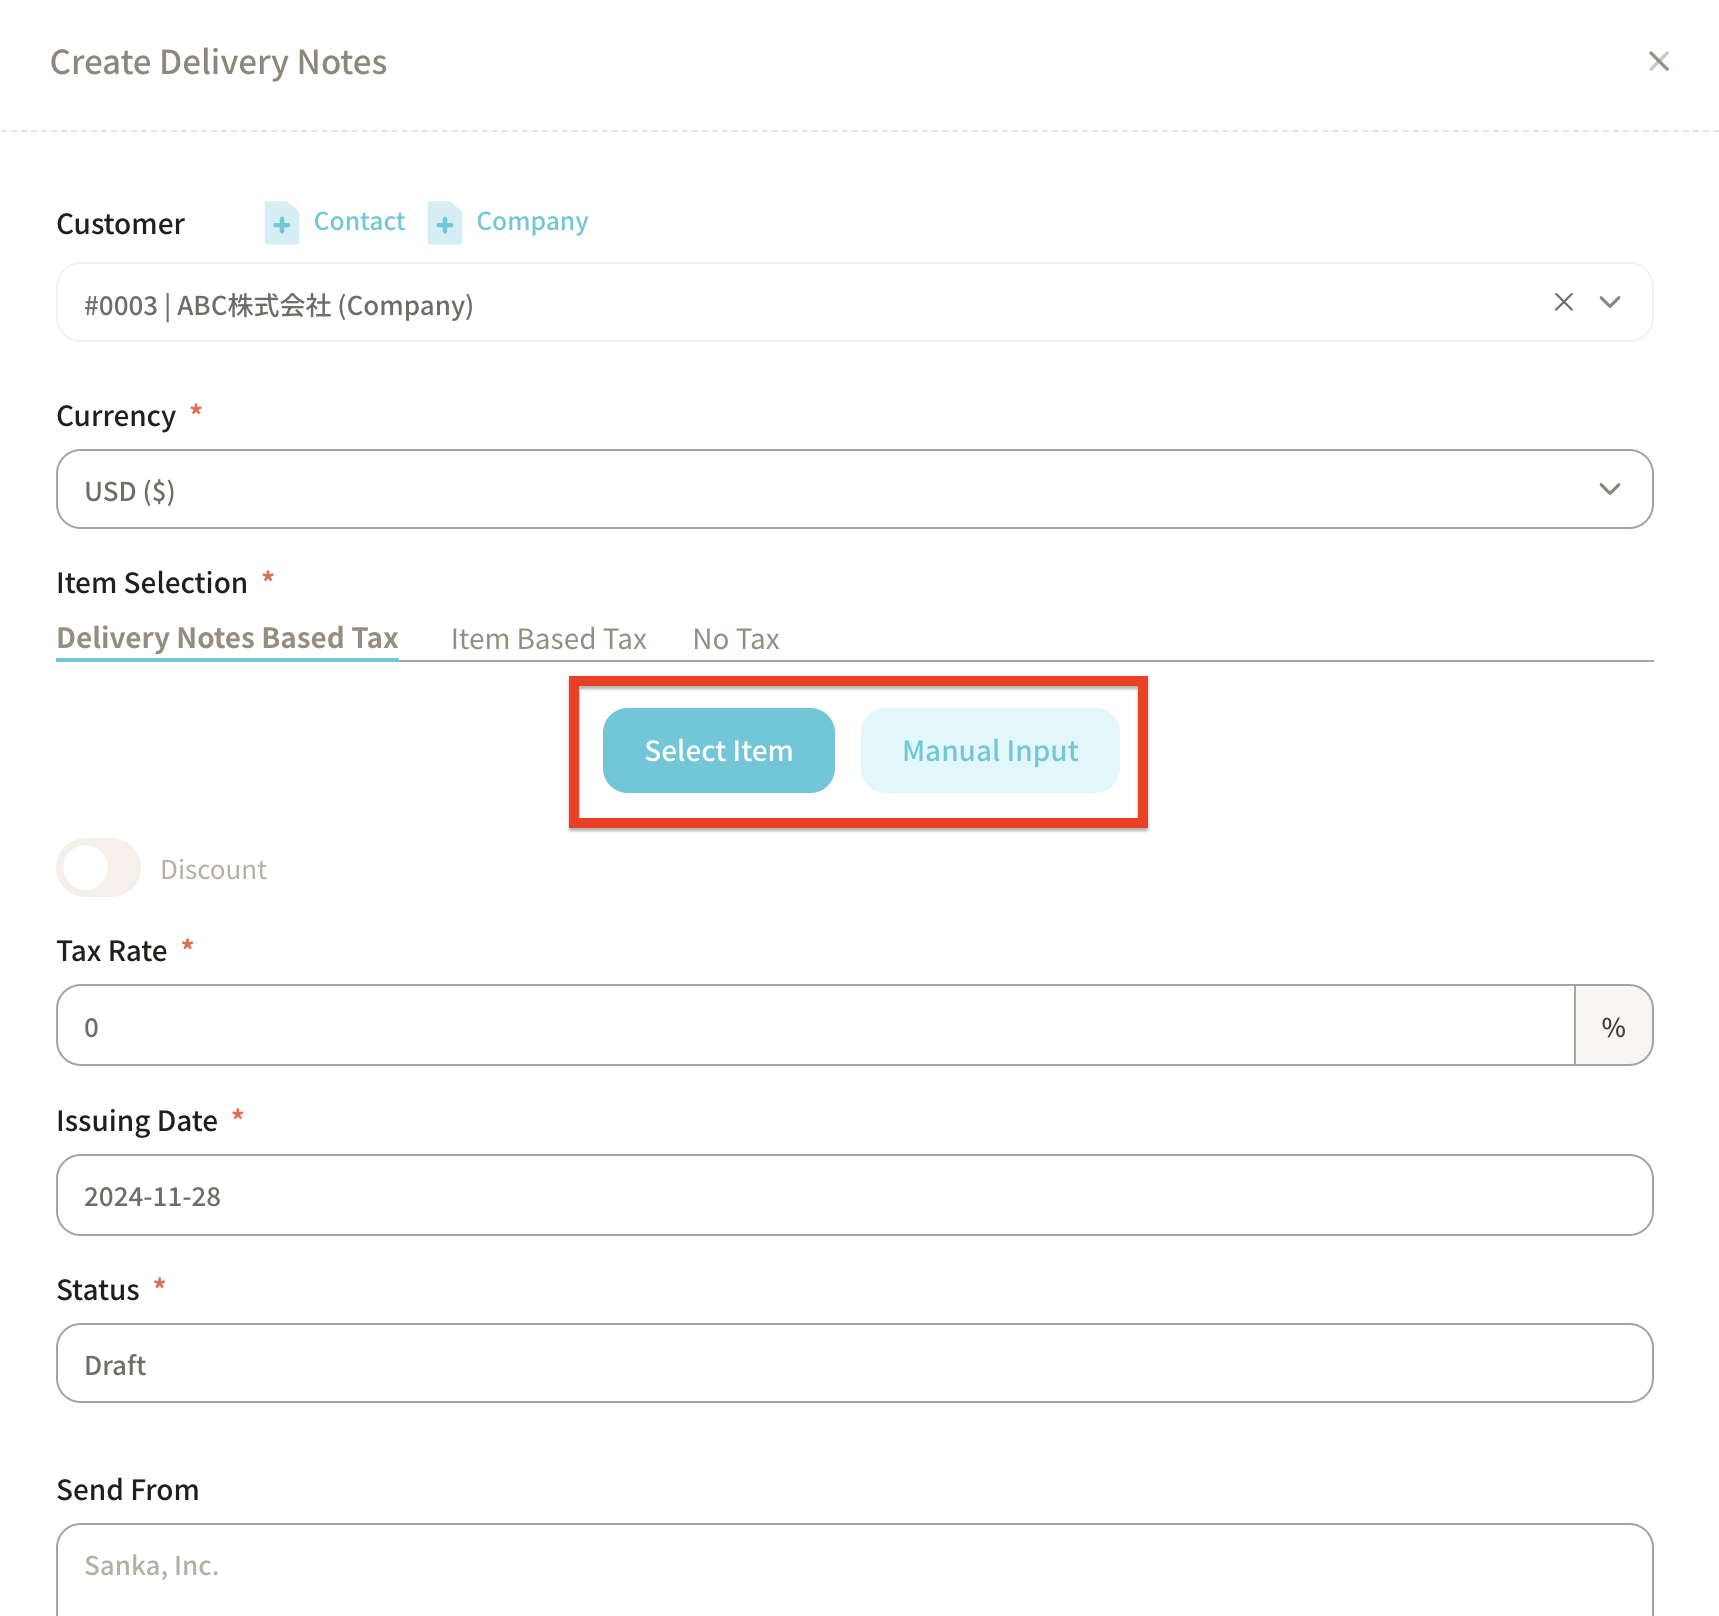
⑥ Select the item to be listed on the delivery note.
There are two ways to input item information:
- Select Item: Choose from the registered item master in Sanka. Instructions on how to create a Item Master can be found here.
- Manual Input: Enter item information manually.
Here, we will proceed by clicking "Select Item."
⑦ When an item is selected, the items registered in the item master are displayed.
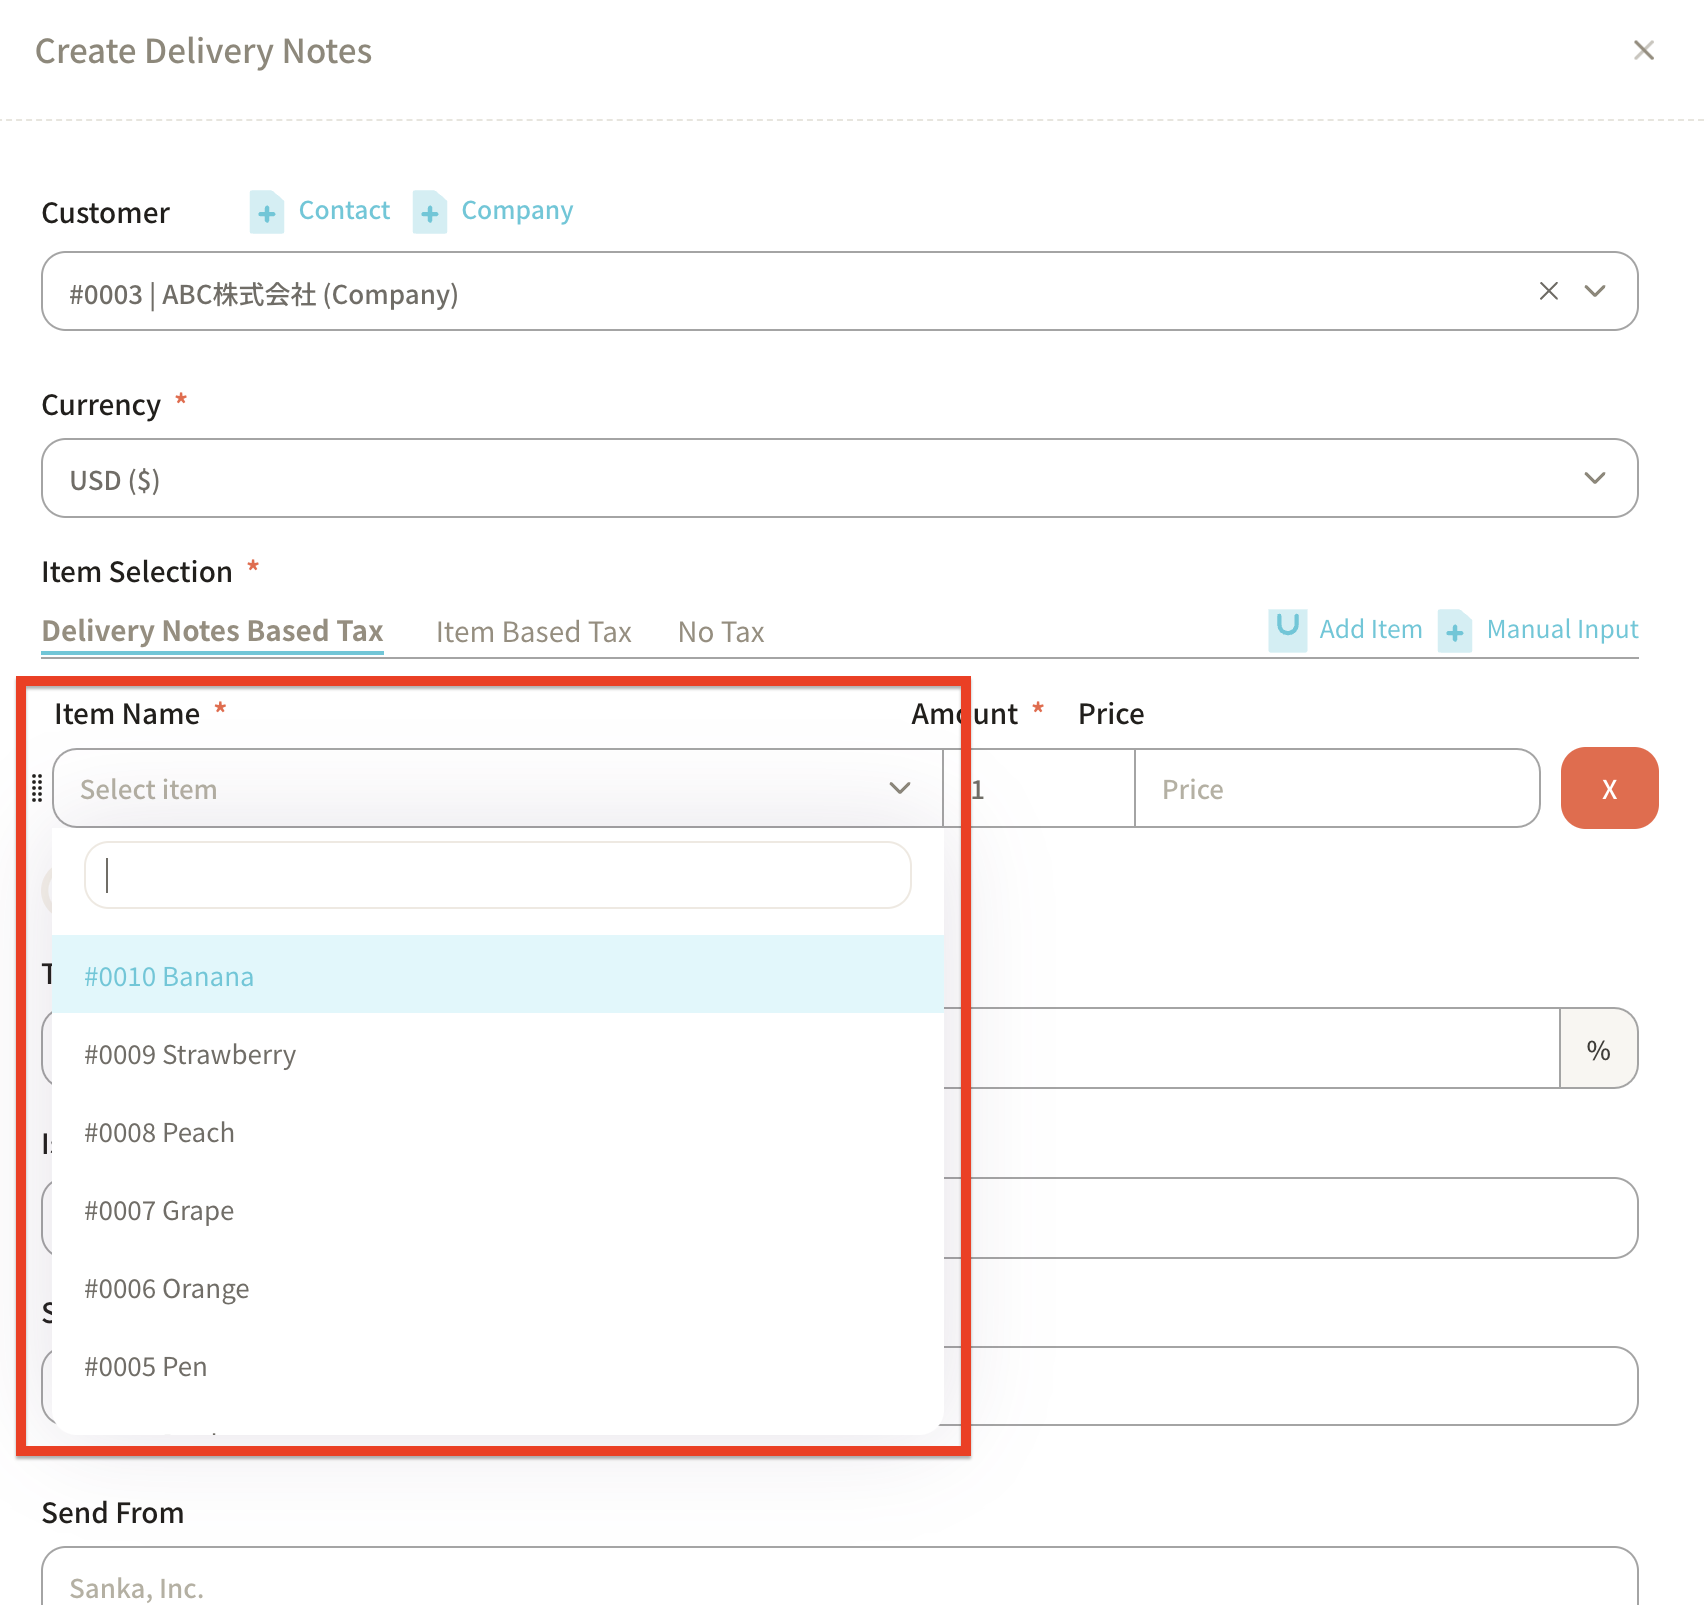
As an example, let’s create a delivery note for 100 units of Grapes and 500 units of Oranges.
First, select Grapes and enter the quantity of 100.
Note that the unit price registered in the item master will be automatically added.
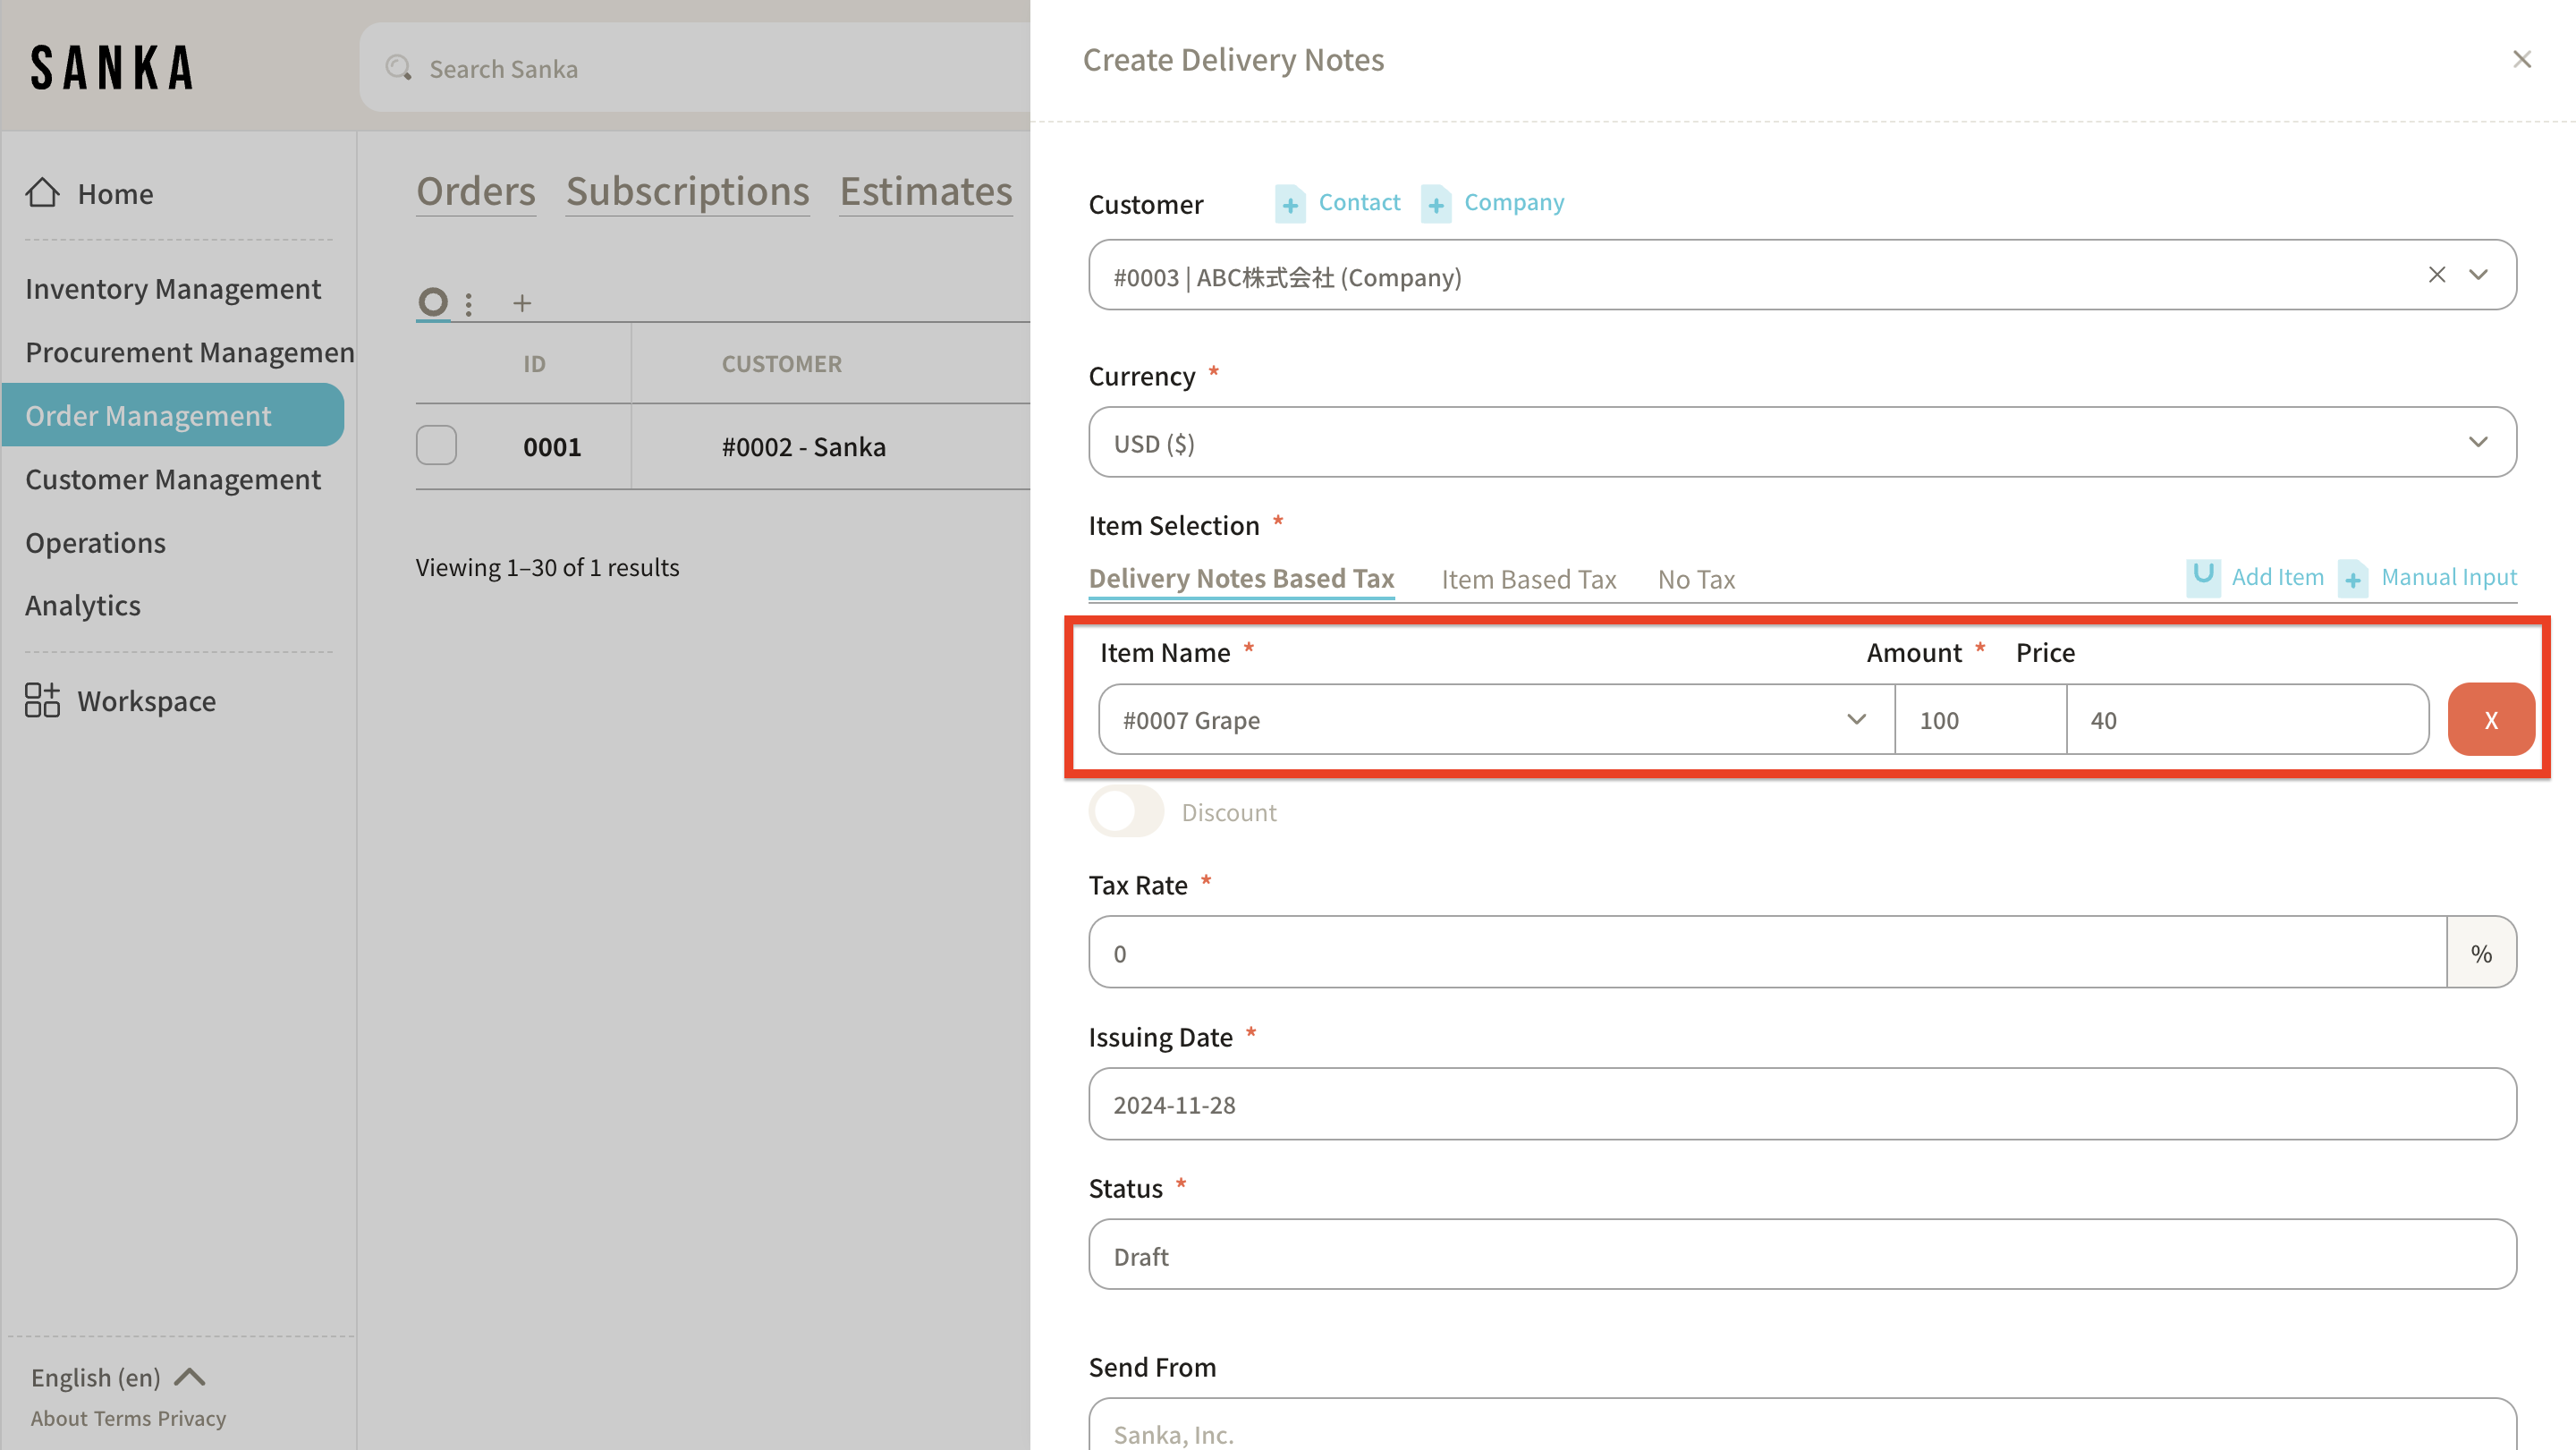
If you want to add more items to the delivery note, click "+Add Item" in the upper right corner to add a new field.
Enter 500 units of Oranges.
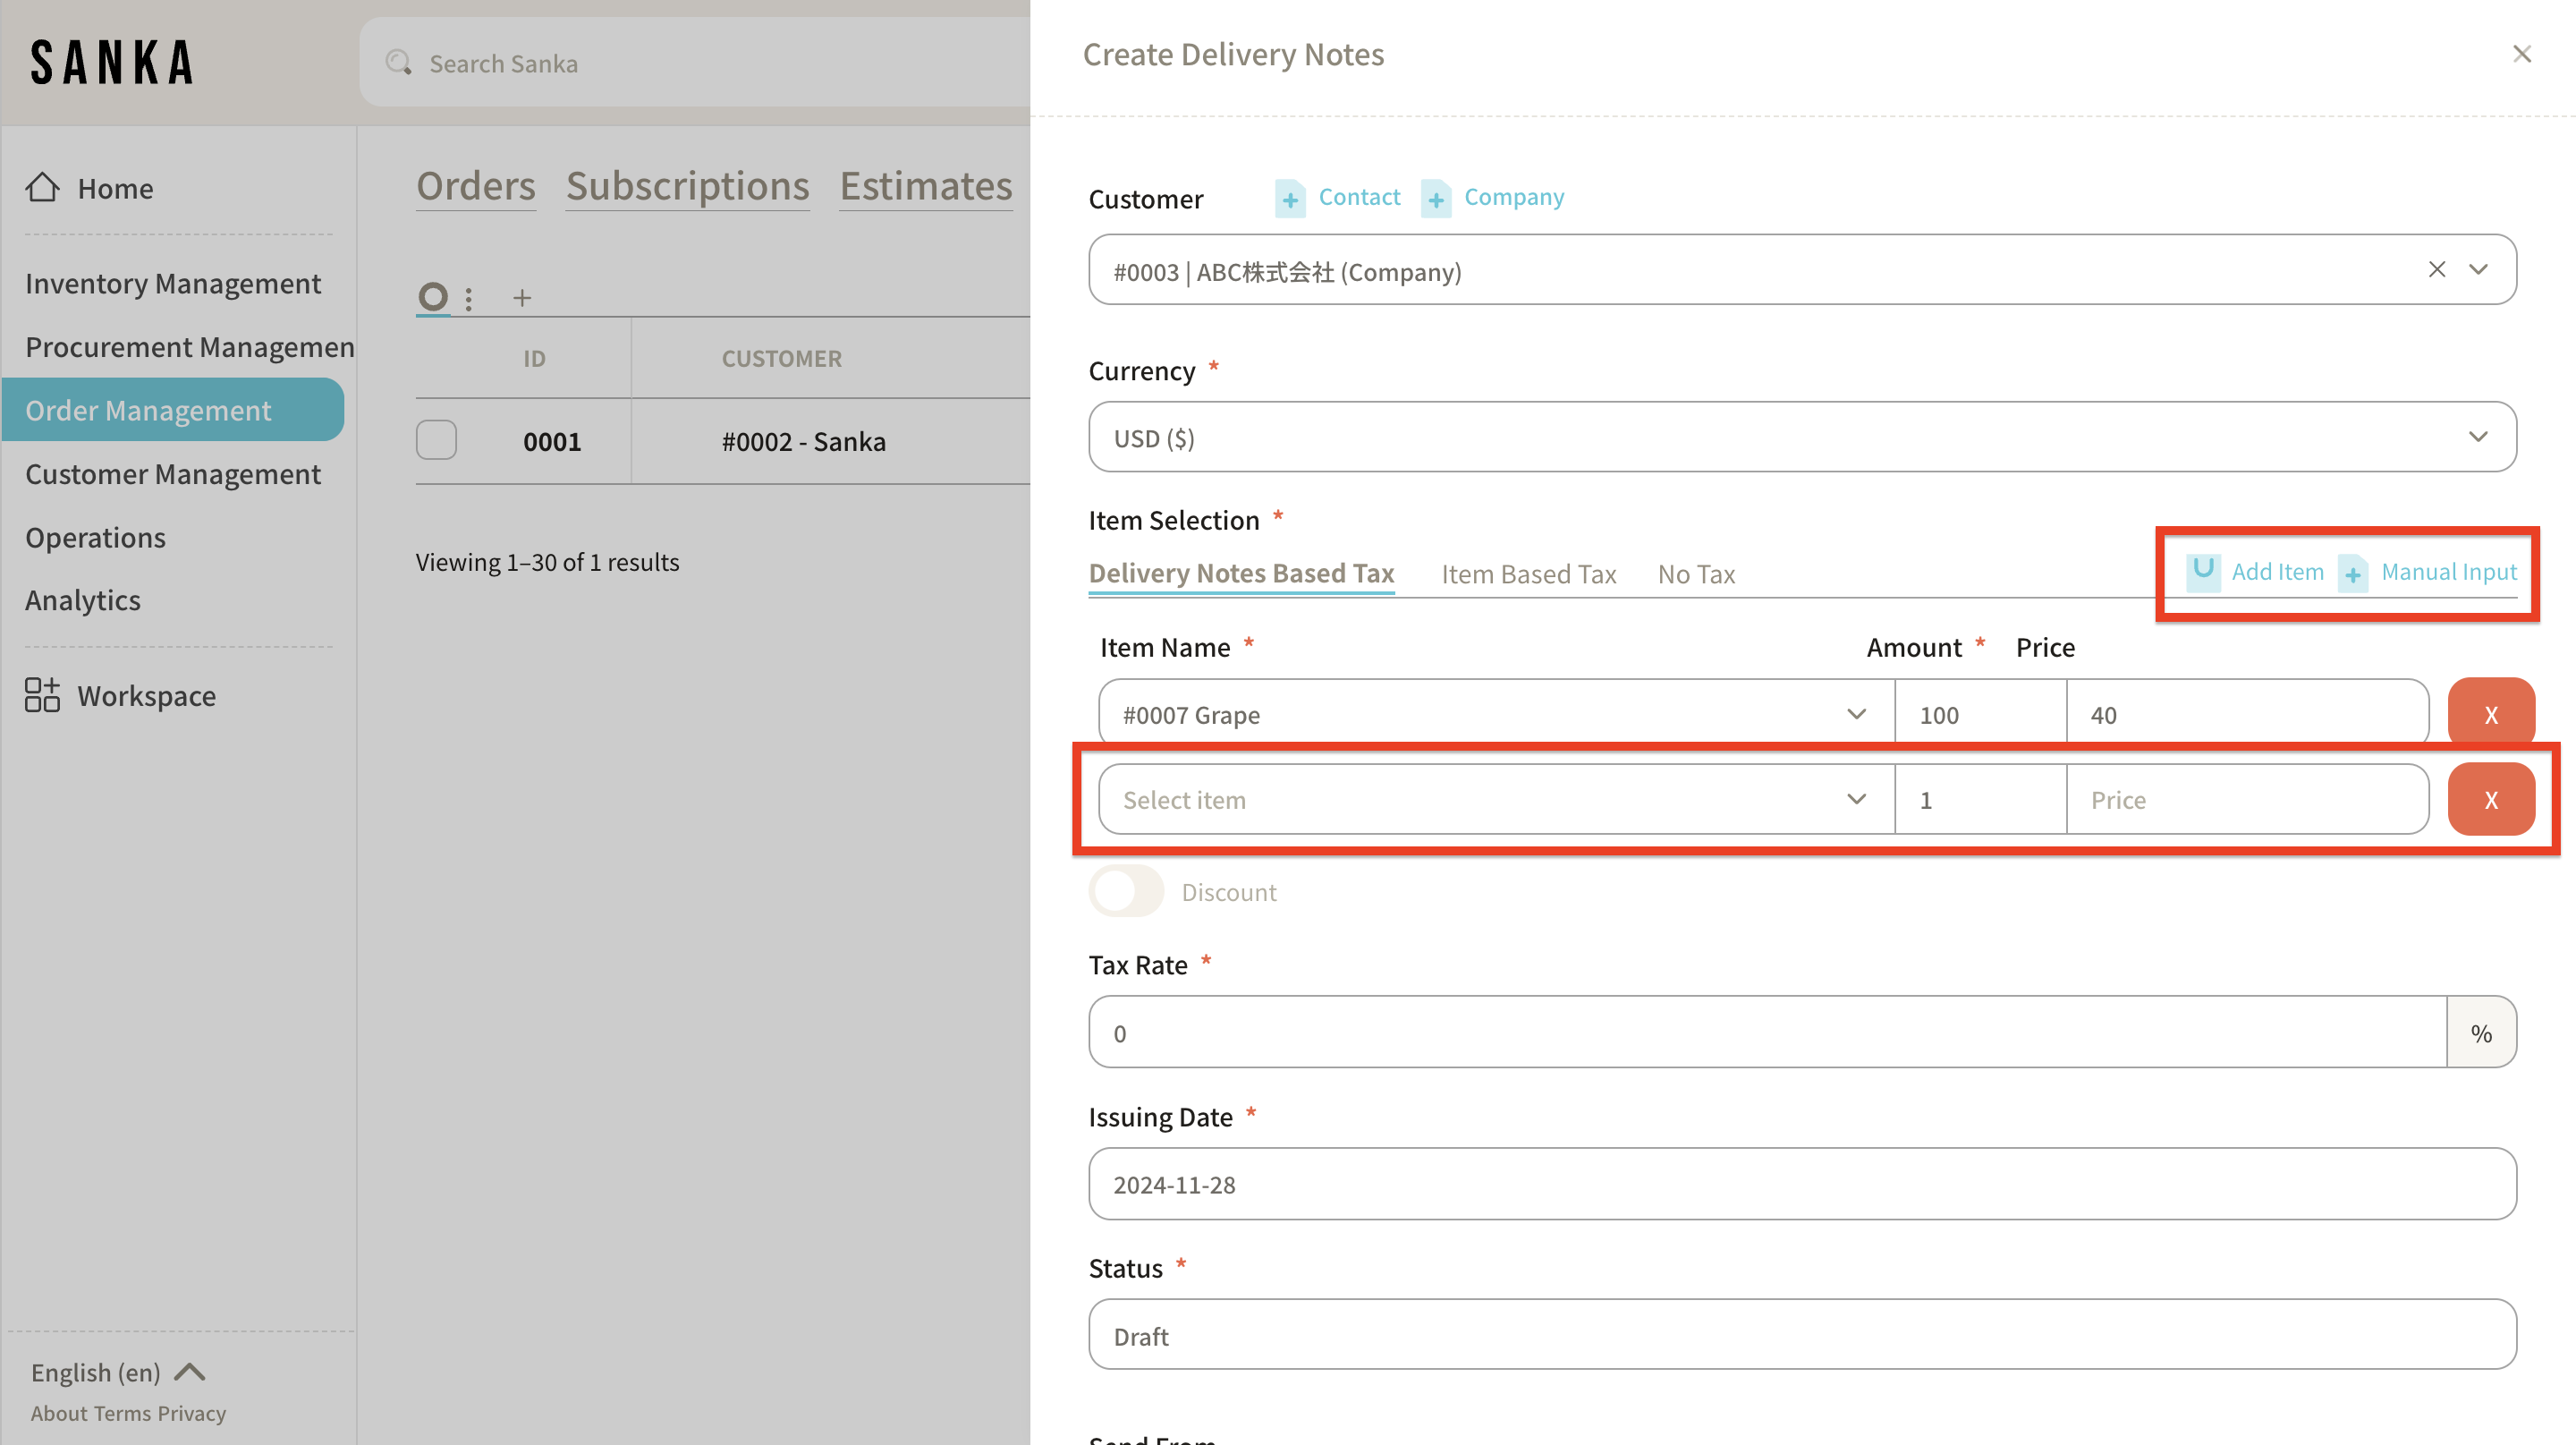
⑧ If you want to apply a discount, turn on "Discount" to configure the settings.
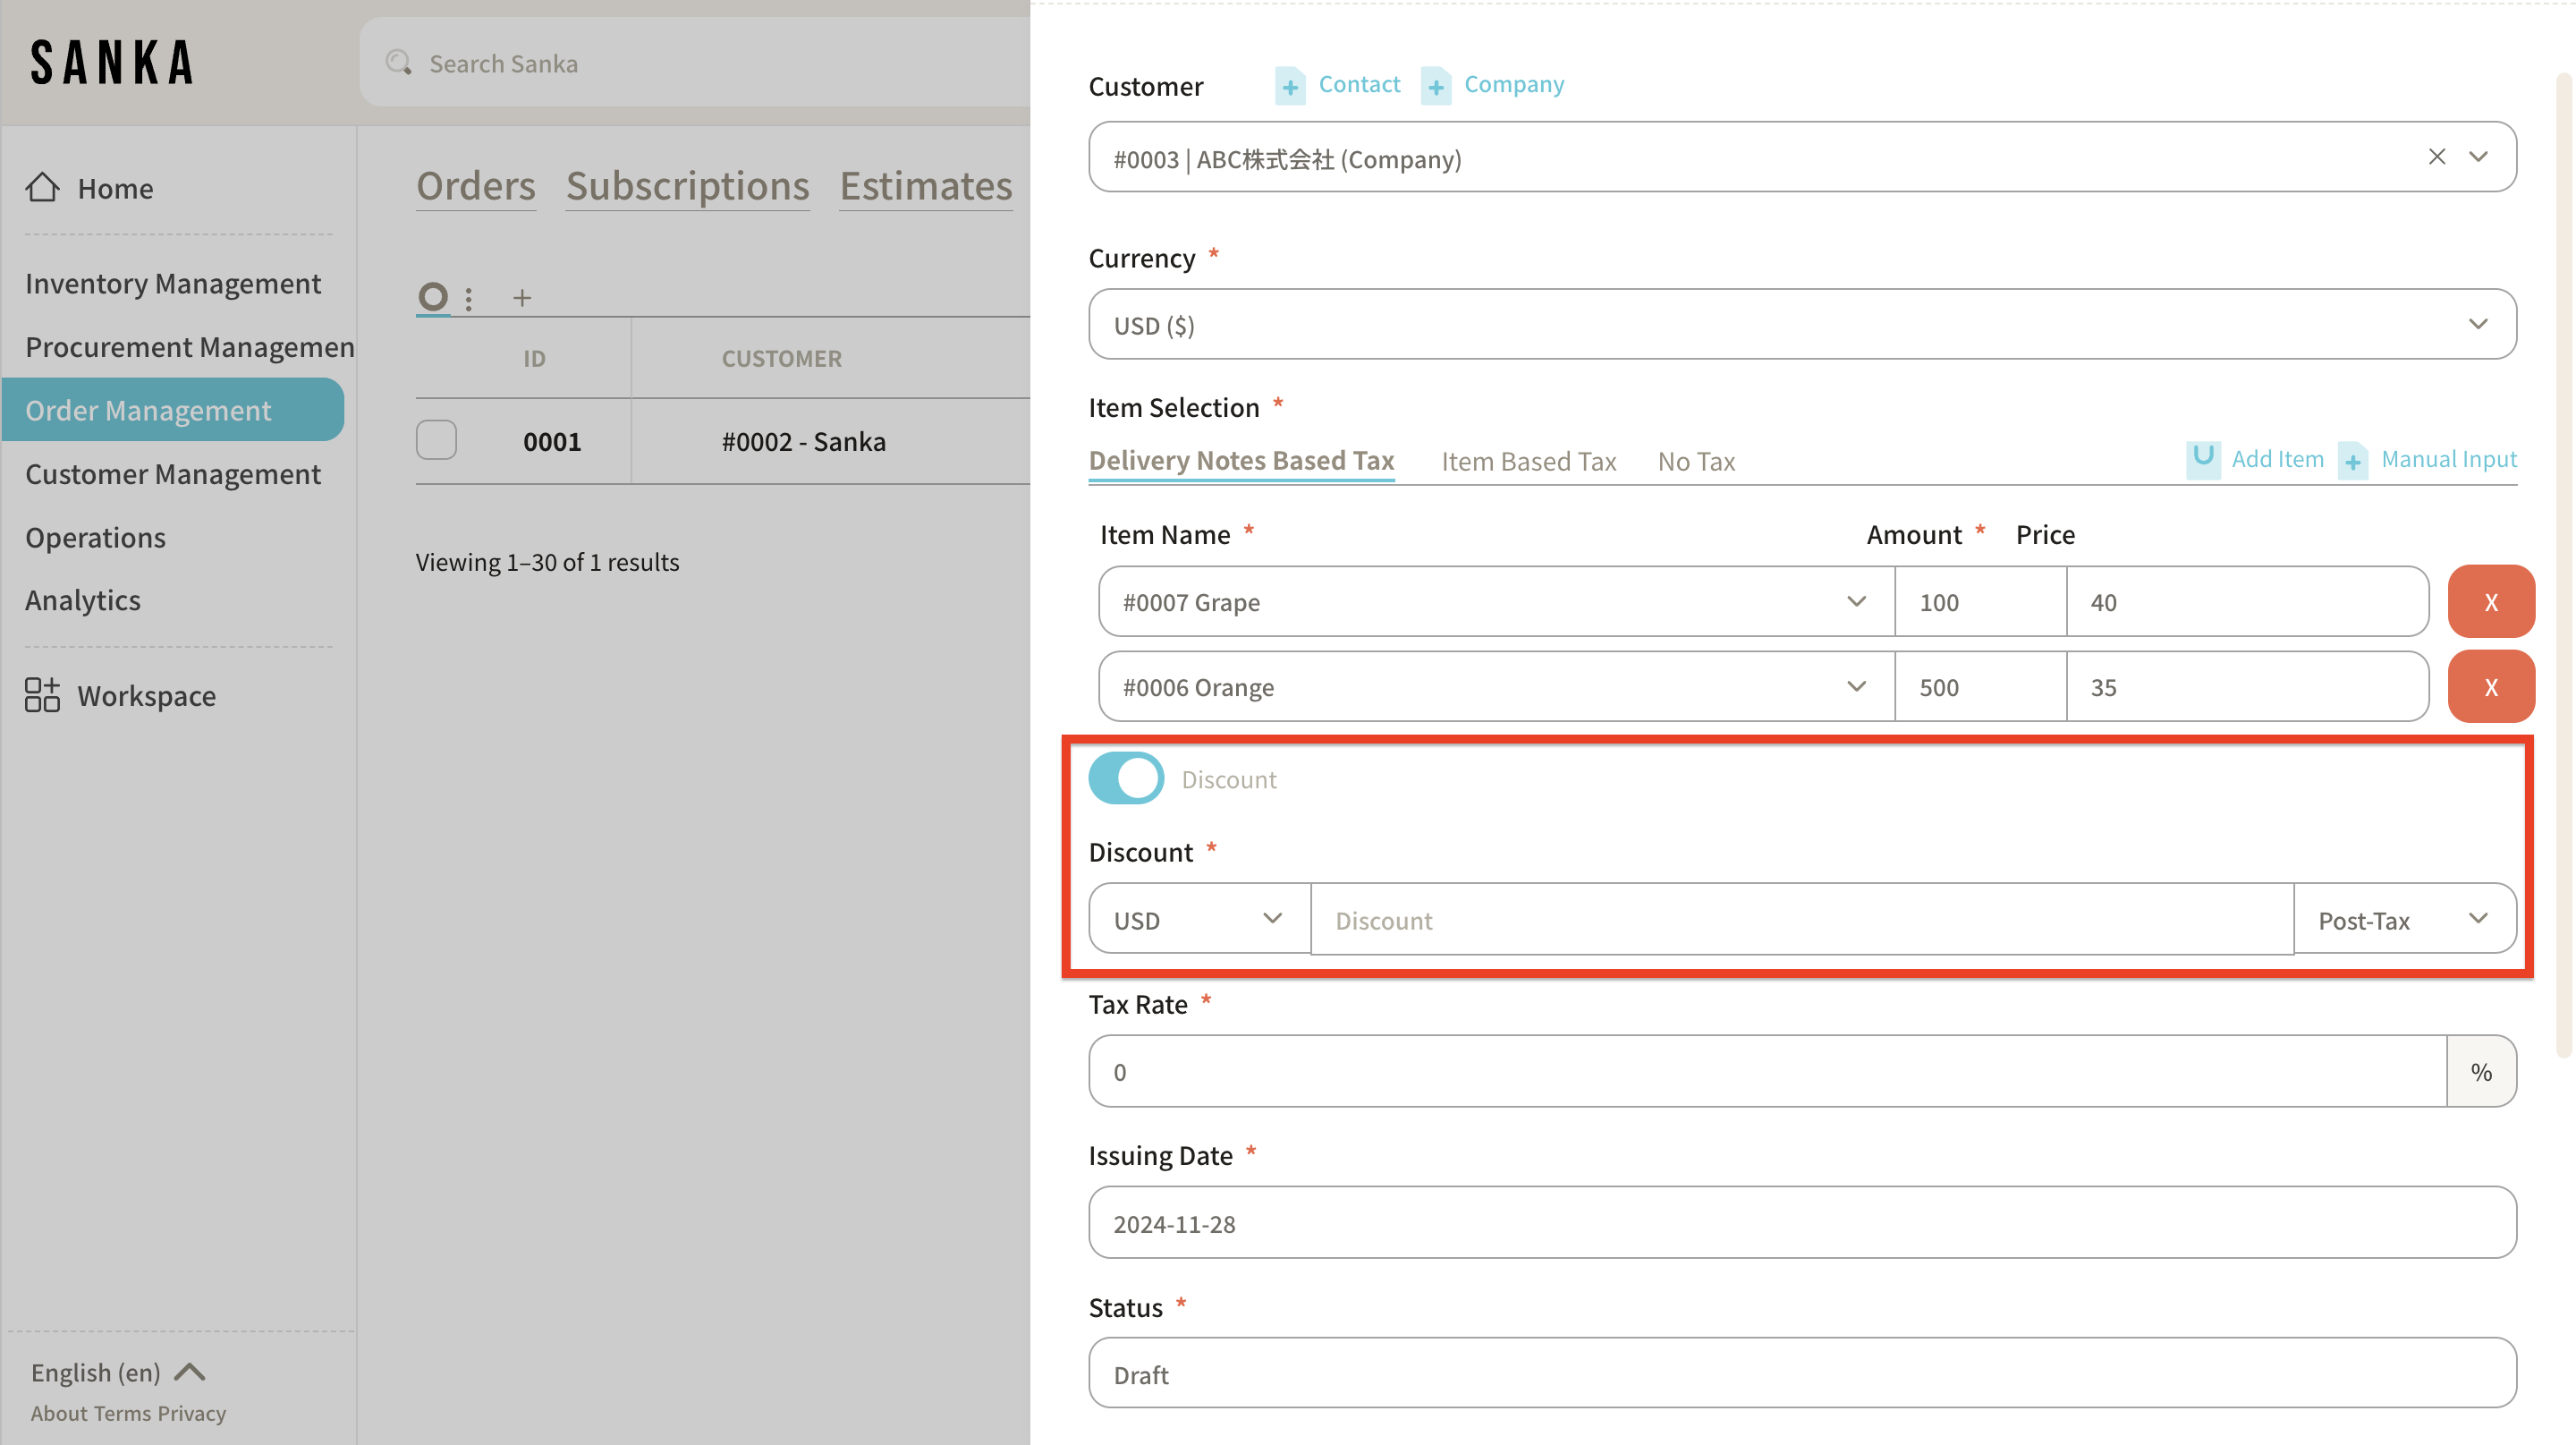
⑨ Enter the "Tax Rate."
There are three ways to set the tax rate:
- Delivery Notes Based Tax: The same tax rate will be applied to all items in the delivery note.
- Item Based Tax: You can assign different tax rates to each item.
- No Tax: No tax rate will be set, and no tax will apply to the delivery note.
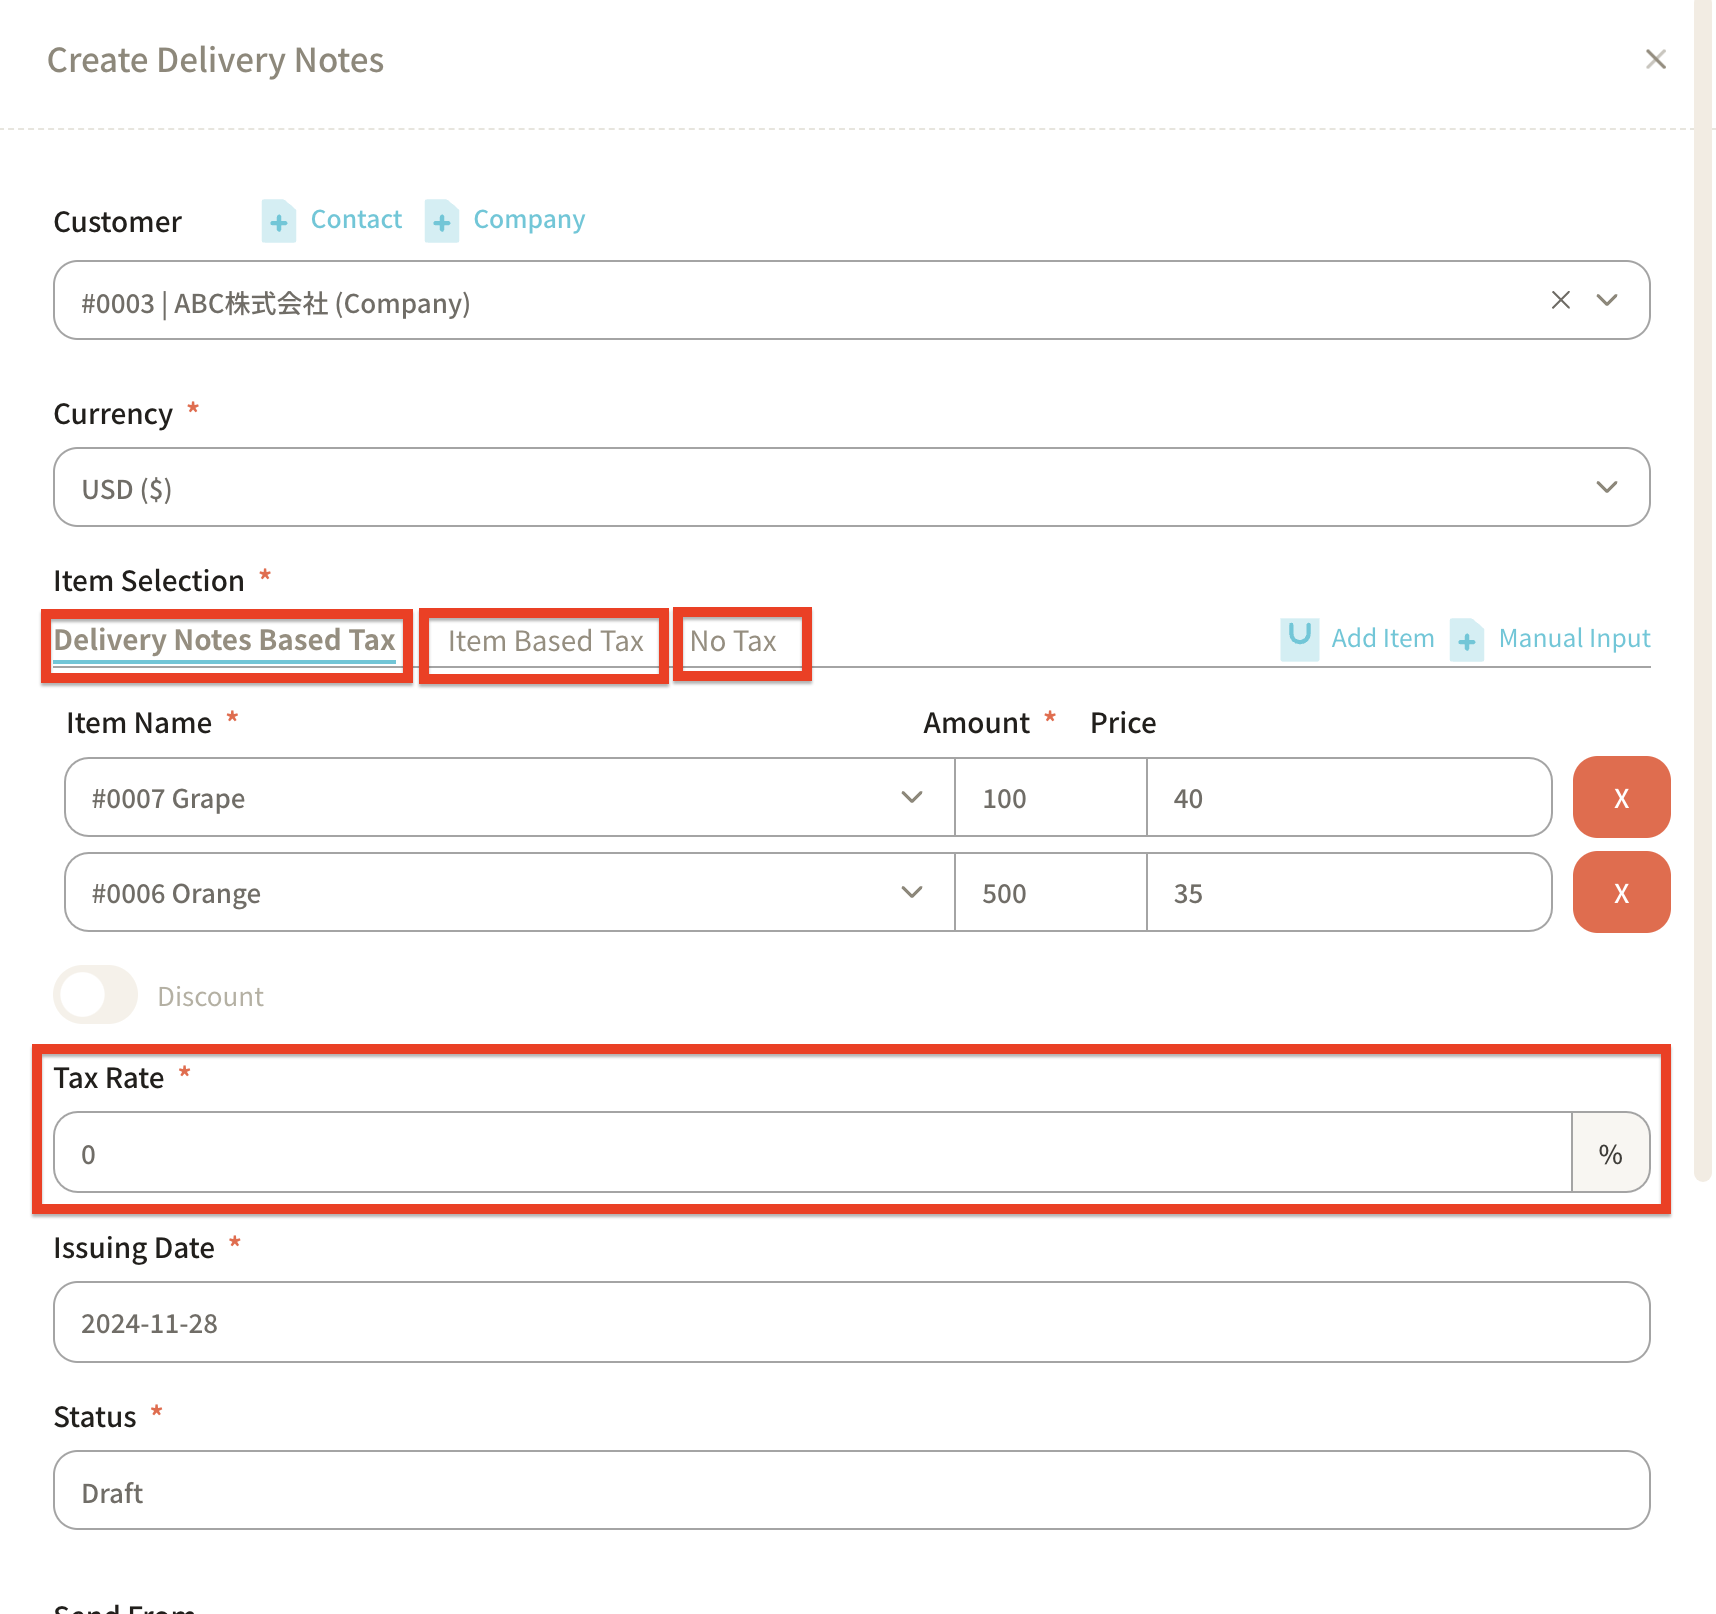
Example 1: Delivery Notes Based Tax
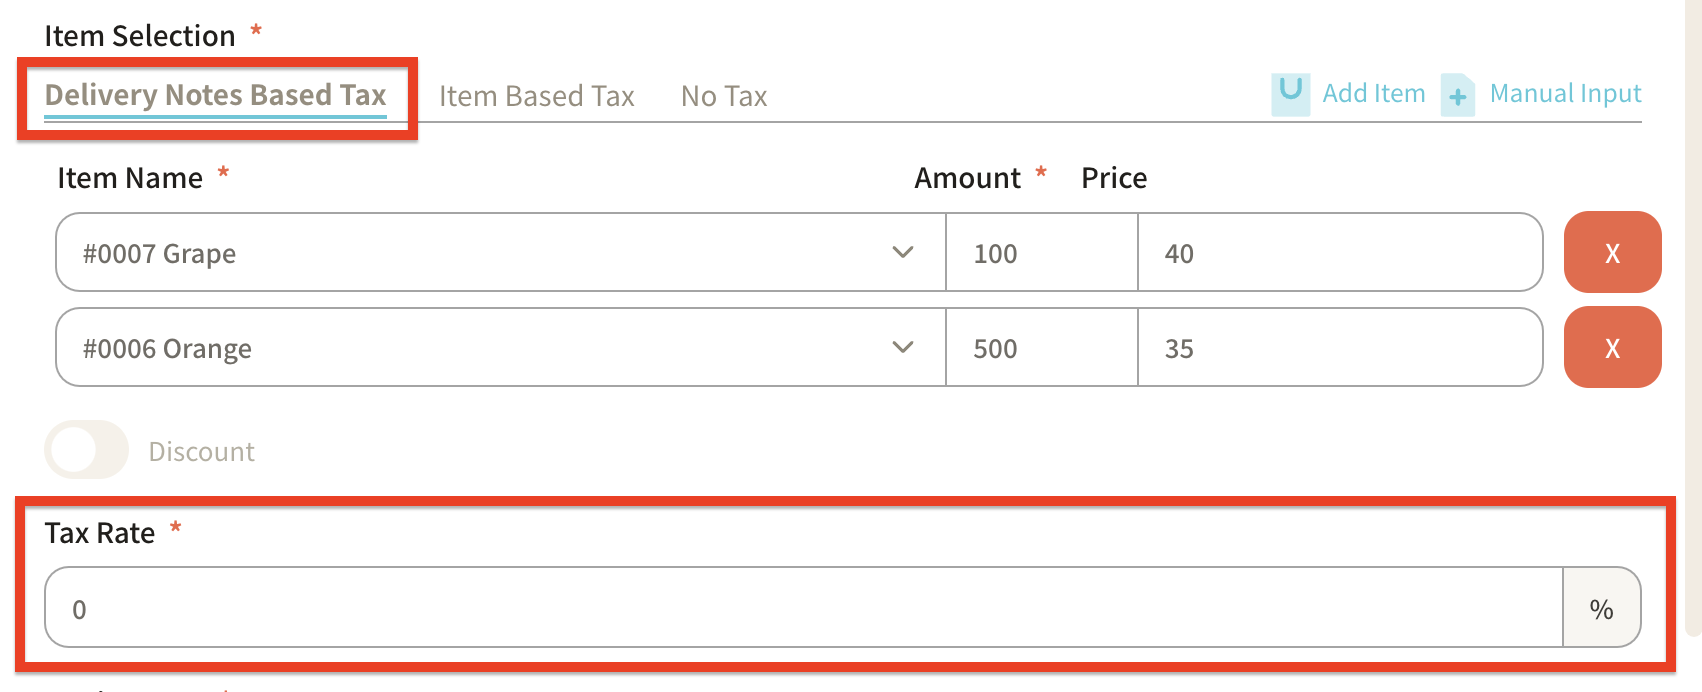
Example 2: Item Based Tax

Example 3: No tax

⑩ The "Issue Date" will default to the date the delivery note is created, but it can be changed if necessary.
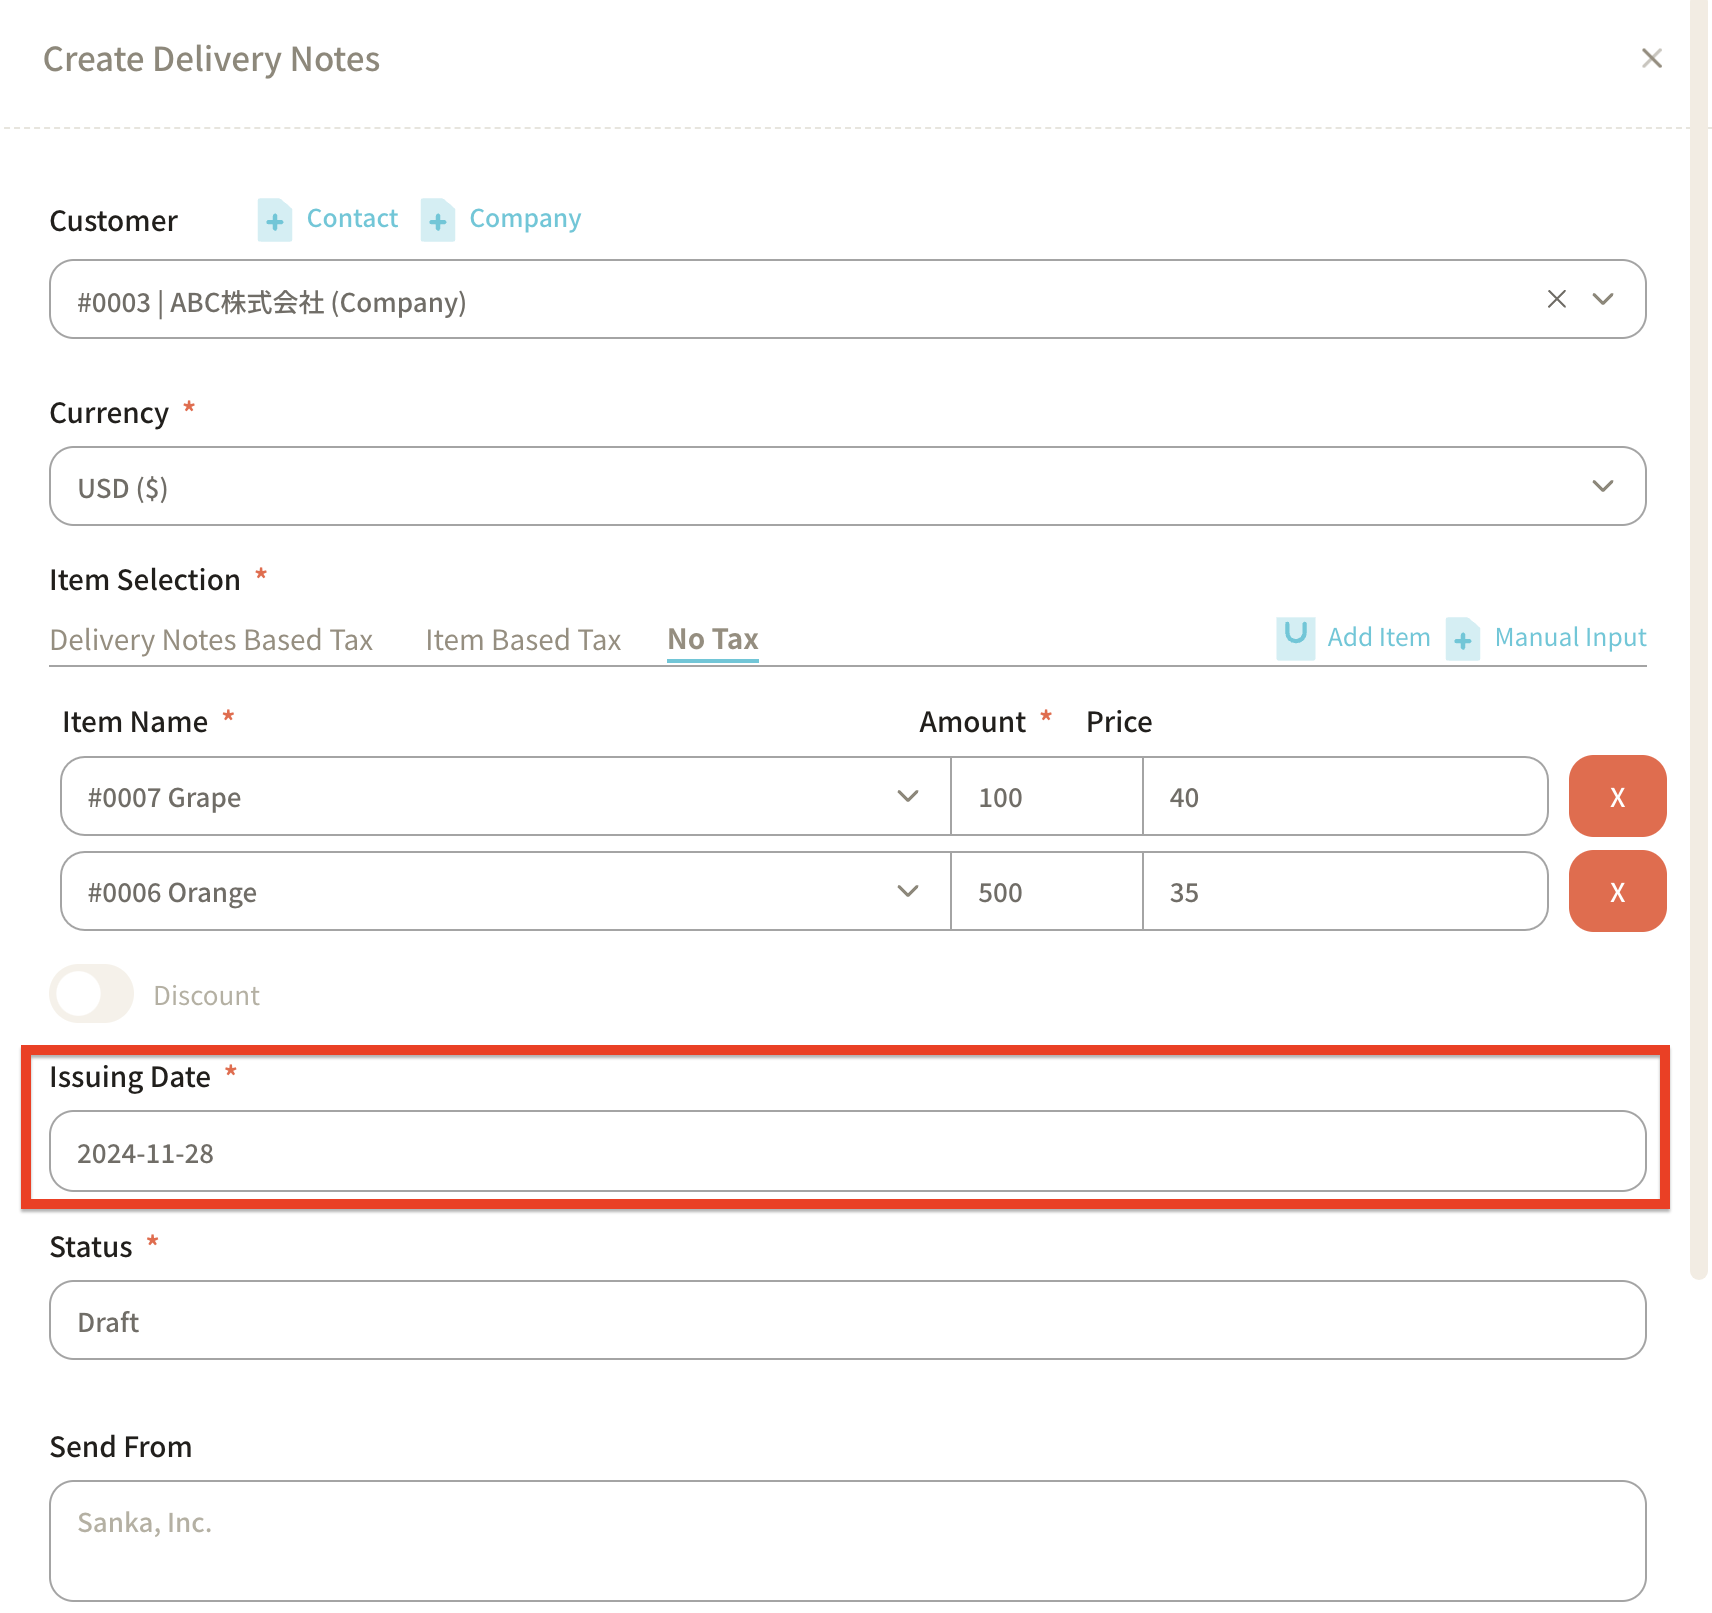
⑪ Select the status of the delivery note under "Status."
You can choose from Draft, Sent, Scheduled, or Paid.
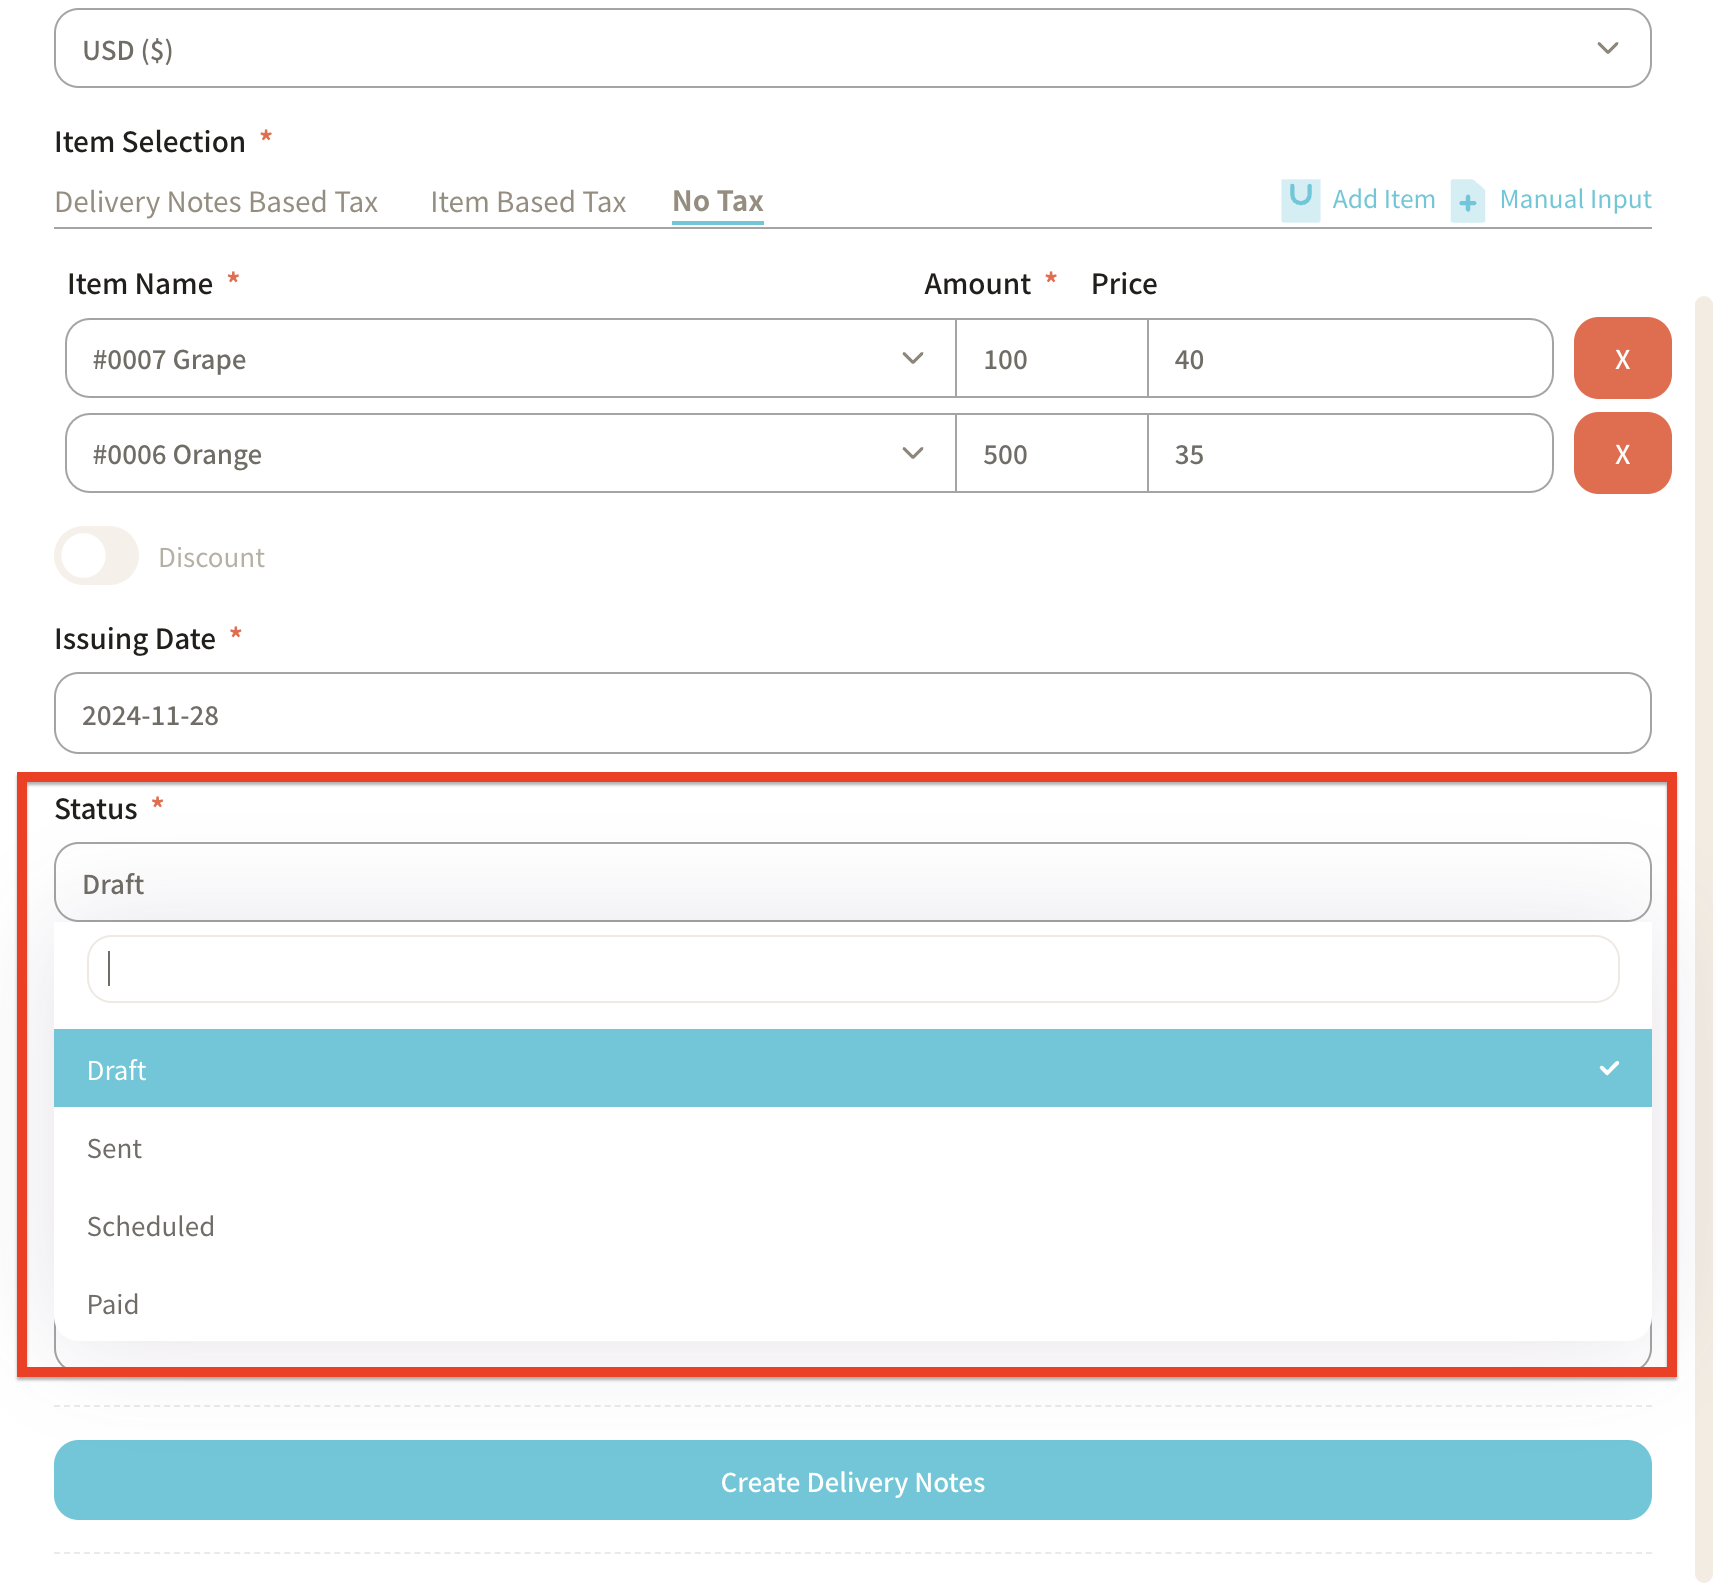
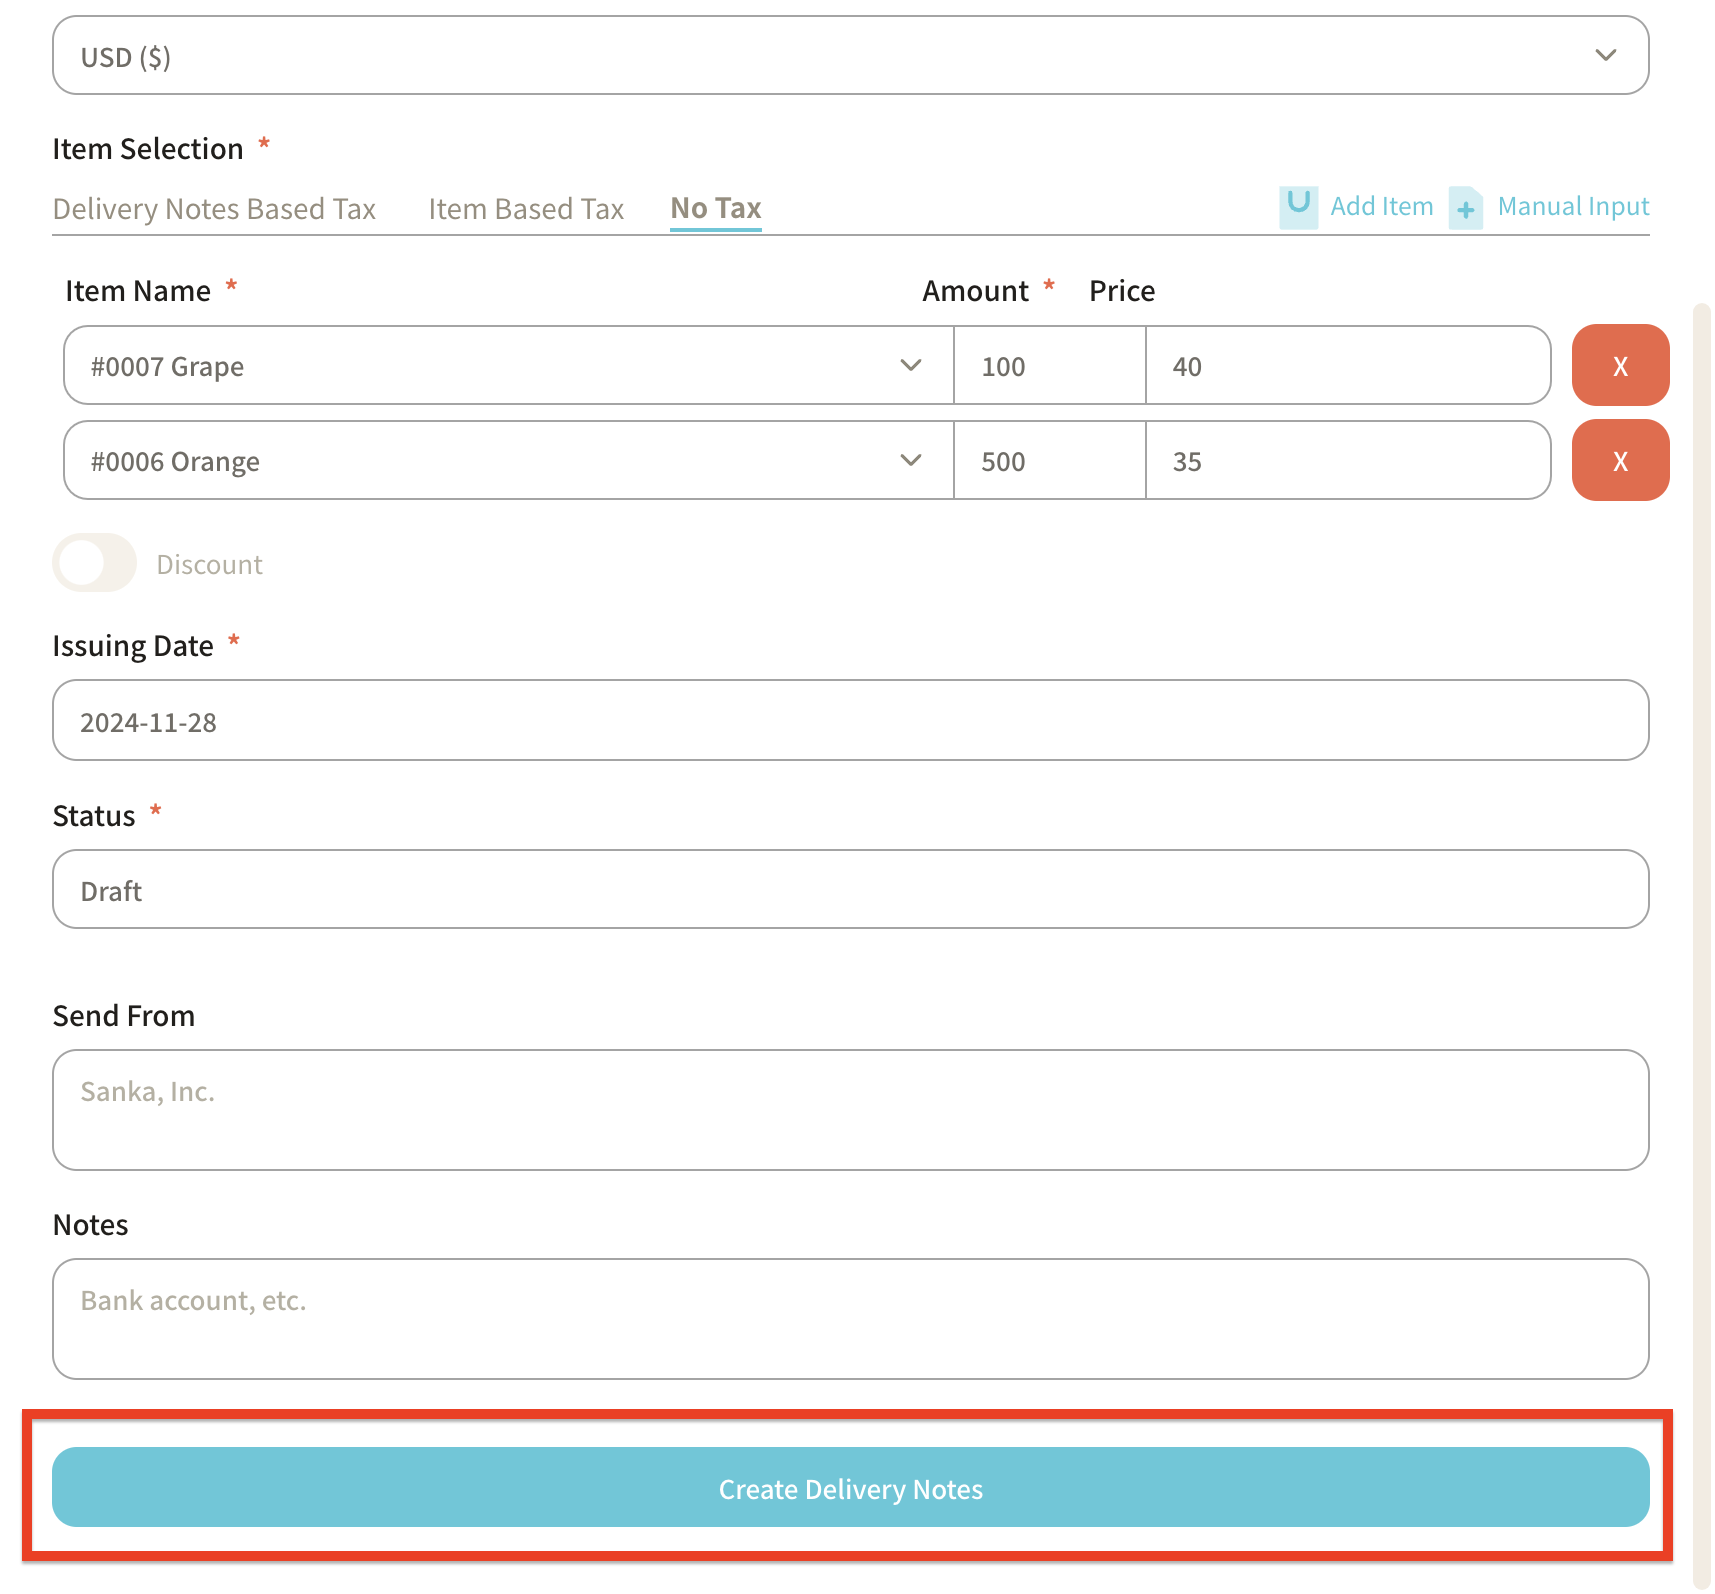
⑫ After entering all necessary information, click "Create Delivery Note."
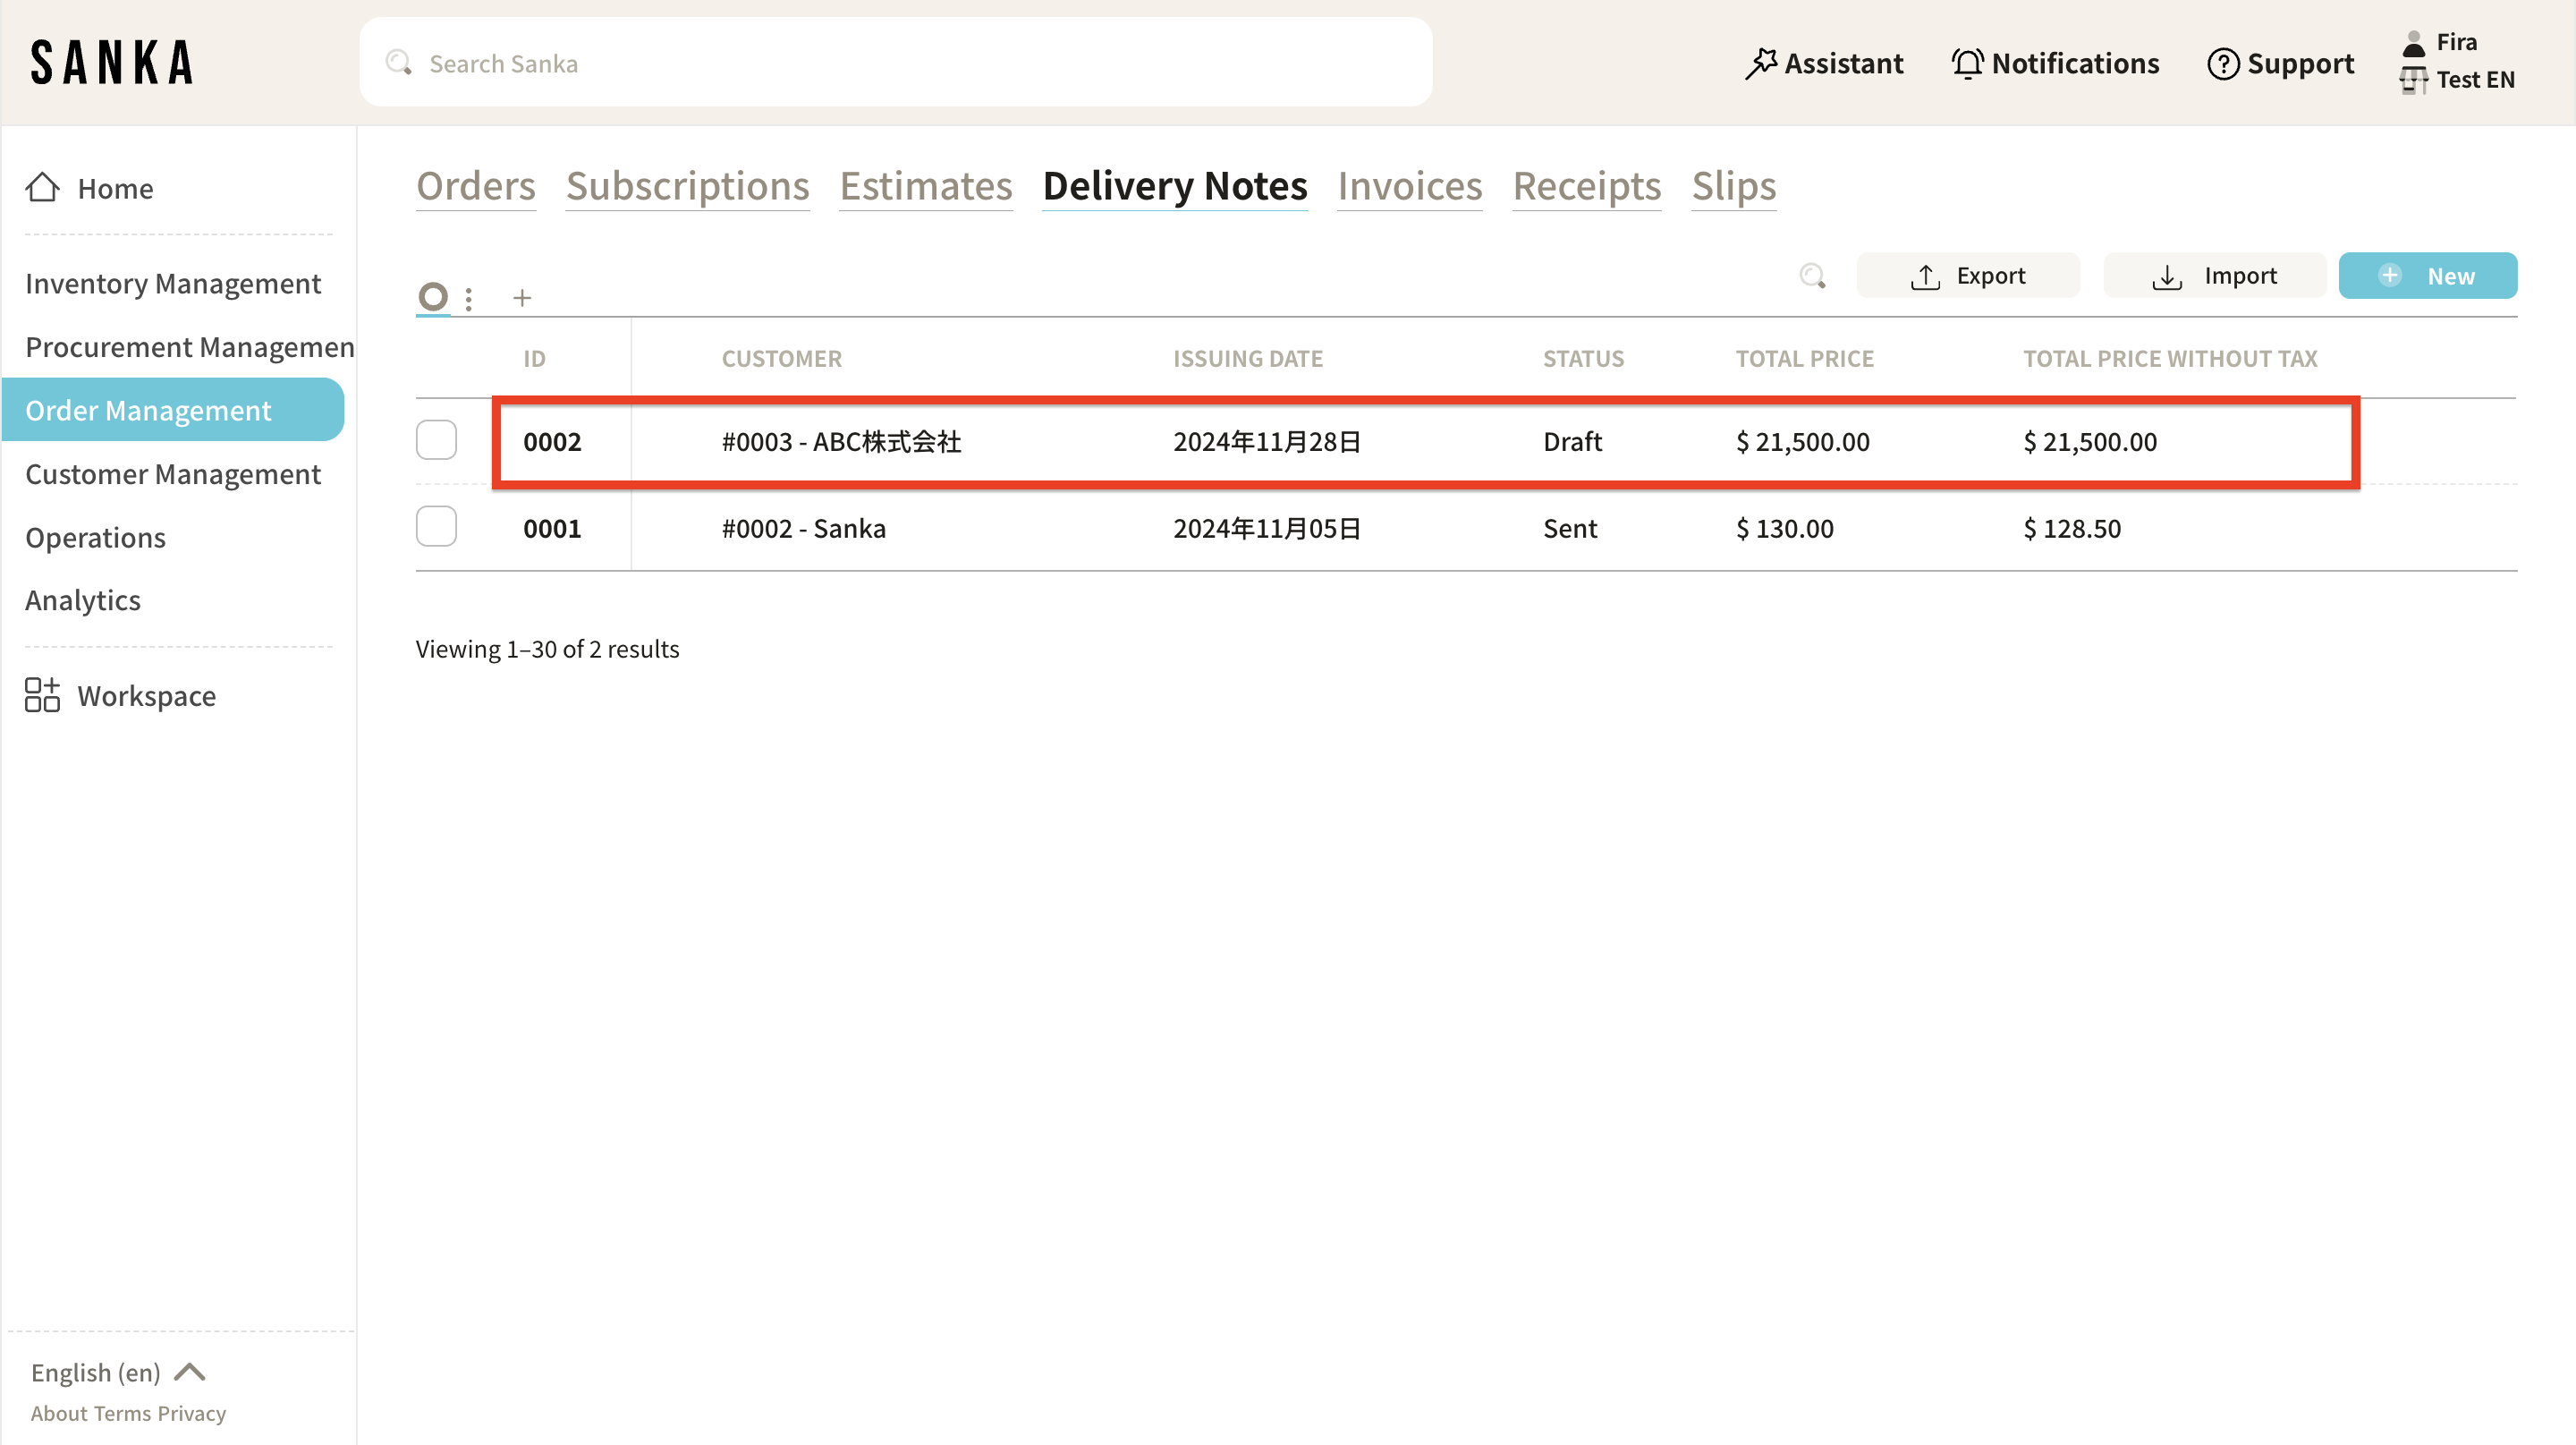
⑬ The registered contents will be displayed on the "Delivery Note" object page.
The "Total Amount" and "Subtotal Excluding Tax" will be automatically calculated.
How to Edit Registered Information
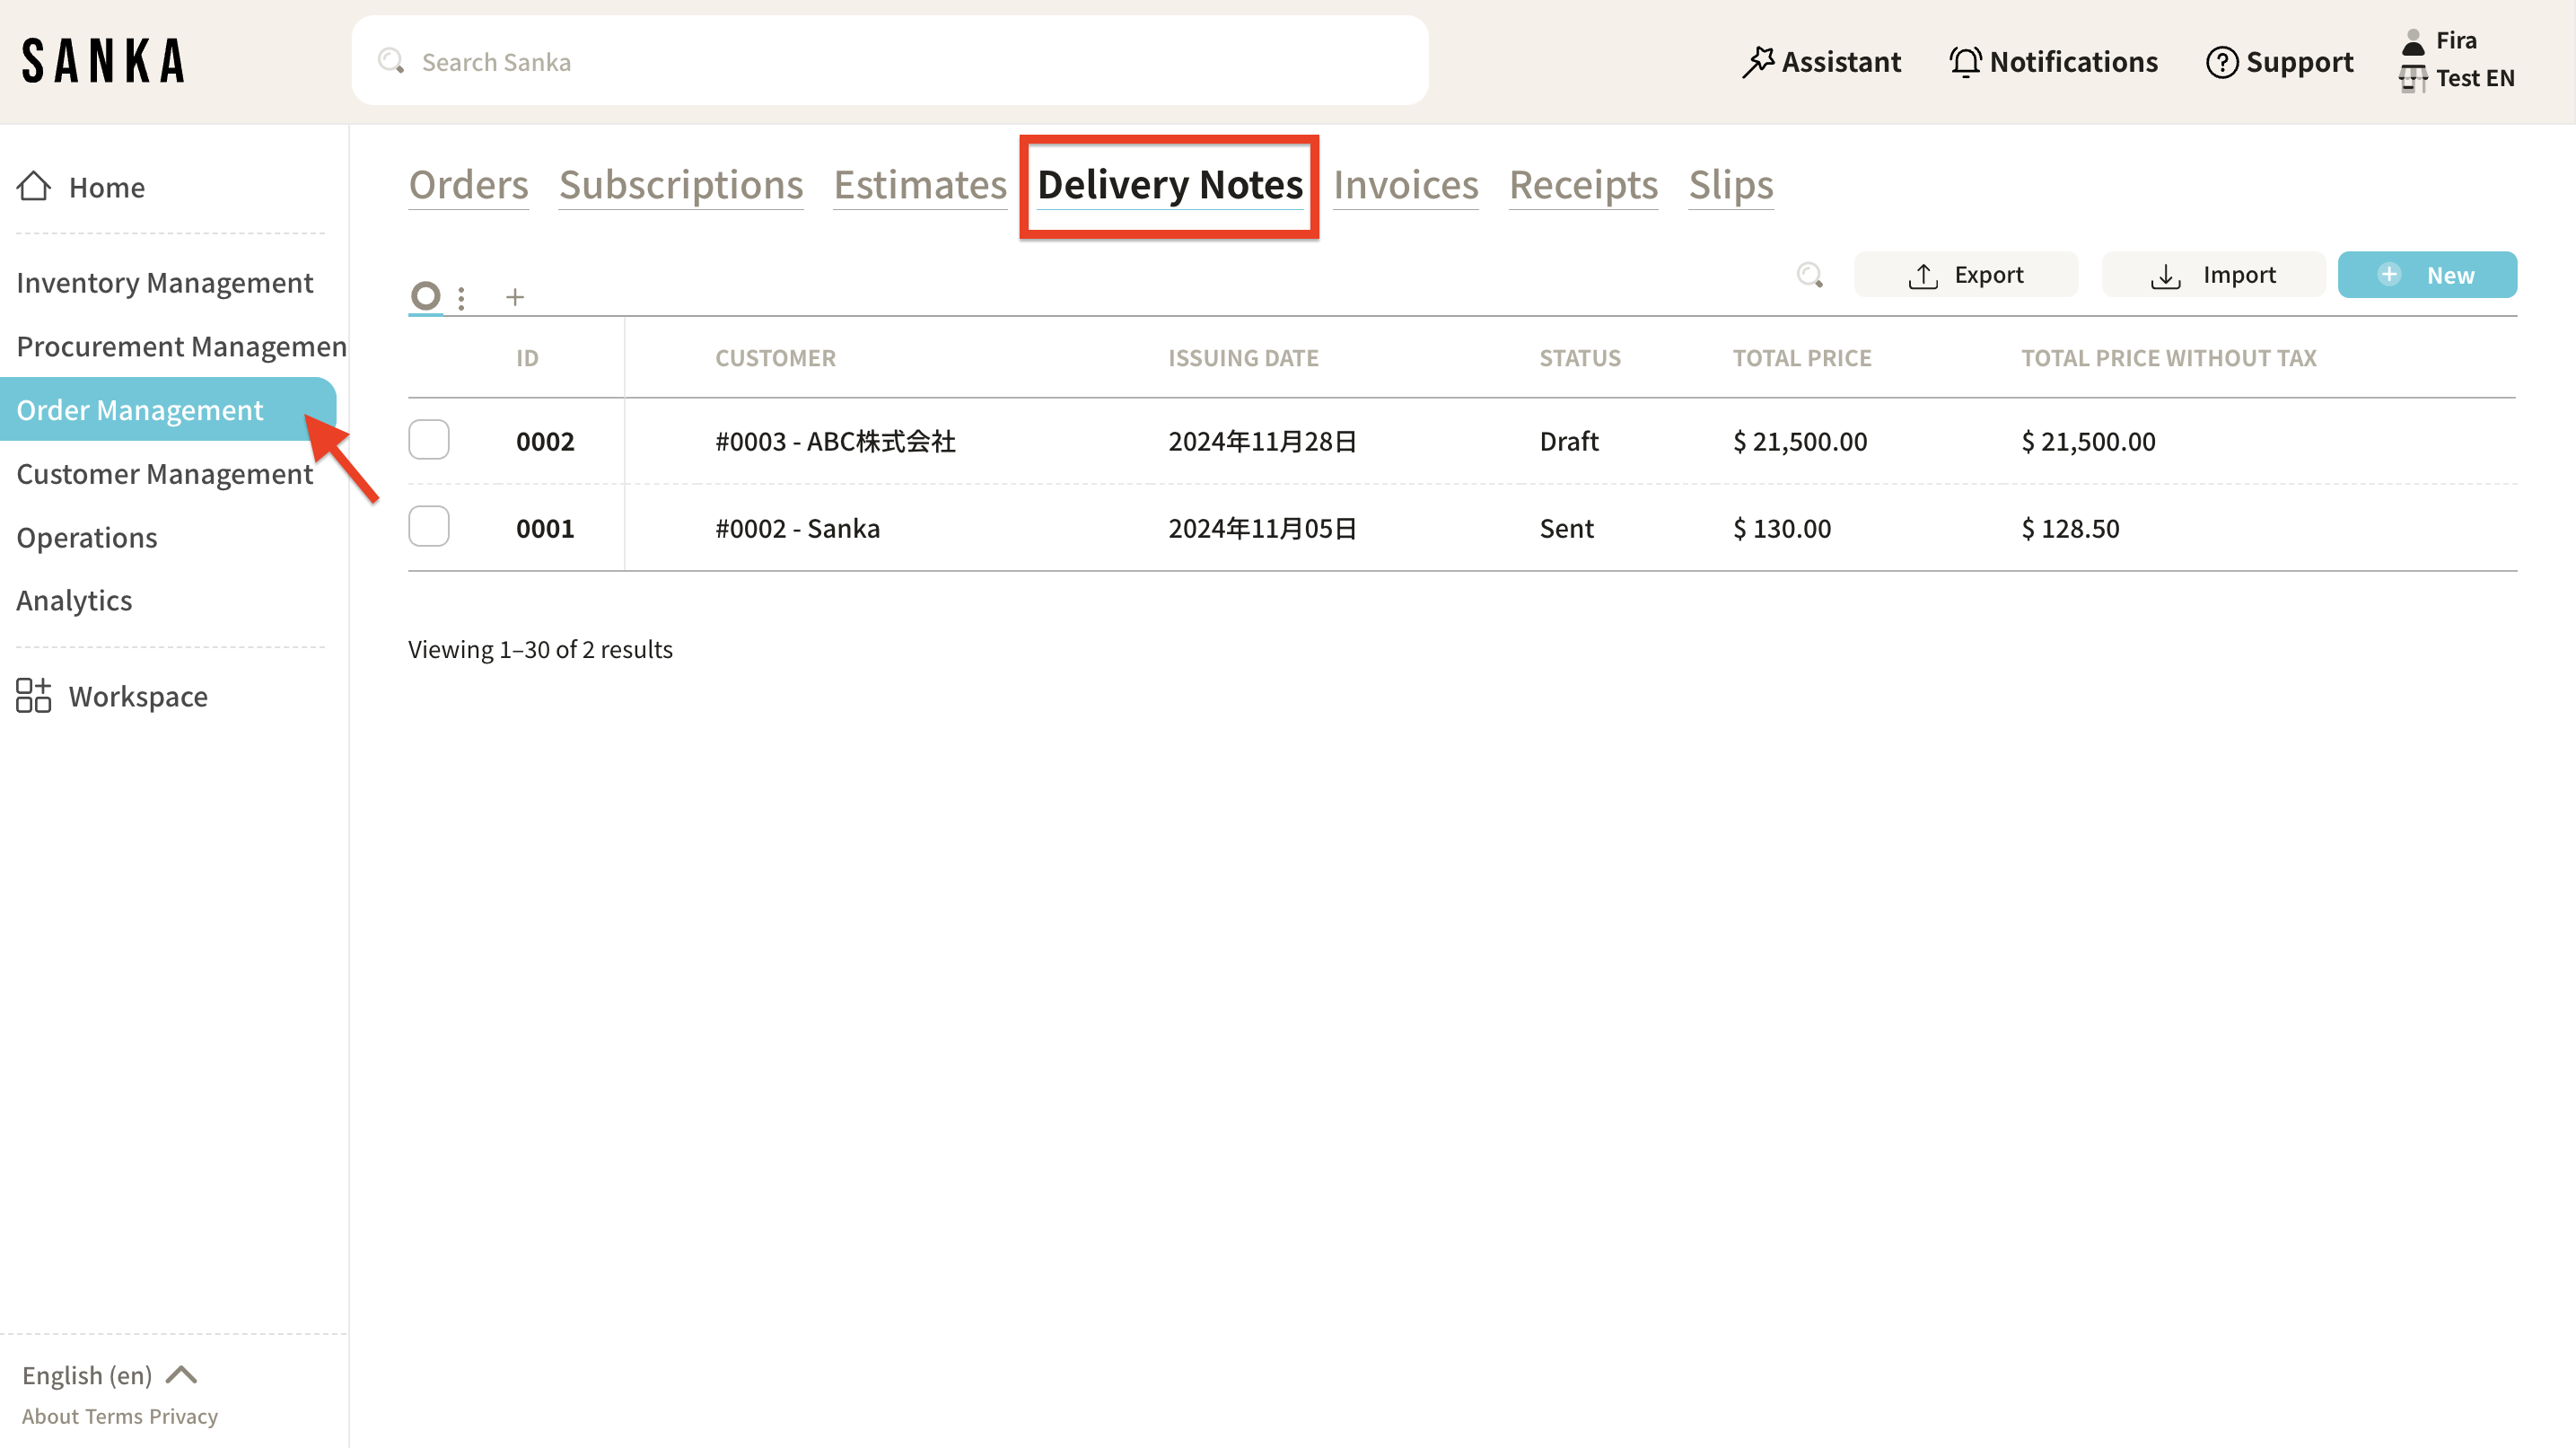
① Click on the "Order & Invoice Management" module on the left side of the screen, then select the "Delivery Note" object.
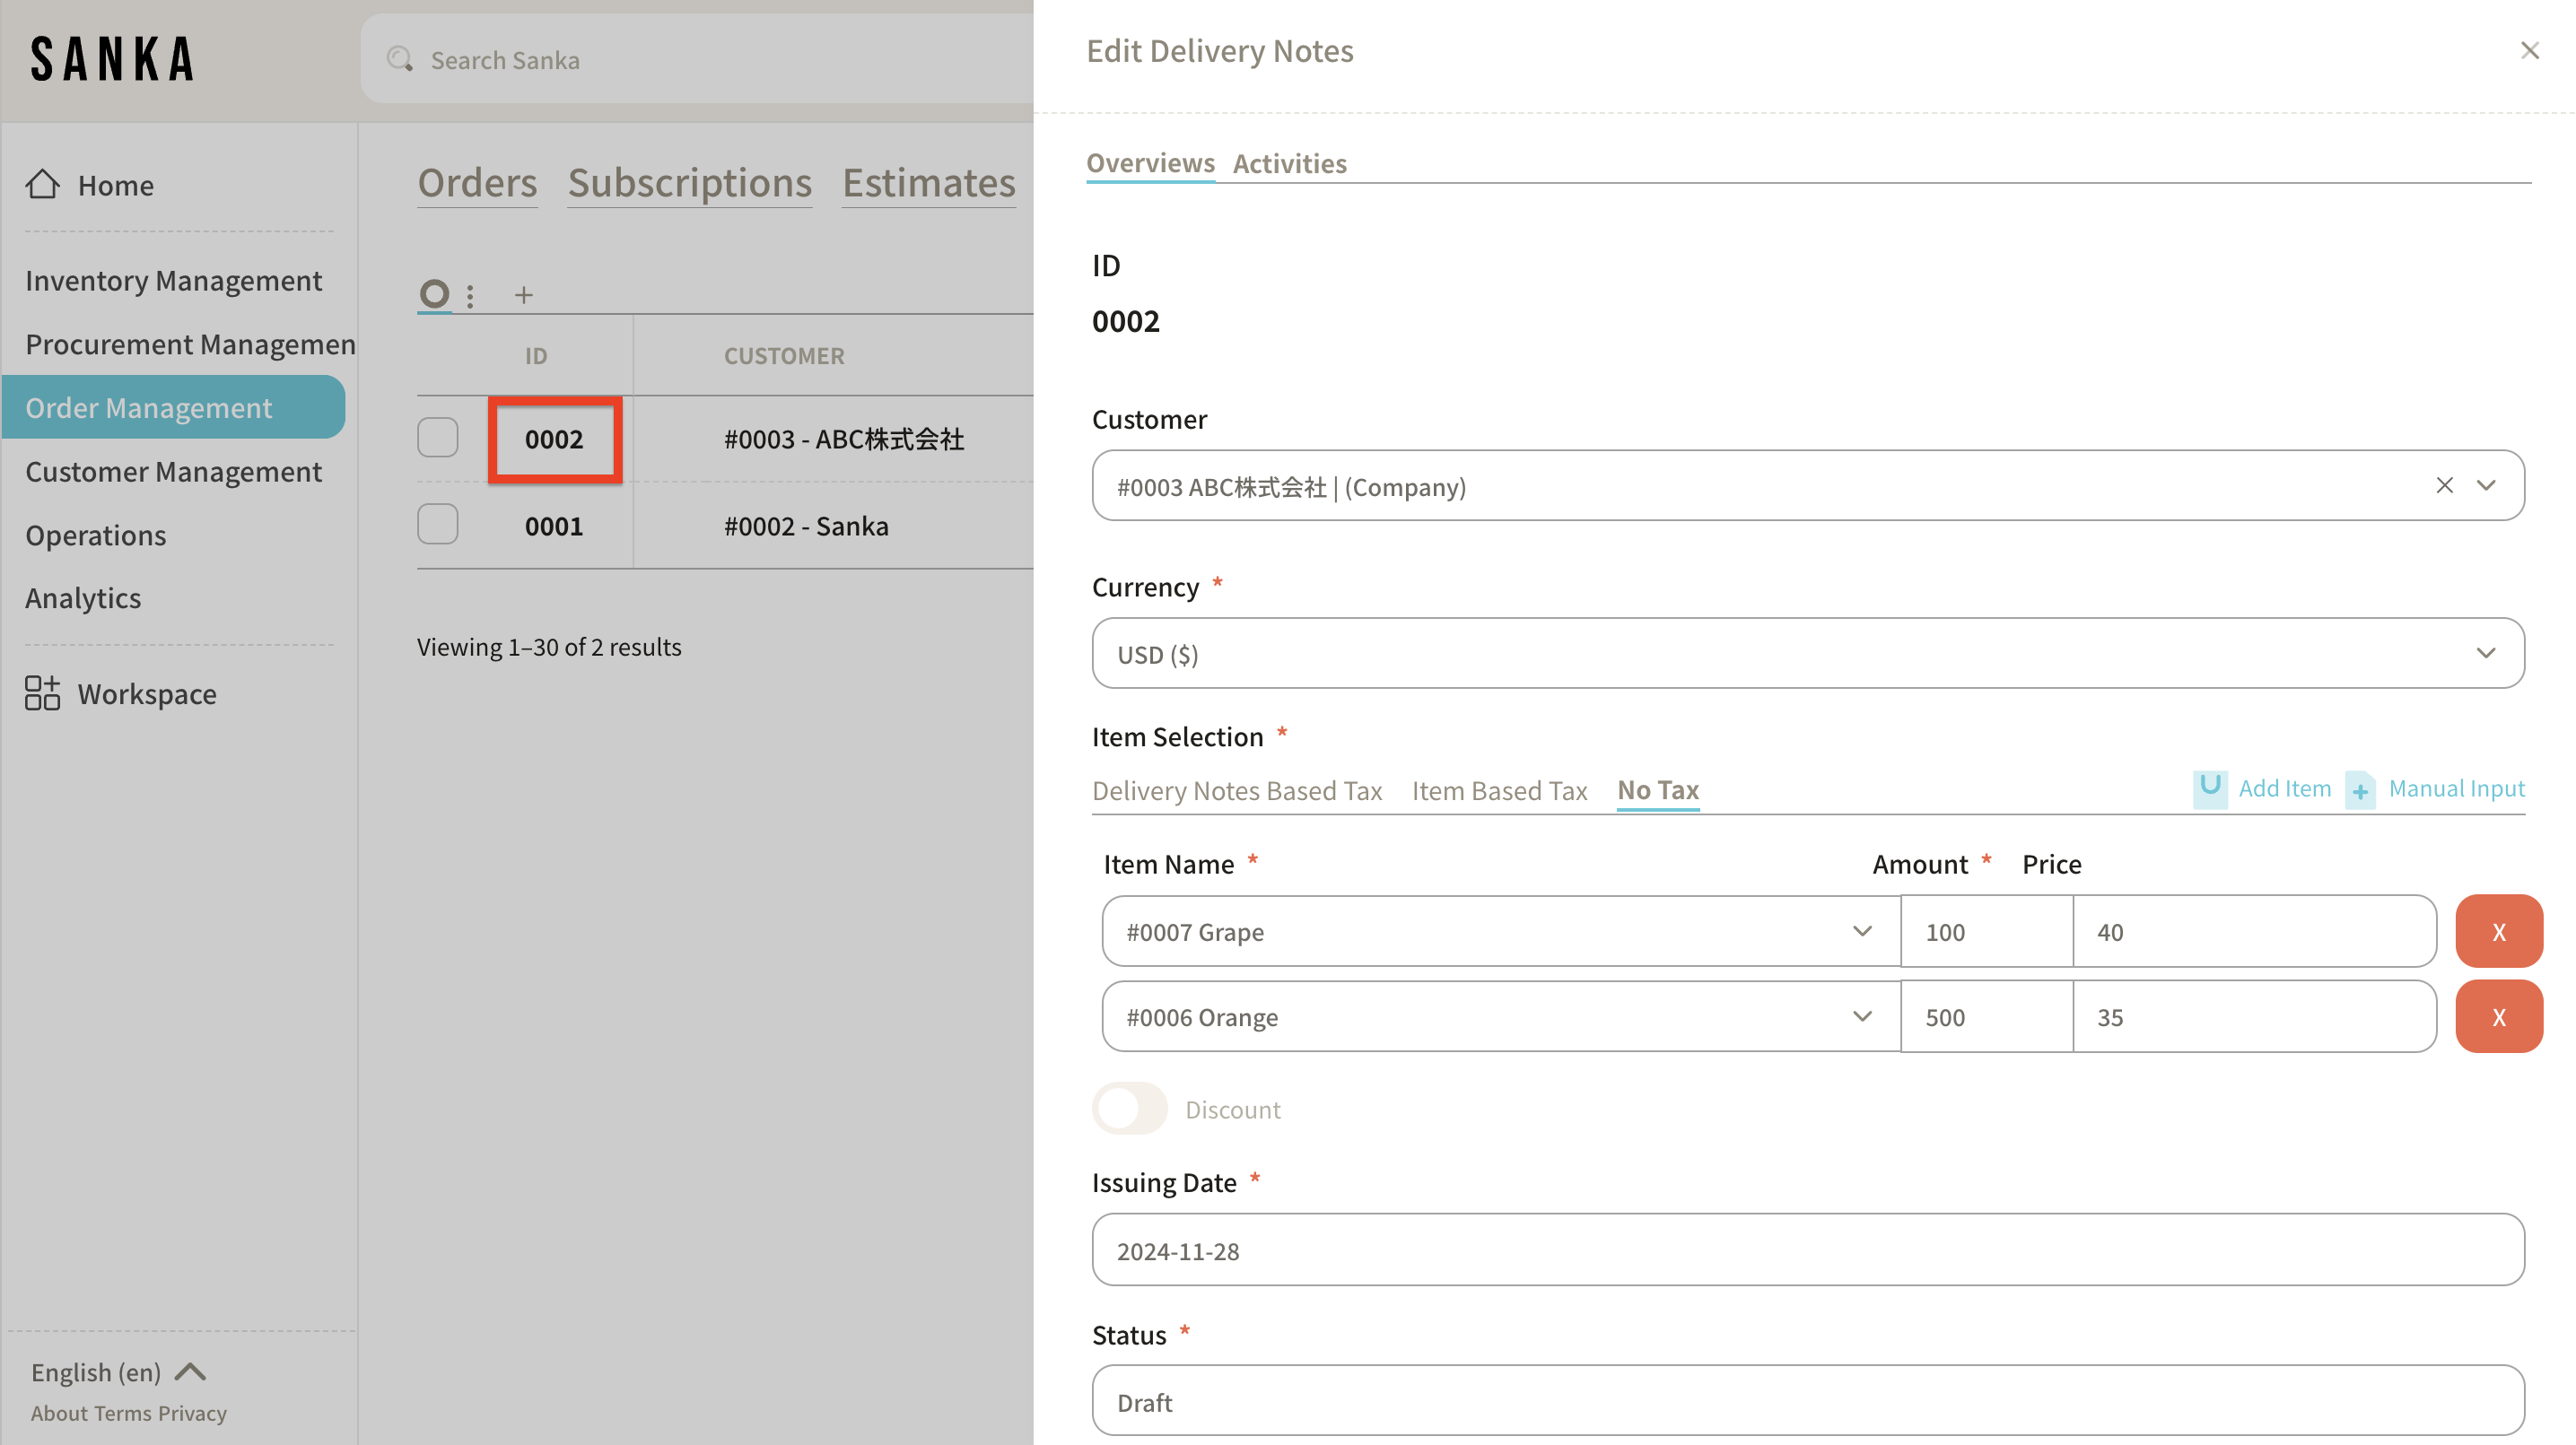
② Click on the "ID" to display the "Edit Delivery Note" detailed page, where you can edit the information. Then click "Update" after you've finished editing the information.
How to Archive Delivery Note Information
The archive function allows you to hide registered delivery notes from the table.
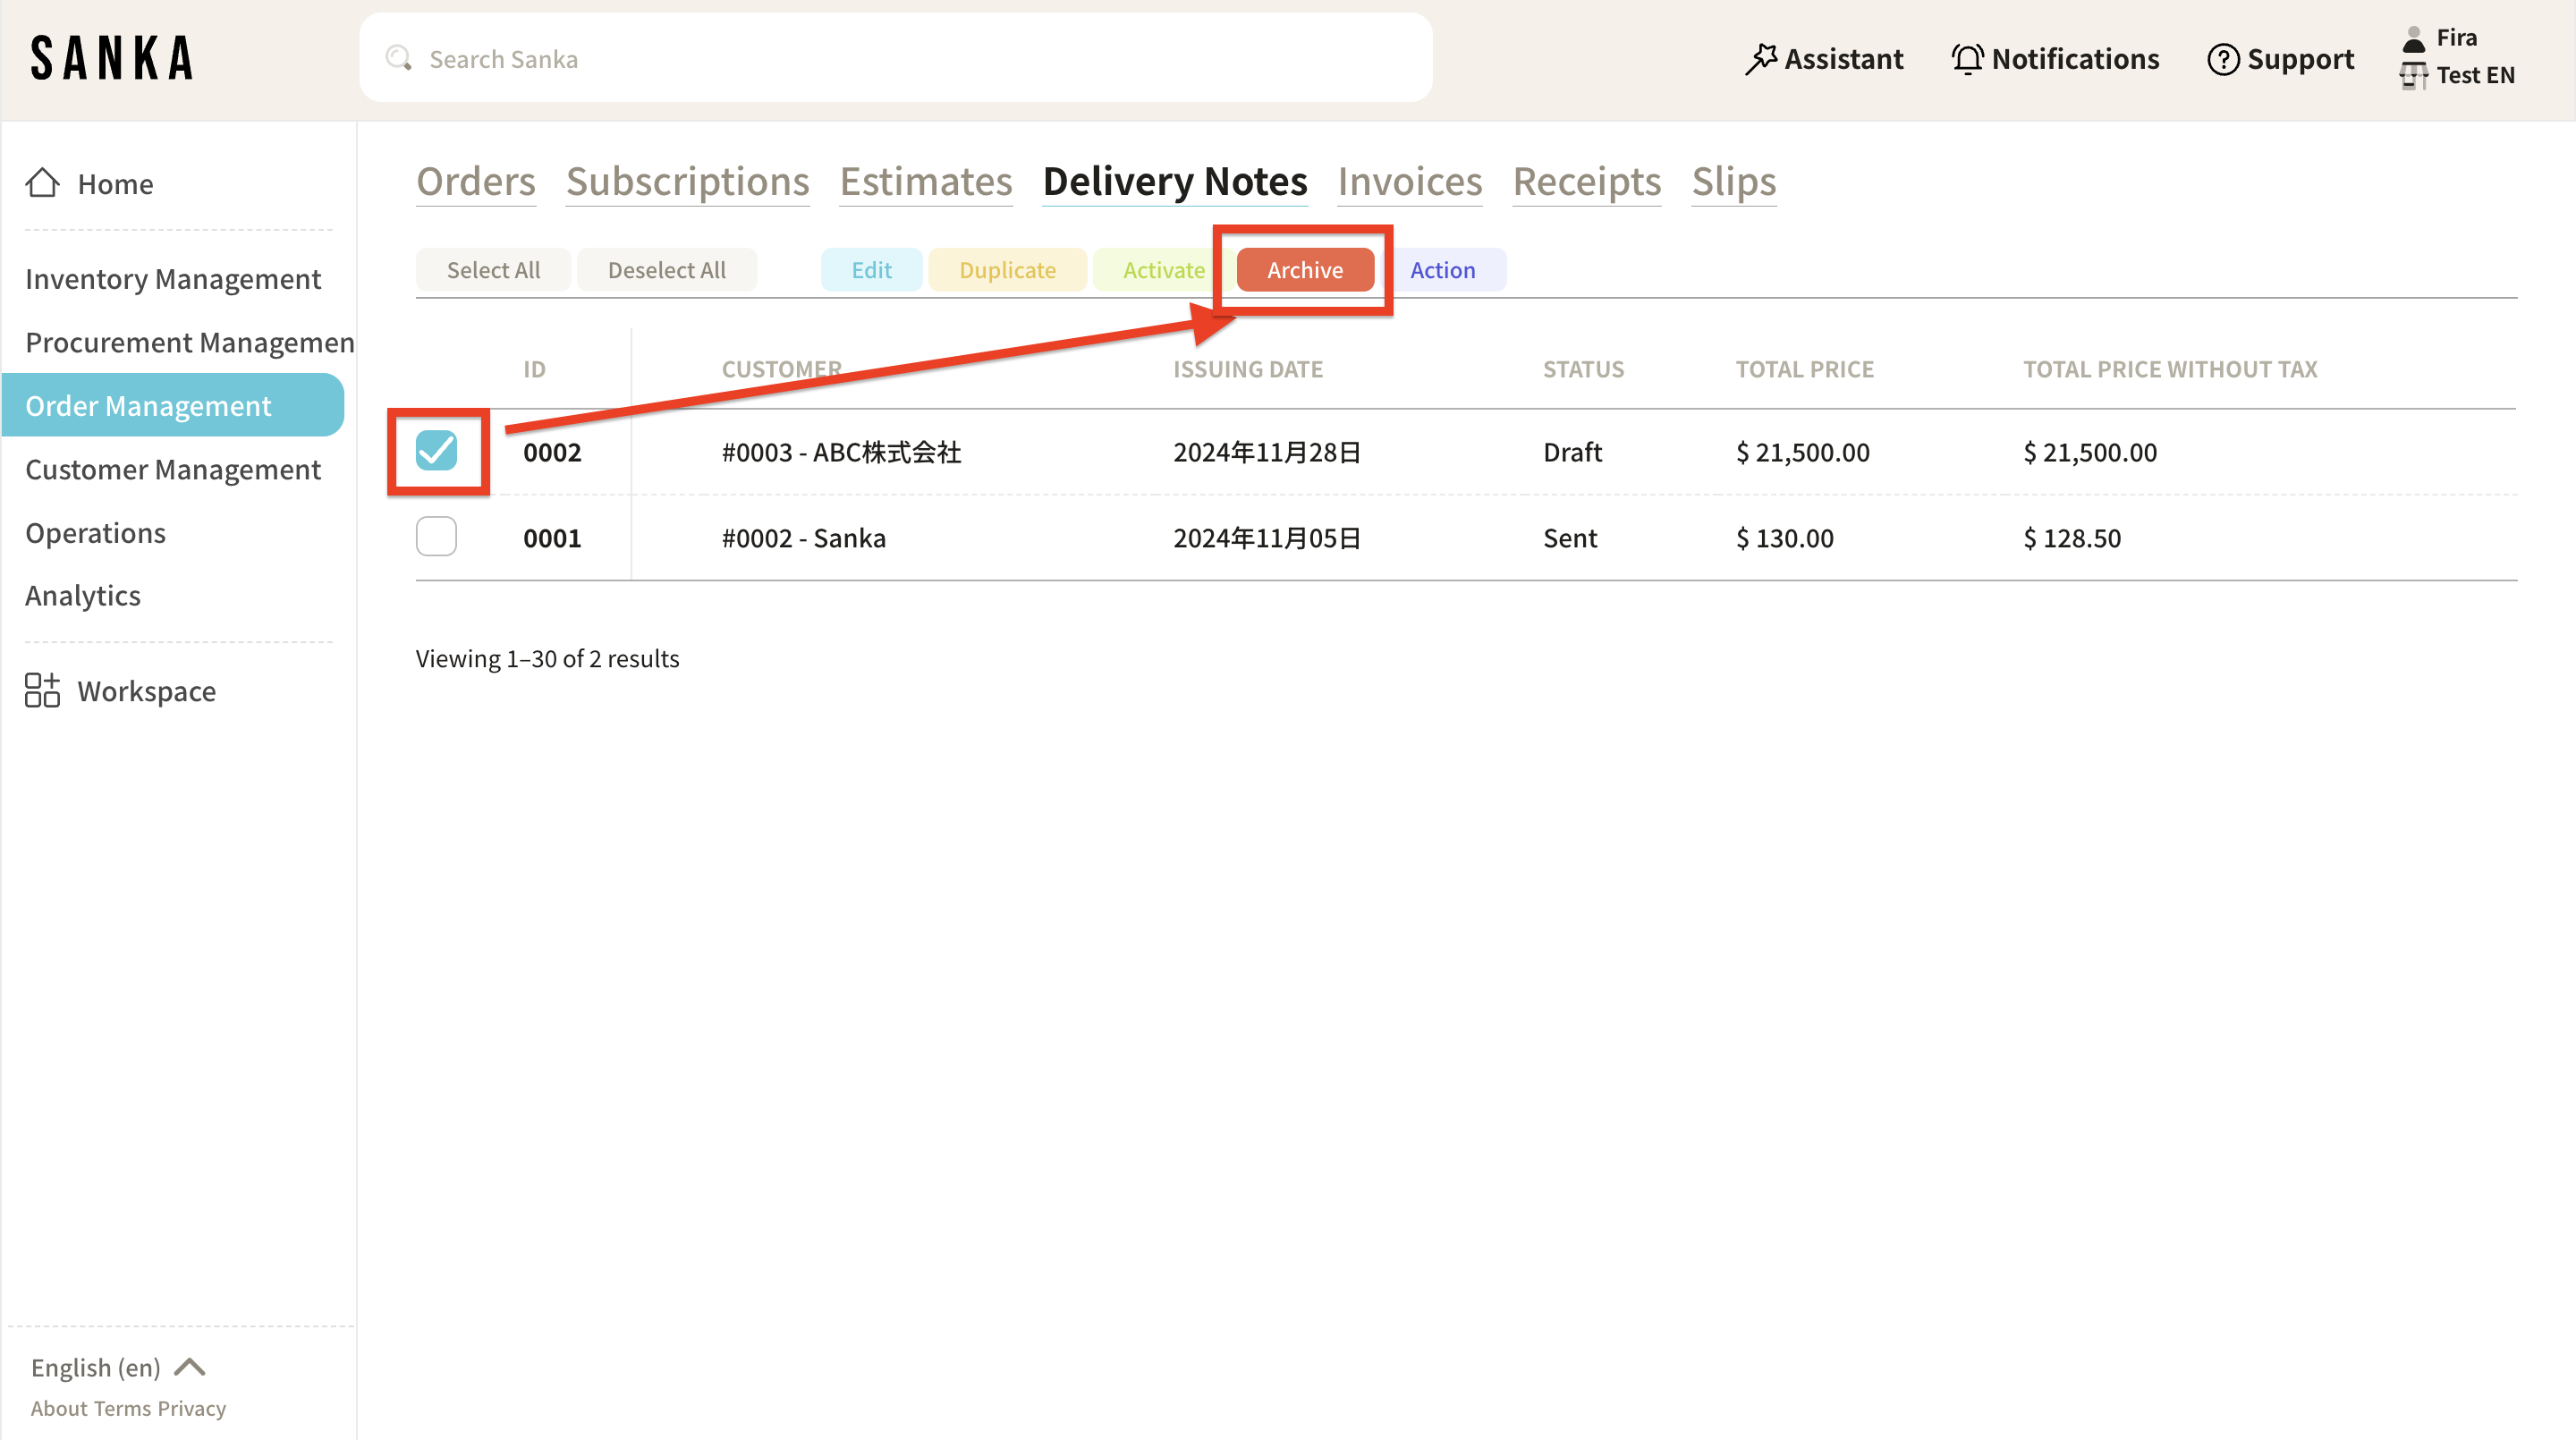
① Click on the box next to the delivery note you want to archive, then select "Archive."
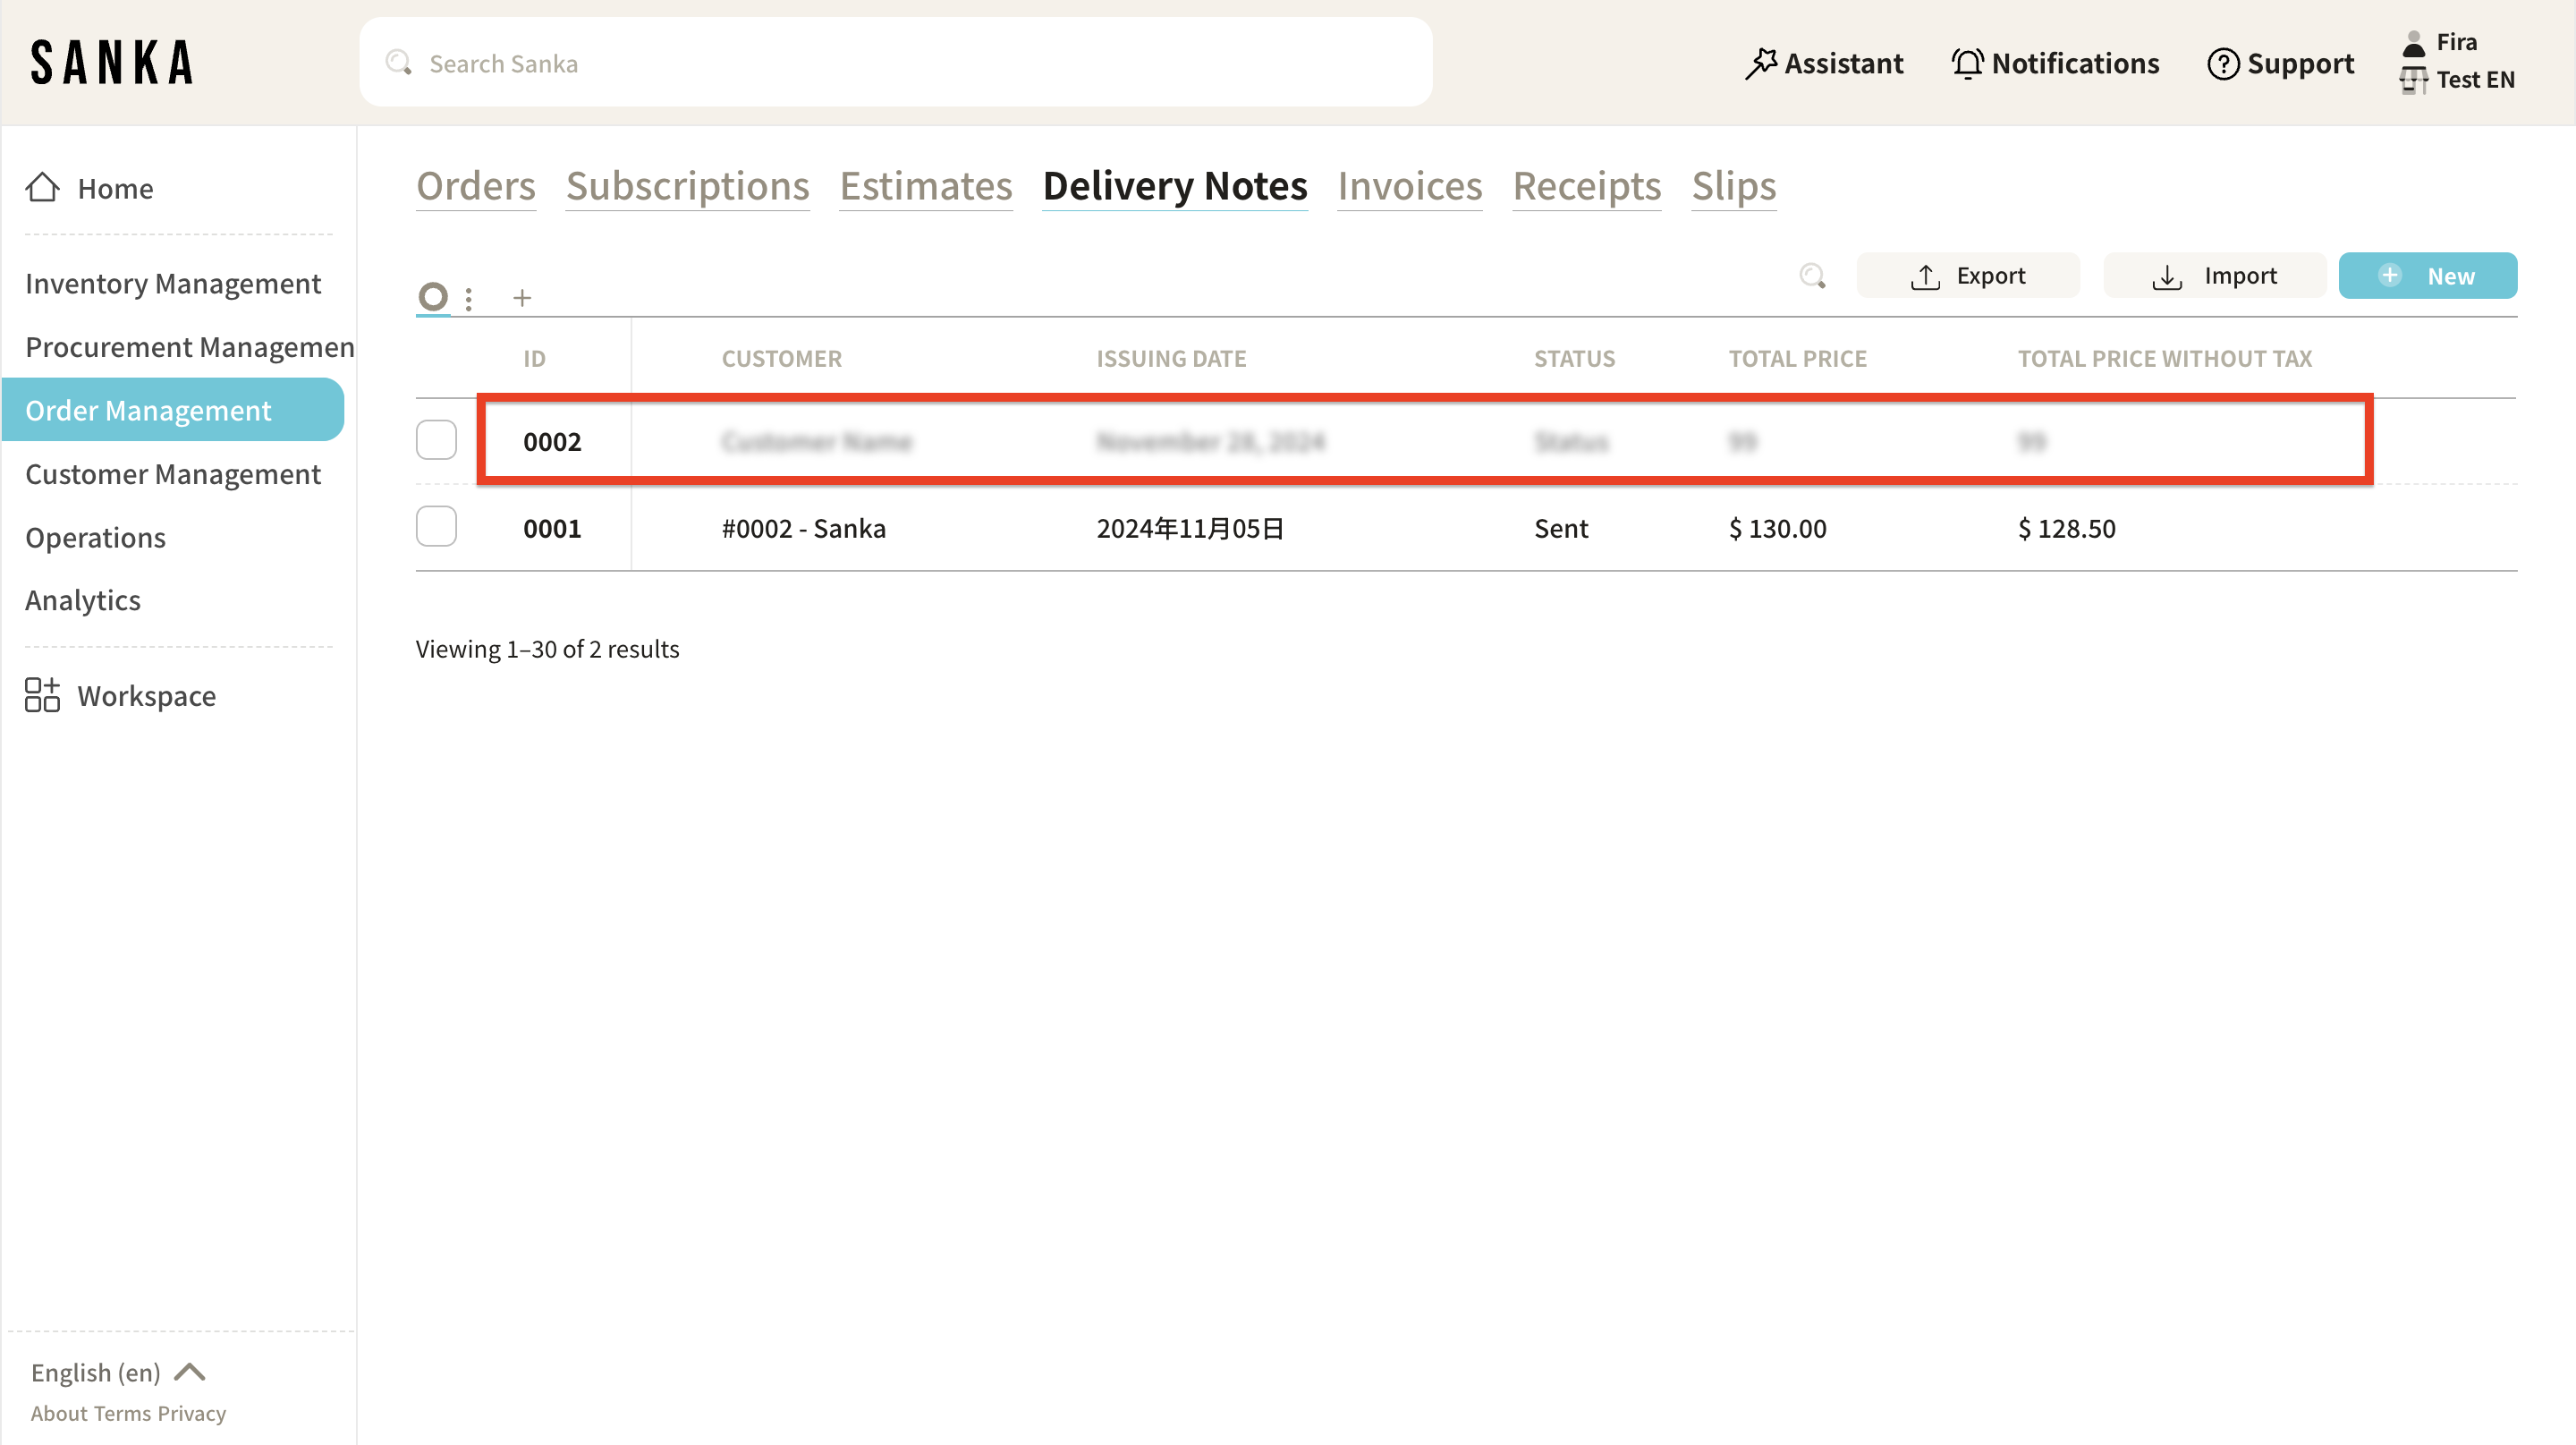
② Archived delivery notes will be displayed as grayed out.
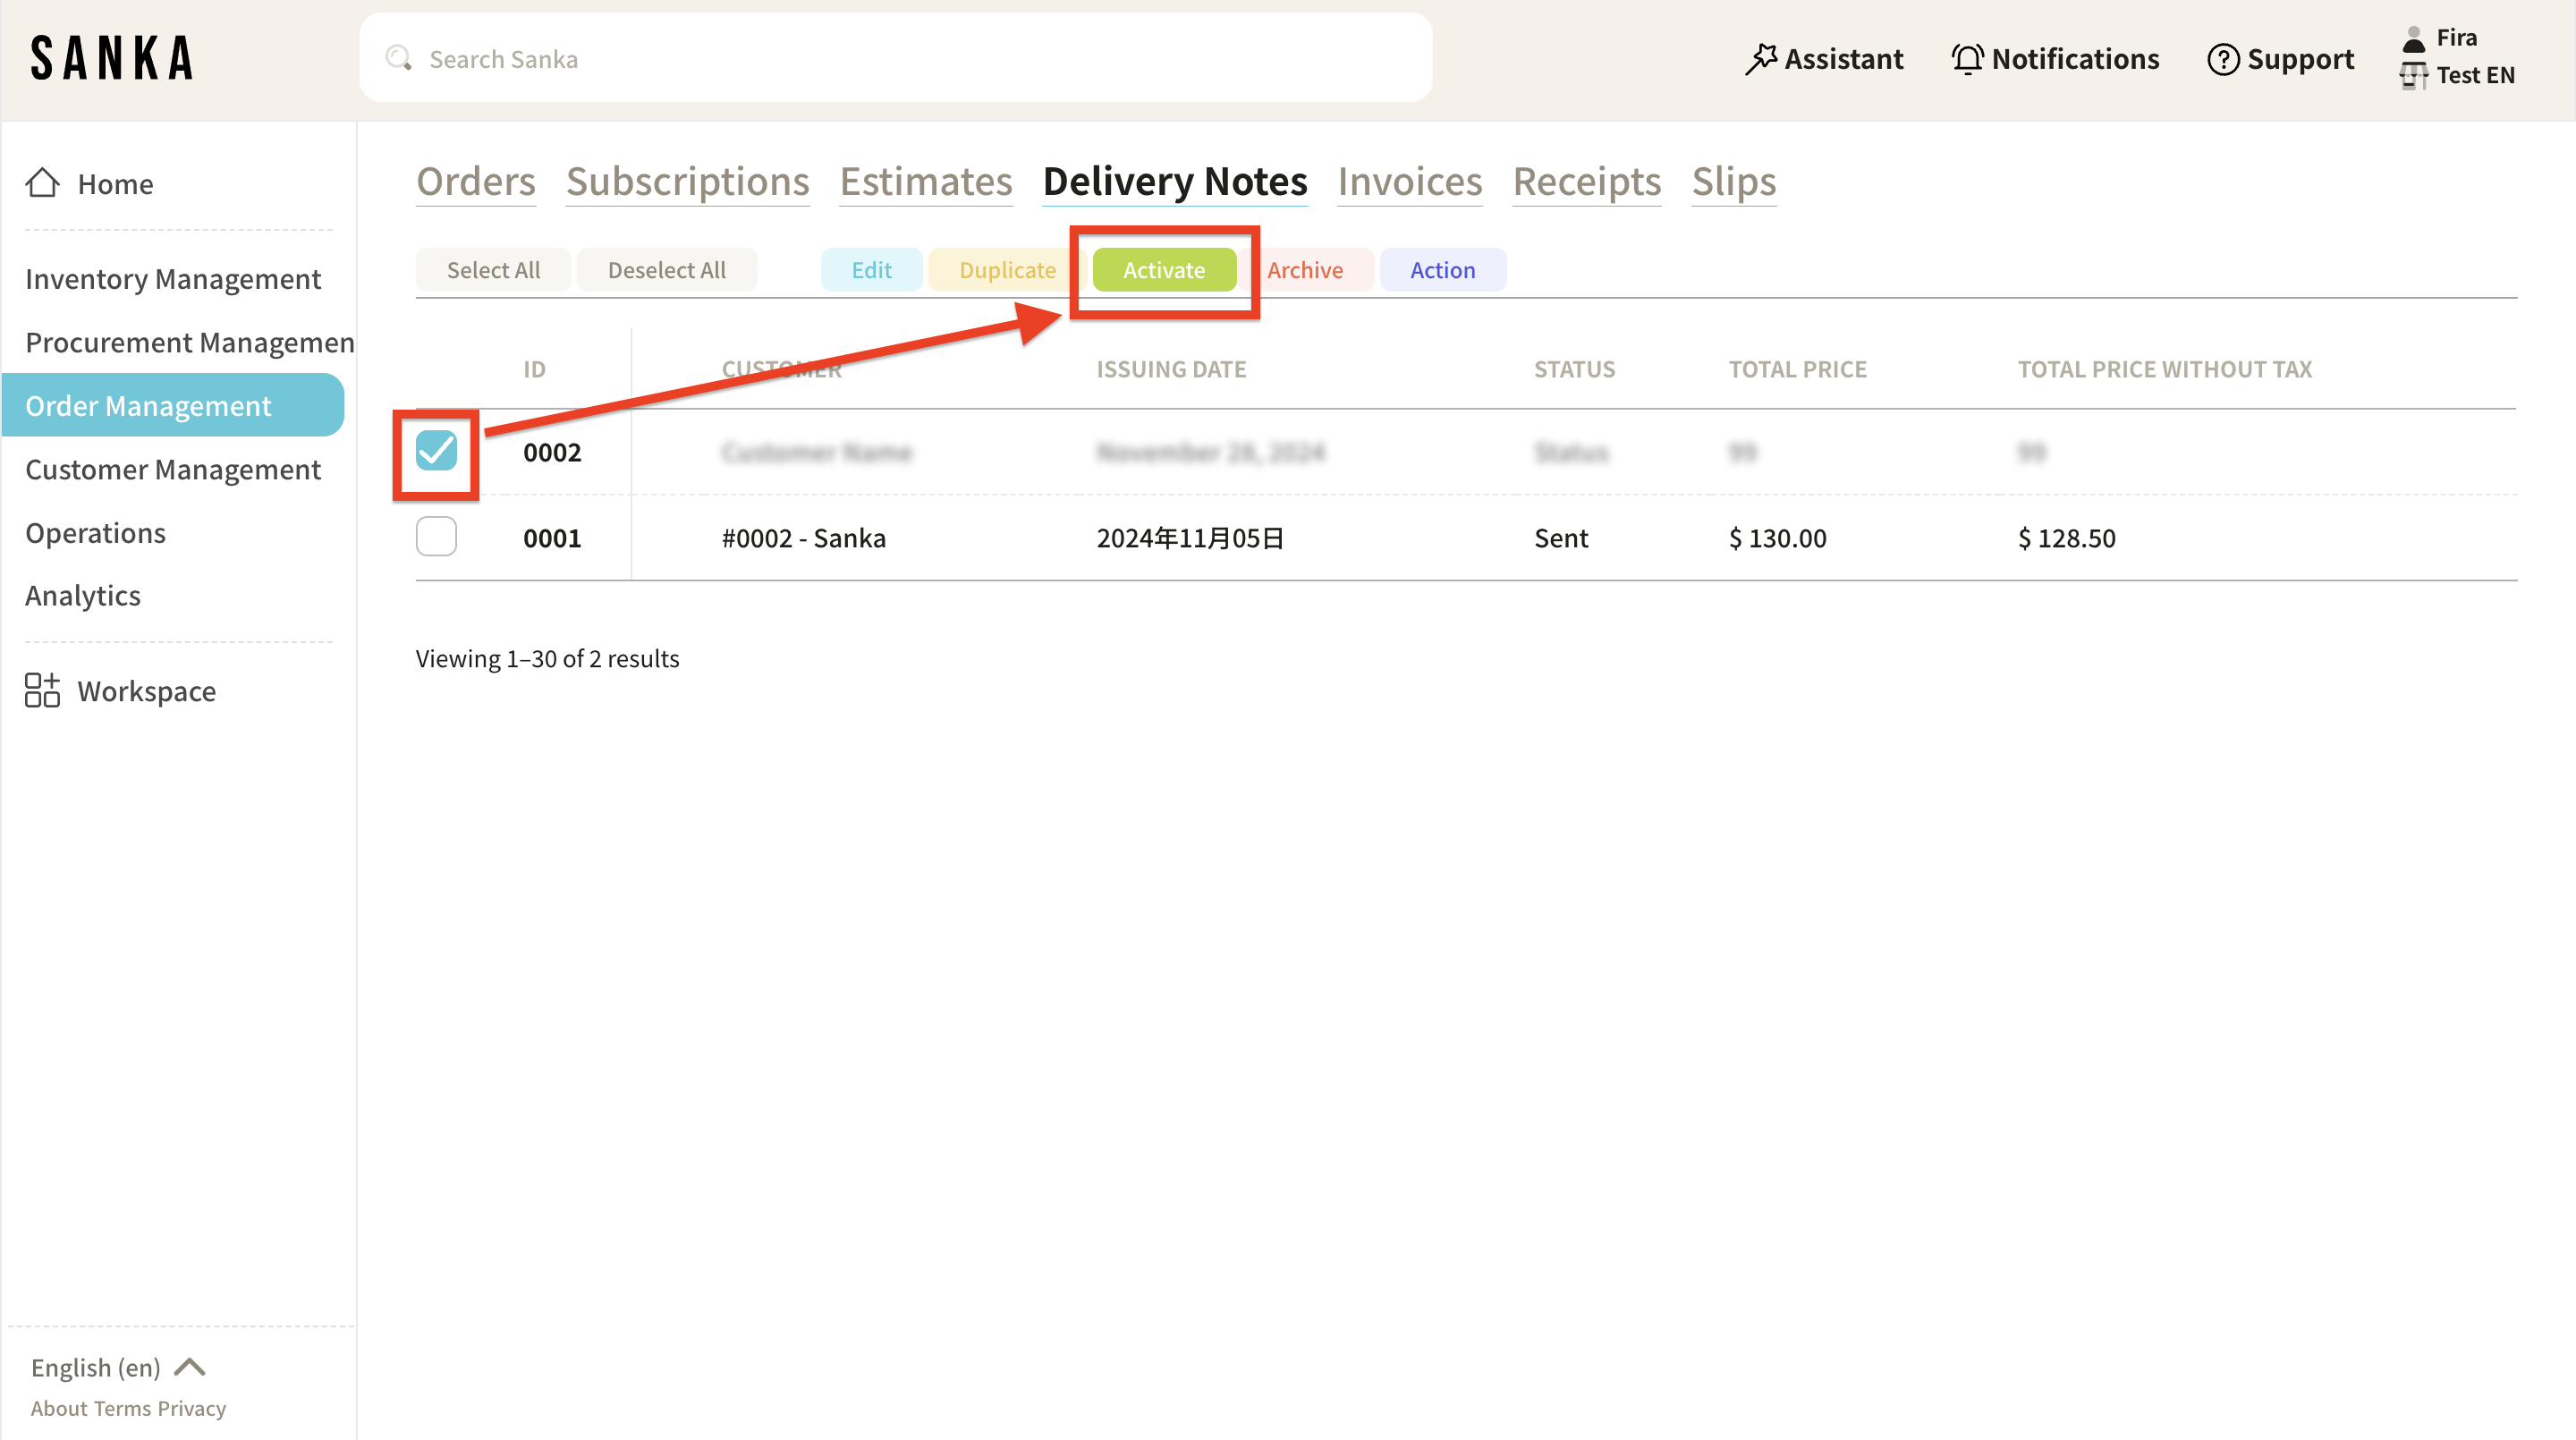
③ If you want to unarchive a delivery note, click on the box next to it and select "Activate."
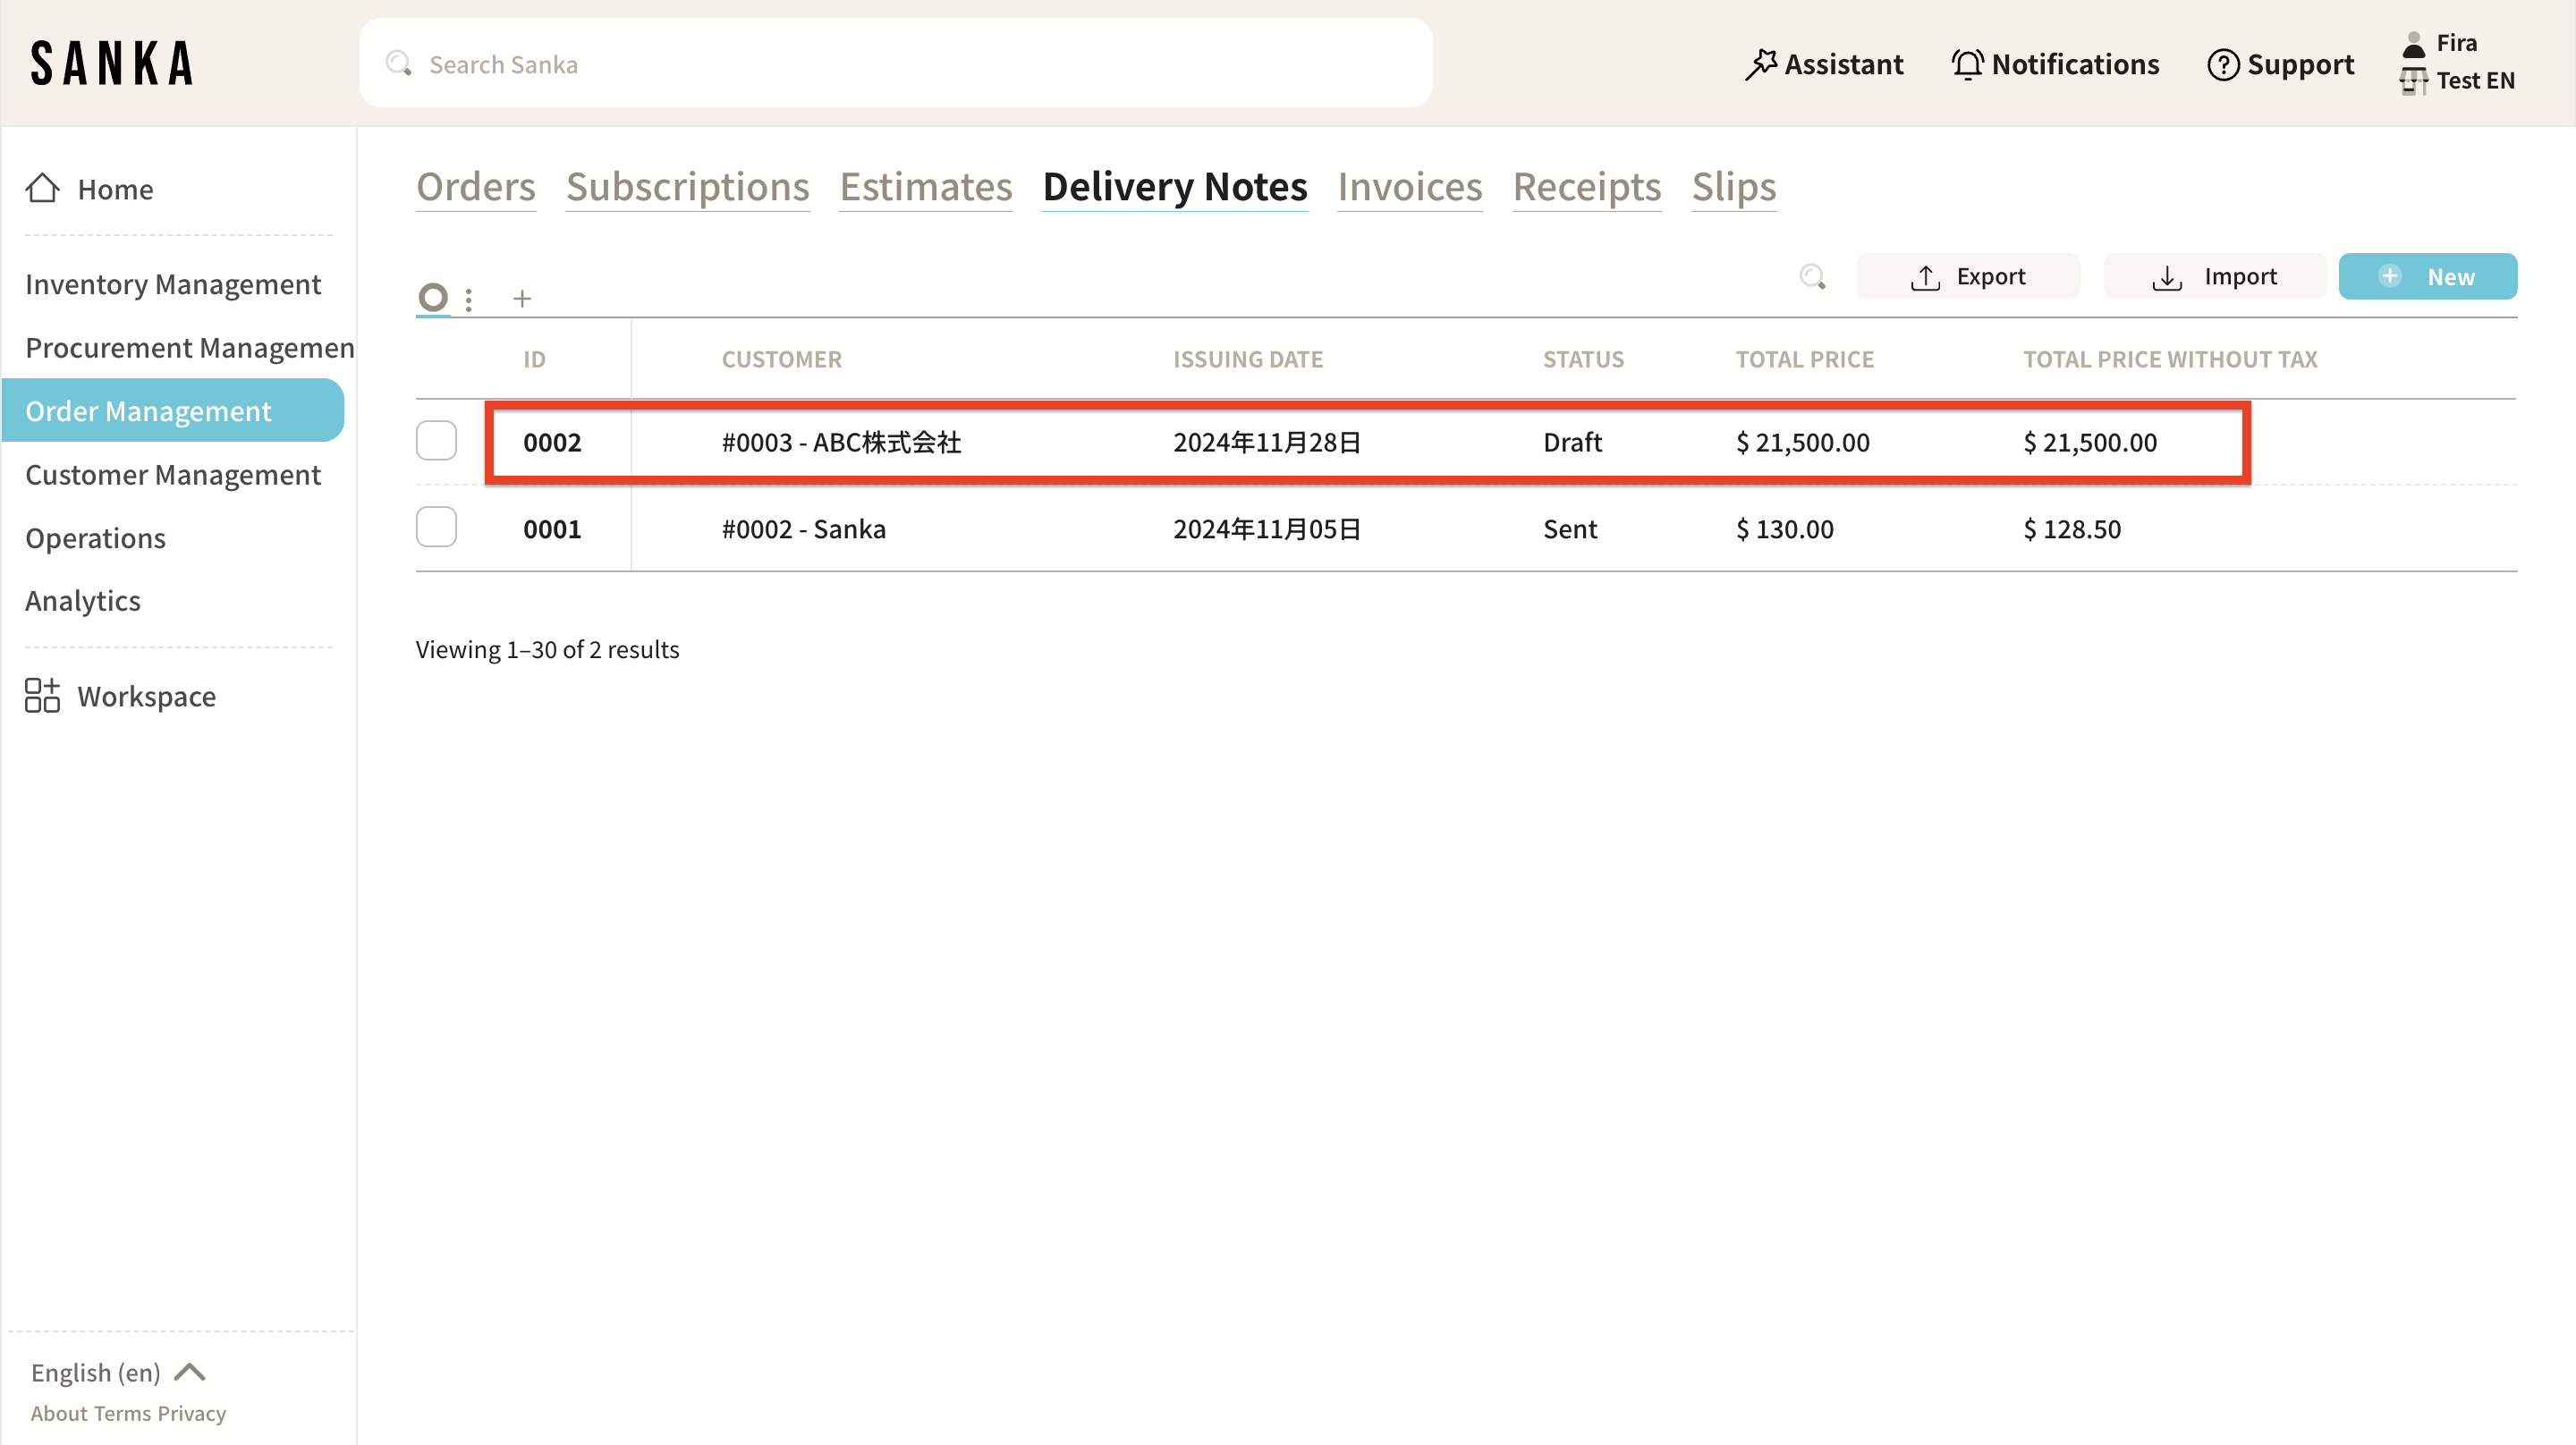
④ The gray-out will be removed from the activated delivery note, and it will return to normal display.
Next Steps
To learn more about related topics, please refer to the articles below.
For instructions on how to create a item master, click here.
For instructions on how to create a Supplier Master, click here.
To learn more about the invoicing process, click here.
