Process to create “Purchase Orders” in Sanka:
Access the Purchase Orders
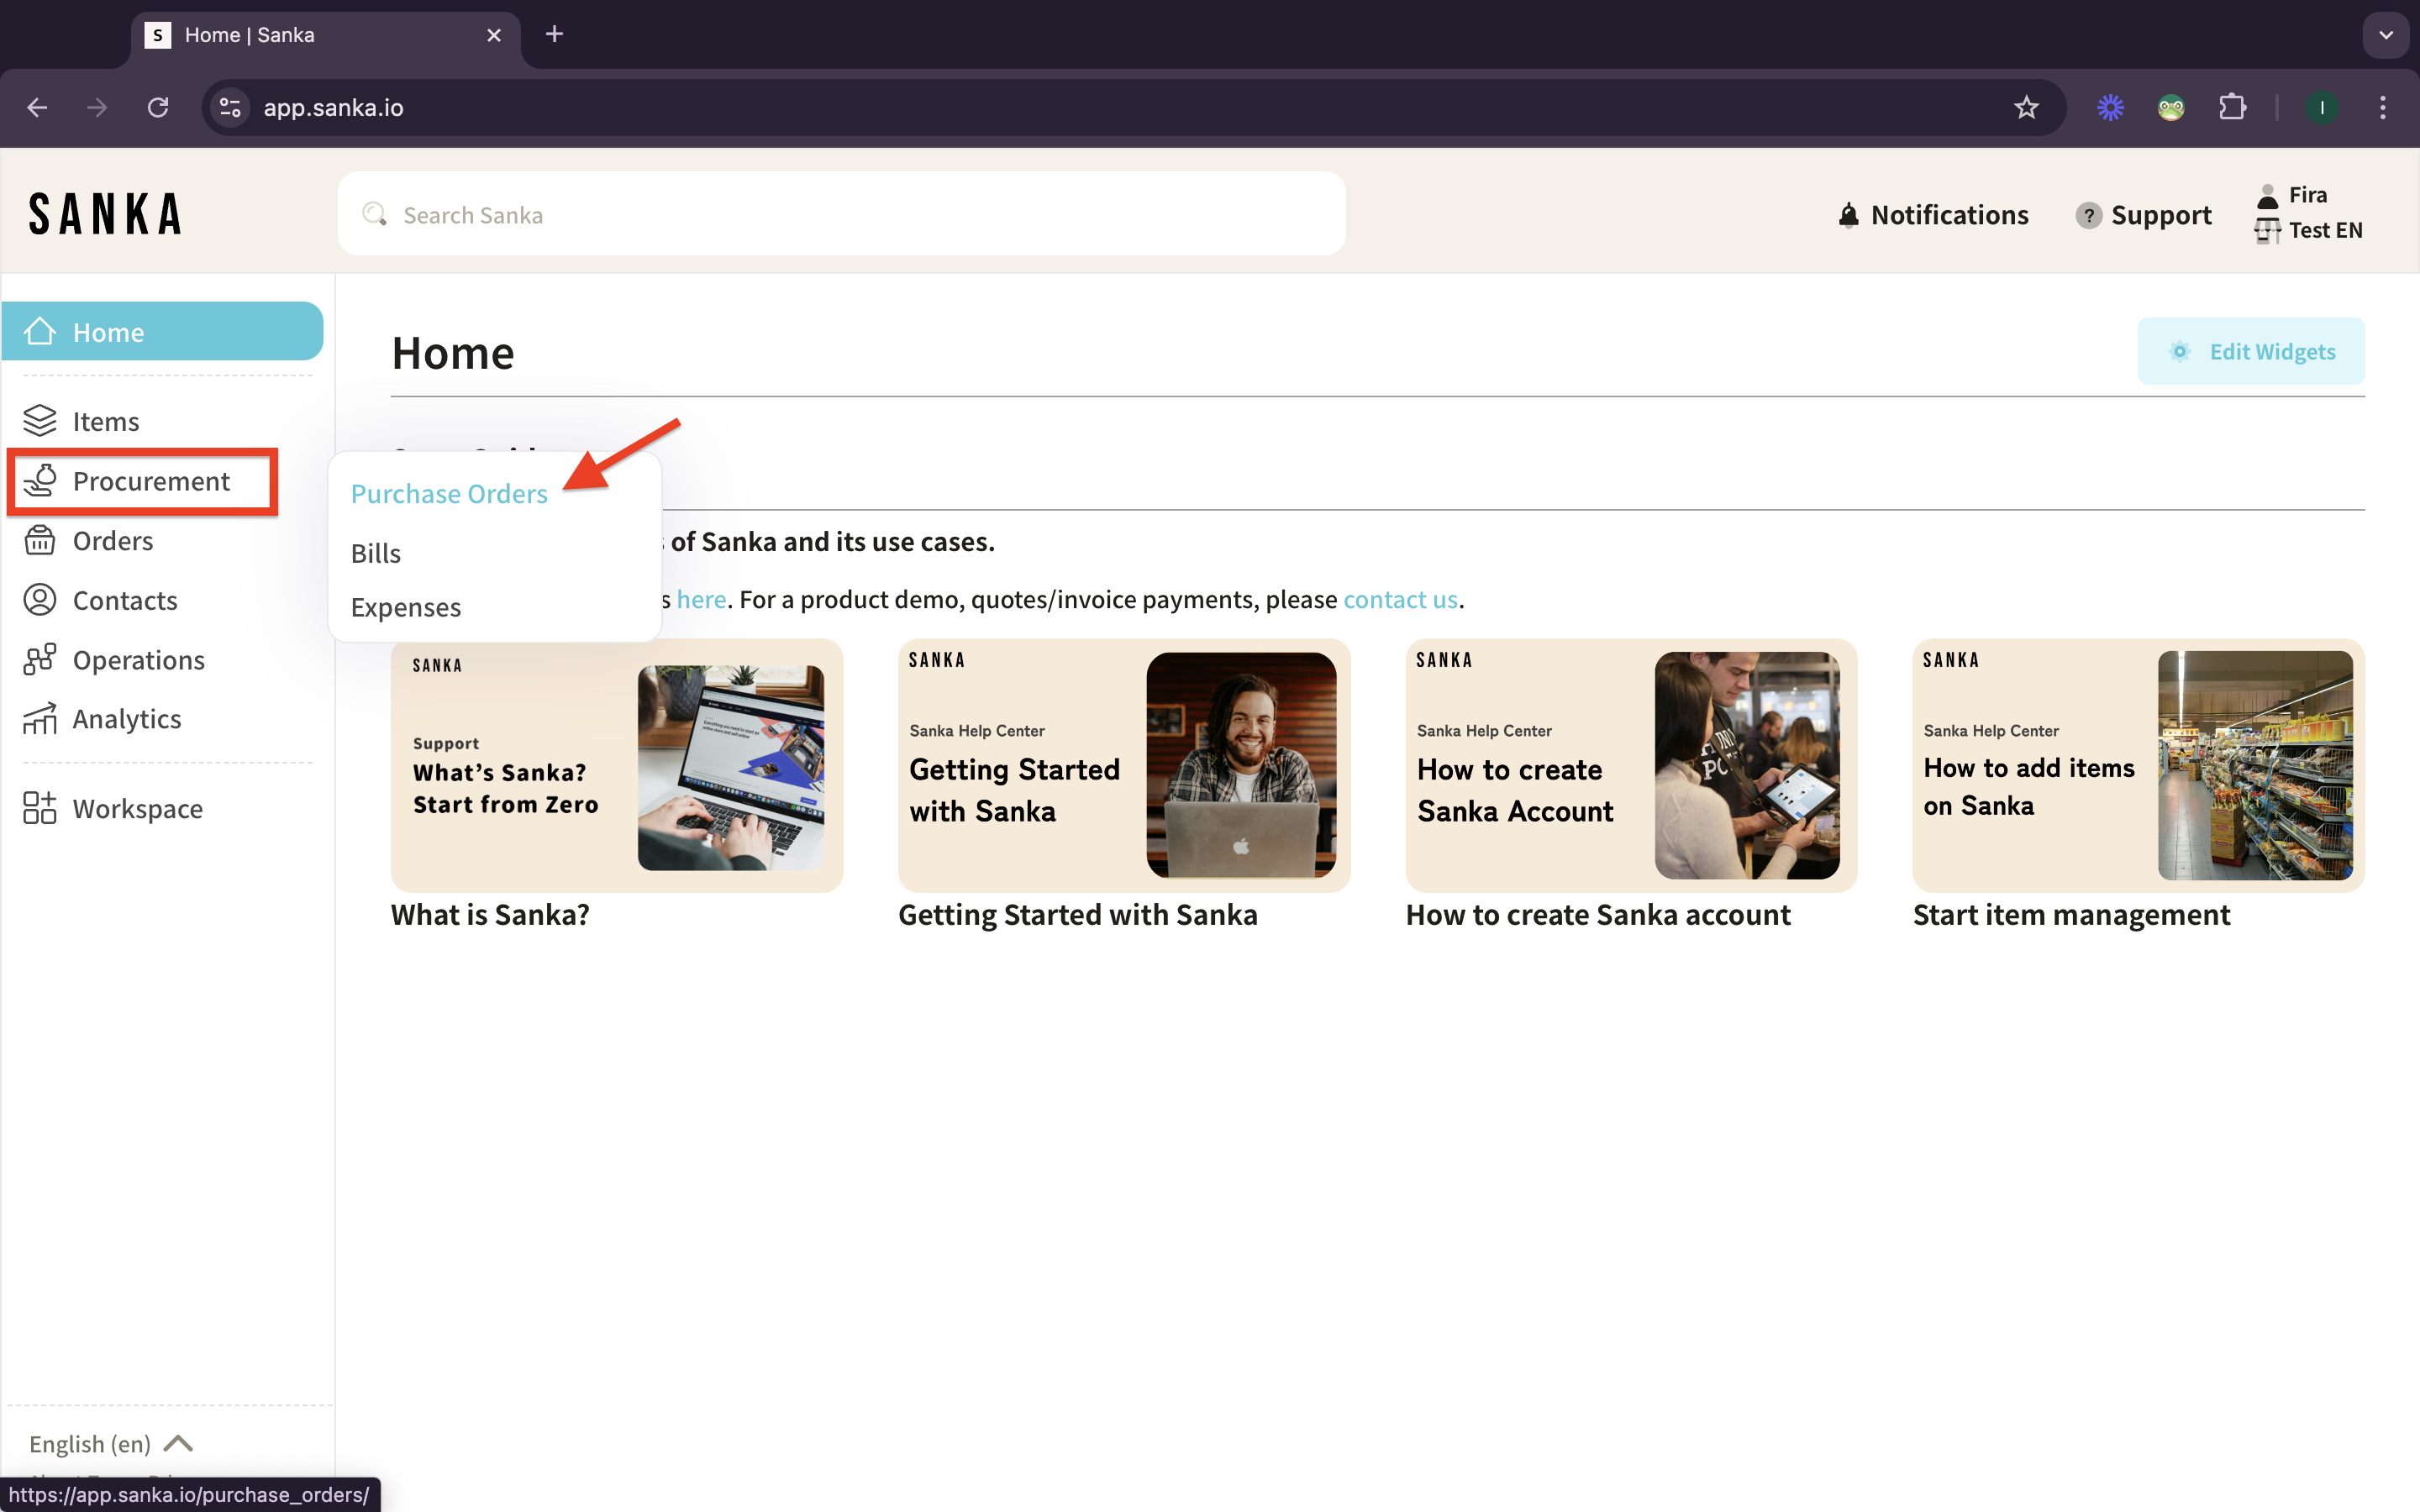
1: Go to Purchase Orders Management and select Purchase Orders objects
Create a new Purchase Orders
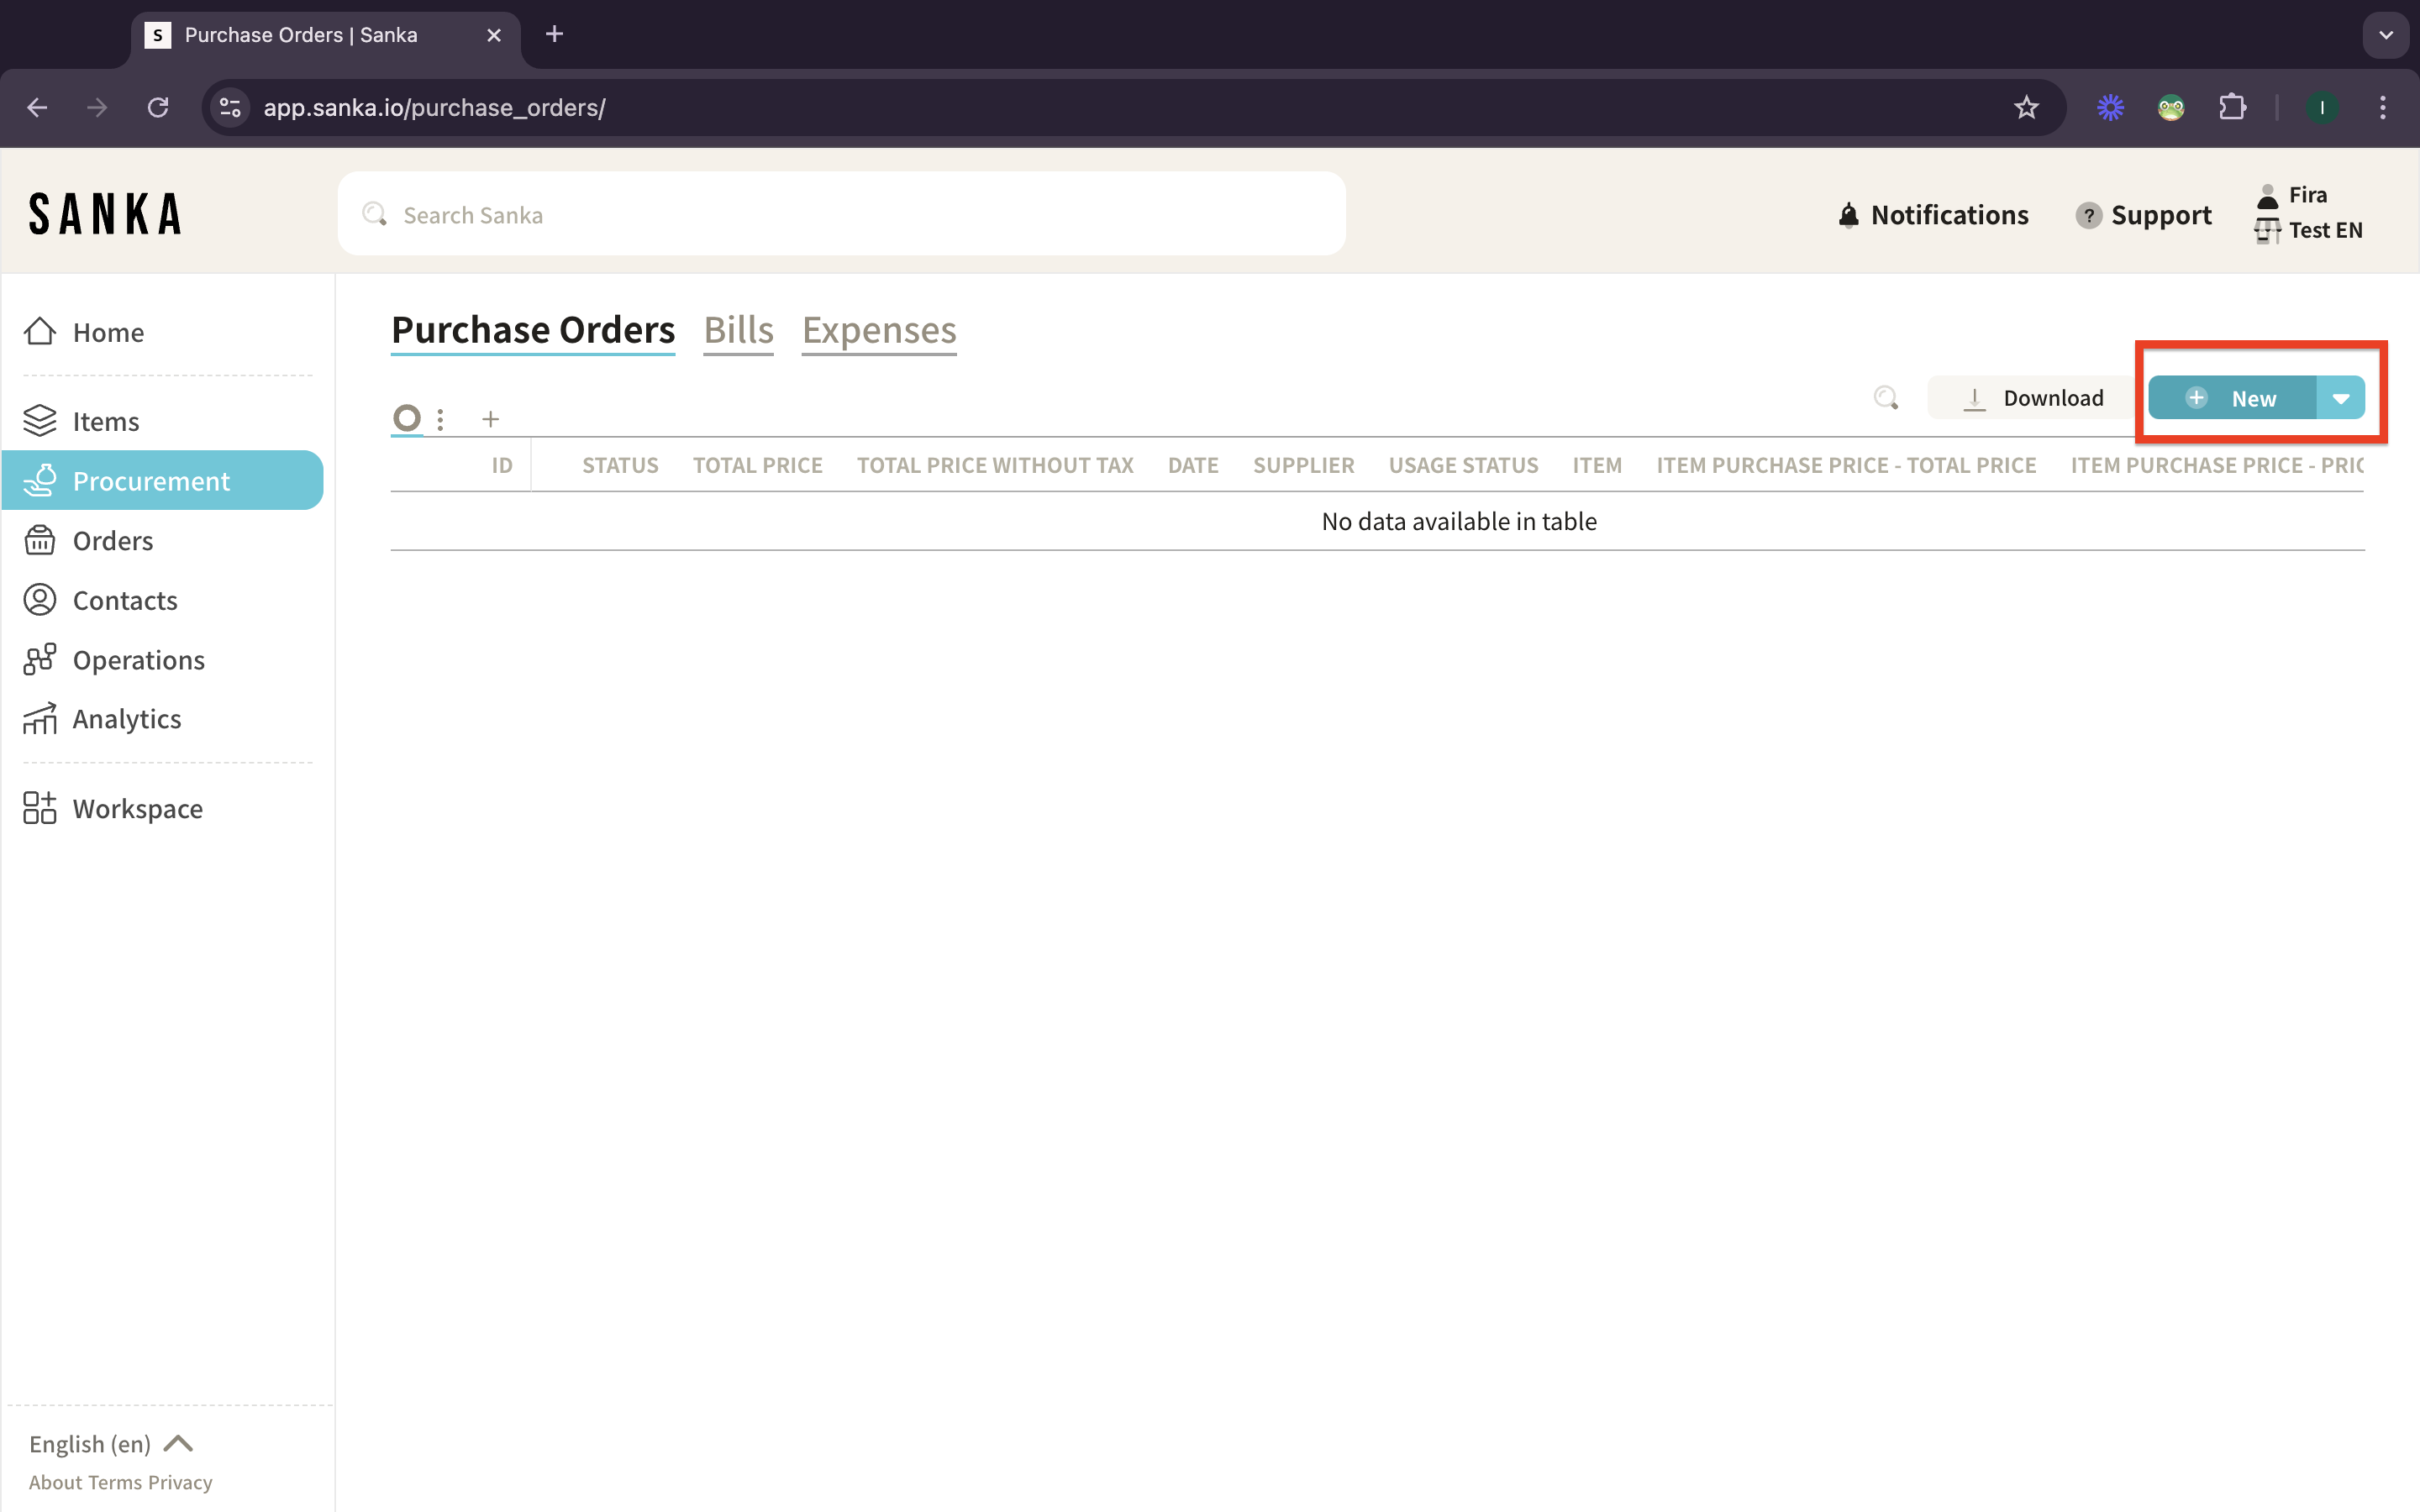
1: Click the “New” button at the top-right of the Purchase Orders page.
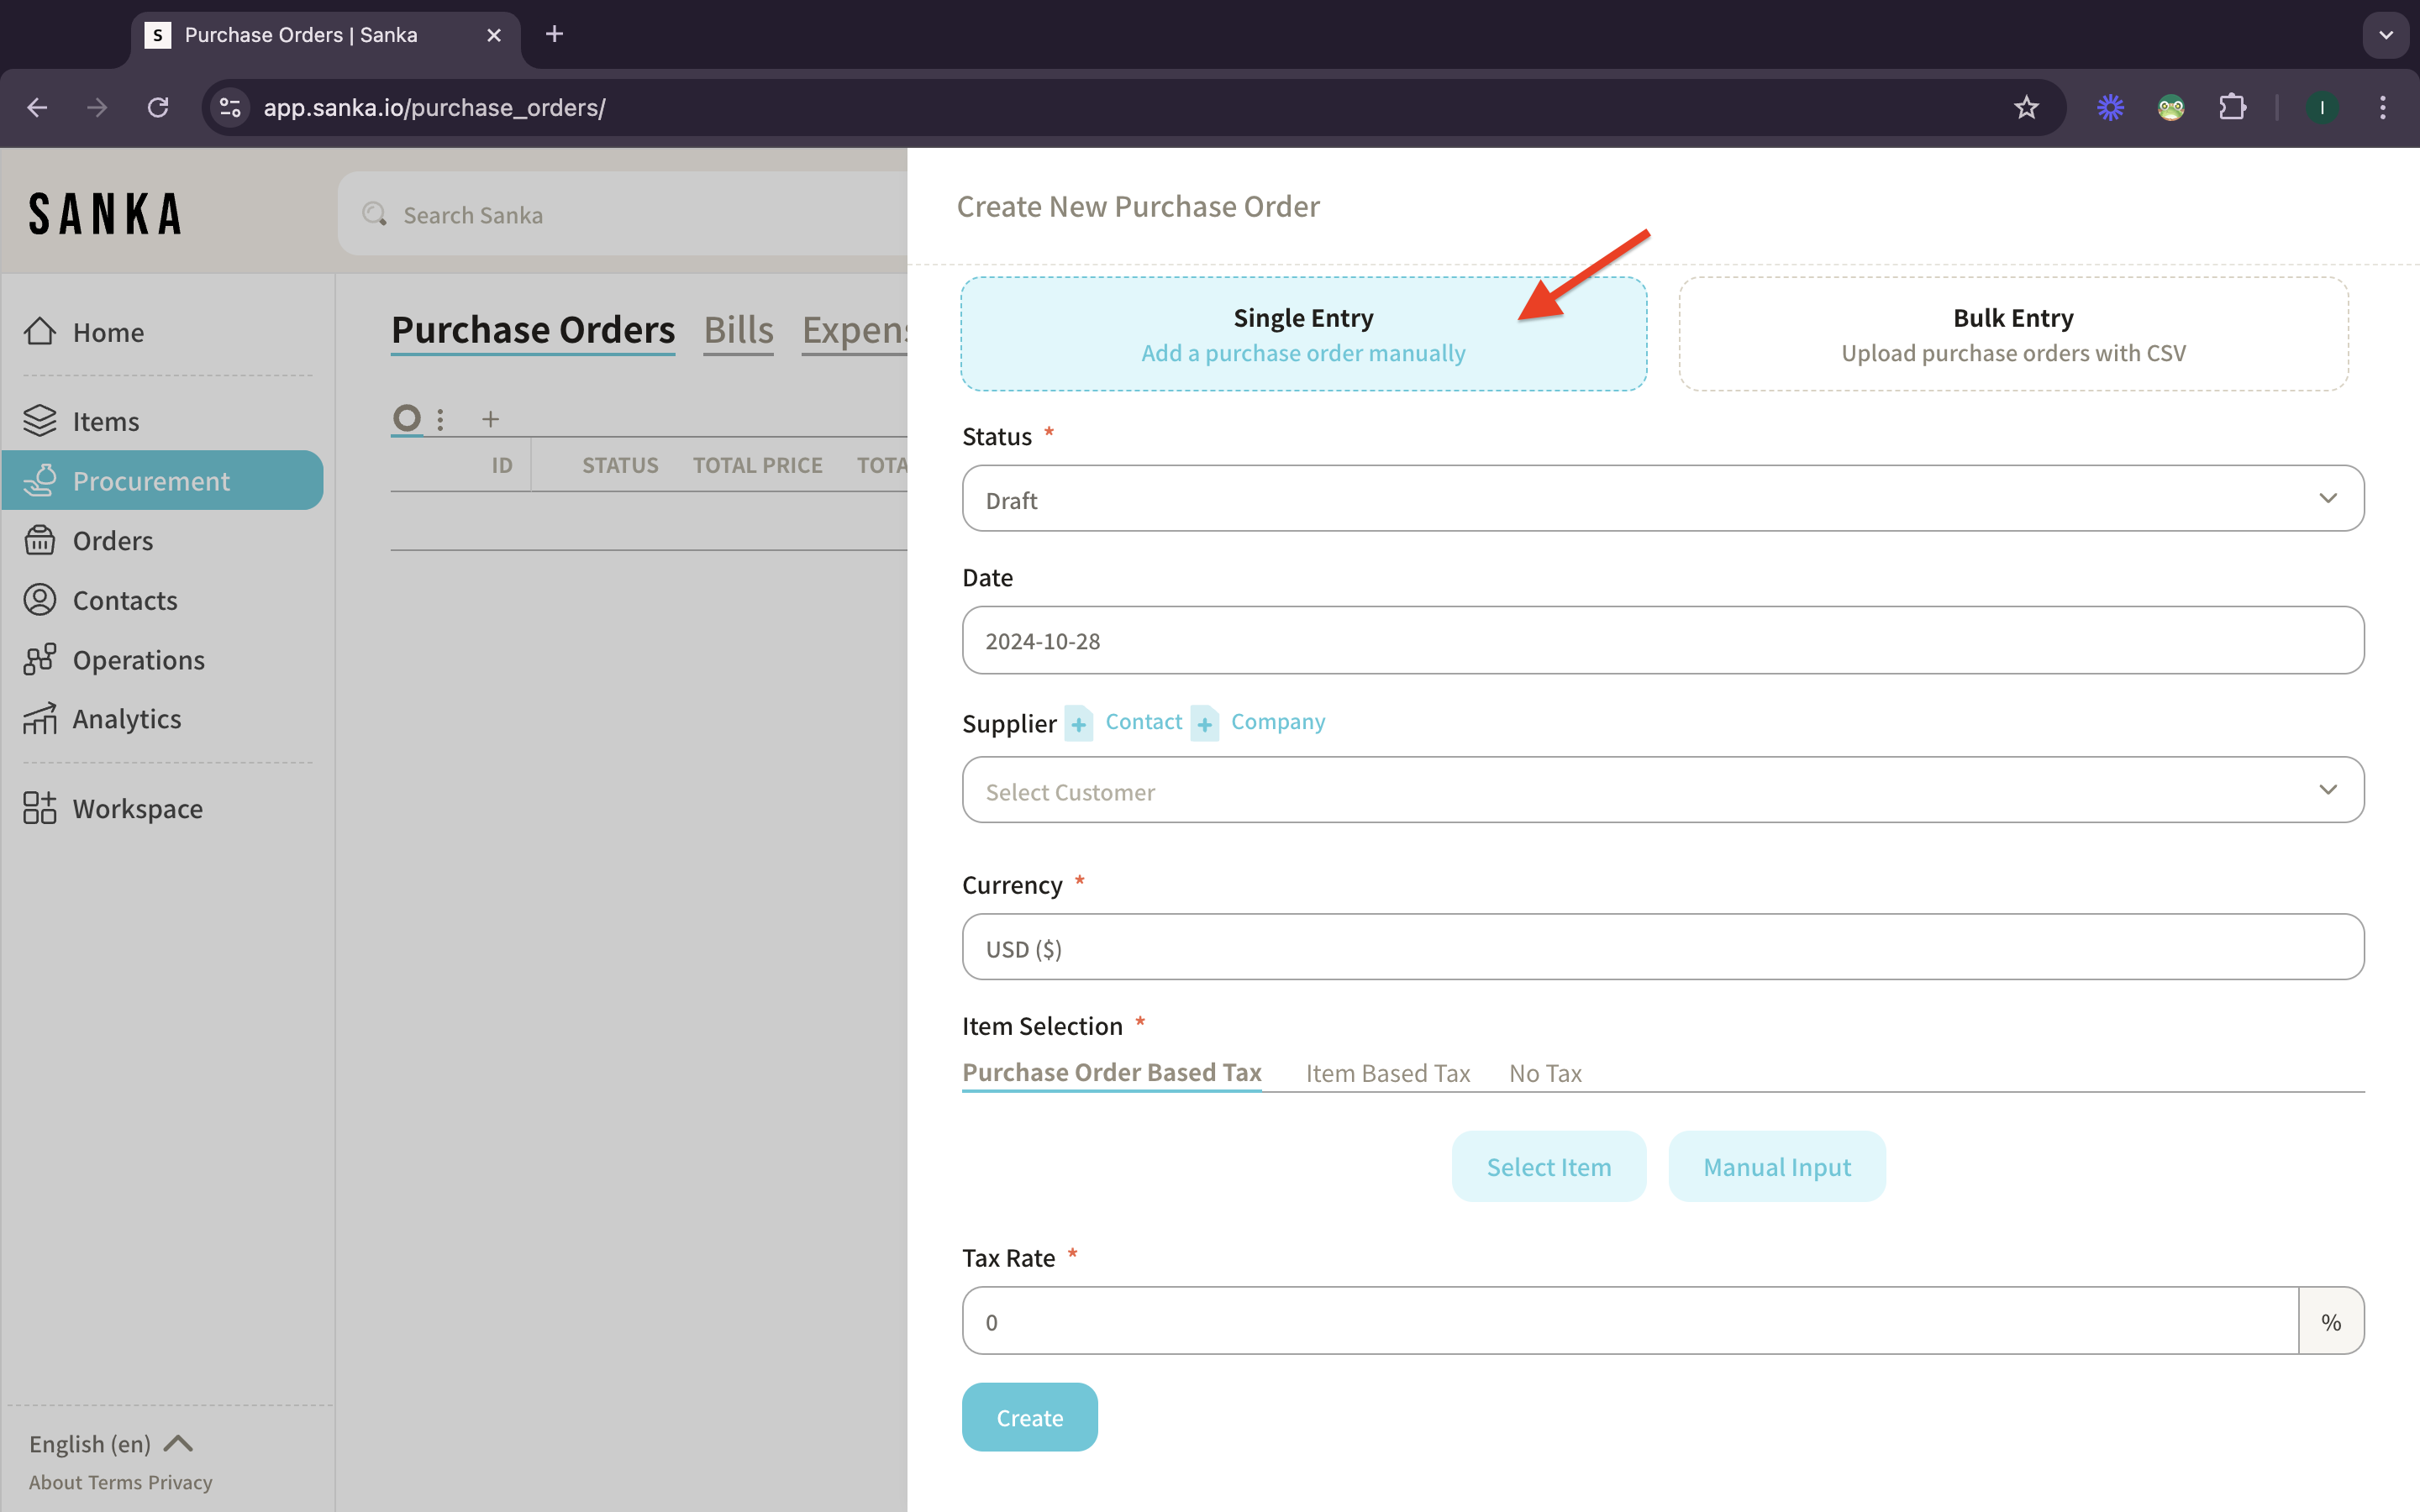
2: Single Entry will be selected as default if you create new.
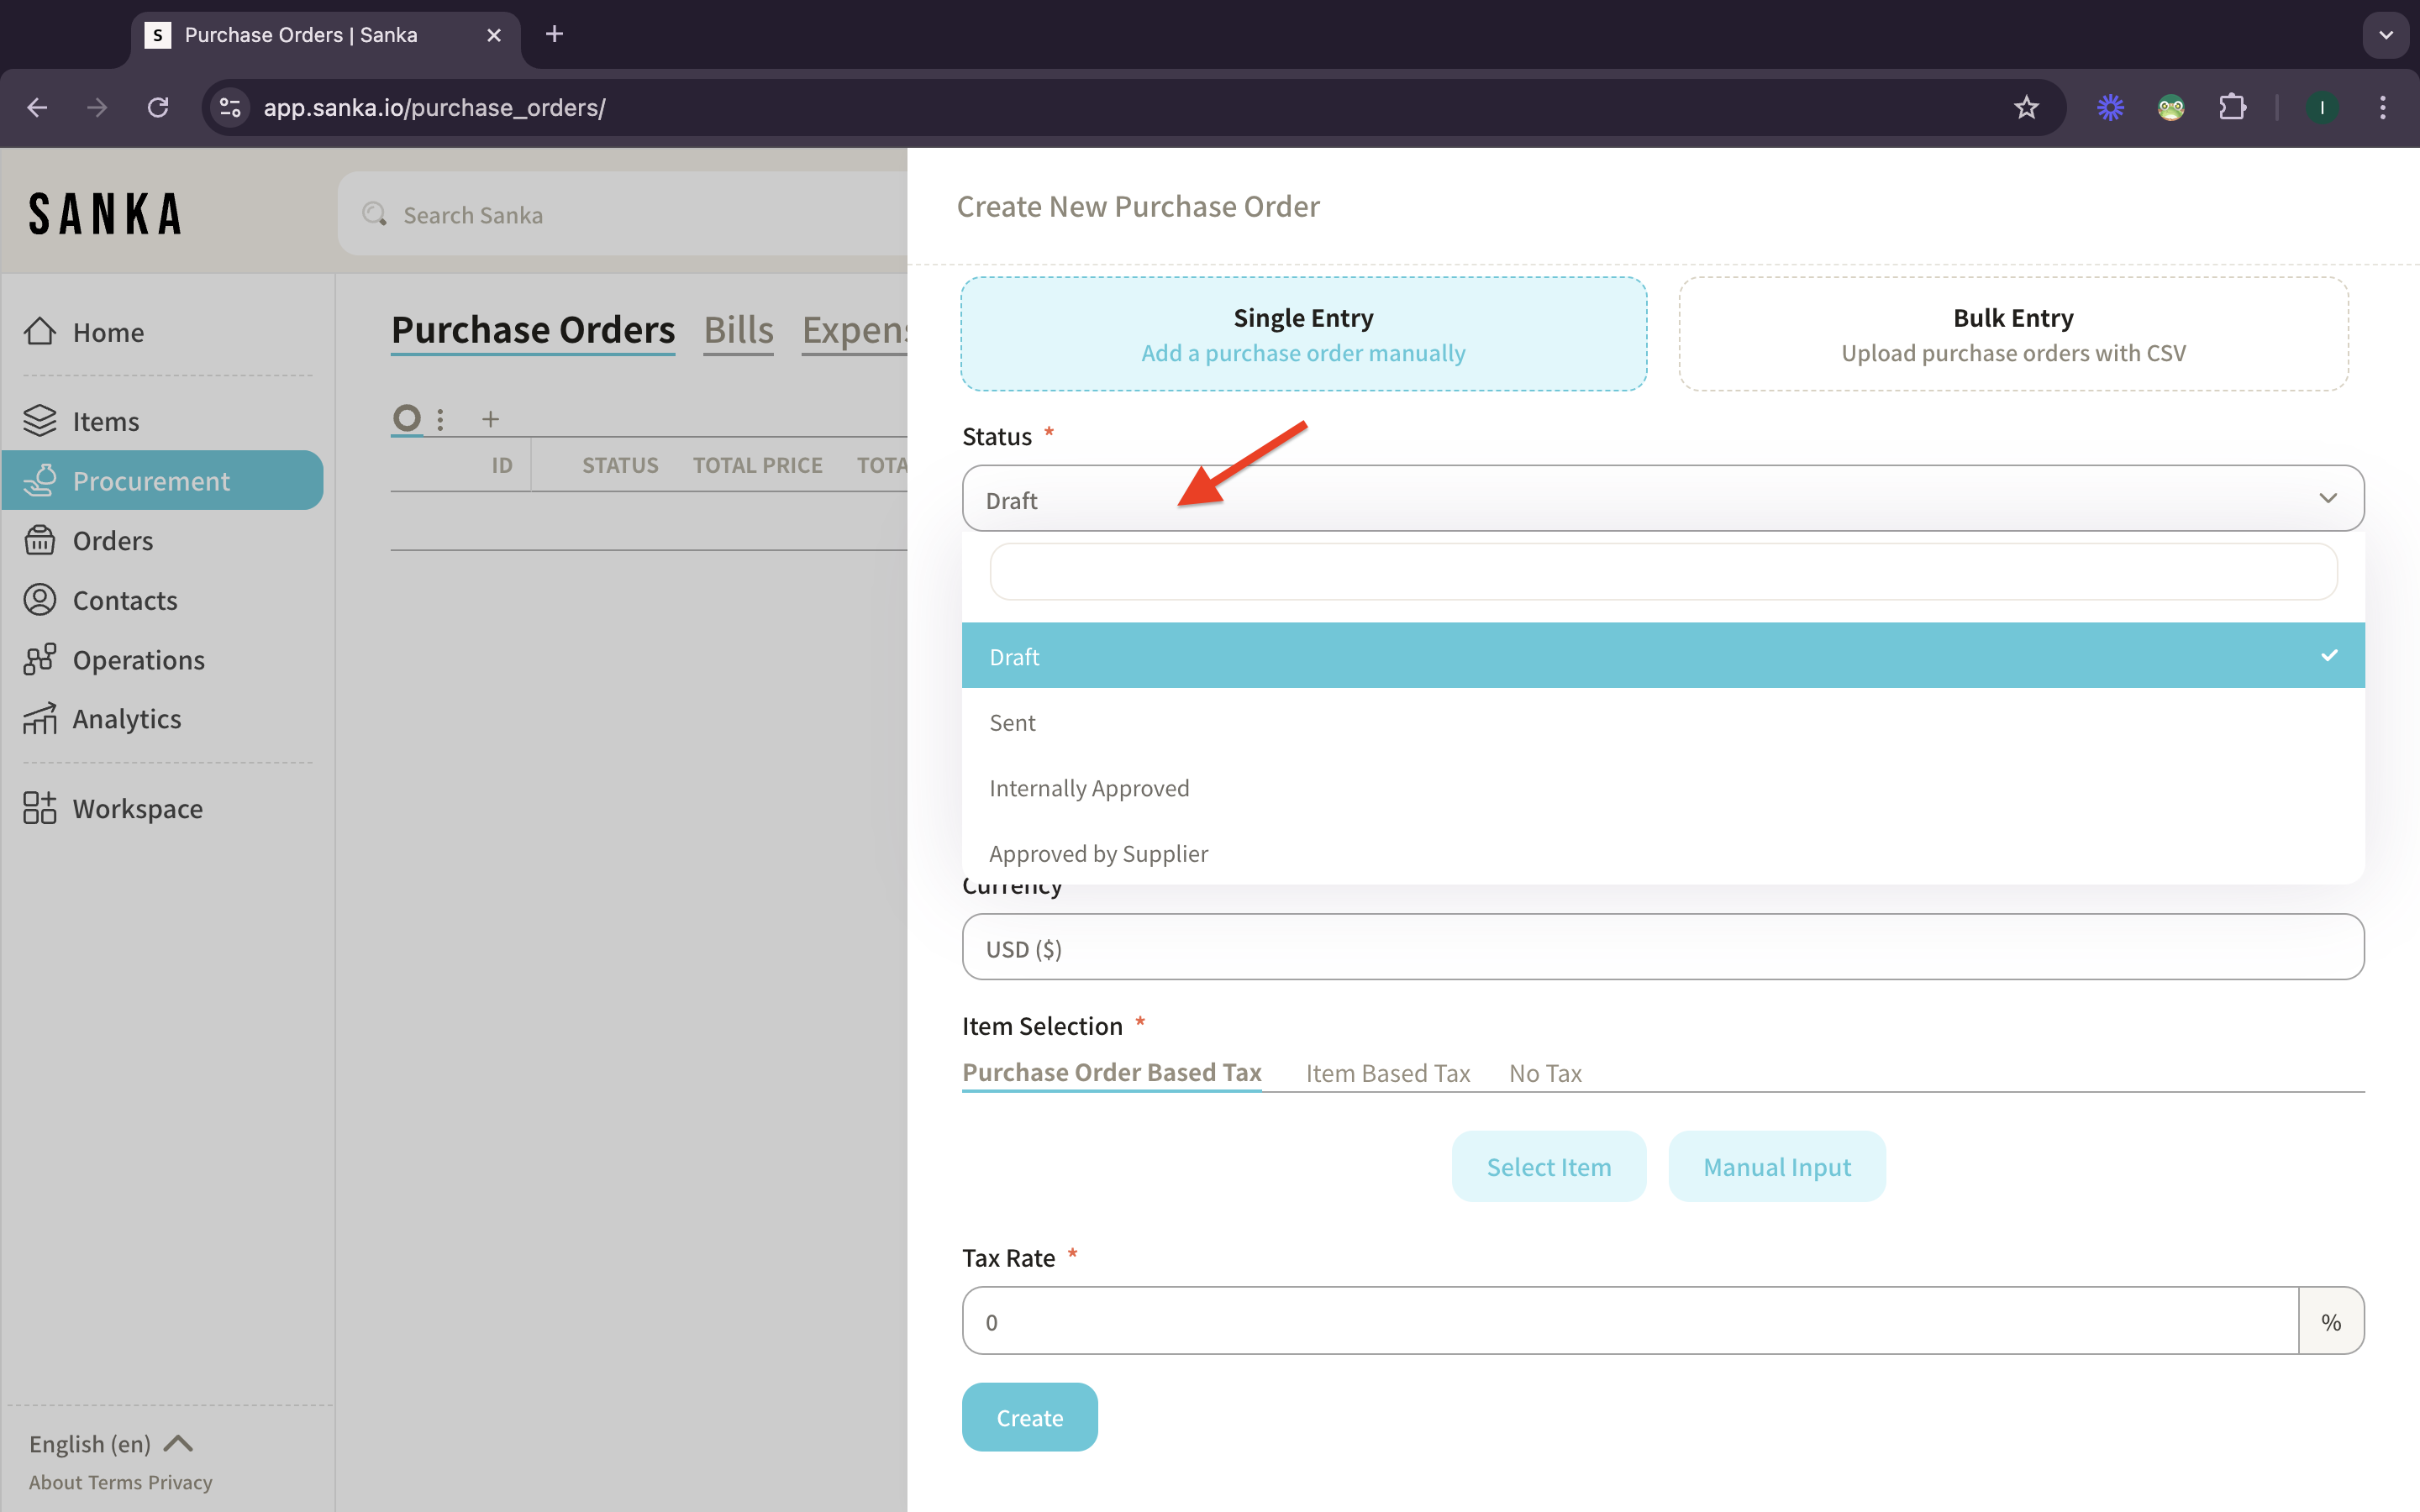
3: Select the status of Purchase Orders.
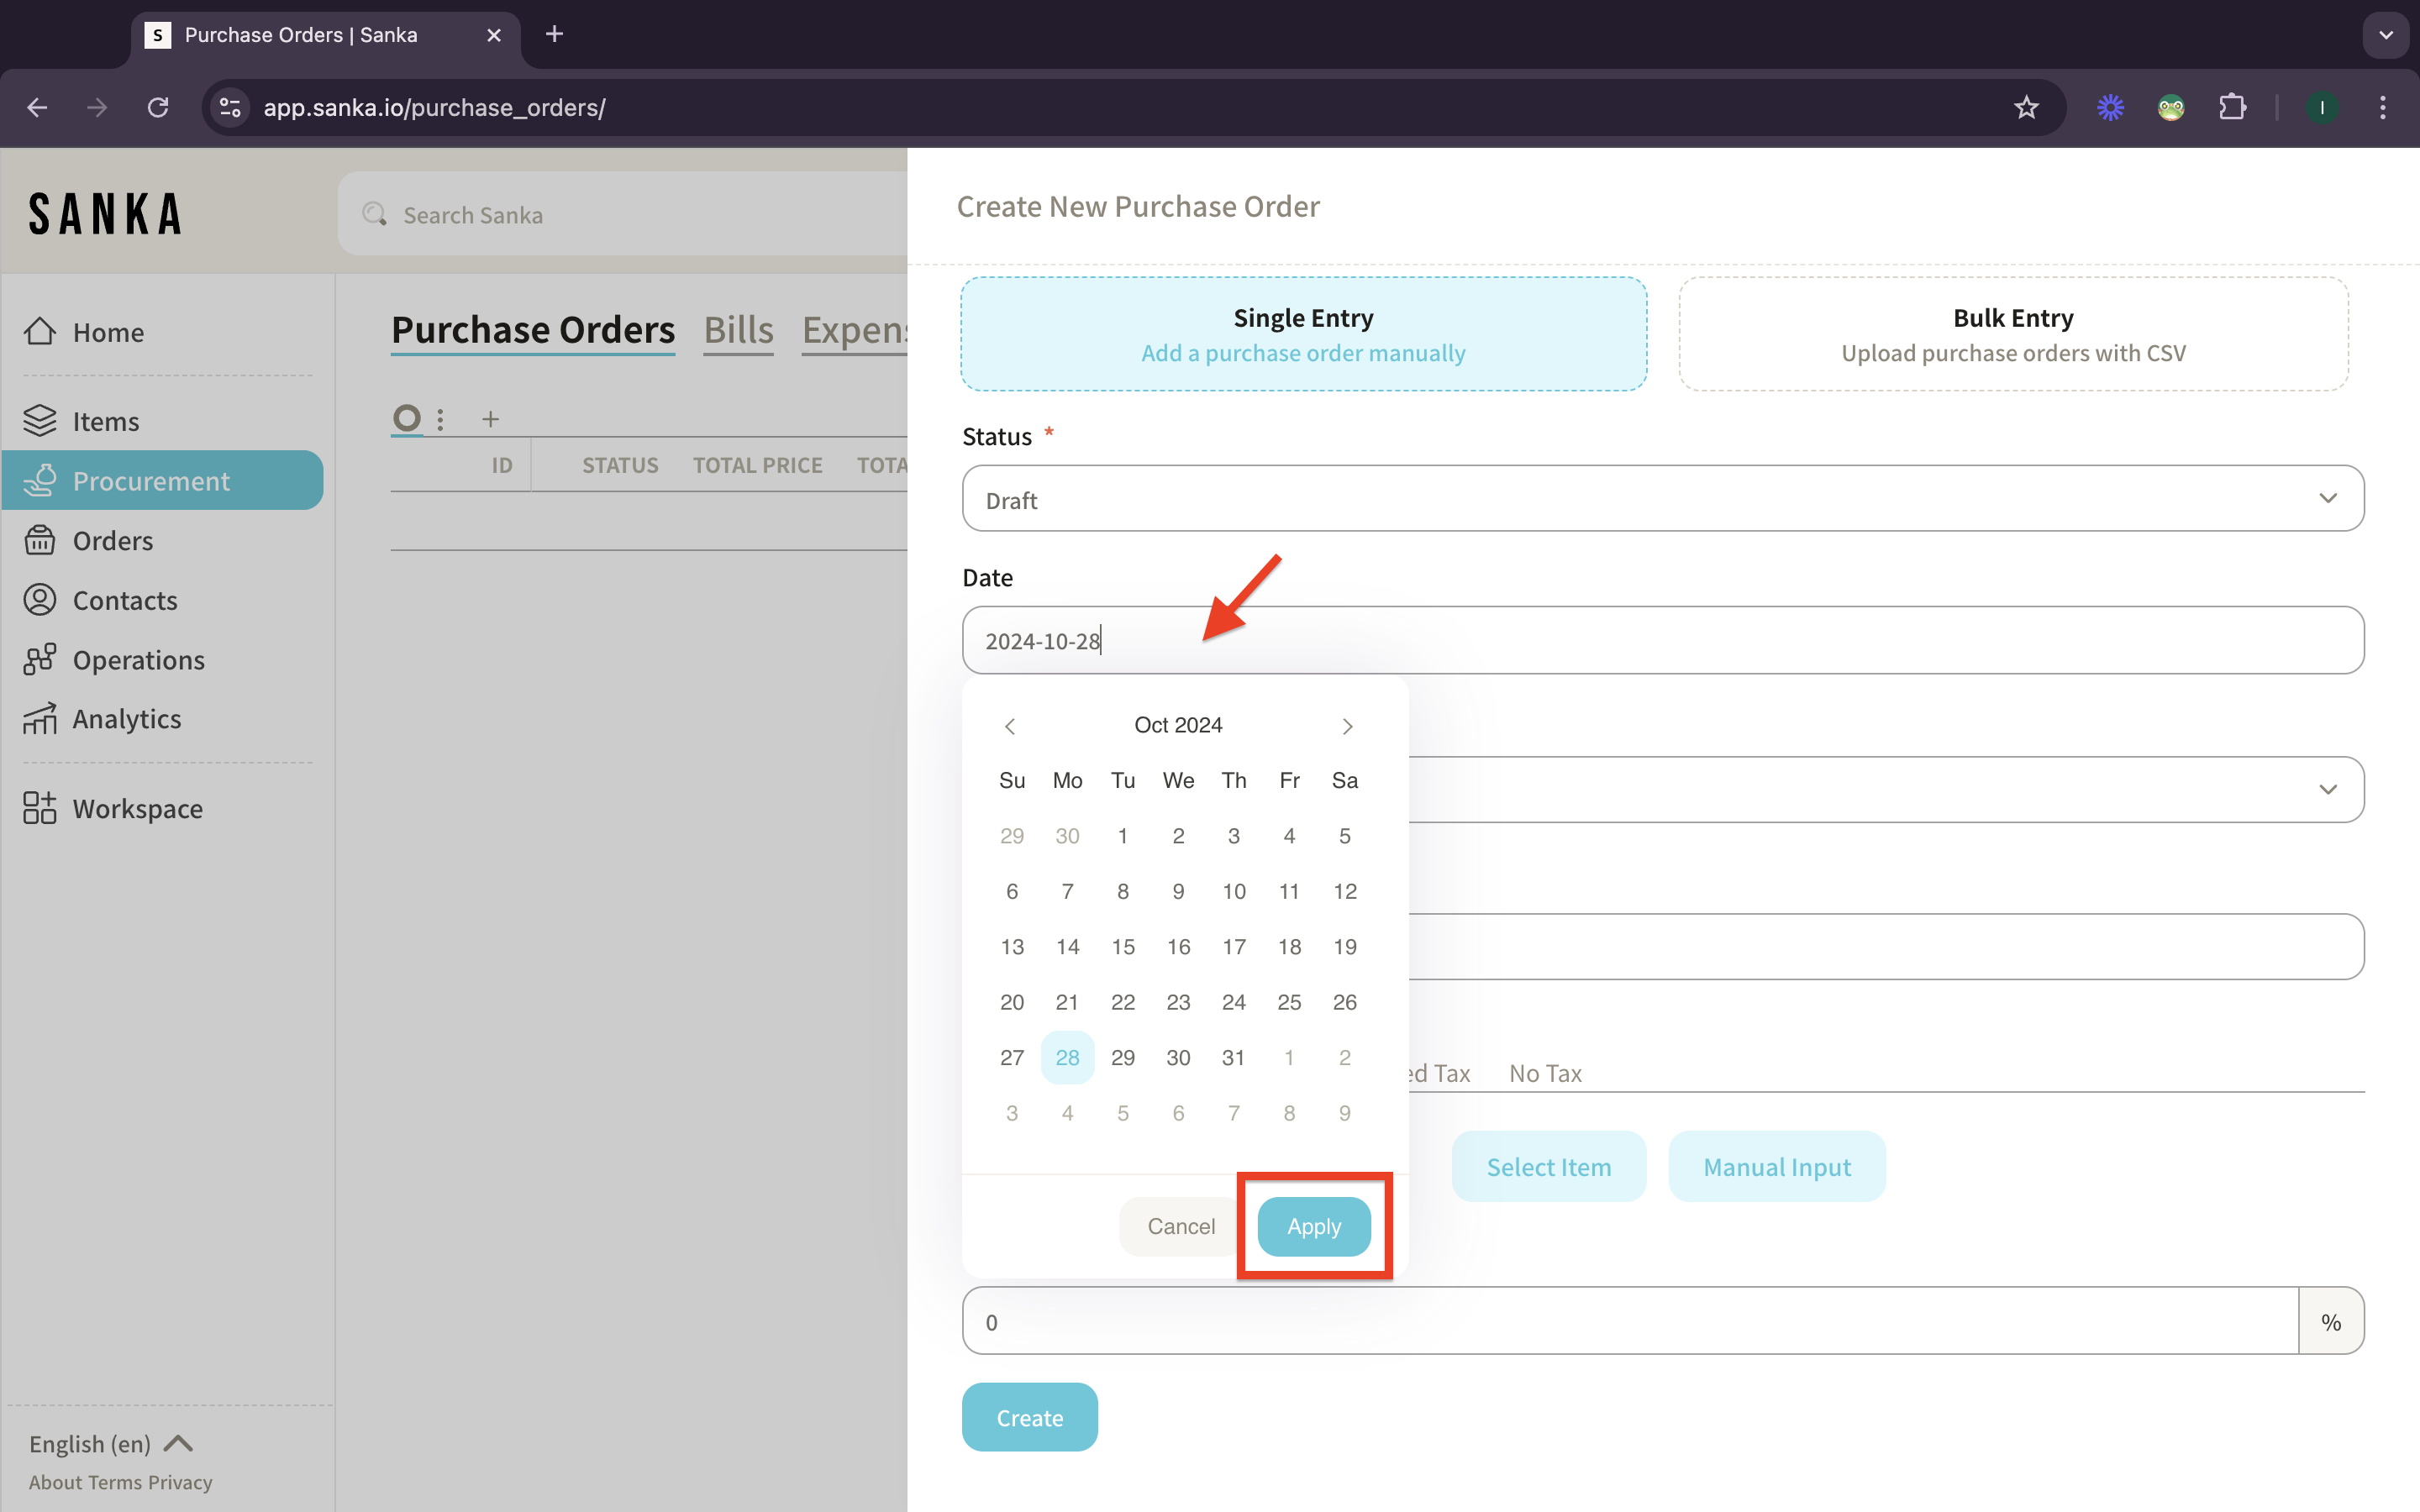
4: Payment Date will set “Today” as default, but you can change it if necessary. Just select the date and click apply.
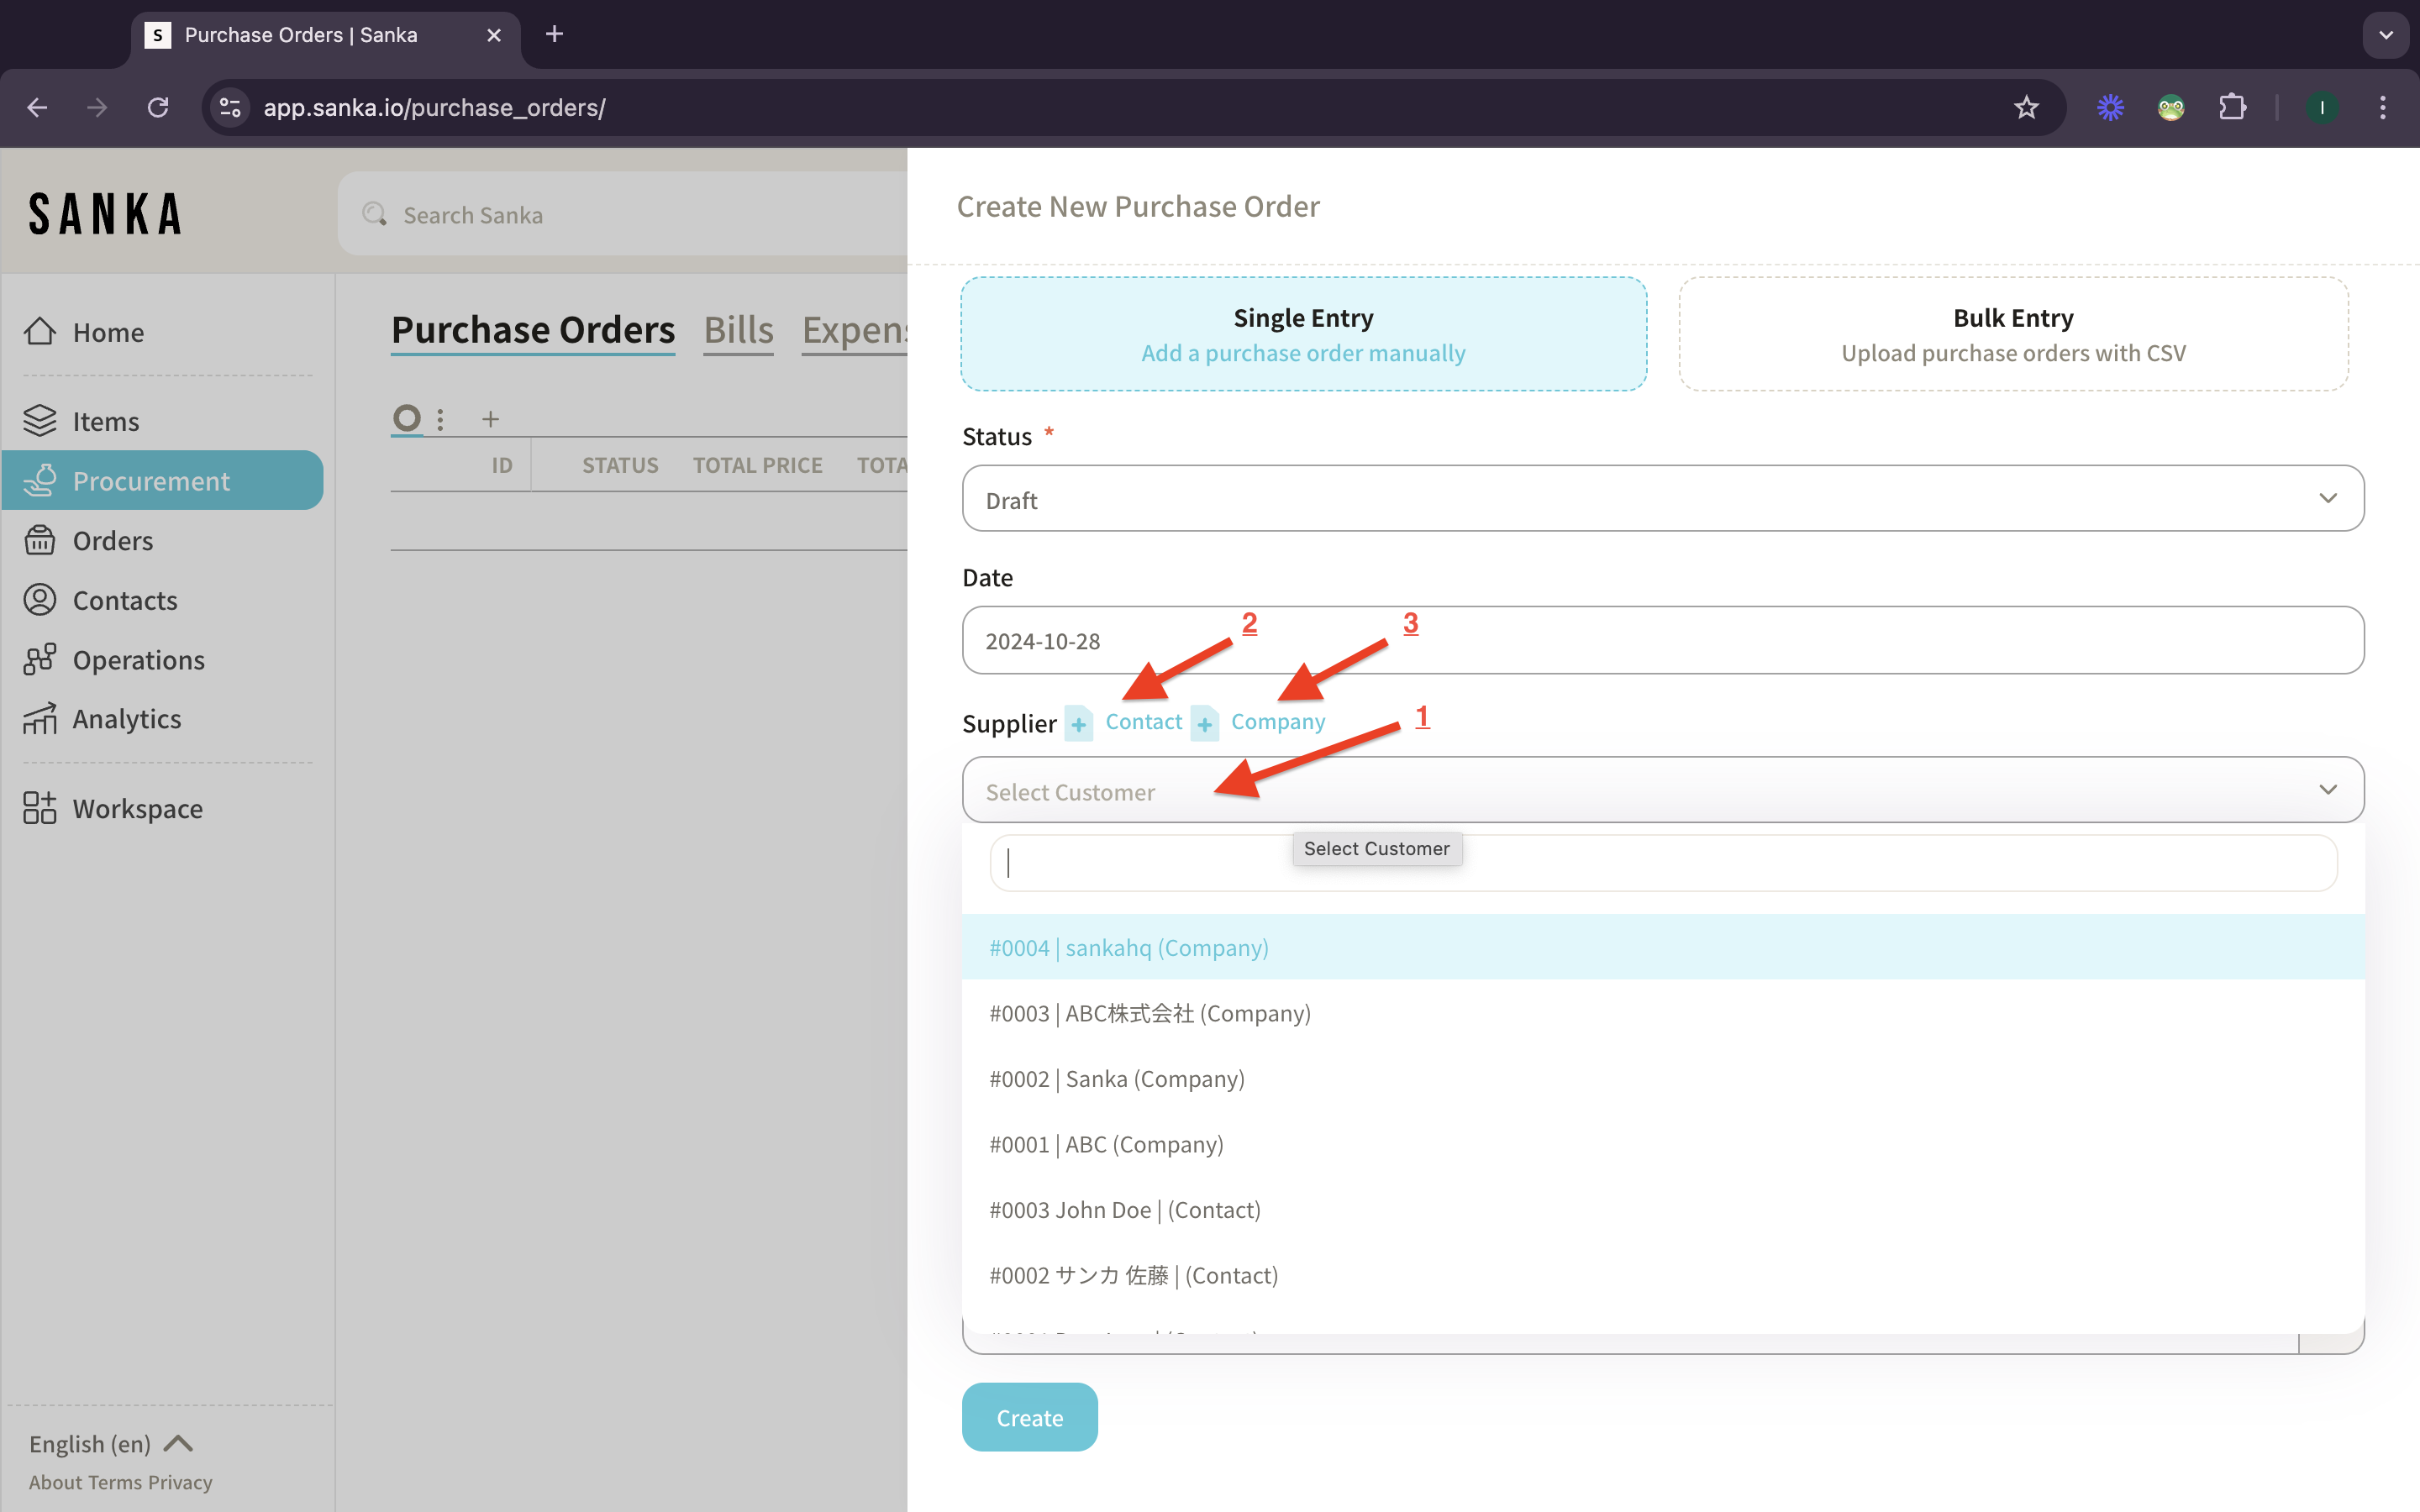
5: Select the supplier from the list (1). If you don’t have any, you can add directly from Contact (2) or Company (3) add button.
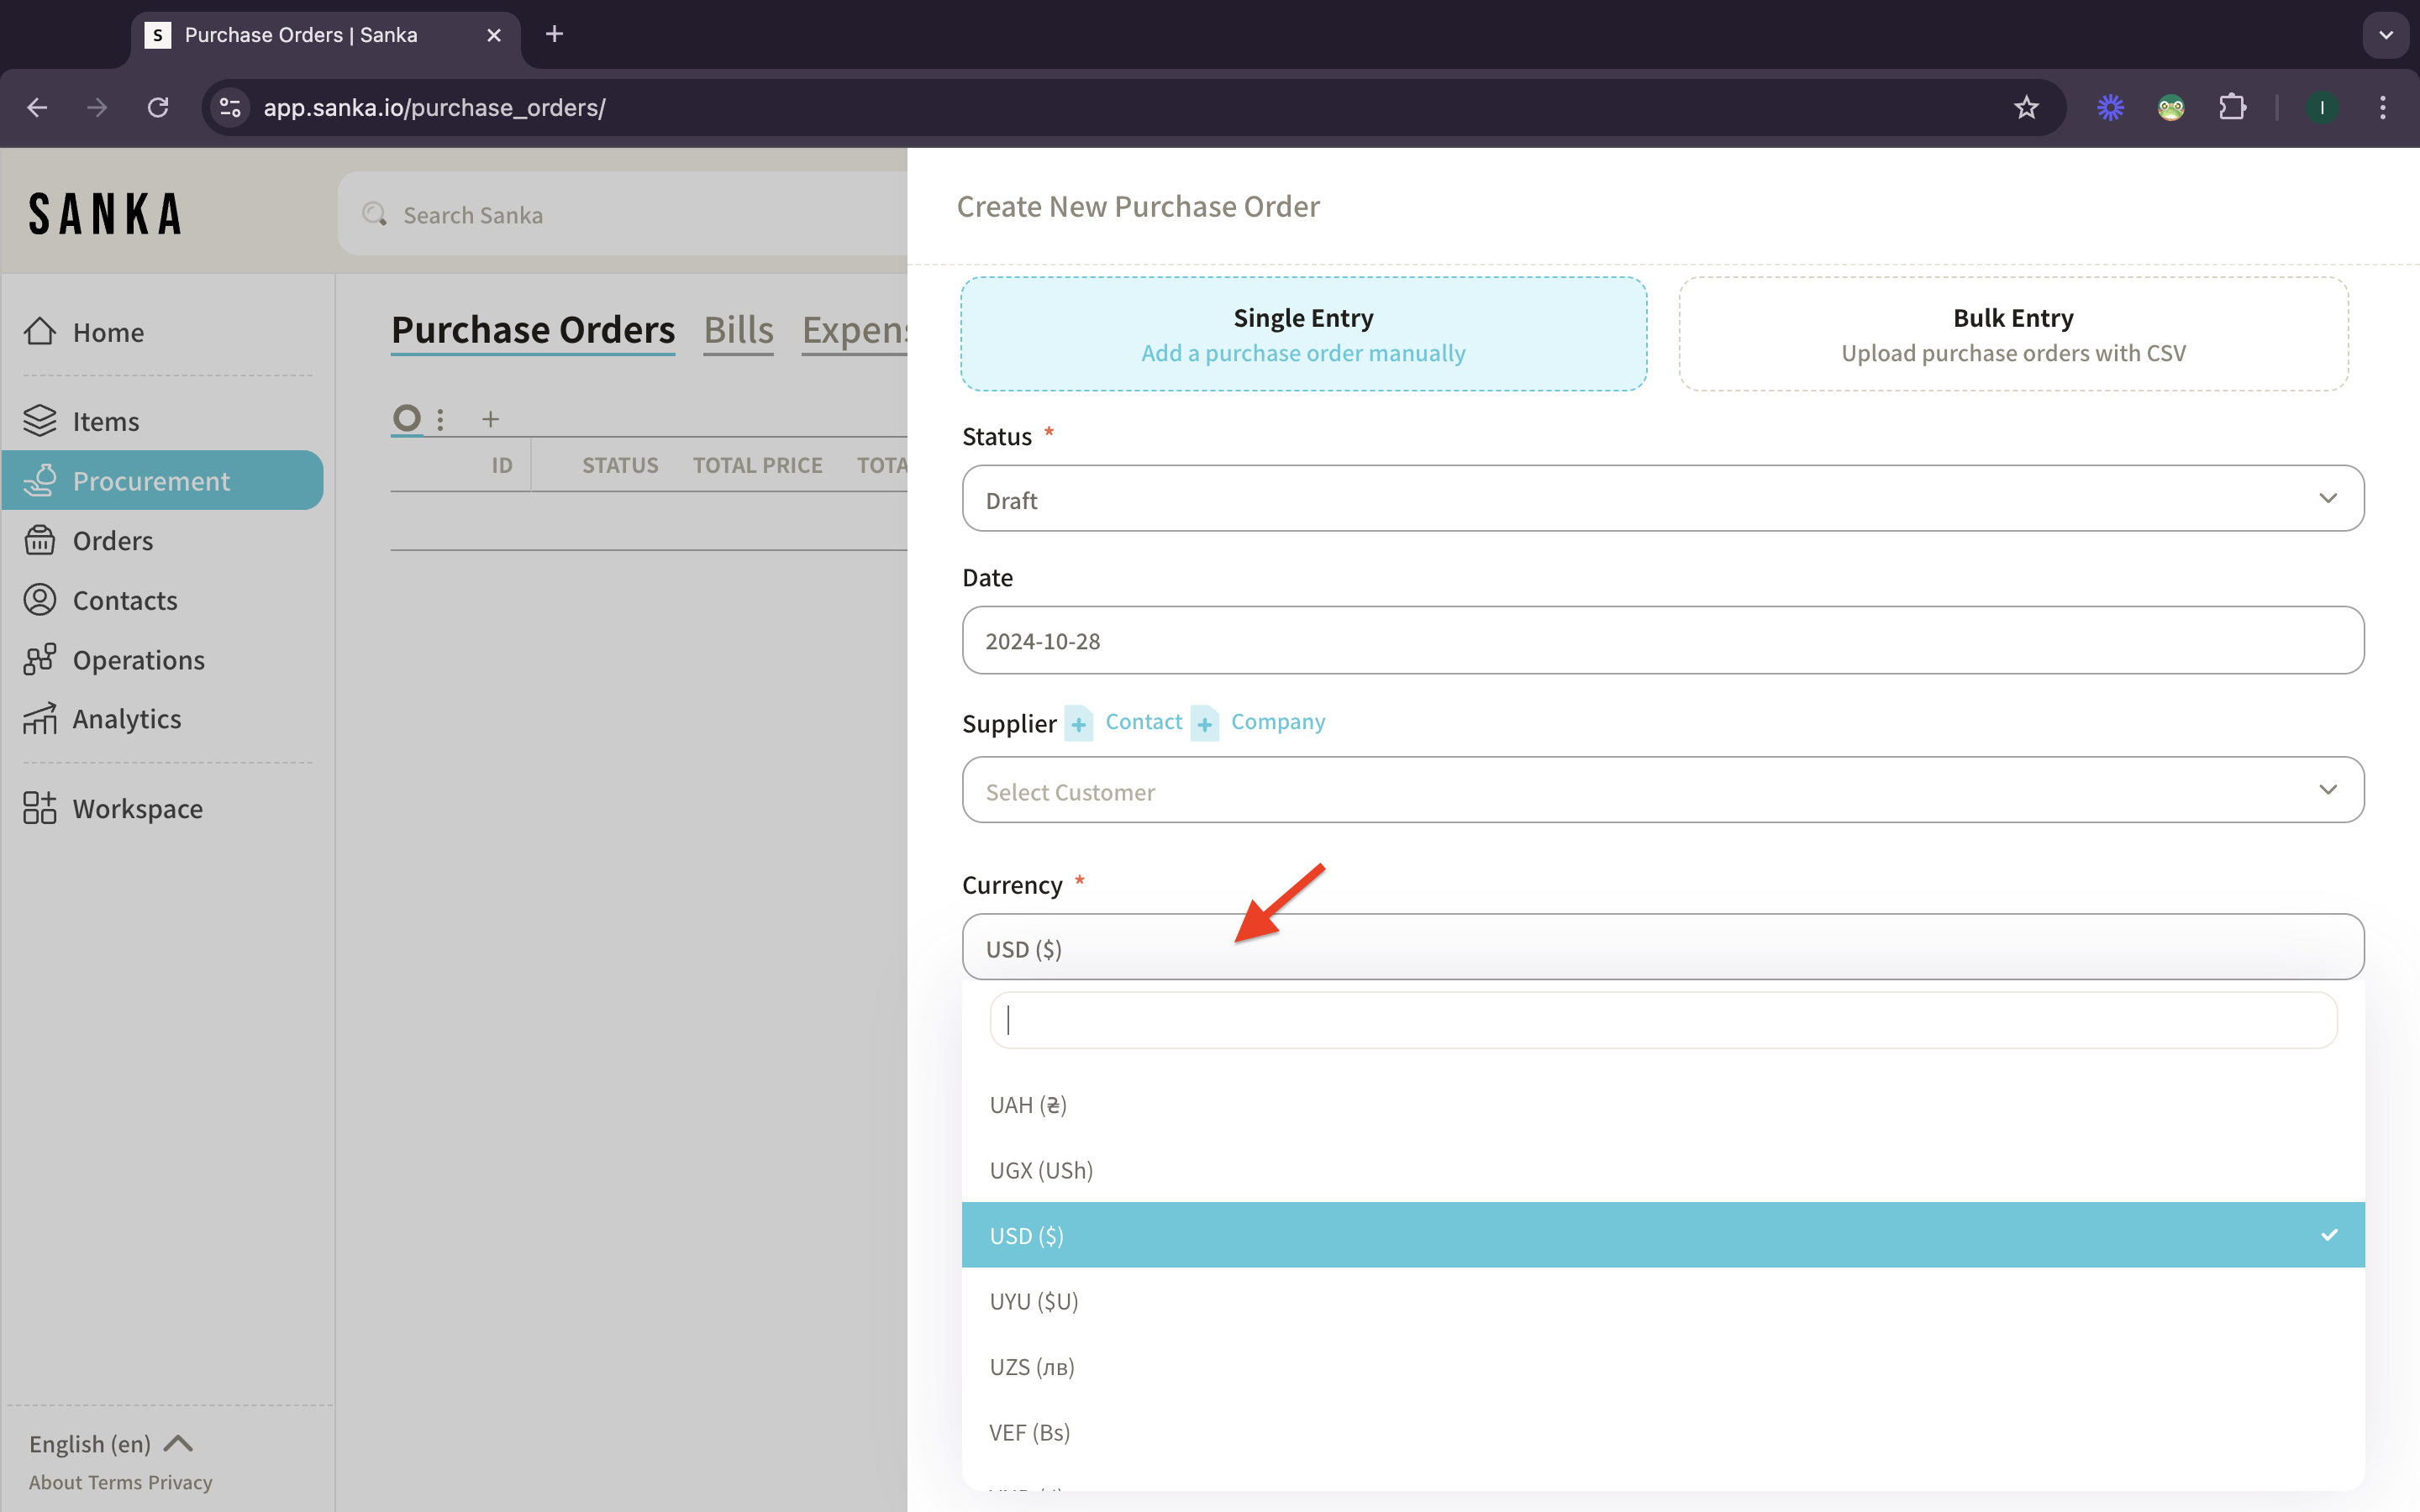
6: Select the currency.
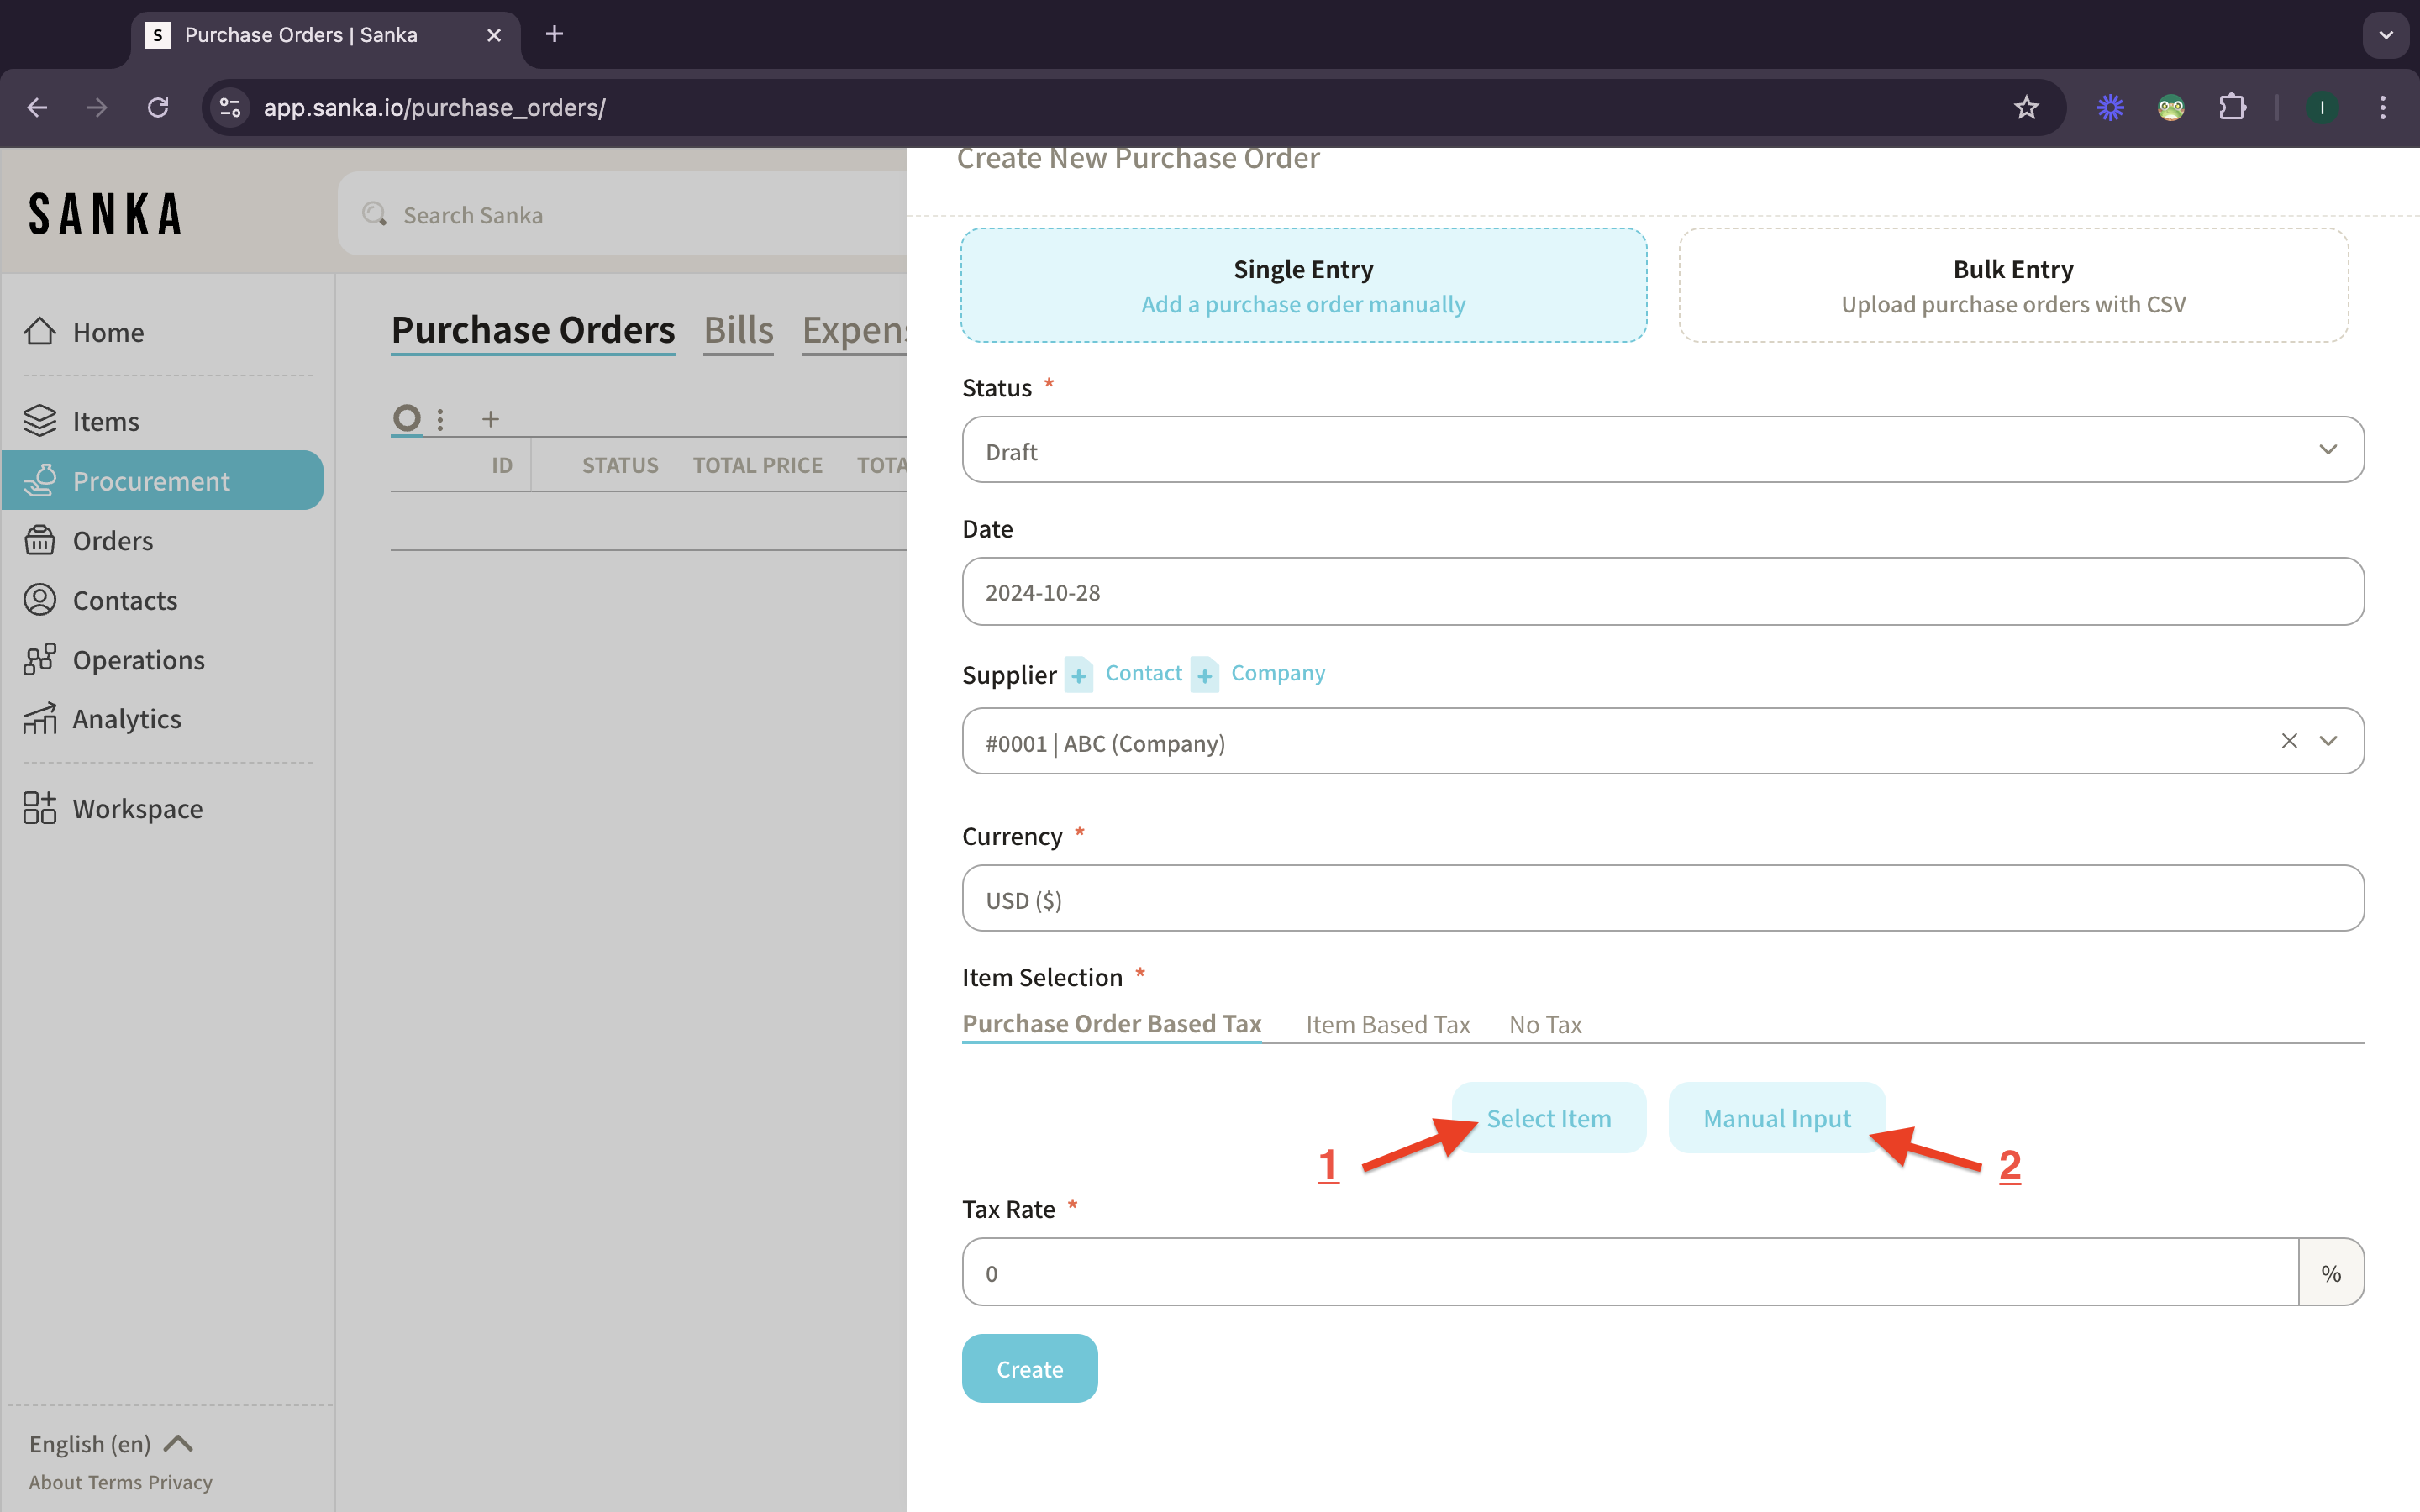
7: Next, go to Item Selection. There are 2 type of item input methods. First is “Select item” method in which you just select the purchase orders from the item records.
8: If you click select item, the items records will show up on the dropdown.
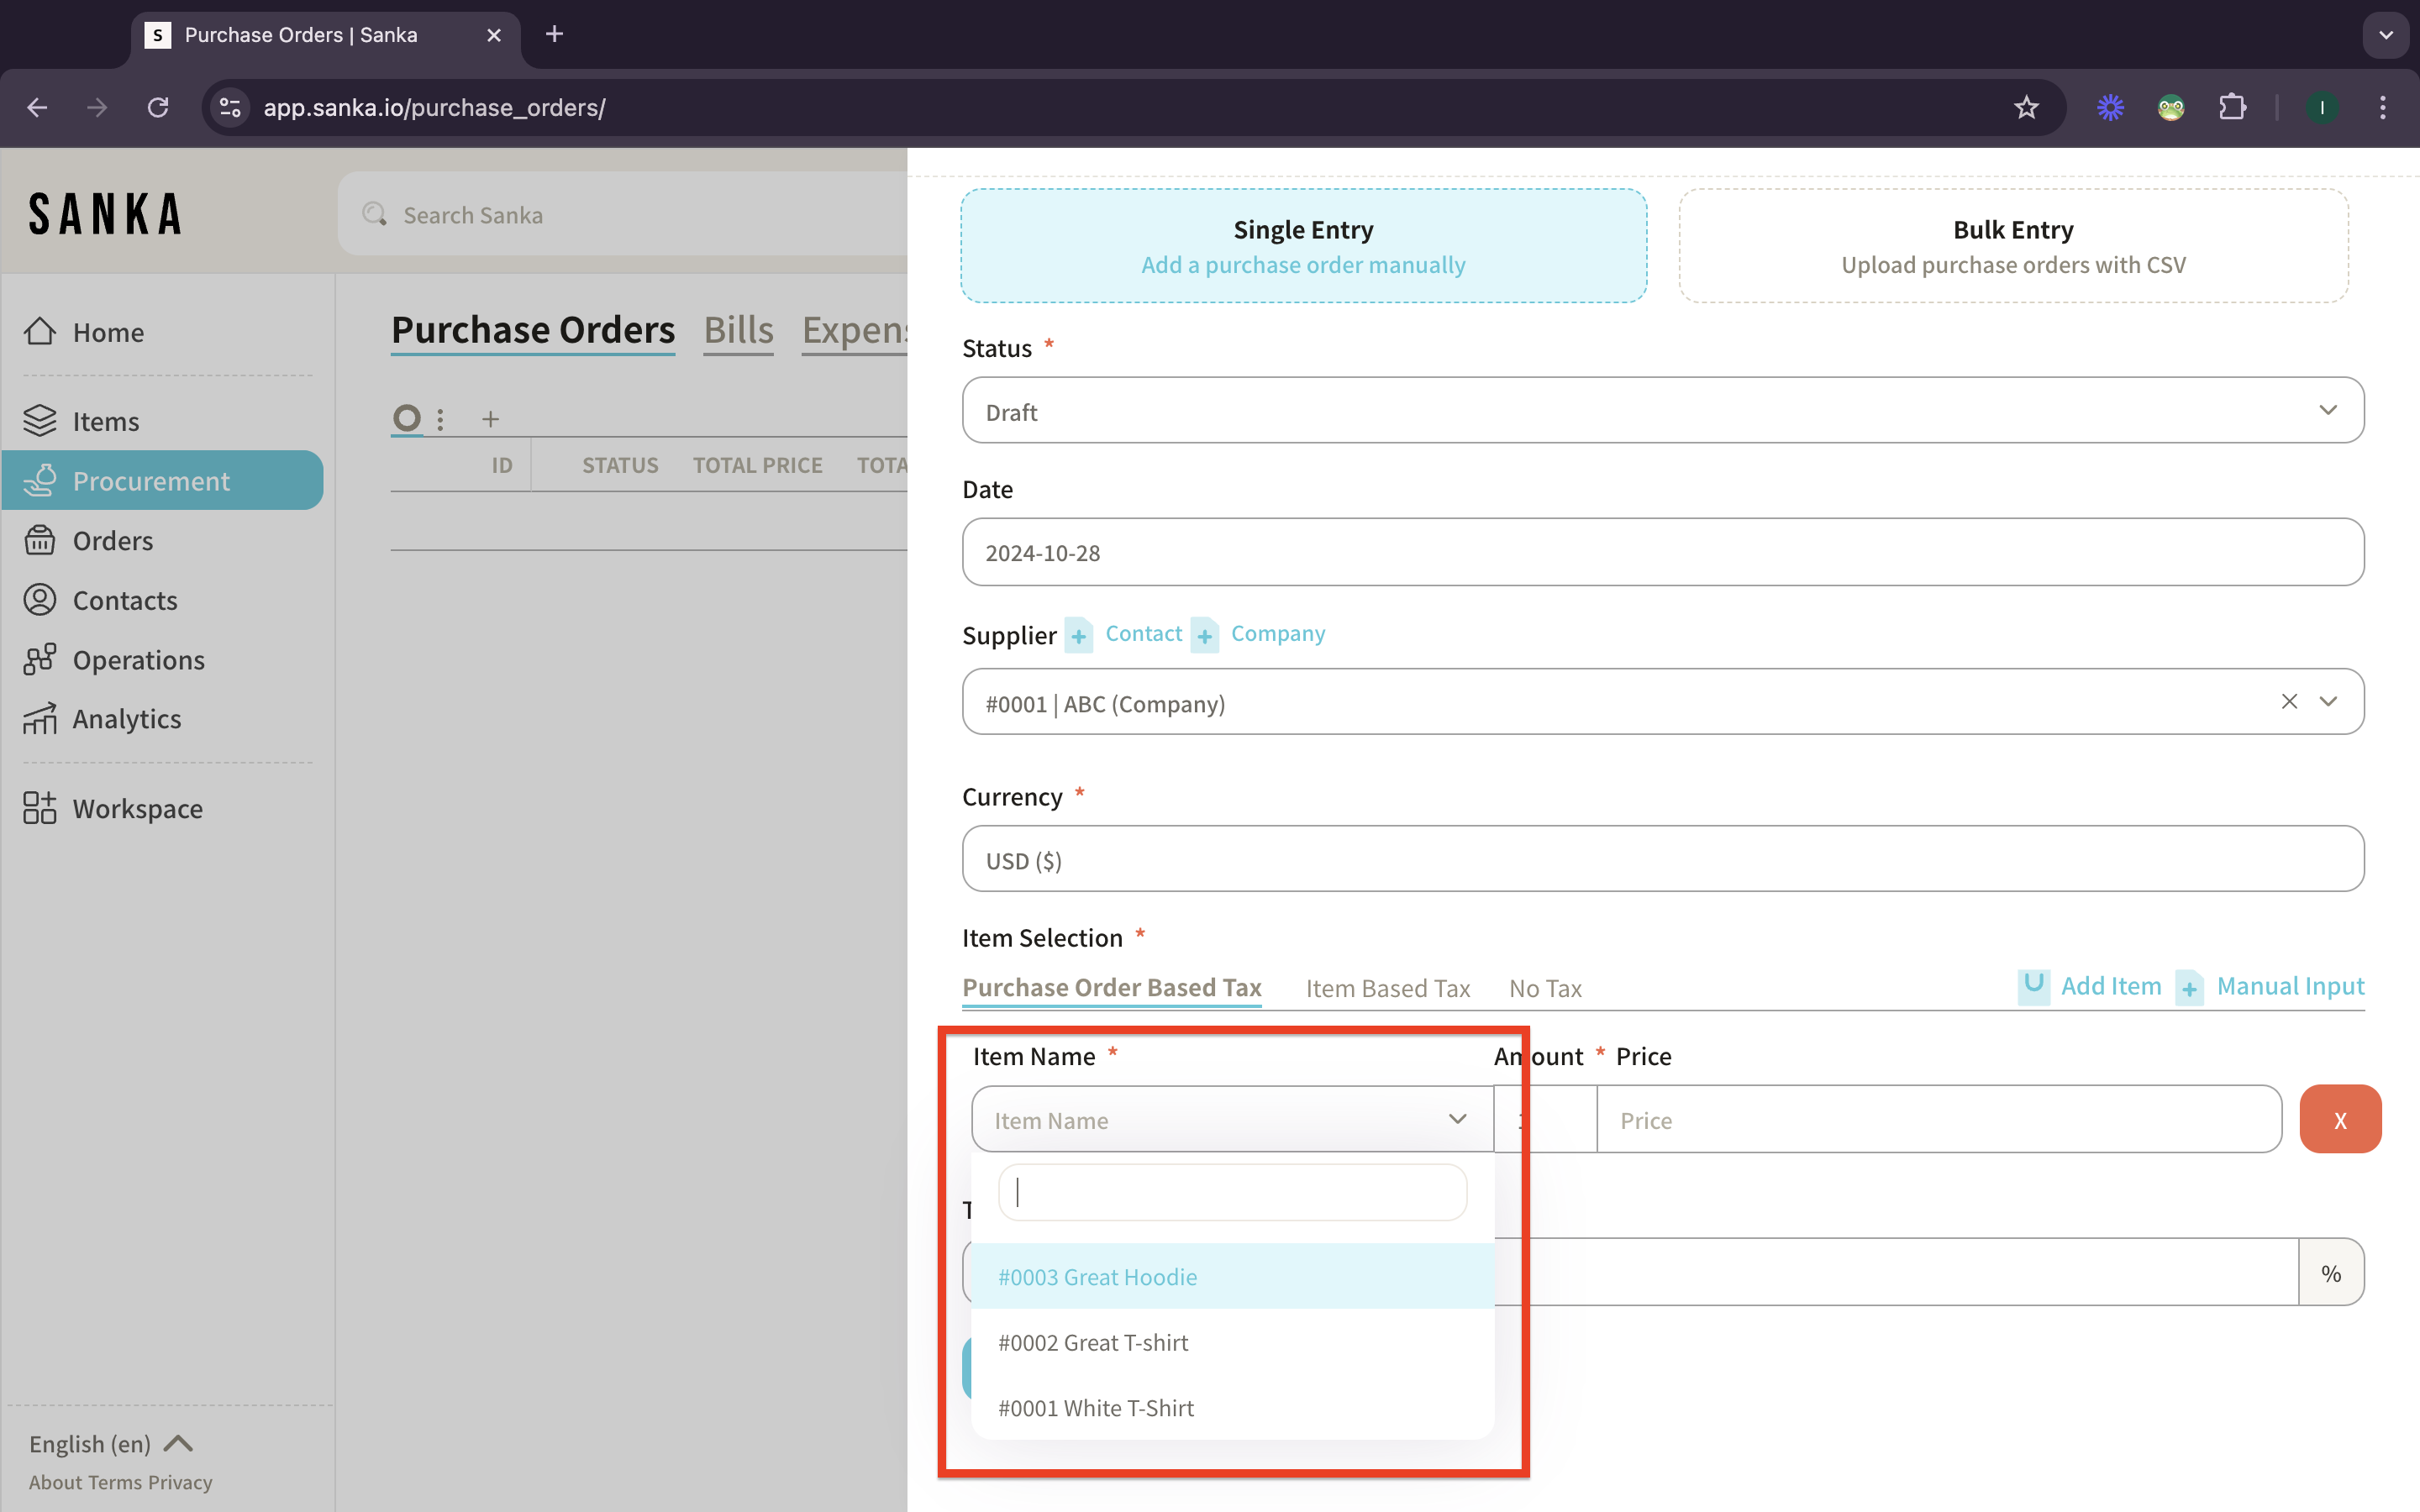
9: Please be noted that you have to create items records first at inventory management modules. Make sure the currency is matched to items or it won’t show up on the lists.
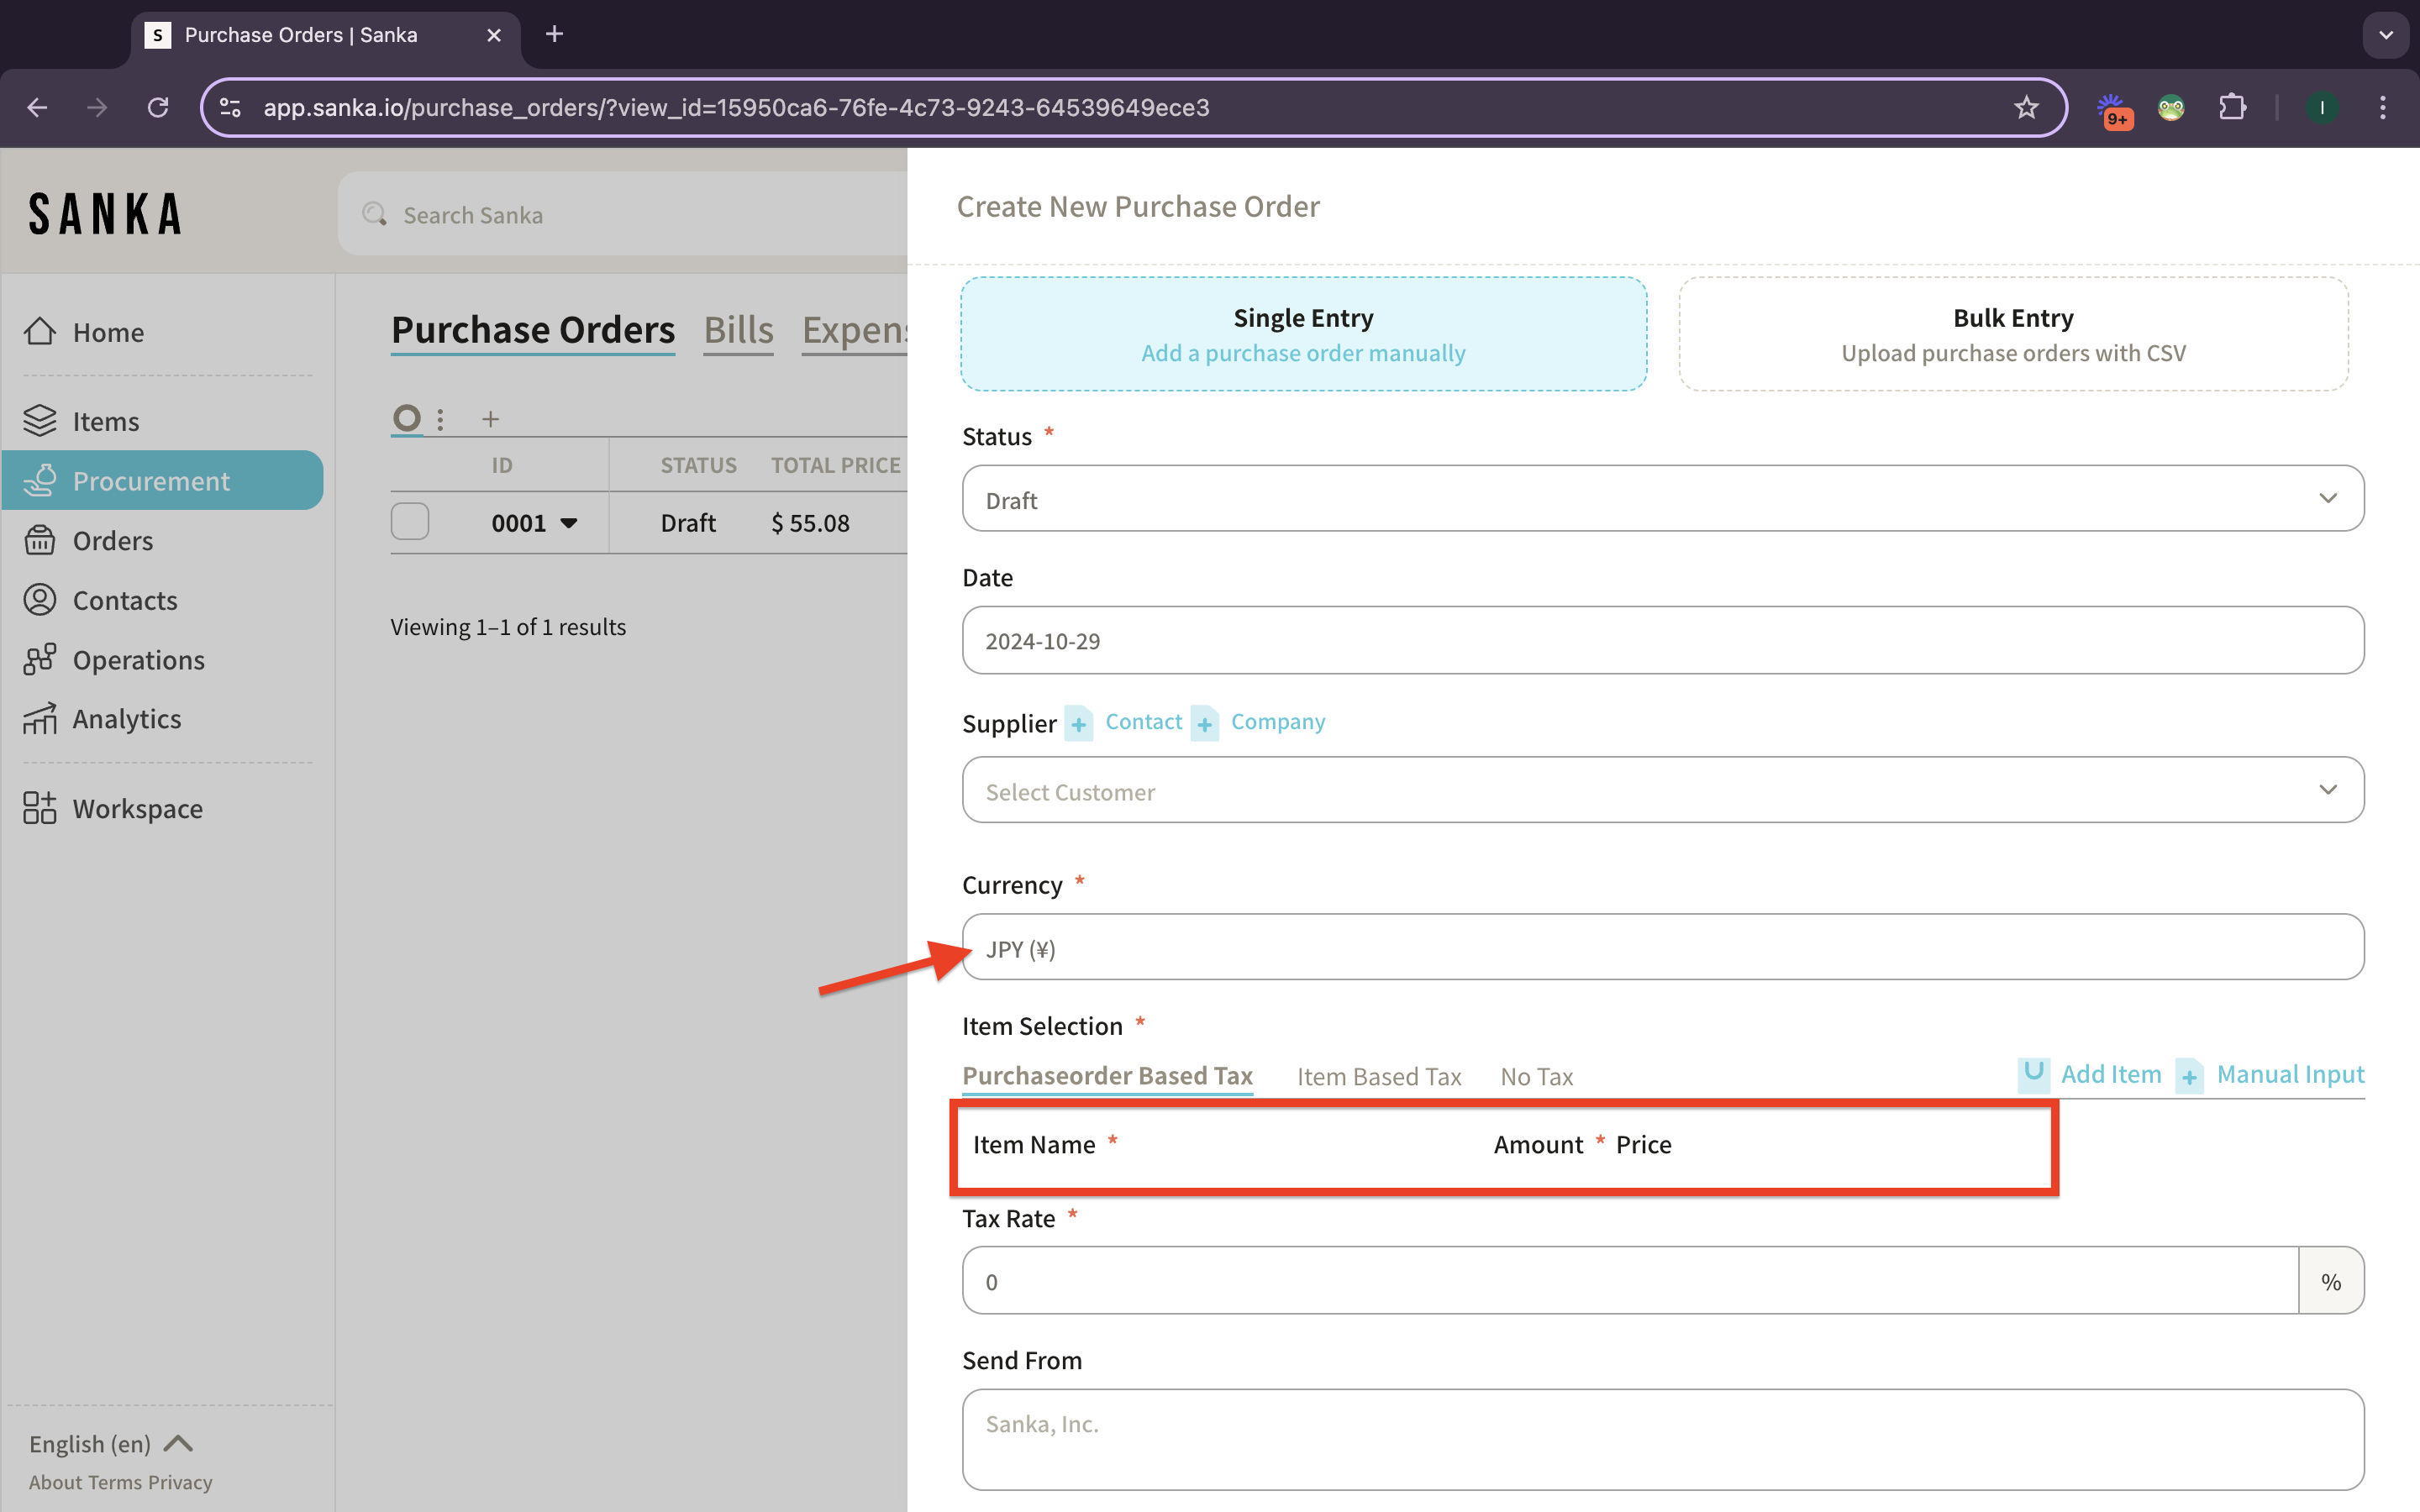
10: Select item from the list and the price will automatically filled. You can add more item by clicking “Add Item” button.
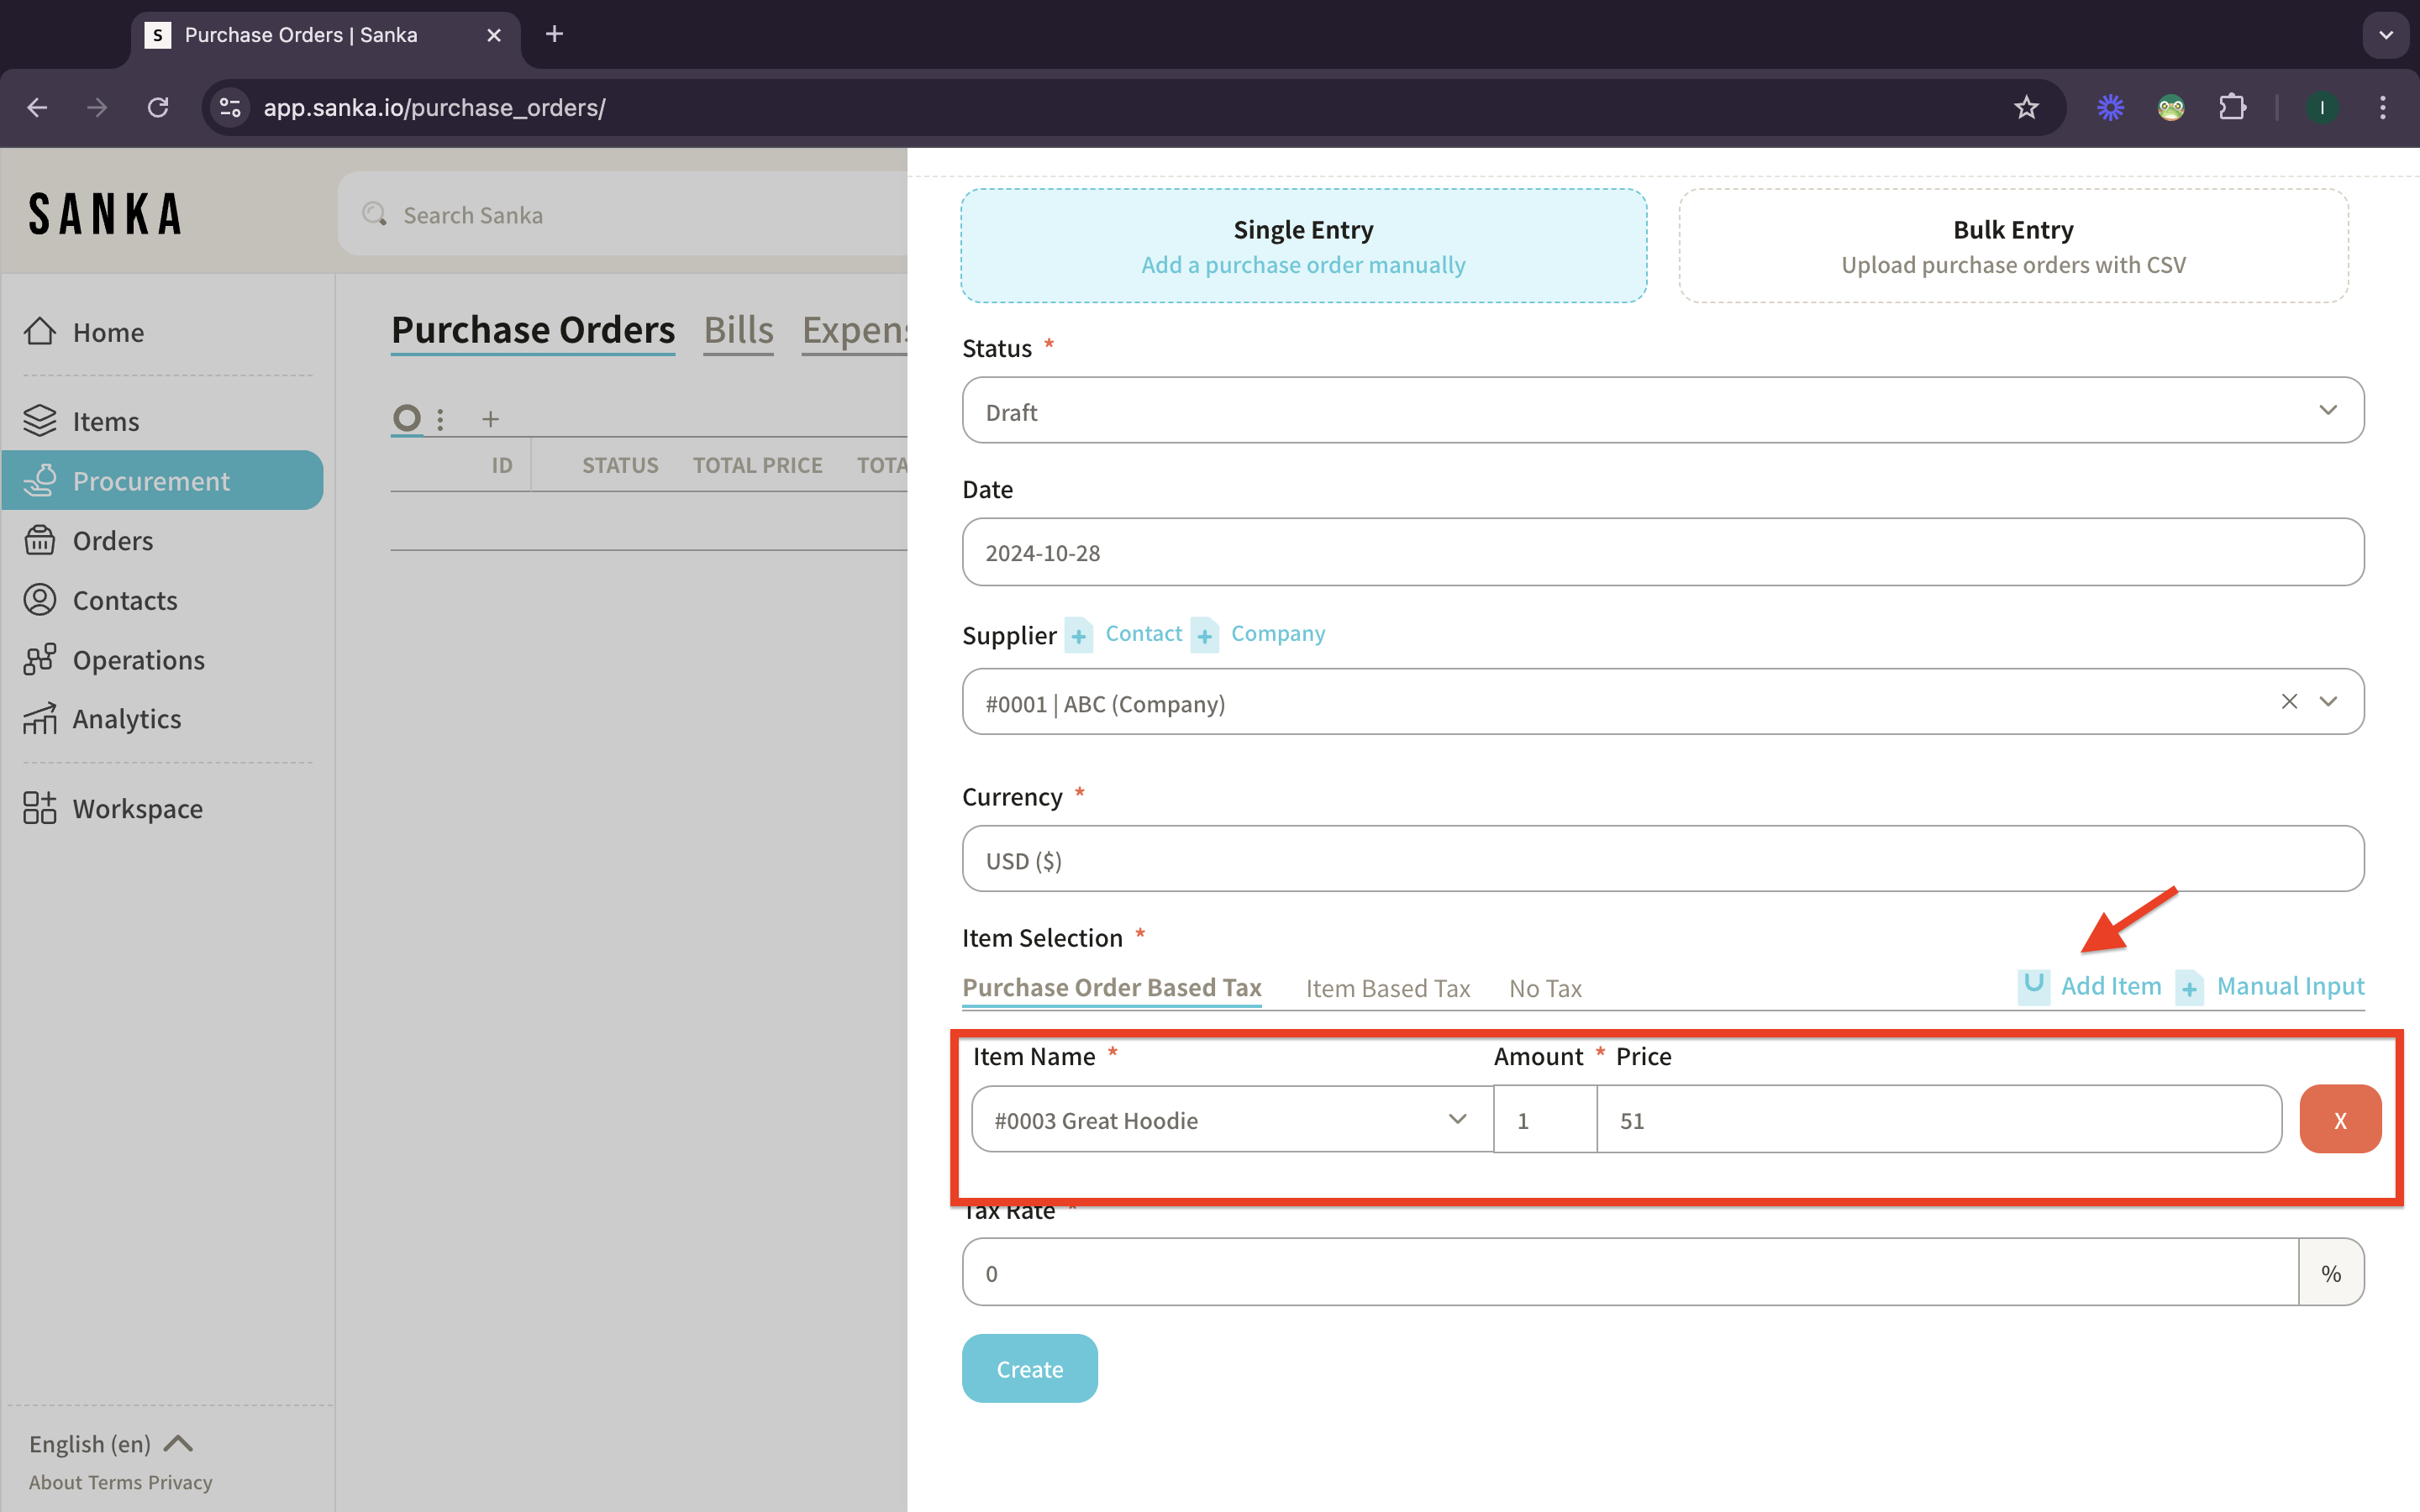
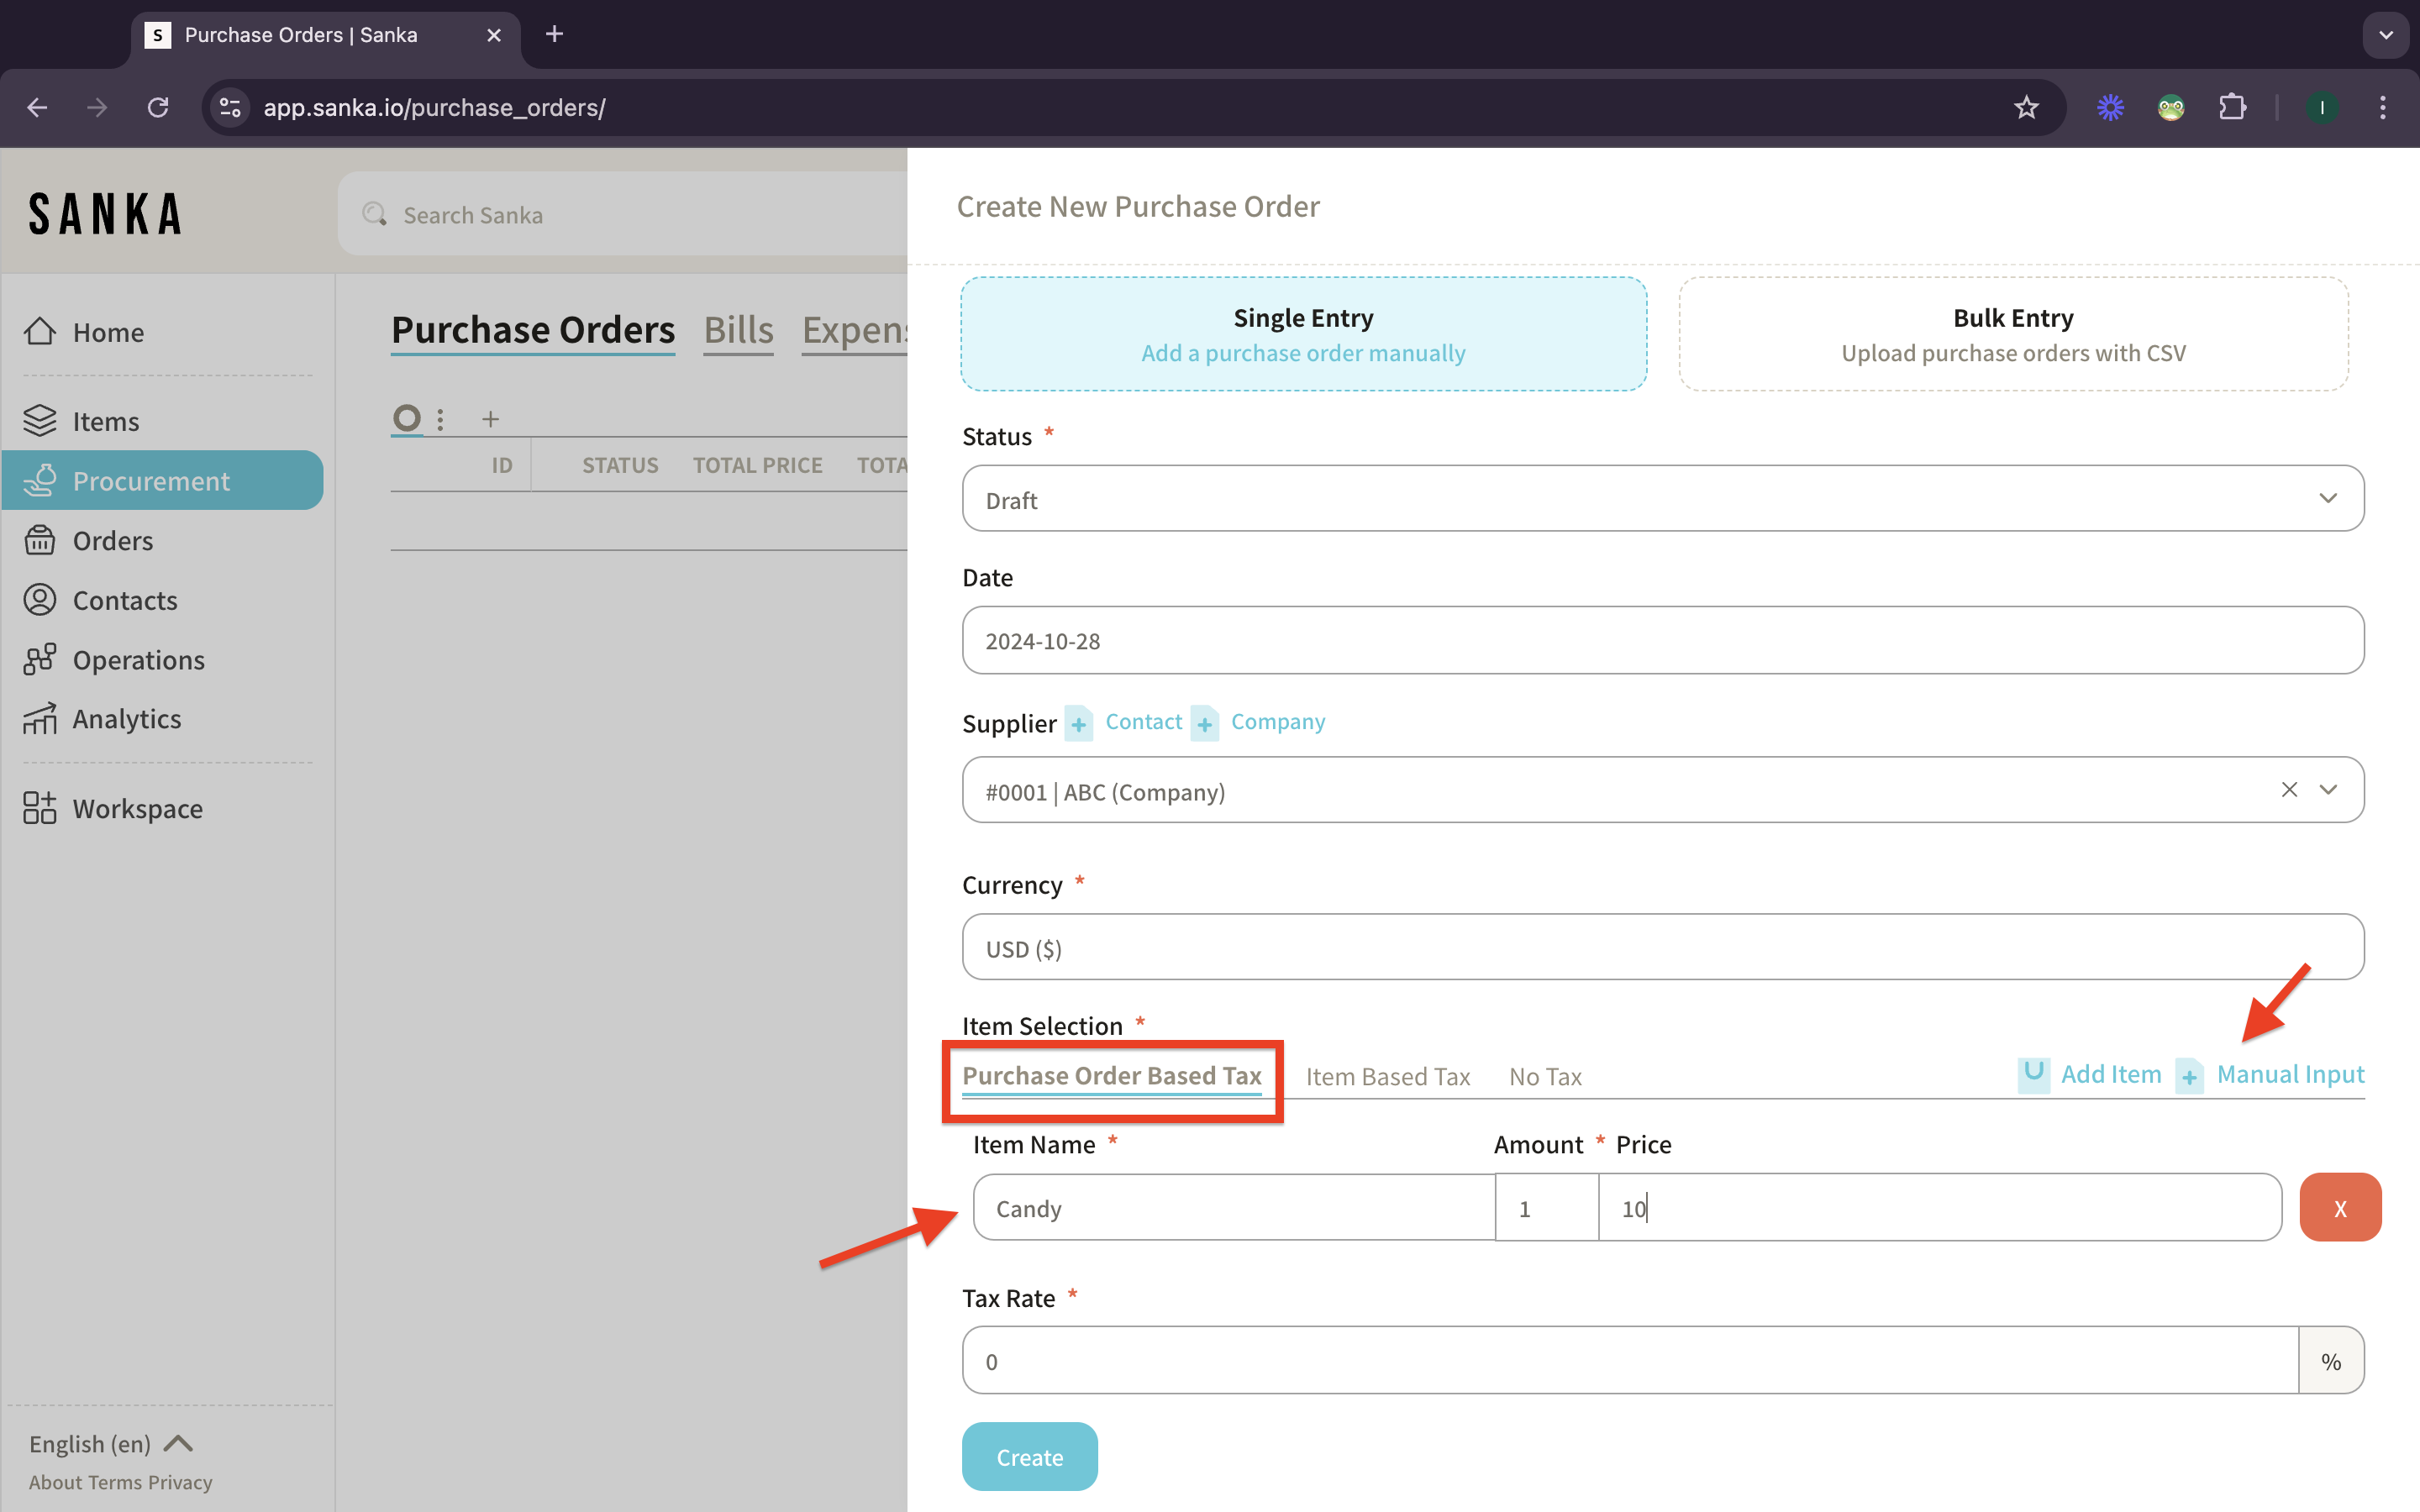
11: There are 3 item categories in Purchase Orders. First is Purchase Order Based Tax in which the tax will be applied in one Purchase Orders Records.
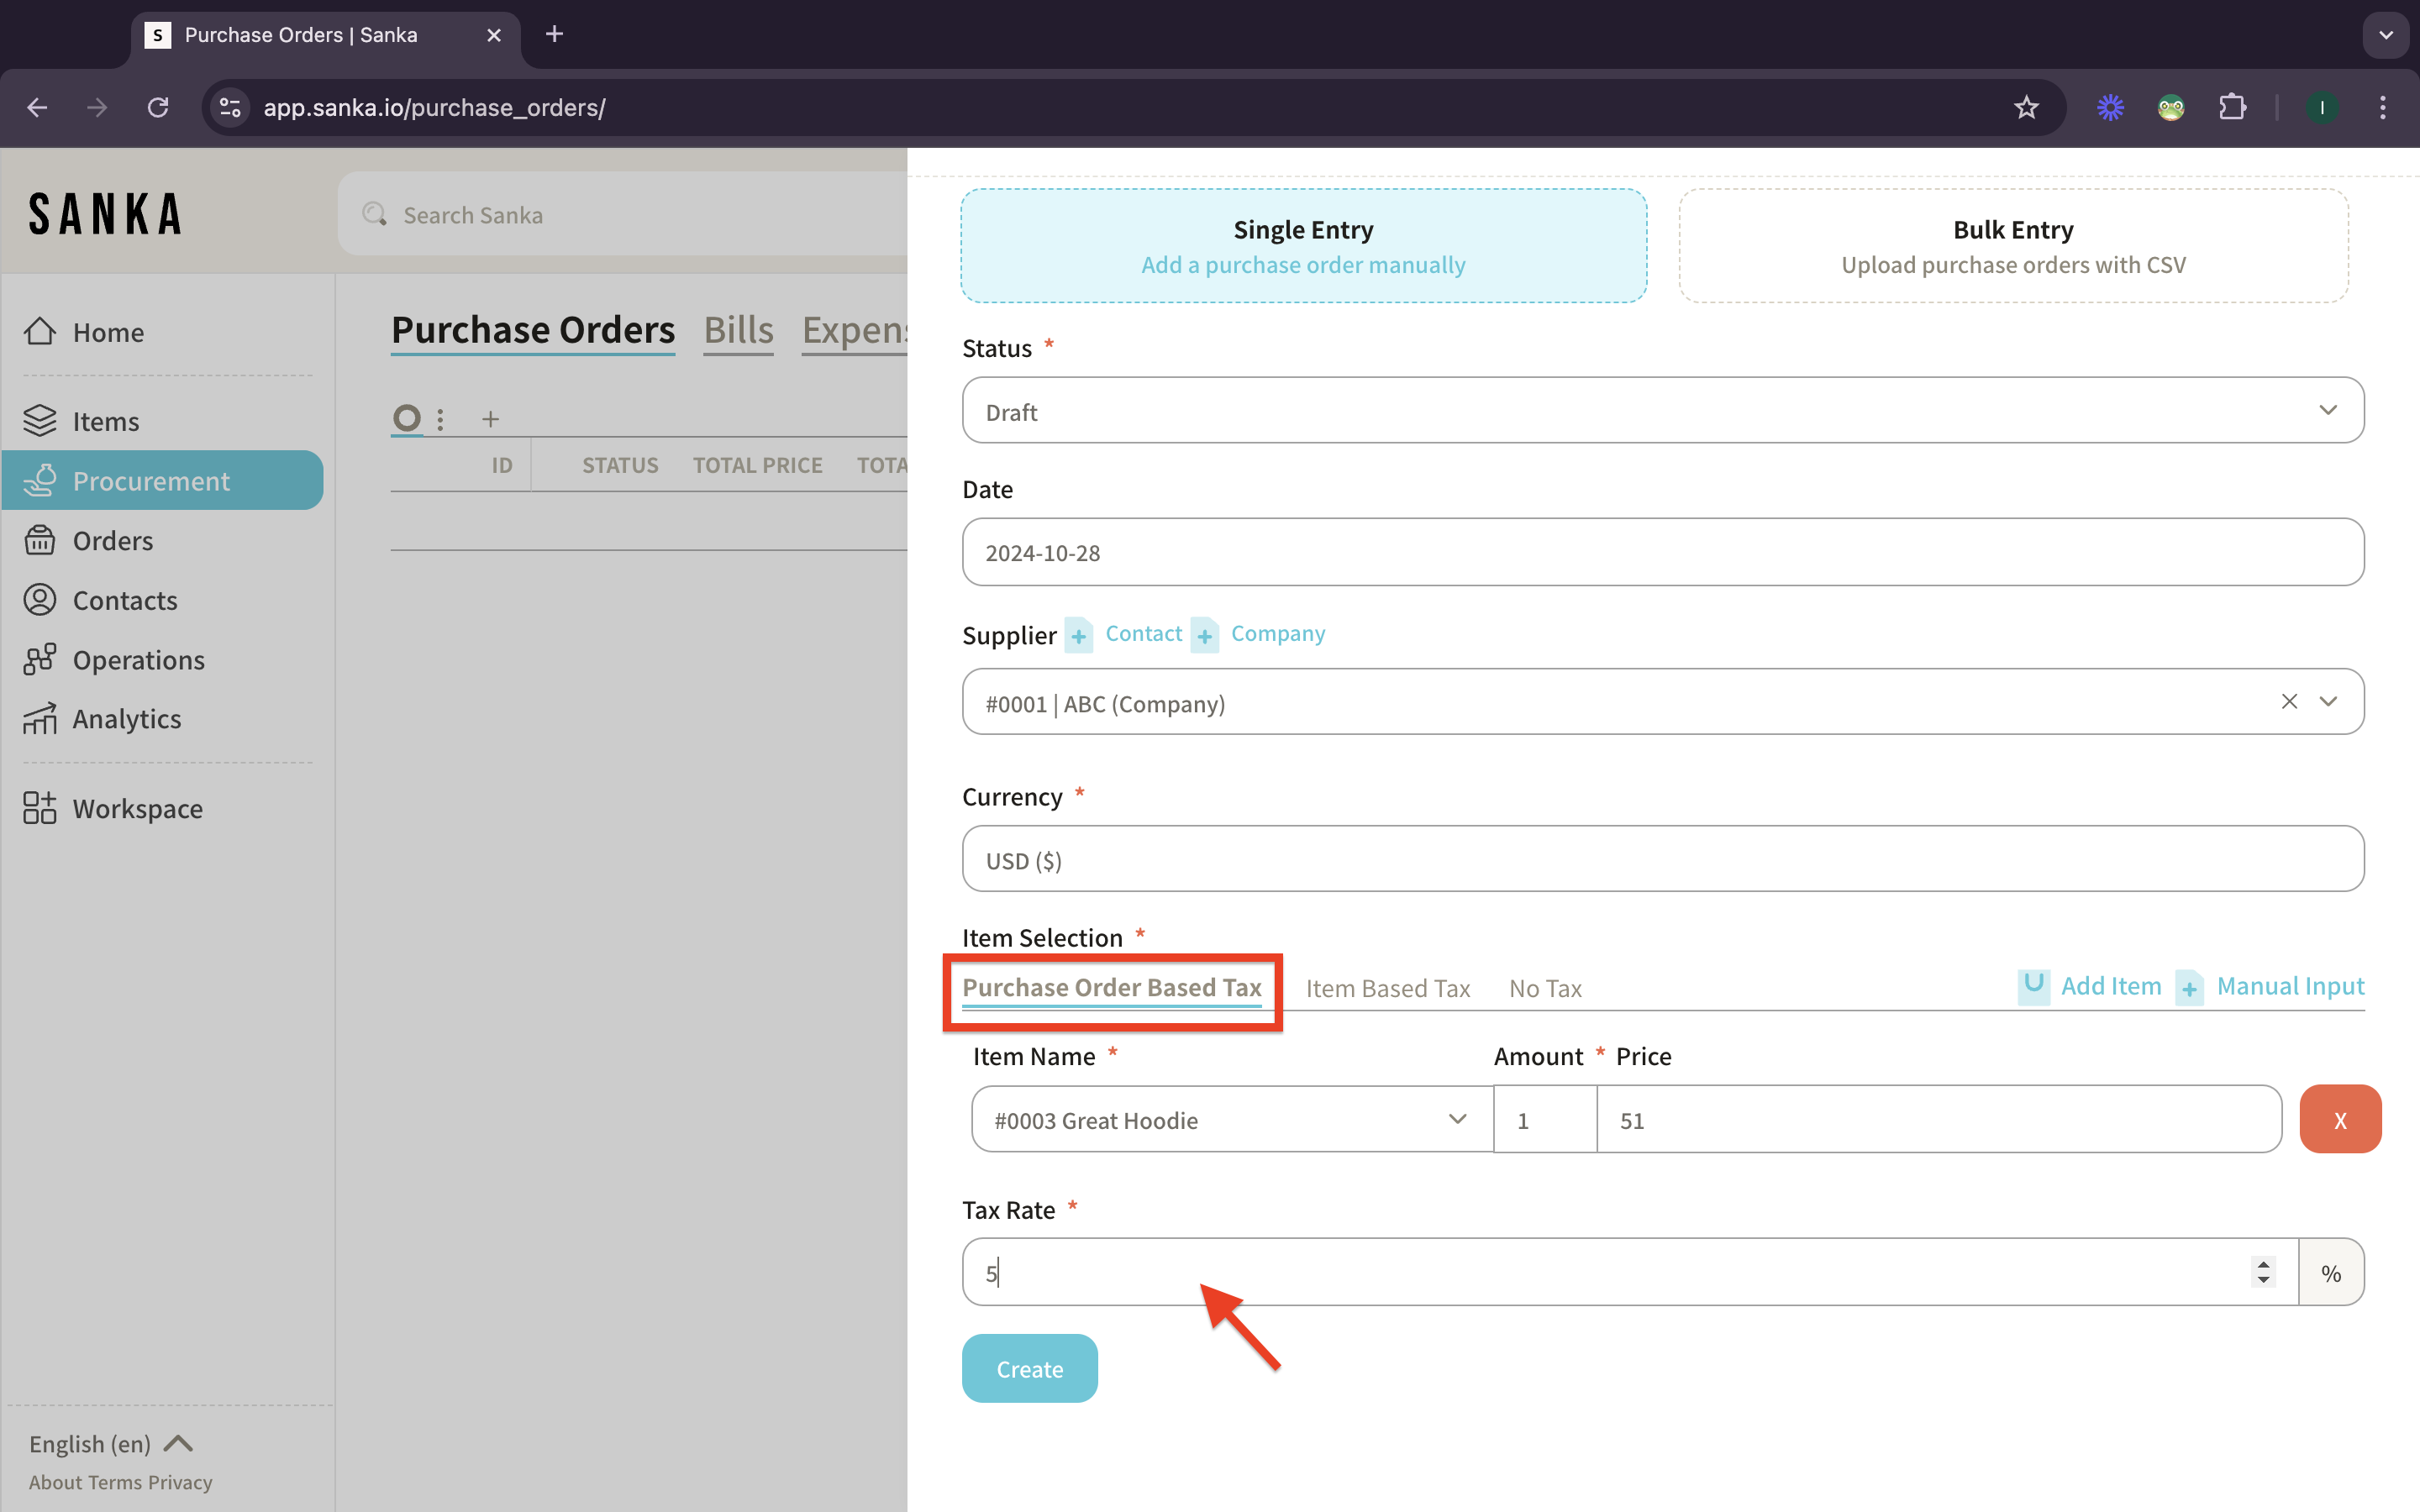
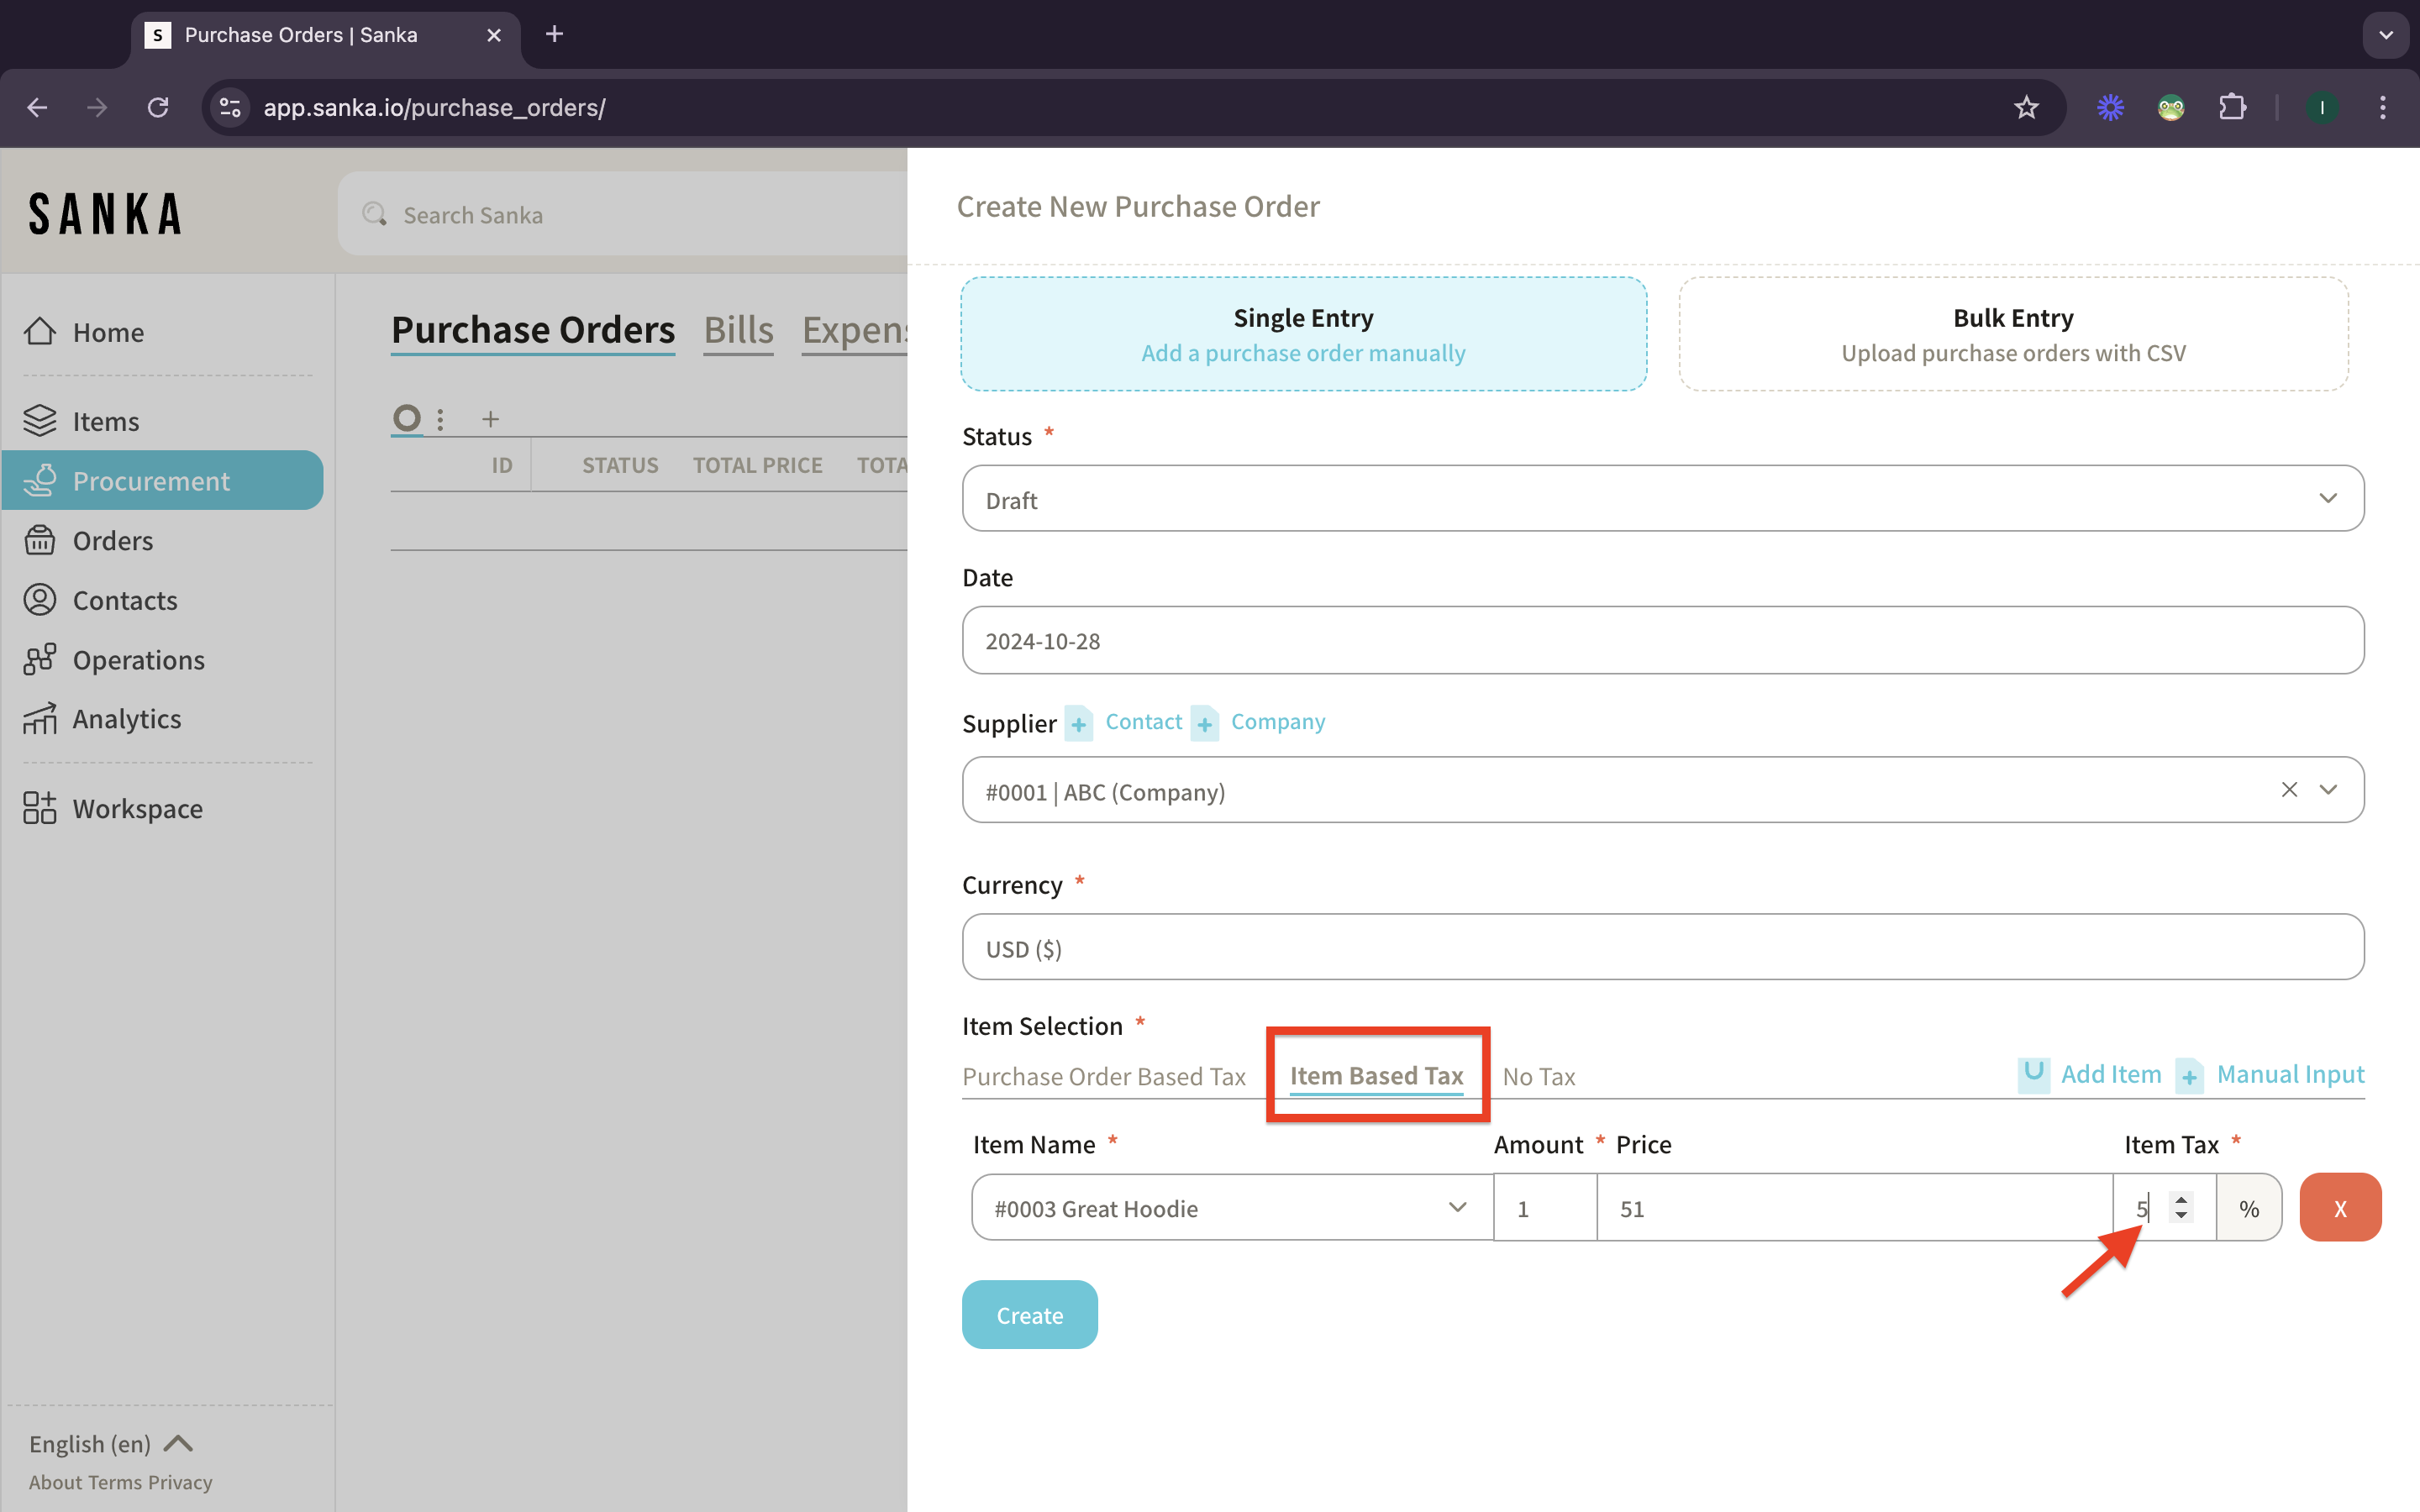
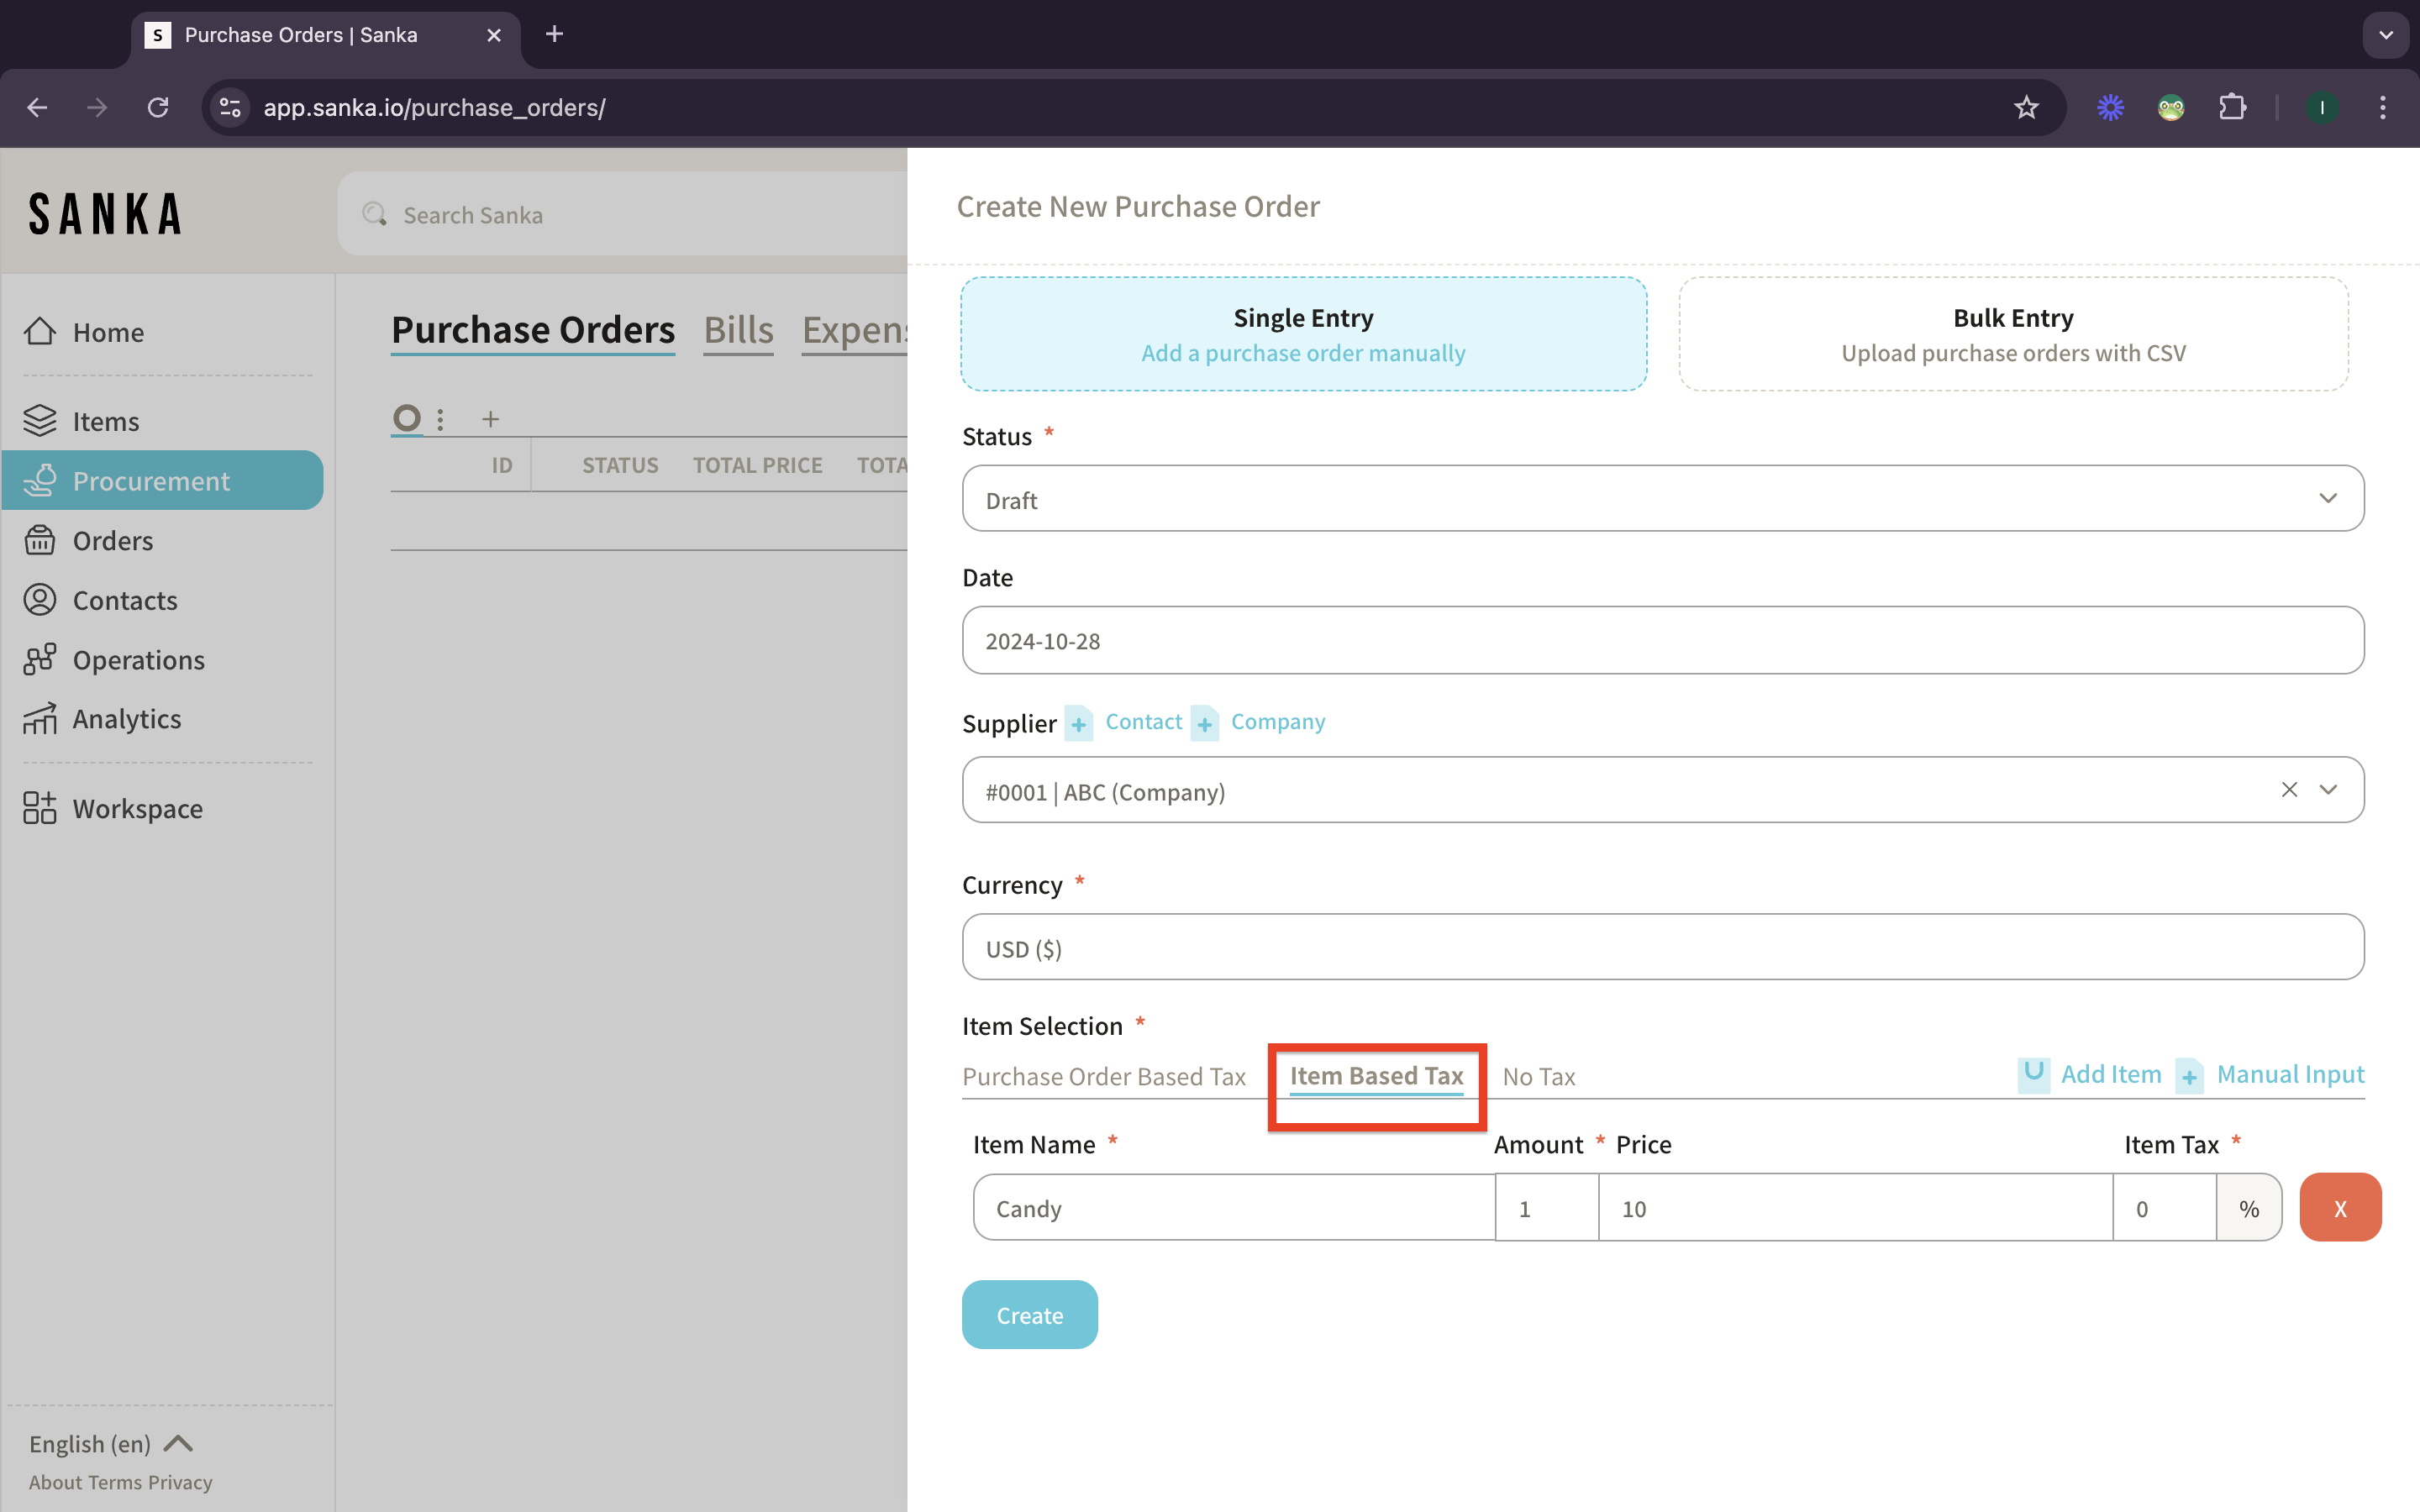
12: The second is Item Based Tax in which the tax is set on the item.
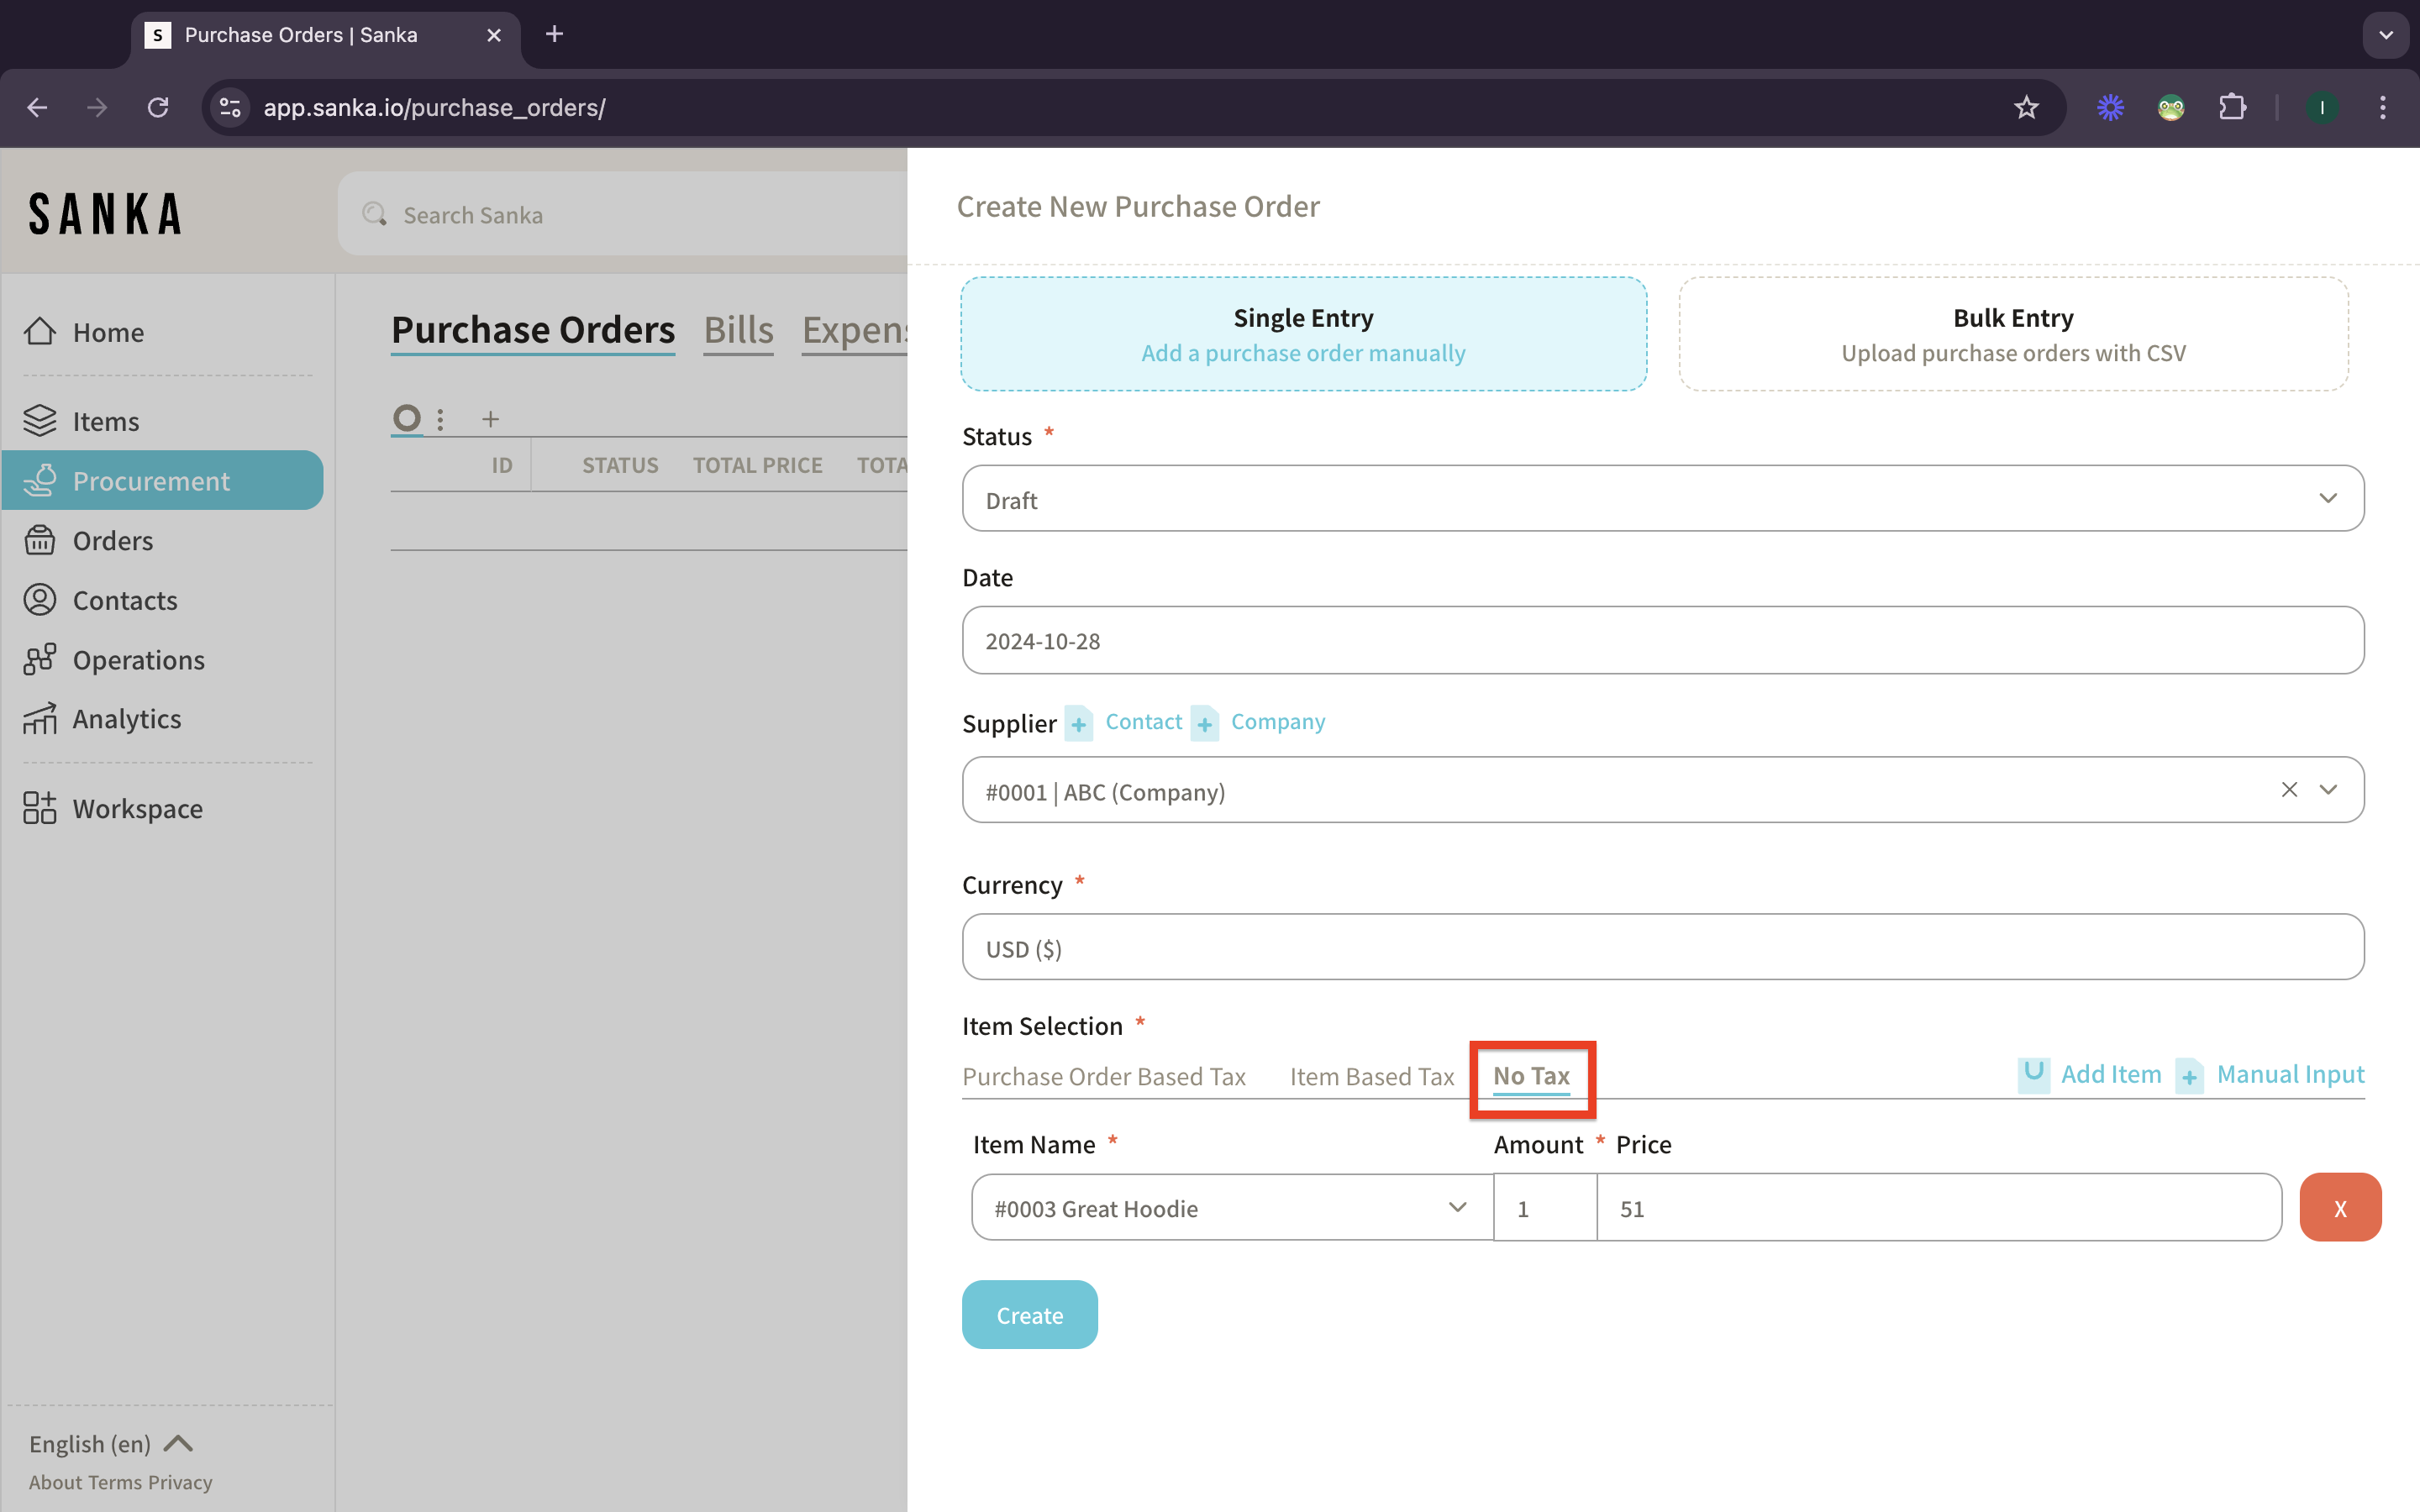
13: The last one is No Tax item in which the tax is not set or applied on the items or purchase orders.
14: For Manual Input you can directly enter the item information in the empty field. You can add more item by clicking the Manual Input button. There’s also 3 item categories in Purchase Orders, first is Purchase Order Based Tax.
15: Second is Item Based Tax.
16: And lastly is No Tax Item.

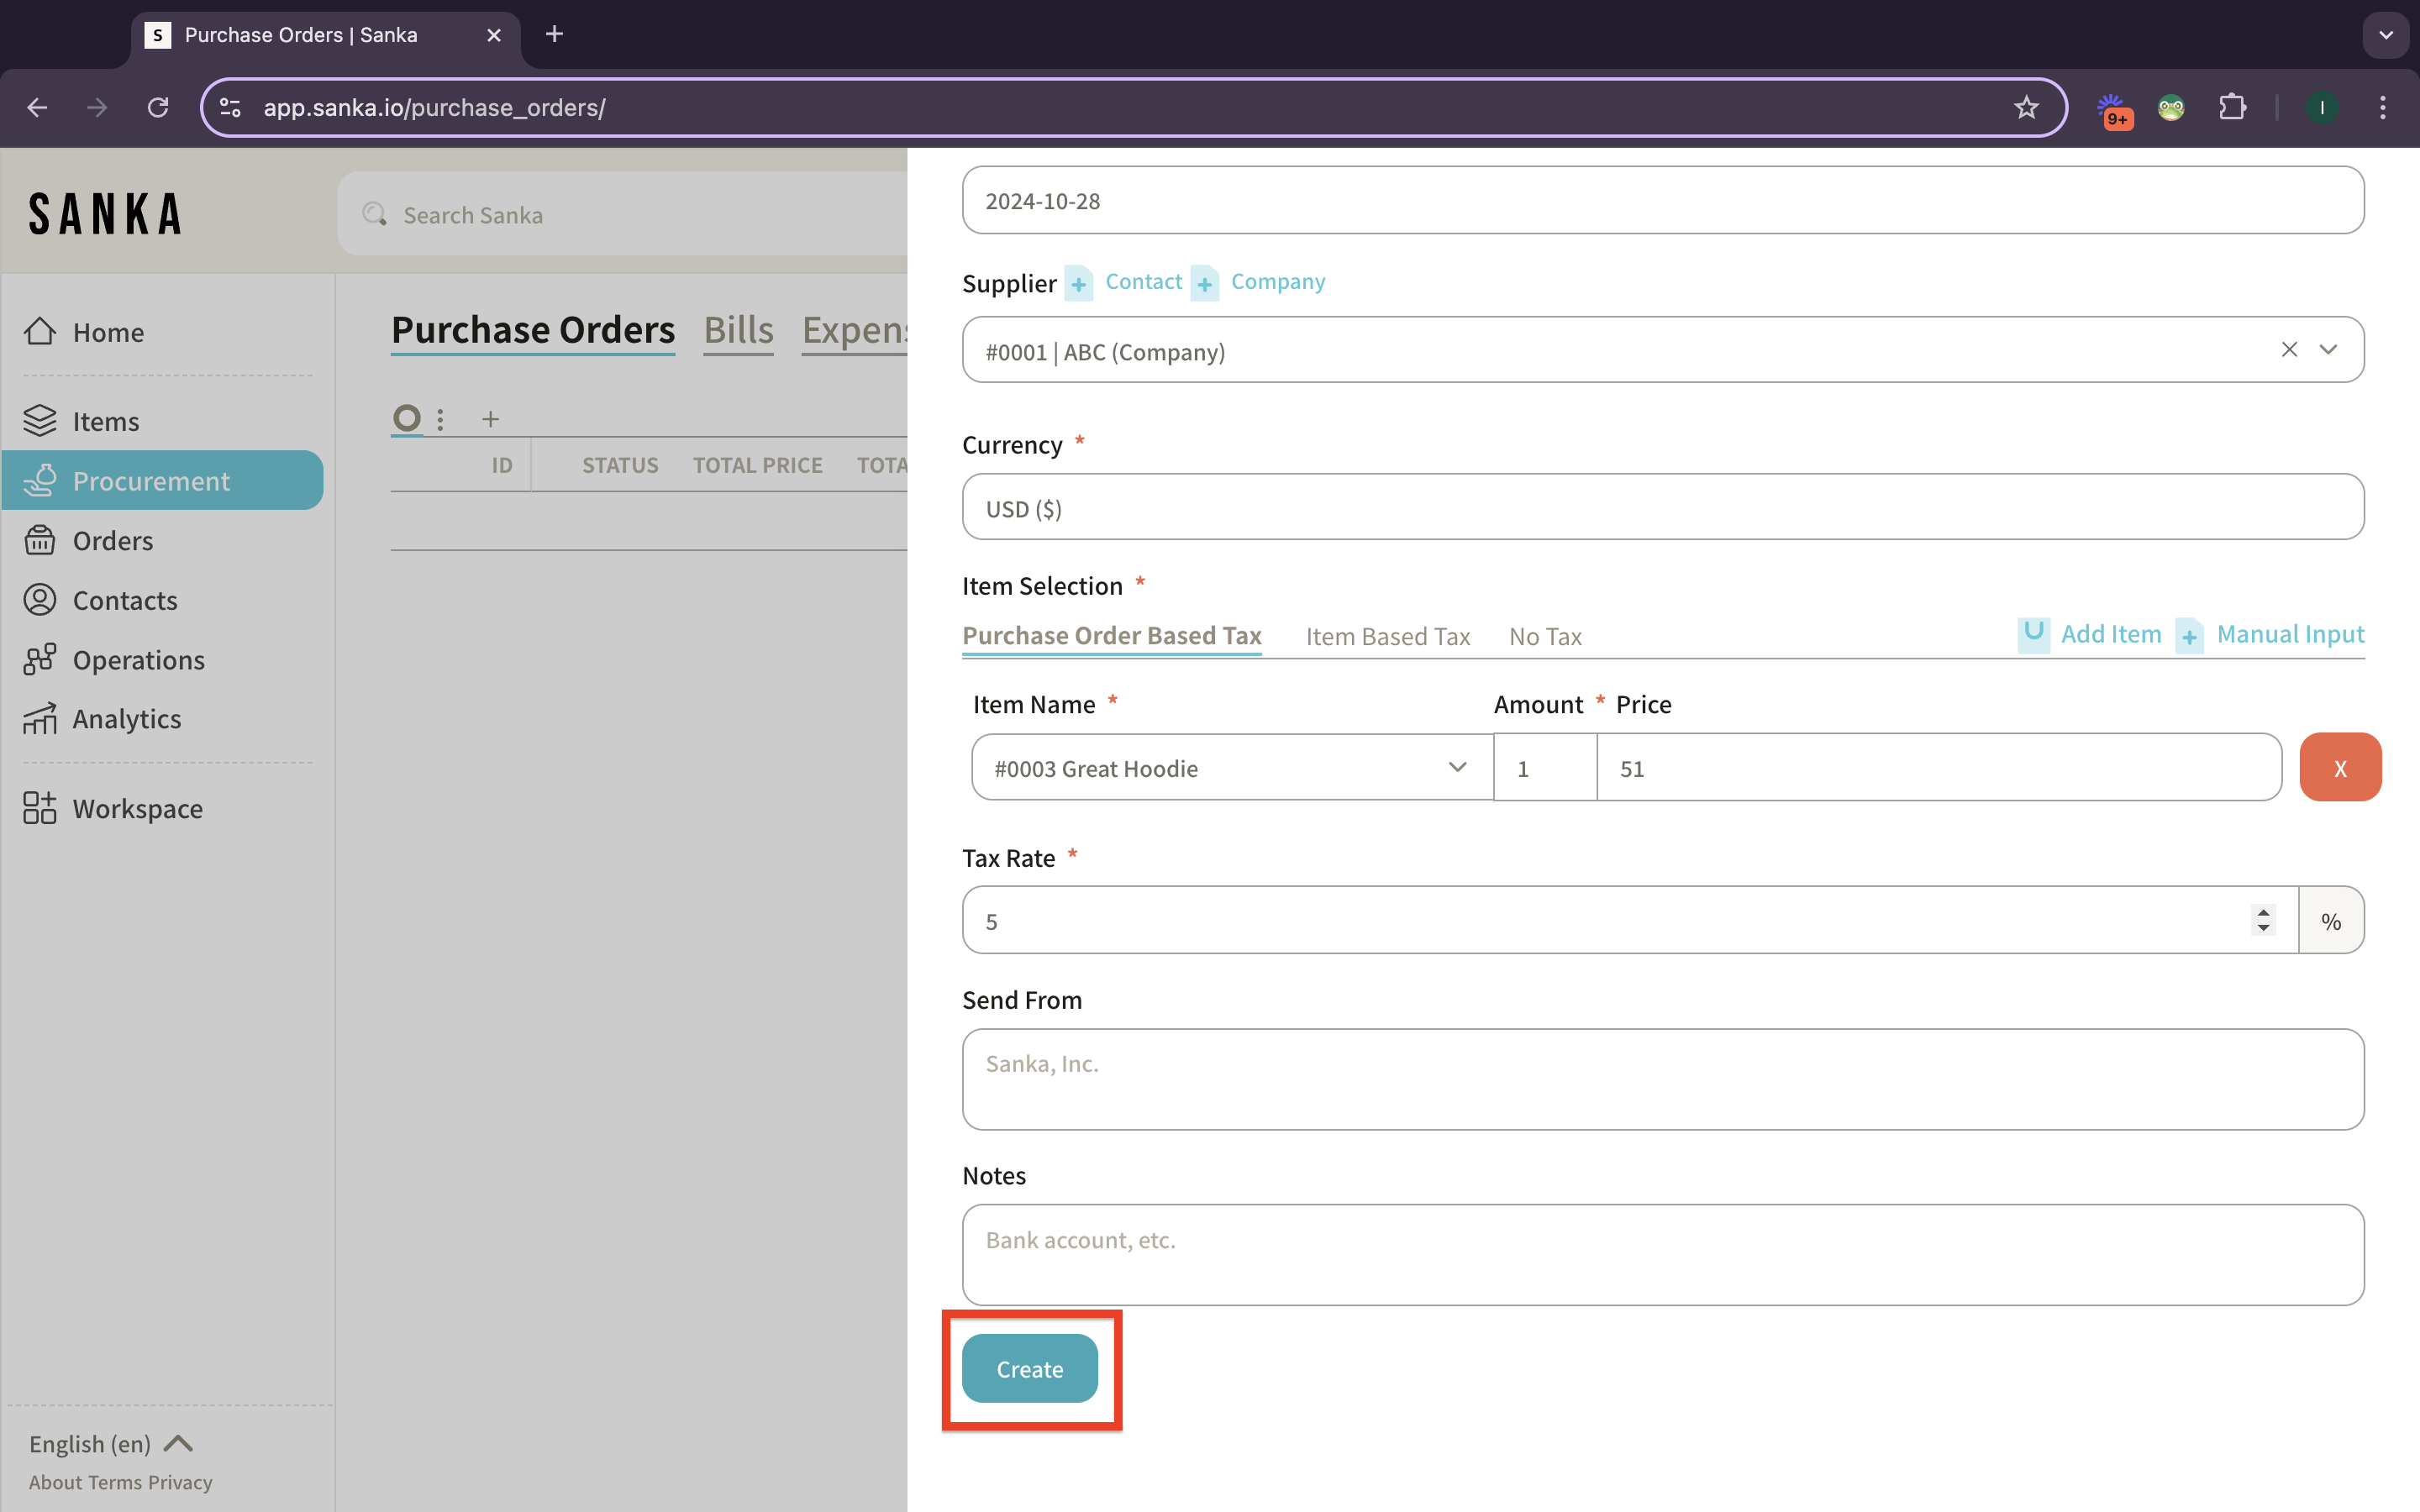
17: Back to the Purchase Orders creation, click create after you’ve already fill the information.
18: The Purchased Orders Records will show up on the table.
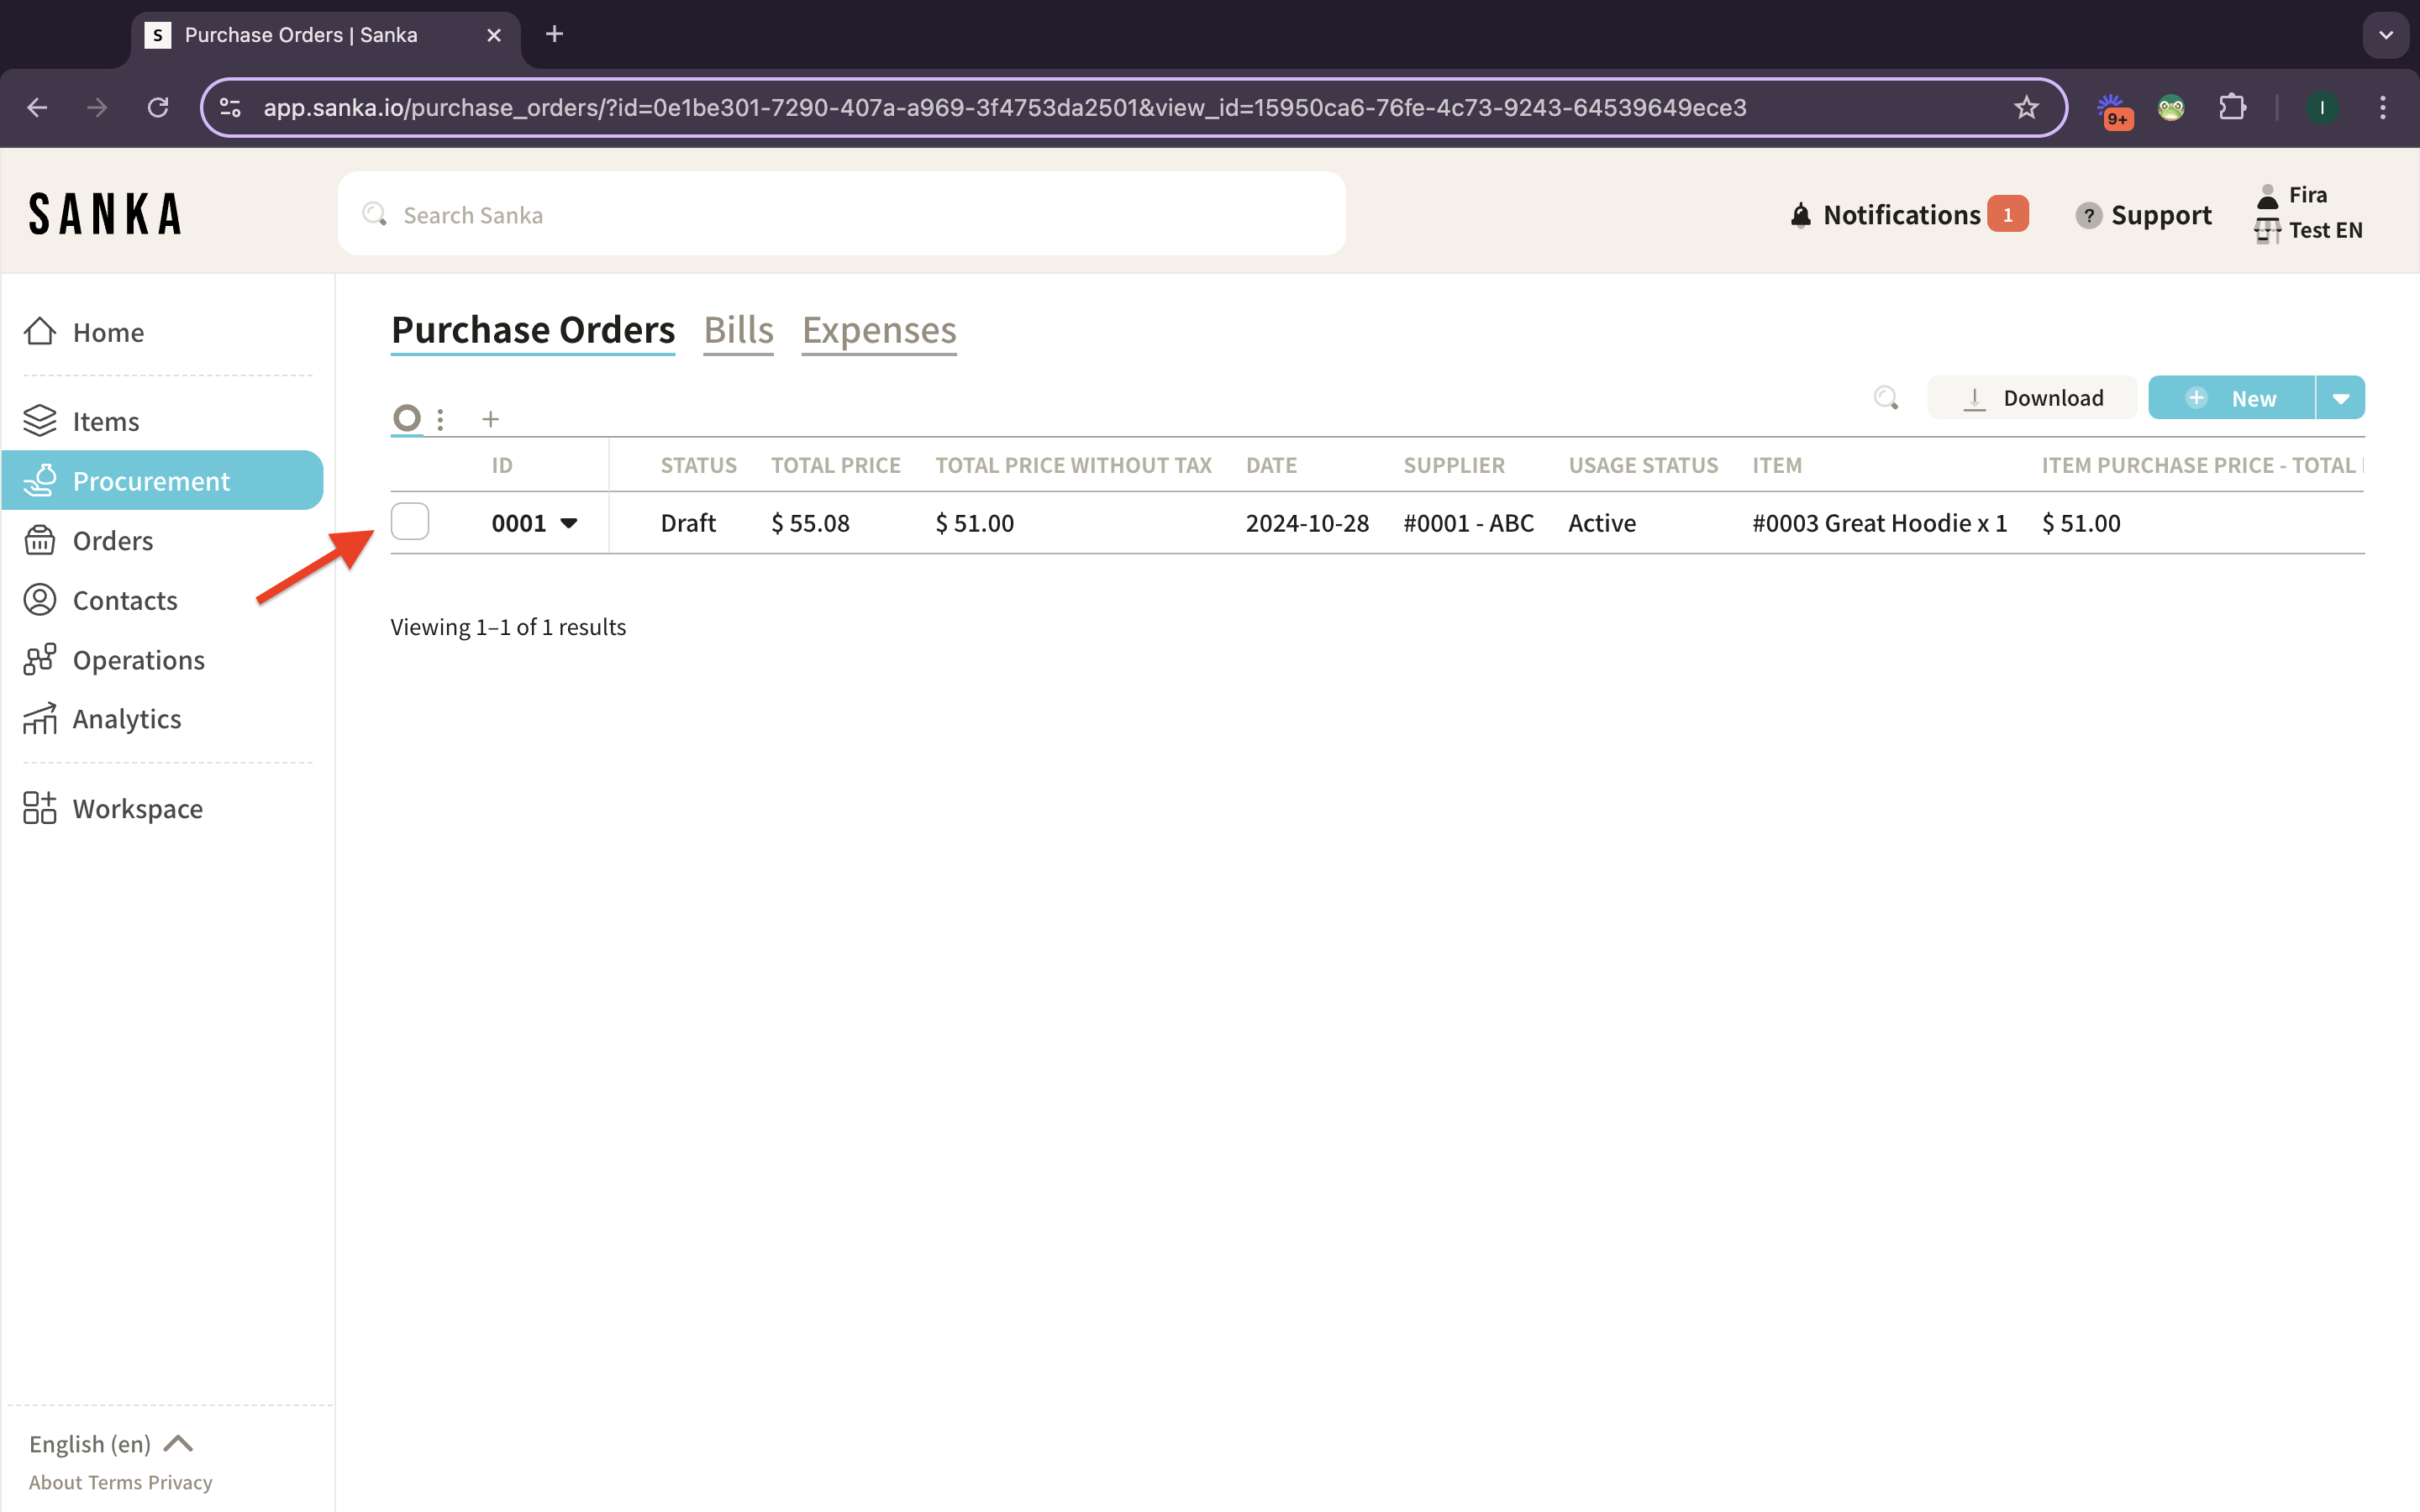
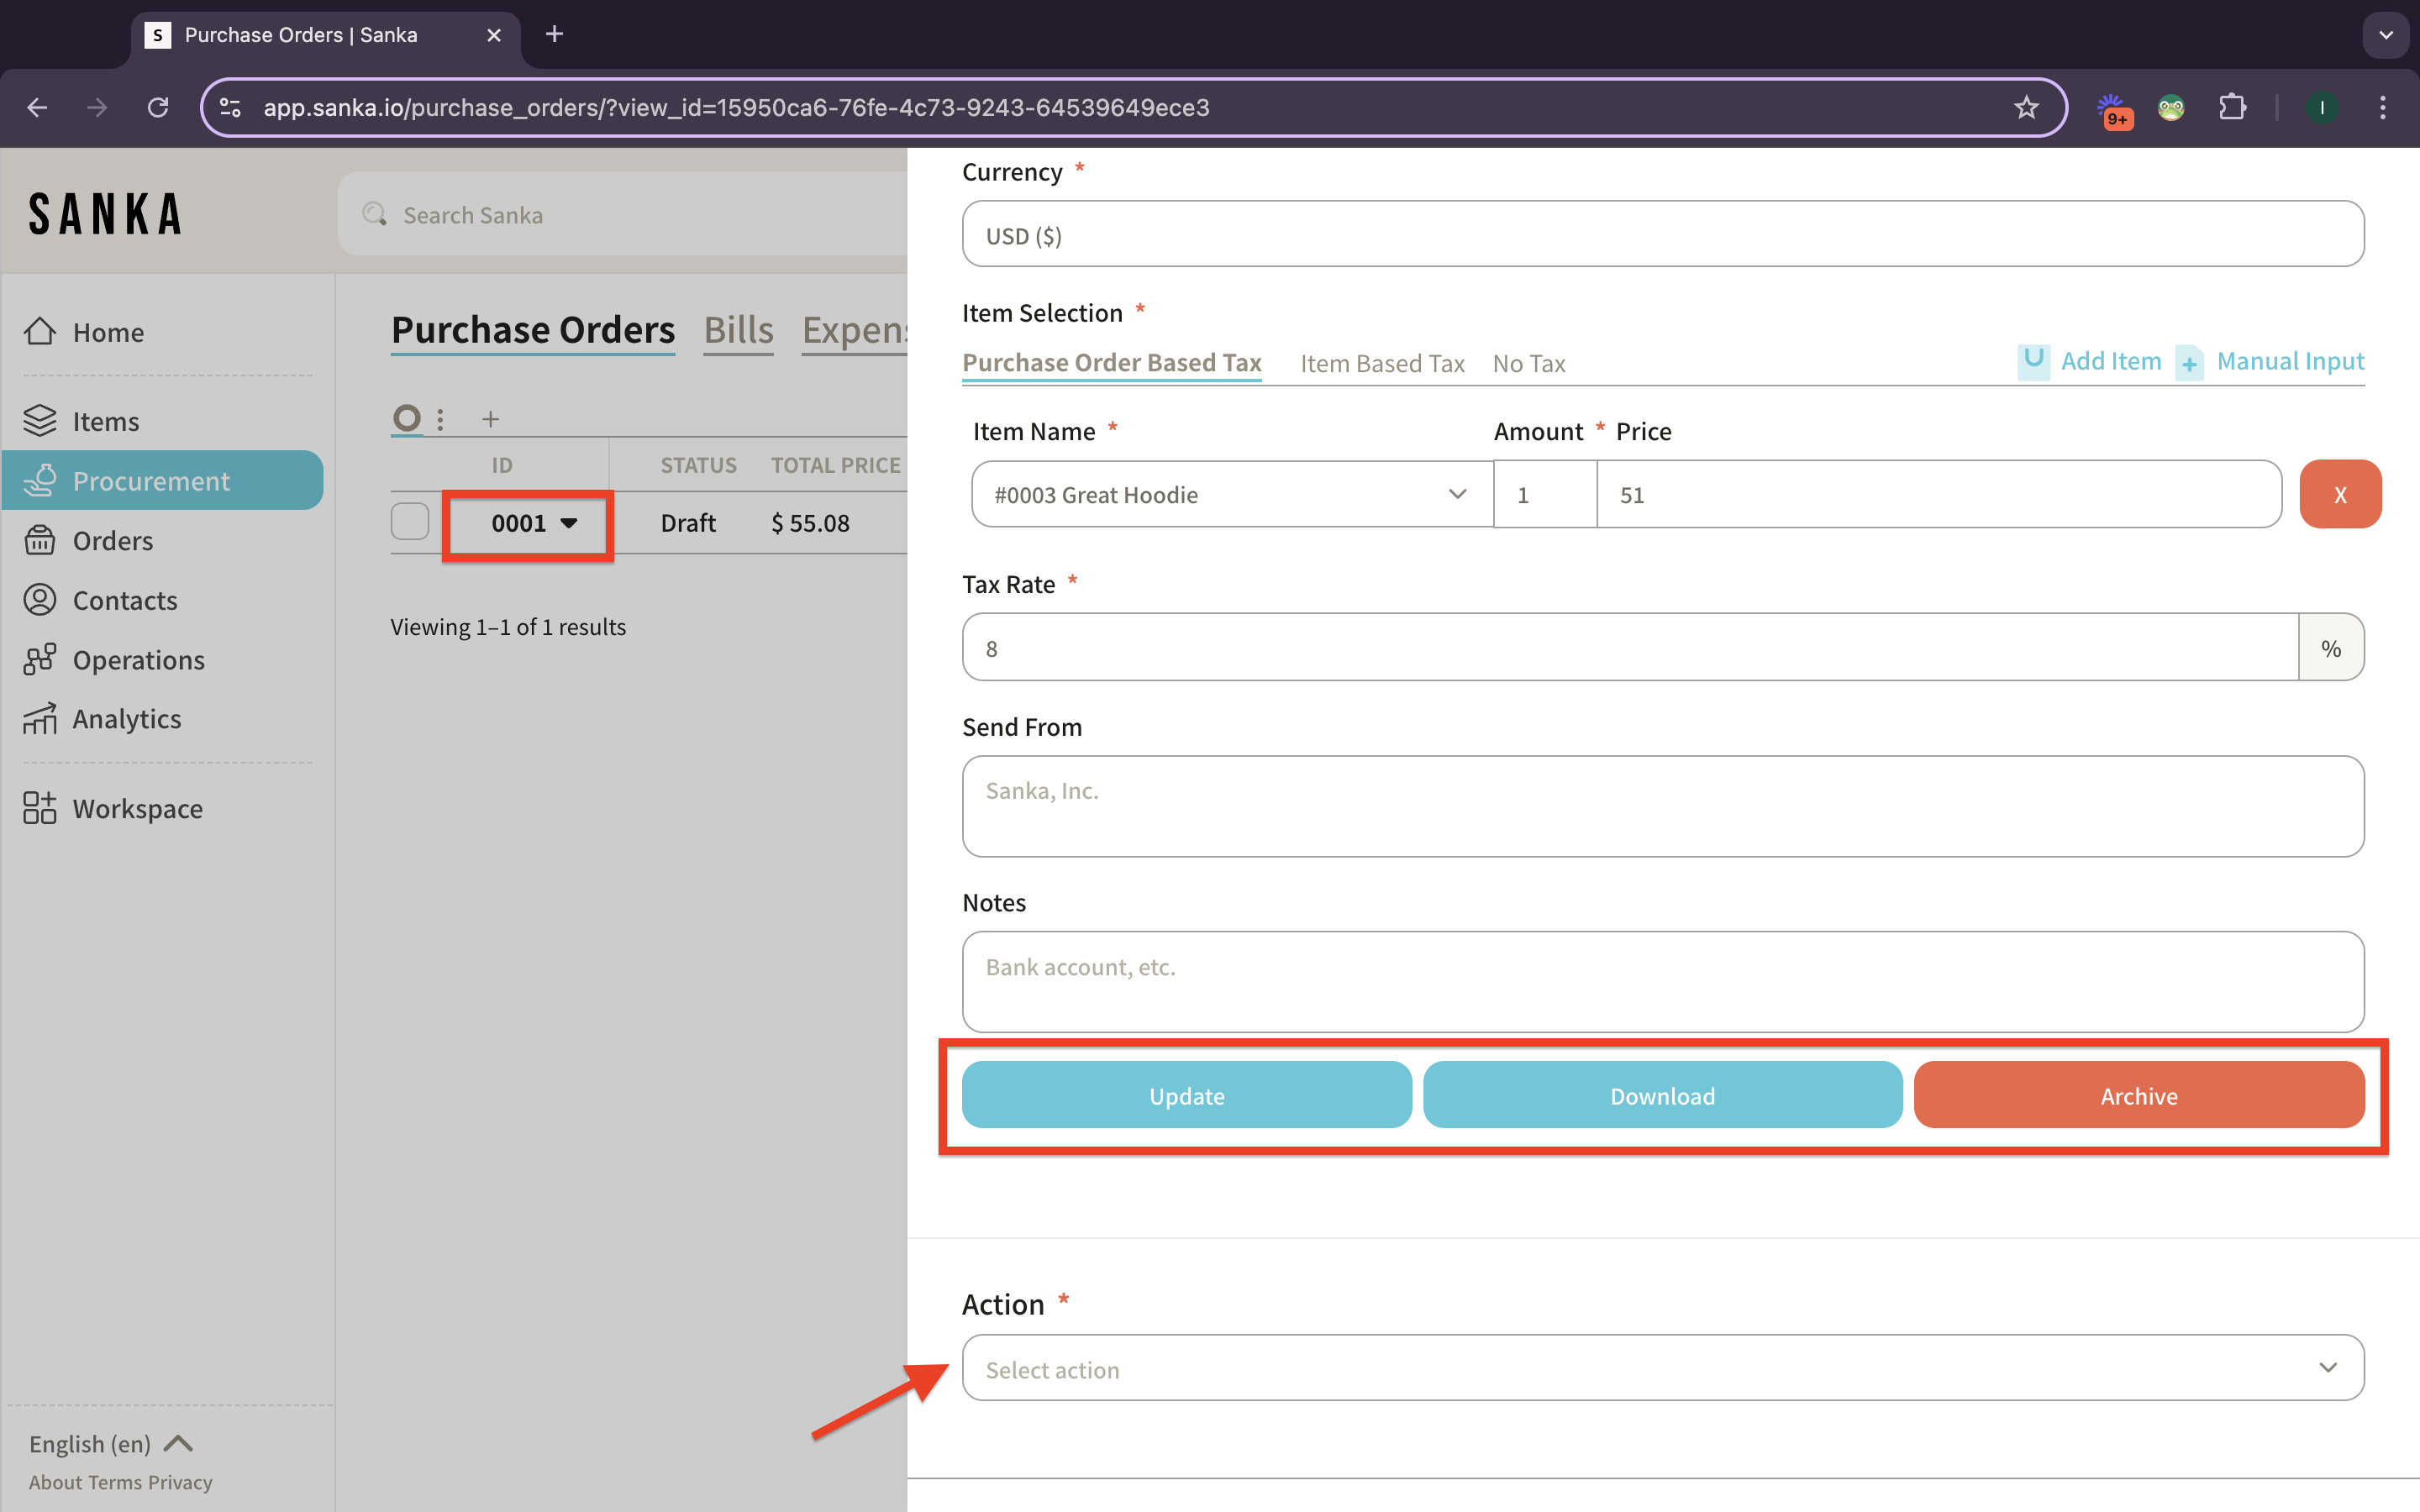
19: If you click the ID or ITEM, the detailed page will show up. You can edit or manage the records there, and run action from the detailed page.
