Overview:
In Sanka, adding multiple locations or warehouses allows you to effectively manage inventory across various storage facilities.
Whether you're managing a single retail outlet or a network of distribution centers, tracking your inventory by location ensures accurate stock levels and efficient order fulfillment.
This article will guide you step-by-step on how to add locations in Sanka.
Step-by-Step Guide:
1. Log in to Your Sanka Account
- Go to Sanka.io and log in with your credentials.
- Ensure you are in the correct workspace for the business where you want to add your locations or warehouses.

2. Access the Locations/Warehouses Settings
- From the dashboard, locate the “Items” tab in the main menu on the left side of the screen.

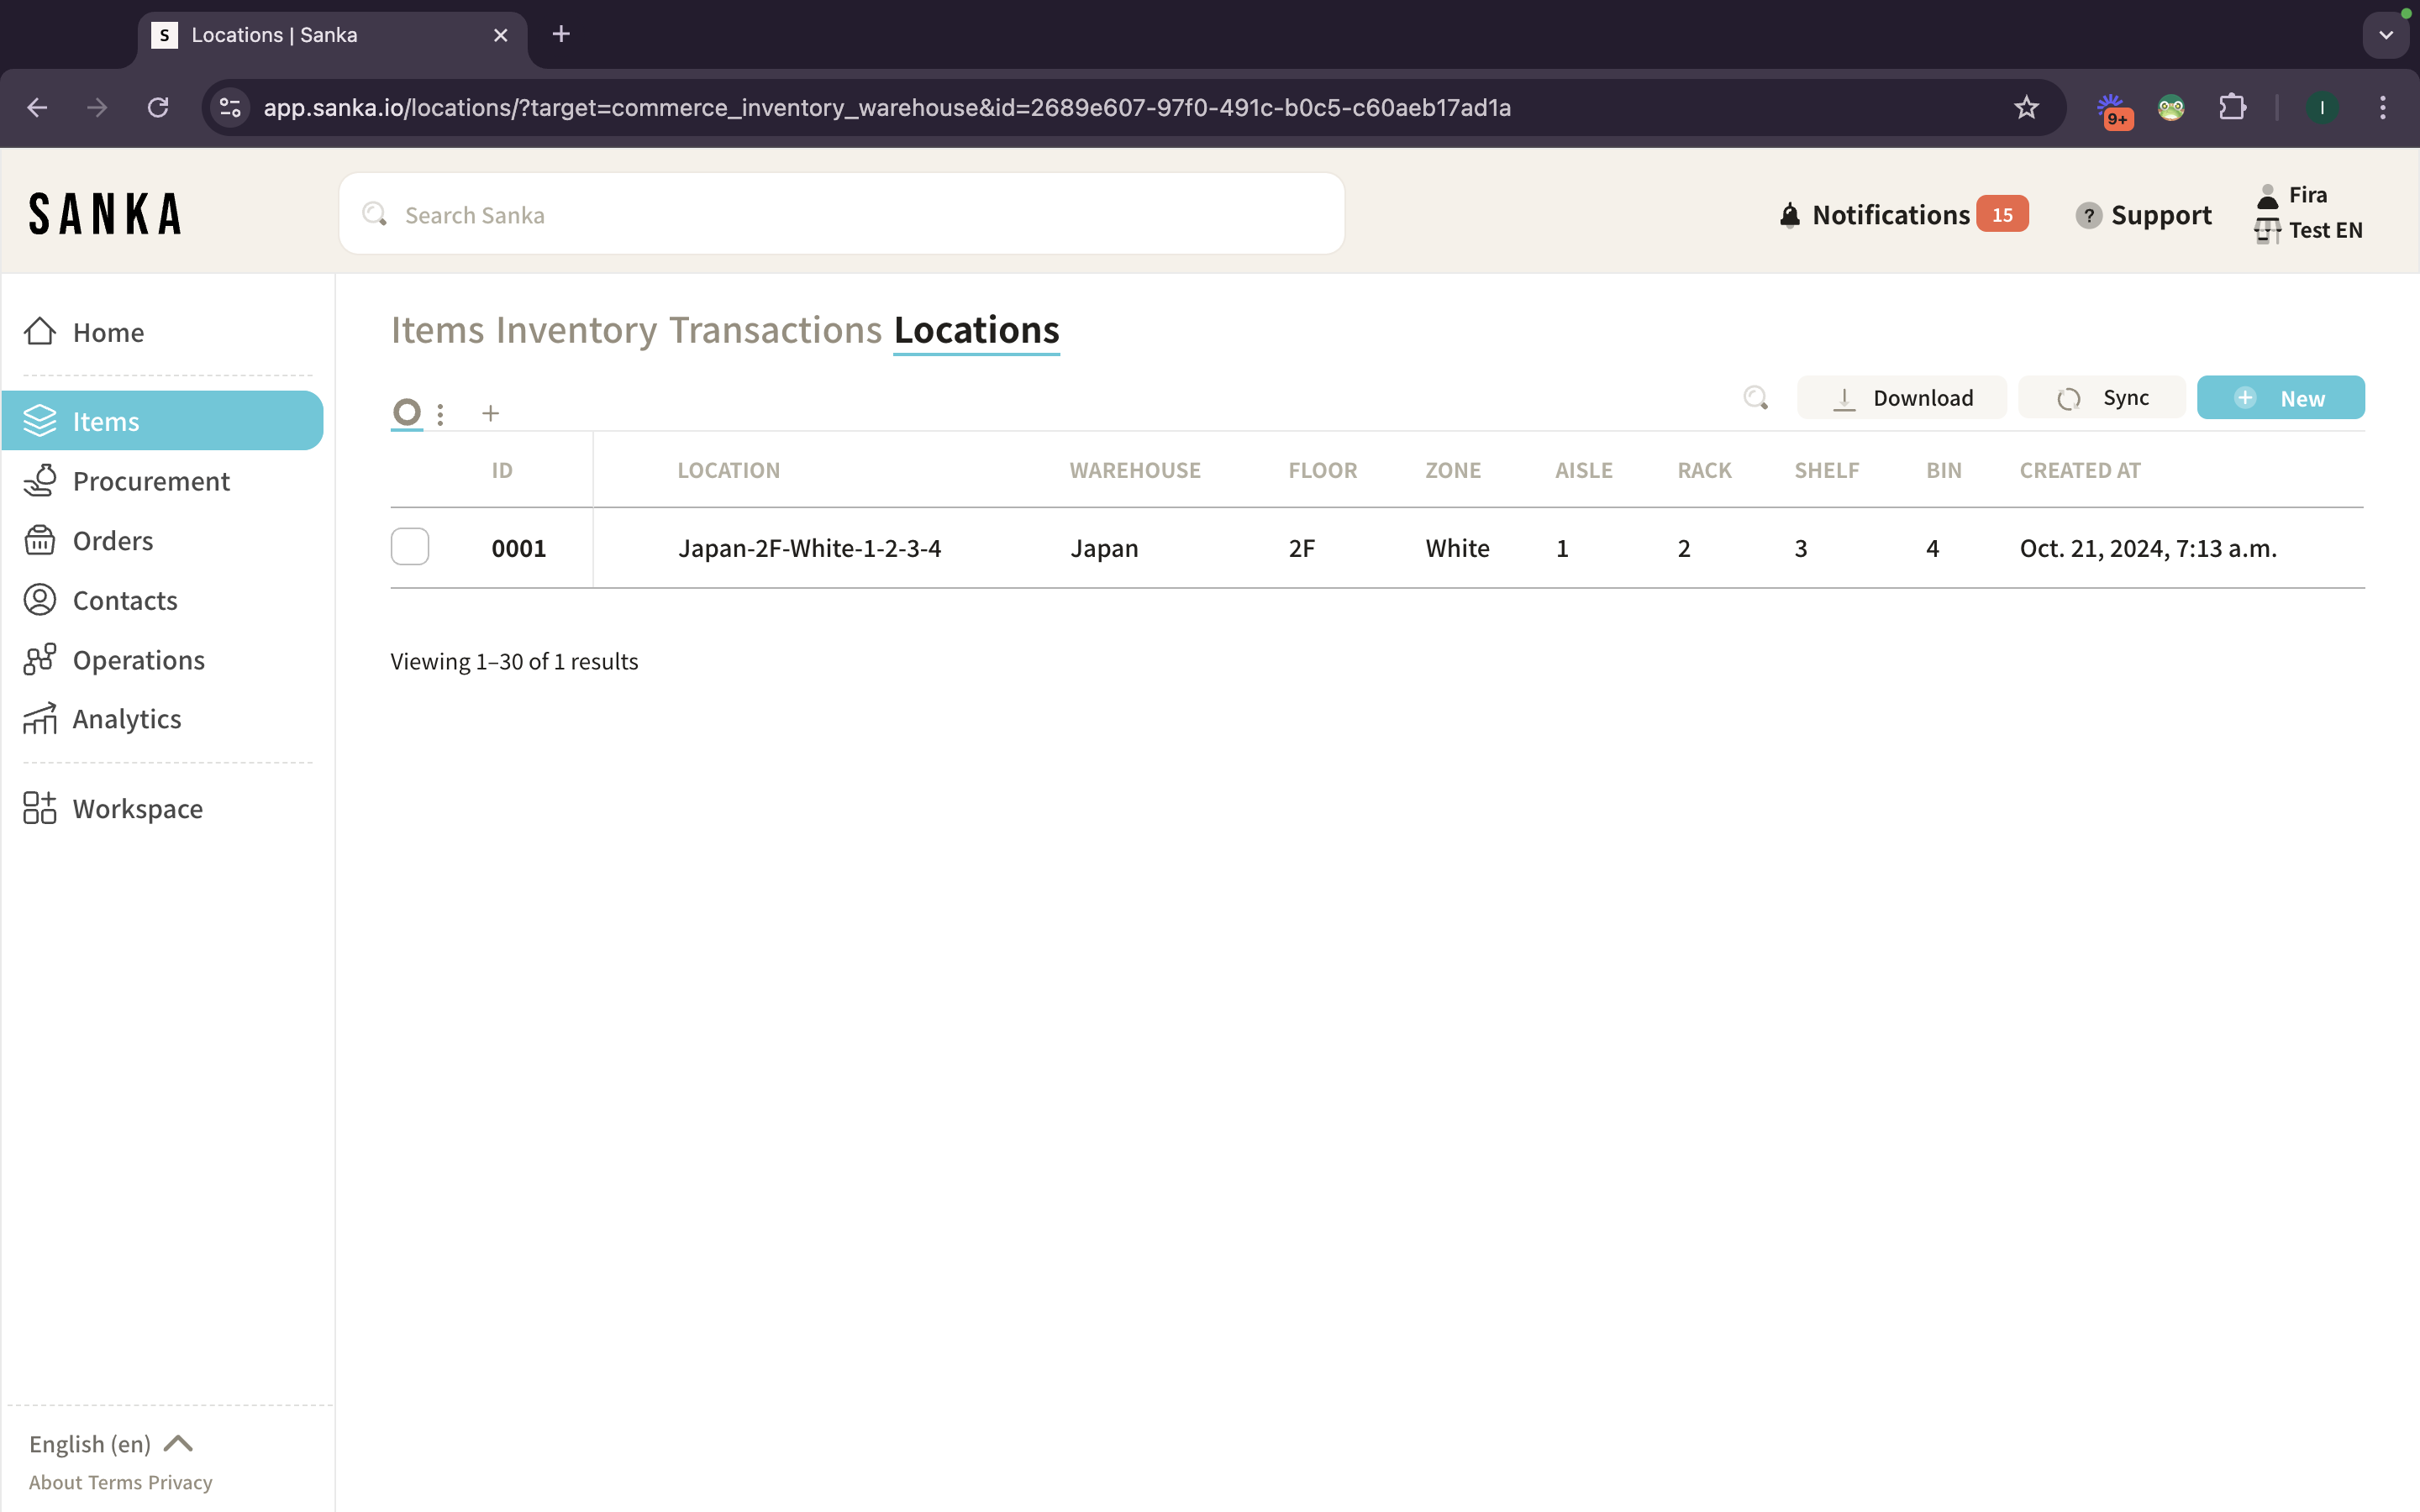
- Once inside the Items section, click on “Locations” to open the location management view.
- The page will show table view as default.

4. Add a New Location or Warehouse
- Click on the “Add New Location” or “Add Warehouse” button located at the top right of the Locations/Warehouses page.
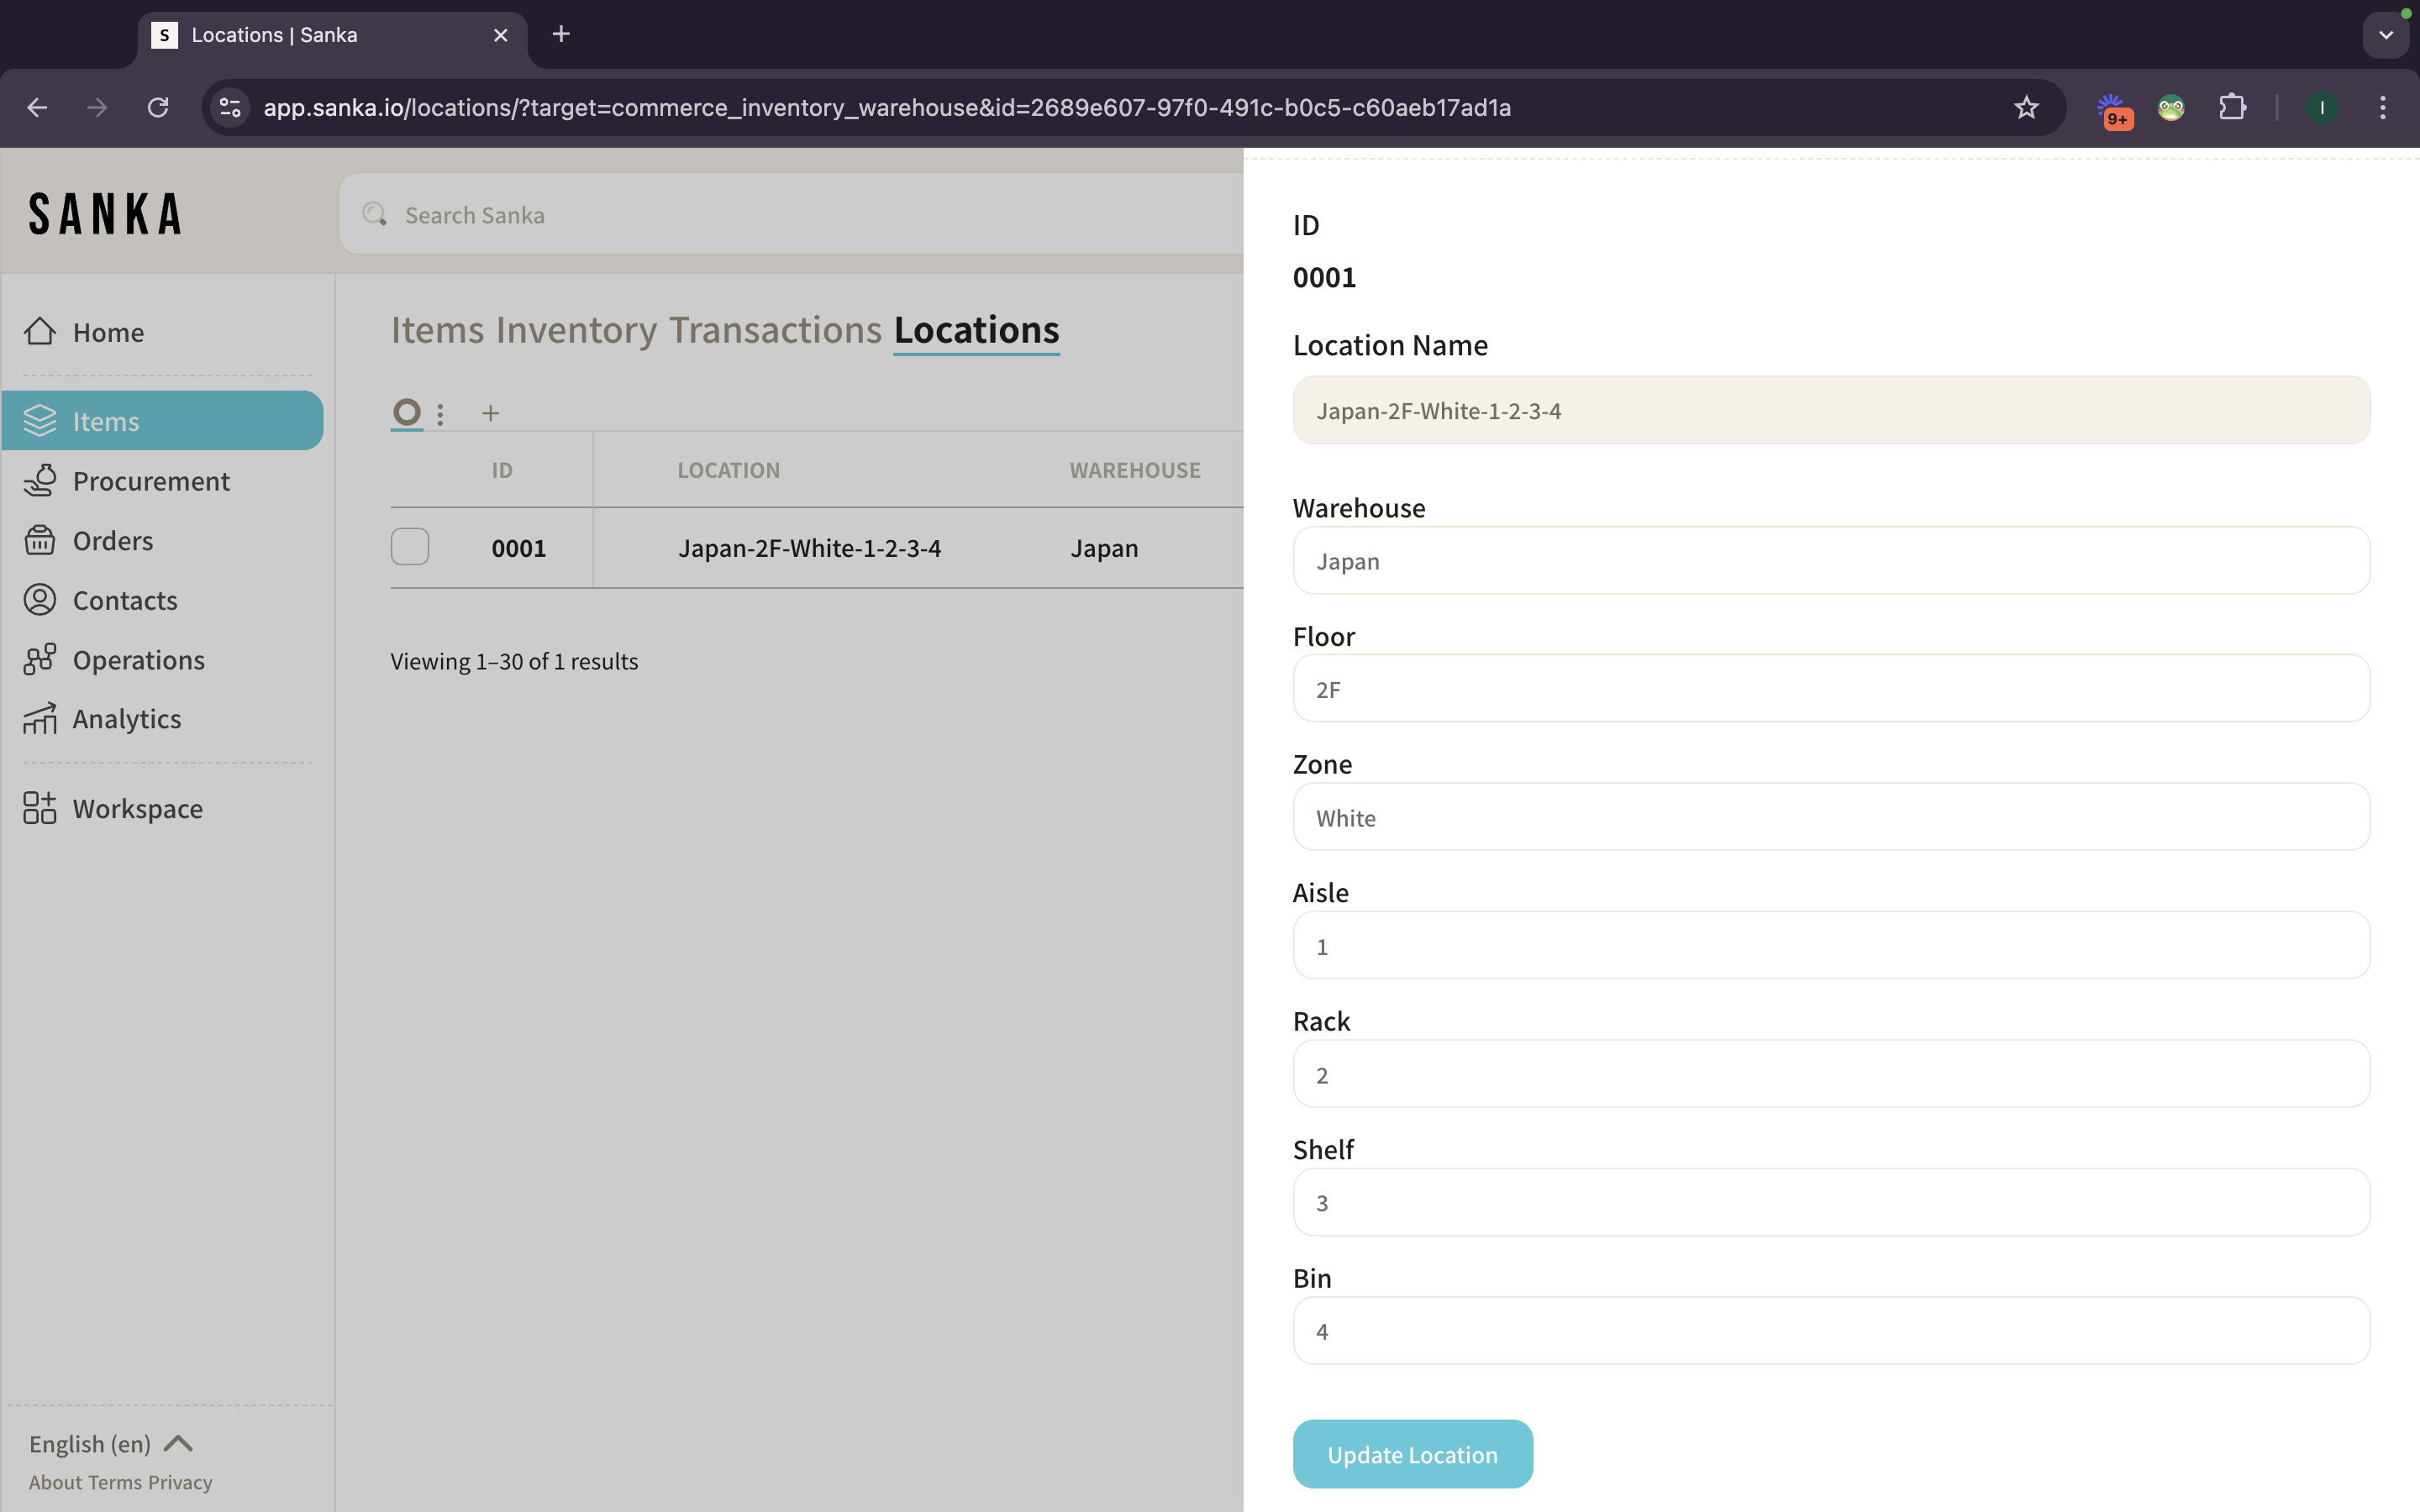
- A pop-up form will appear asking for the detailed informations.

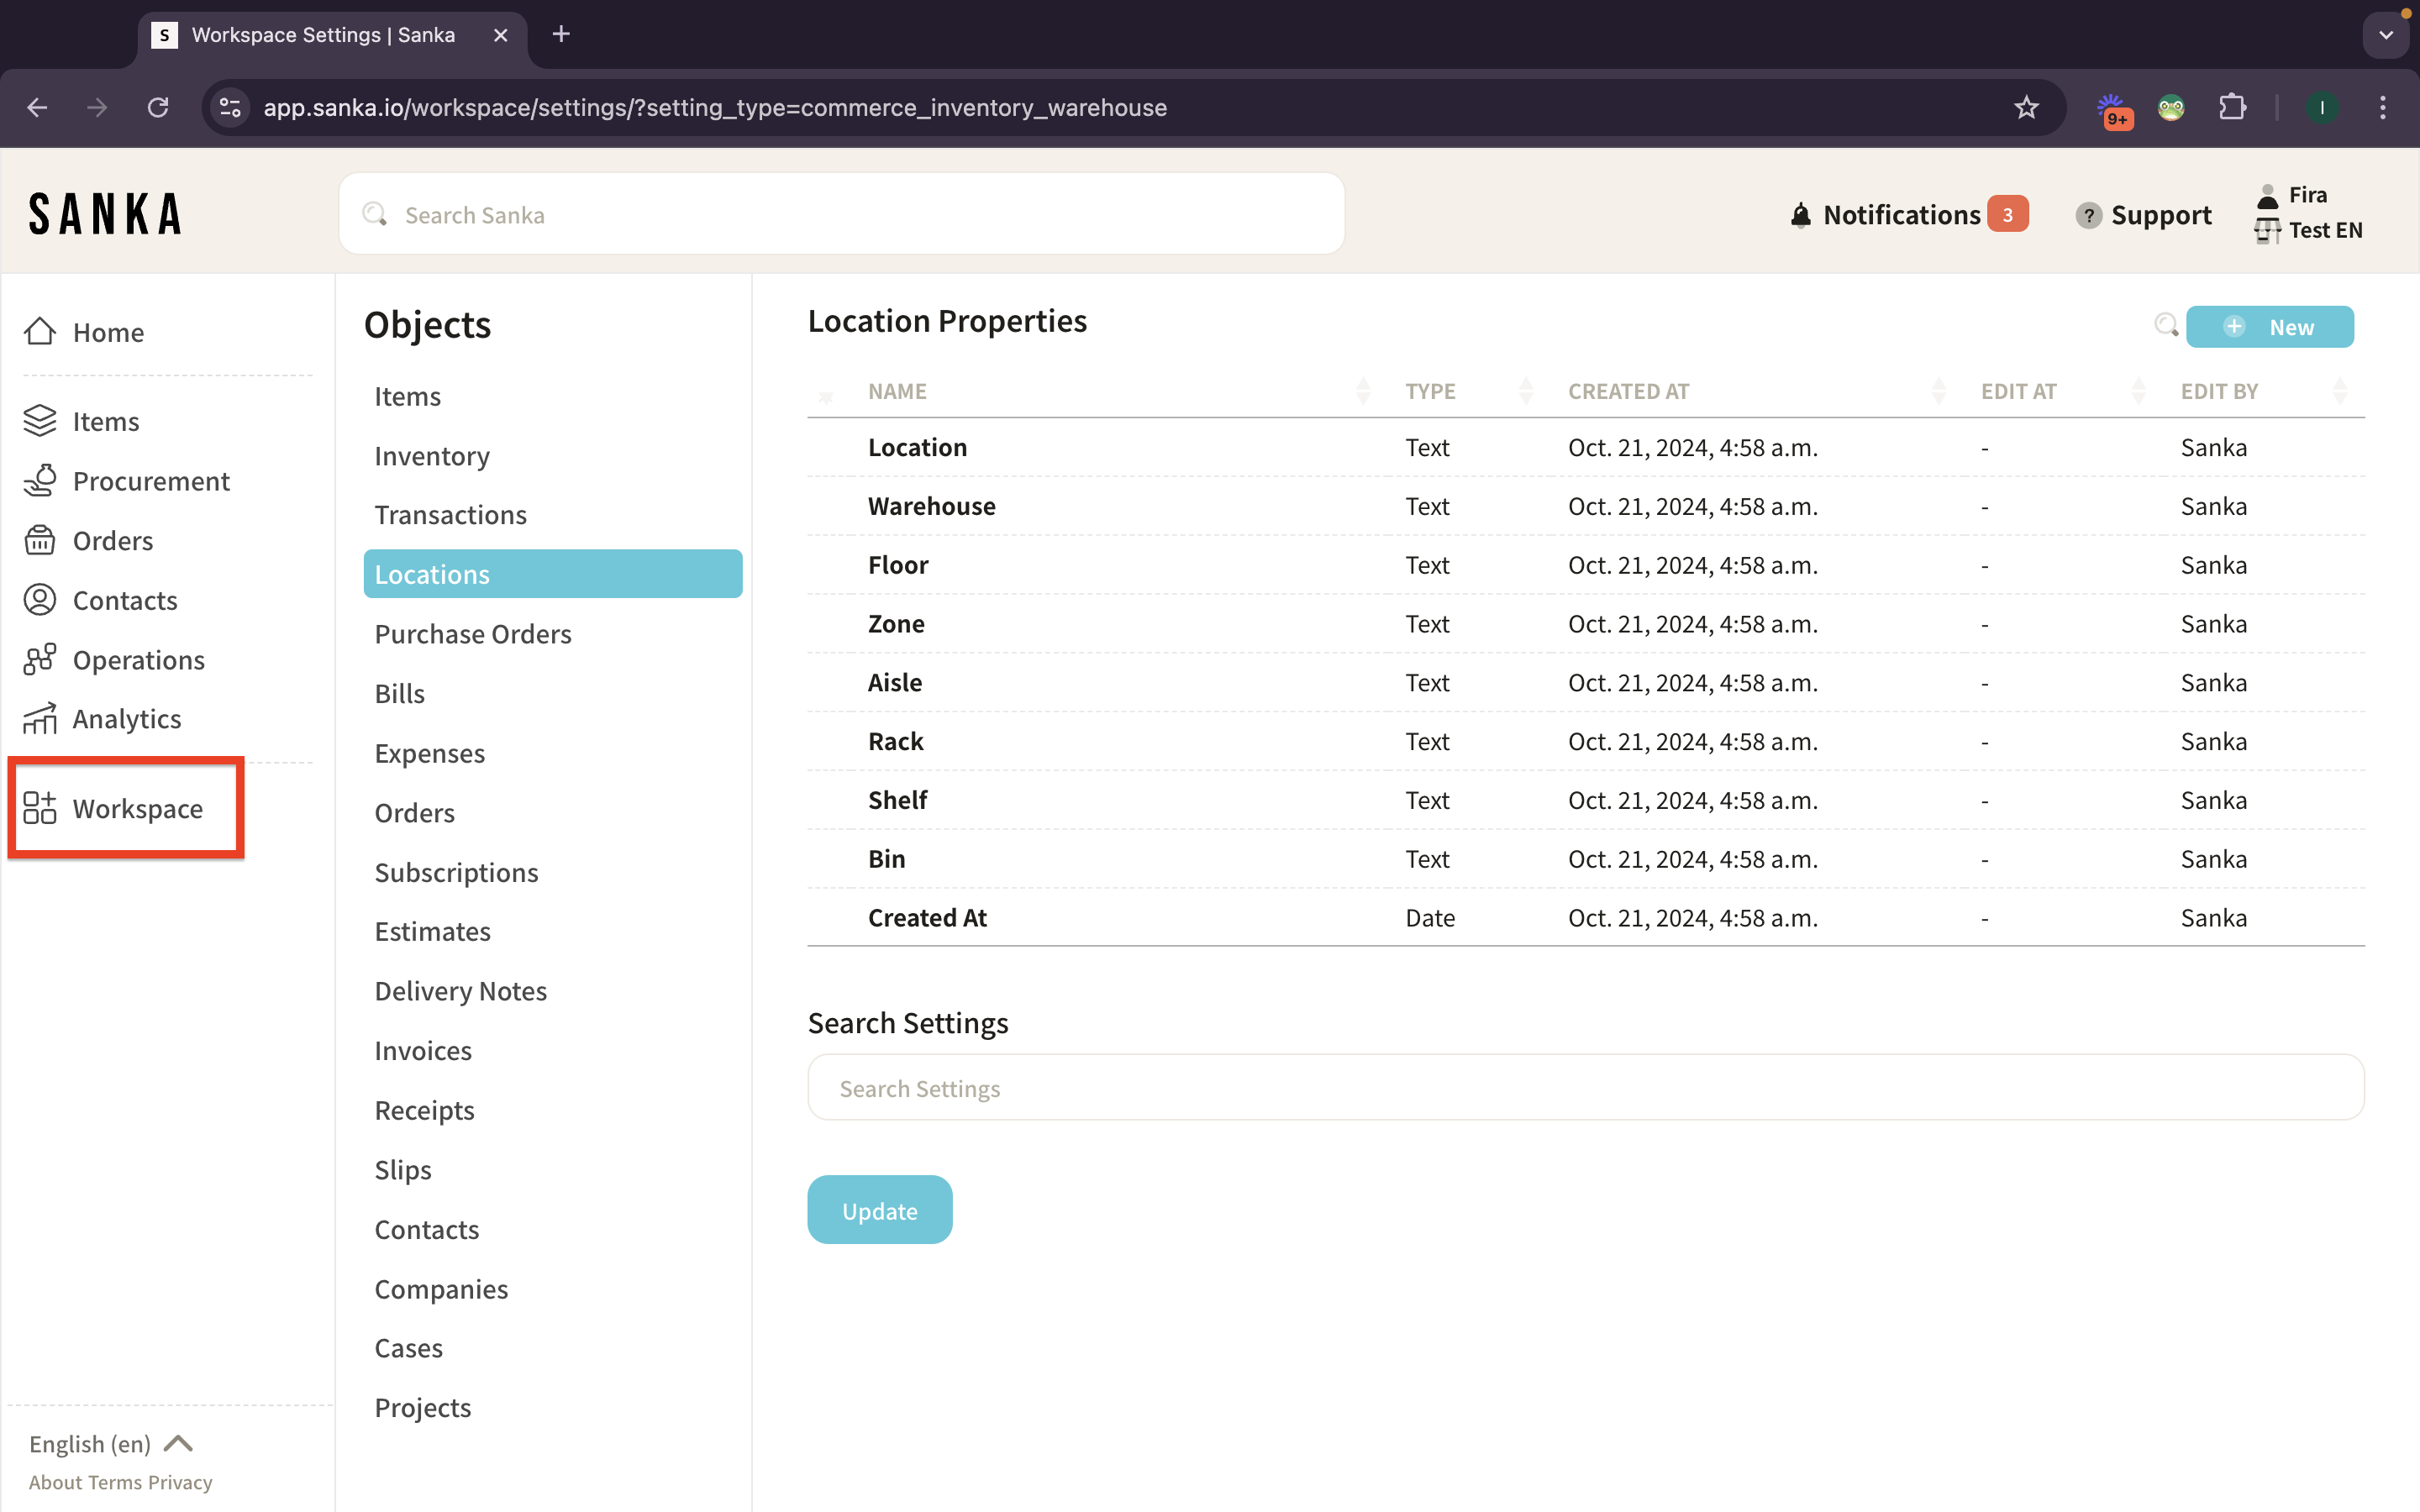
- Optionally, you can also add new properties from Workspace setting (Object Manager).
- After filling out the form, click “Create” to add the new location to your Workspace.
- You’ll now see the newly added location listed under the Locations table.
- You can edit or update the information from the drawer by clicking the ID or LOCATION at the table.