At Sanka, each invoice is assigned a unique ID, allowing you to link it with necessary information such as items and customers.
Additionally, you can set statuses (Draft, Sent, Scheduled, Paid) for each invoice, making it easier to track the progress.
Note: For basic concepts like "Objects" and "Modules," please refer to Sanka Basics.
What You Will Learn in This Article
- How to create a invoice
- How to edit the registered information
- How to archive invoice information
- Next steps
How to Create an Invoice
-
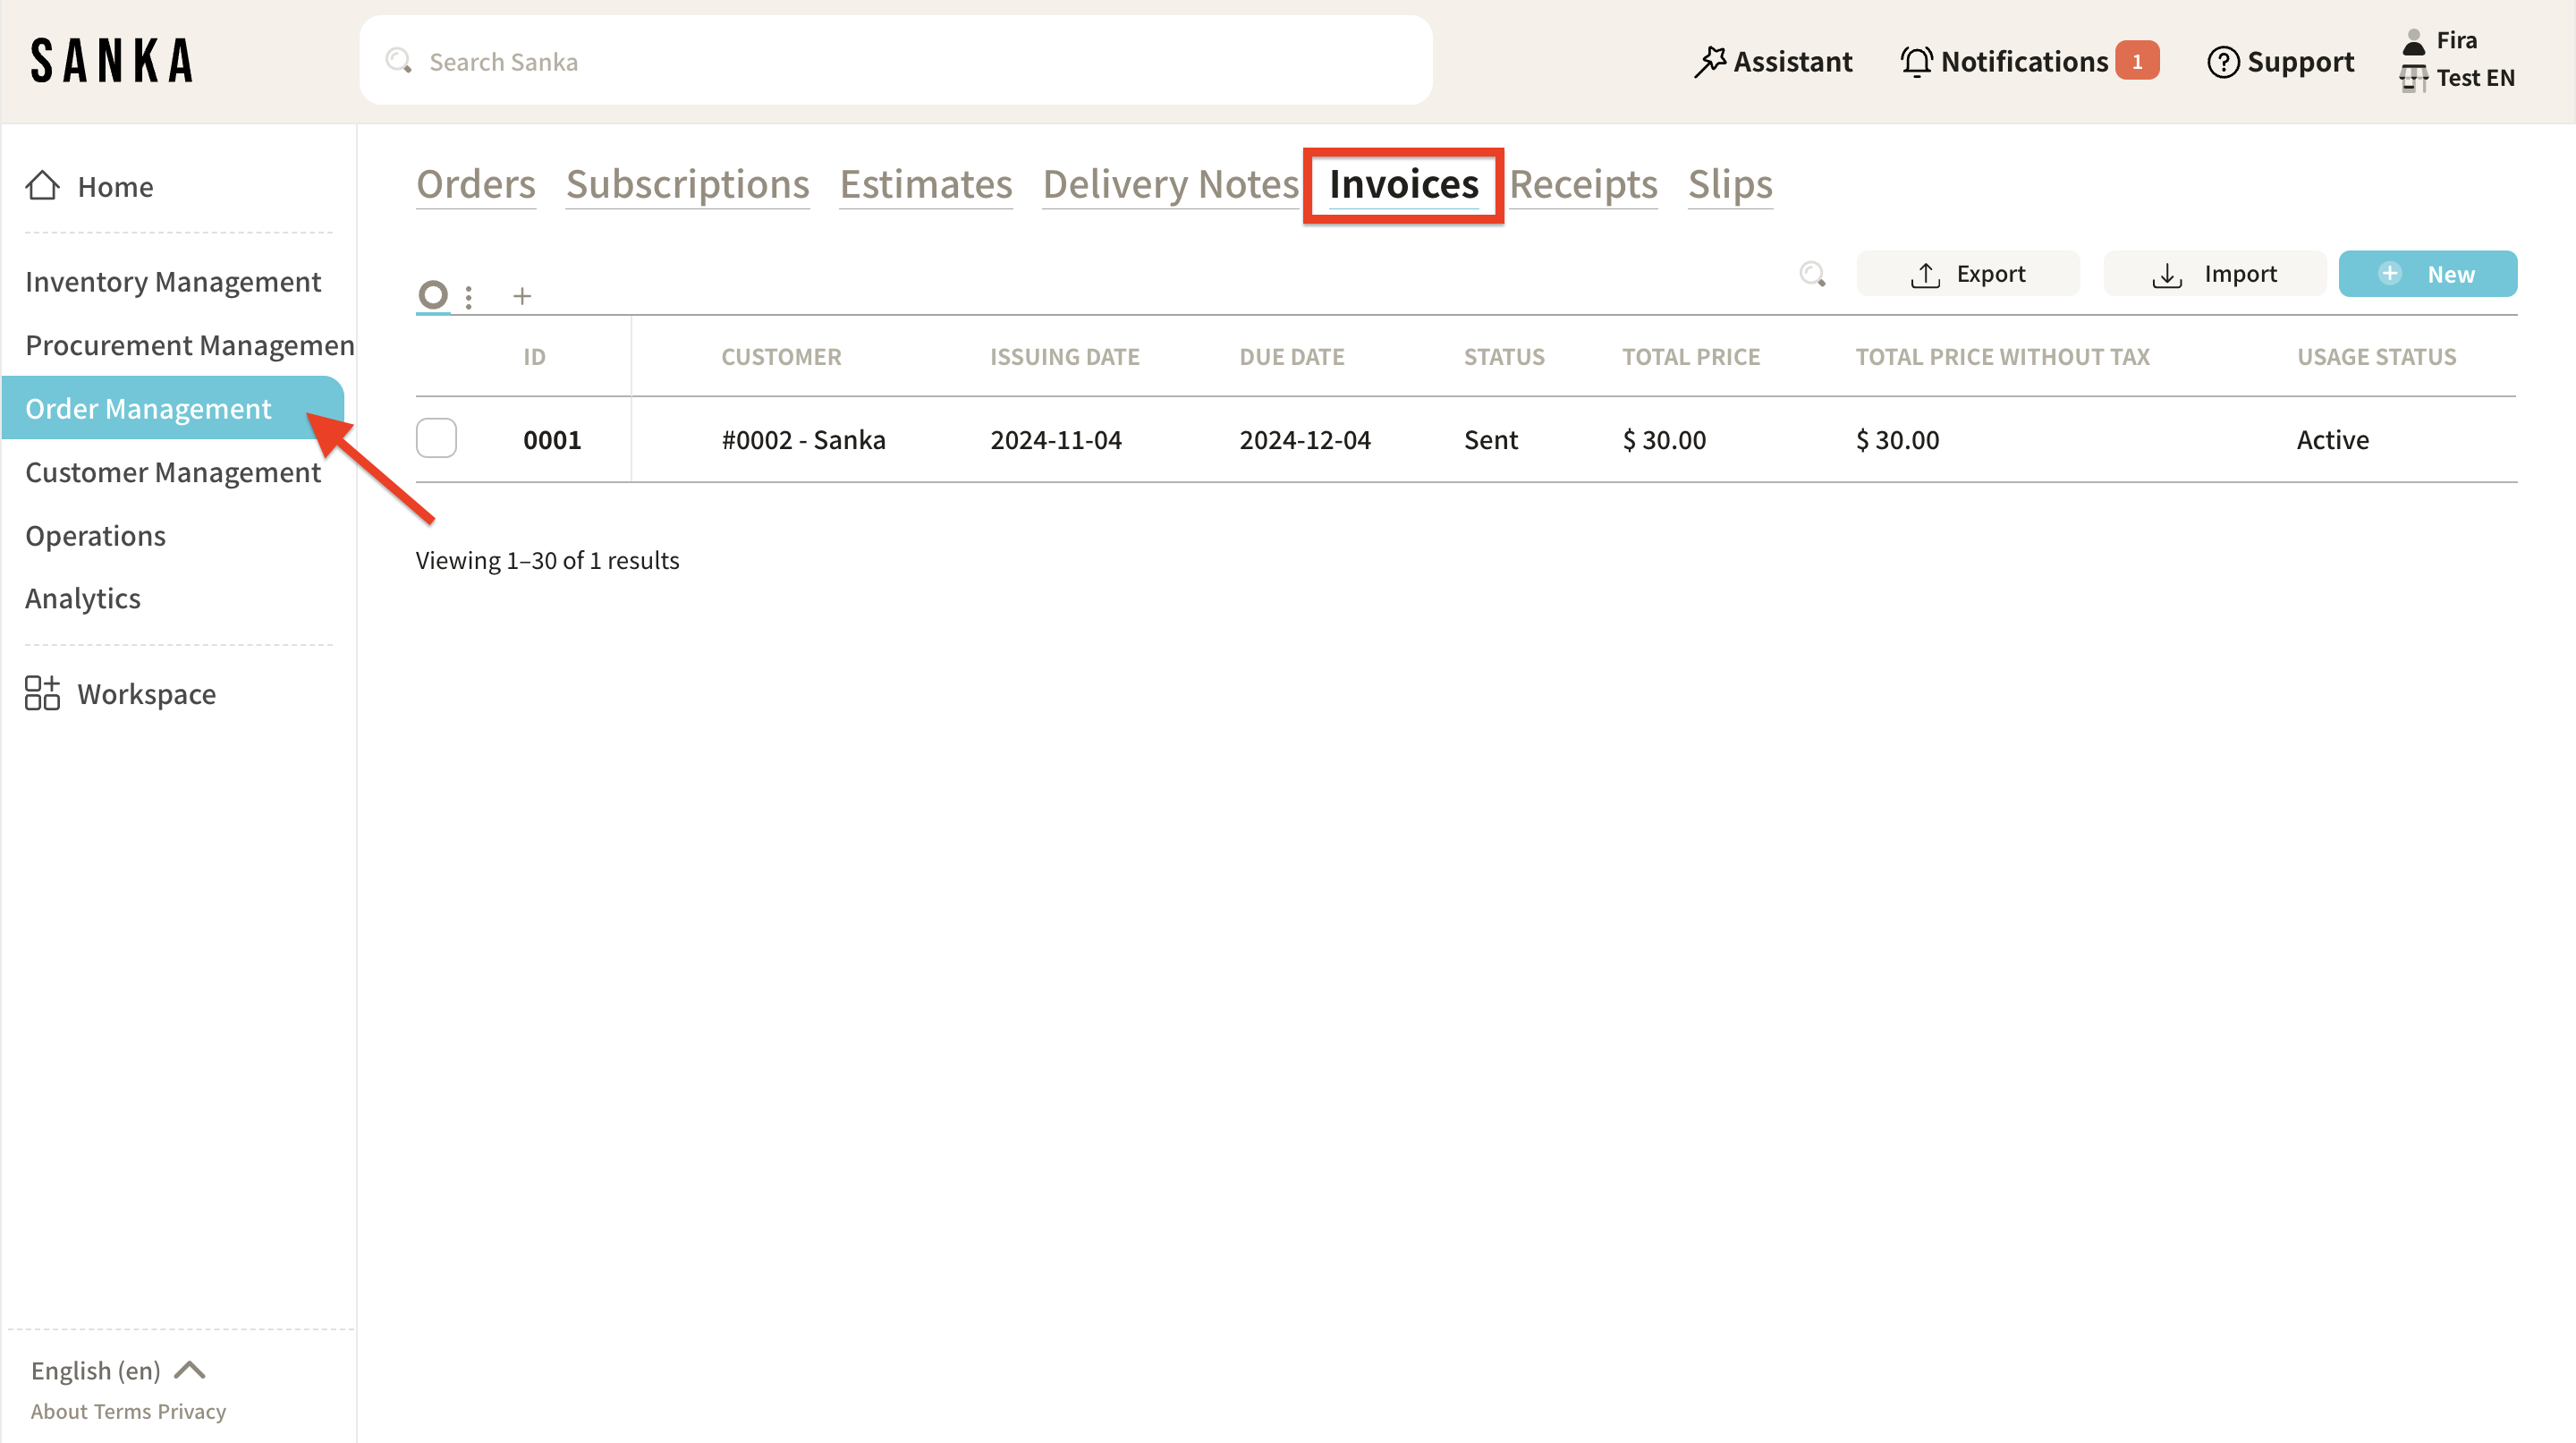
Go to Invoice object.
-
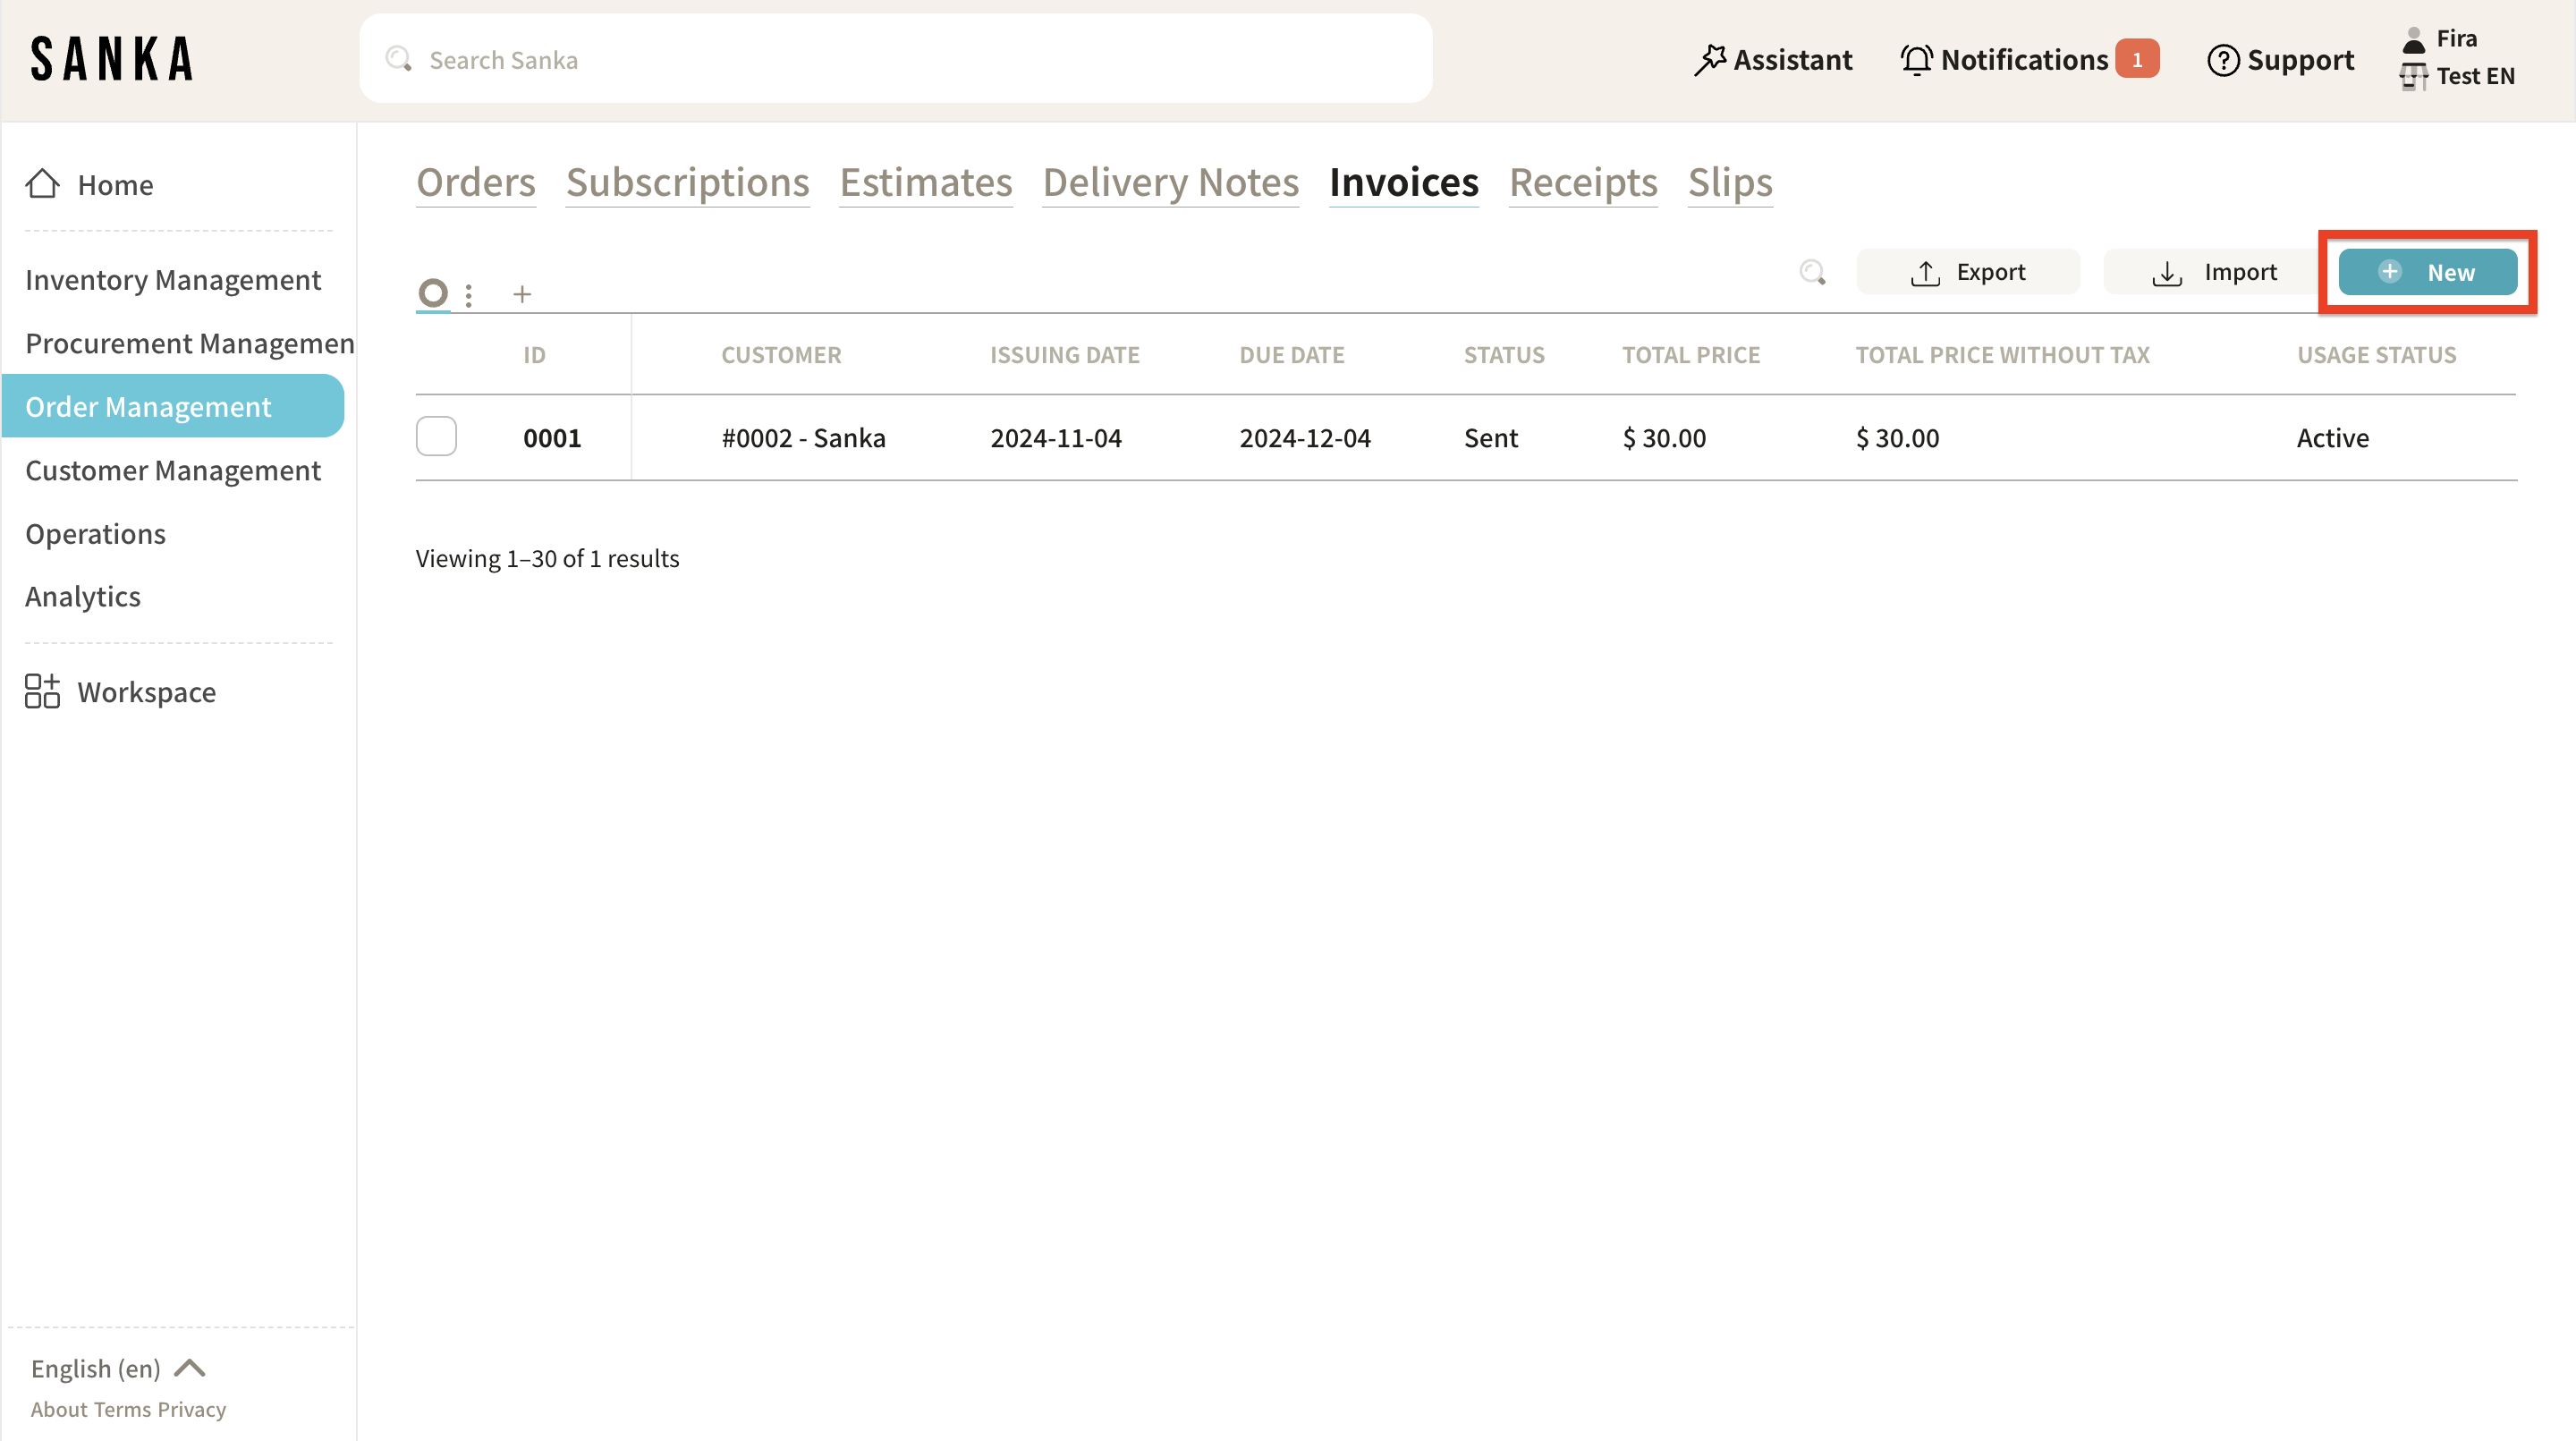
Click the "New" button in the upper-right corner.
-
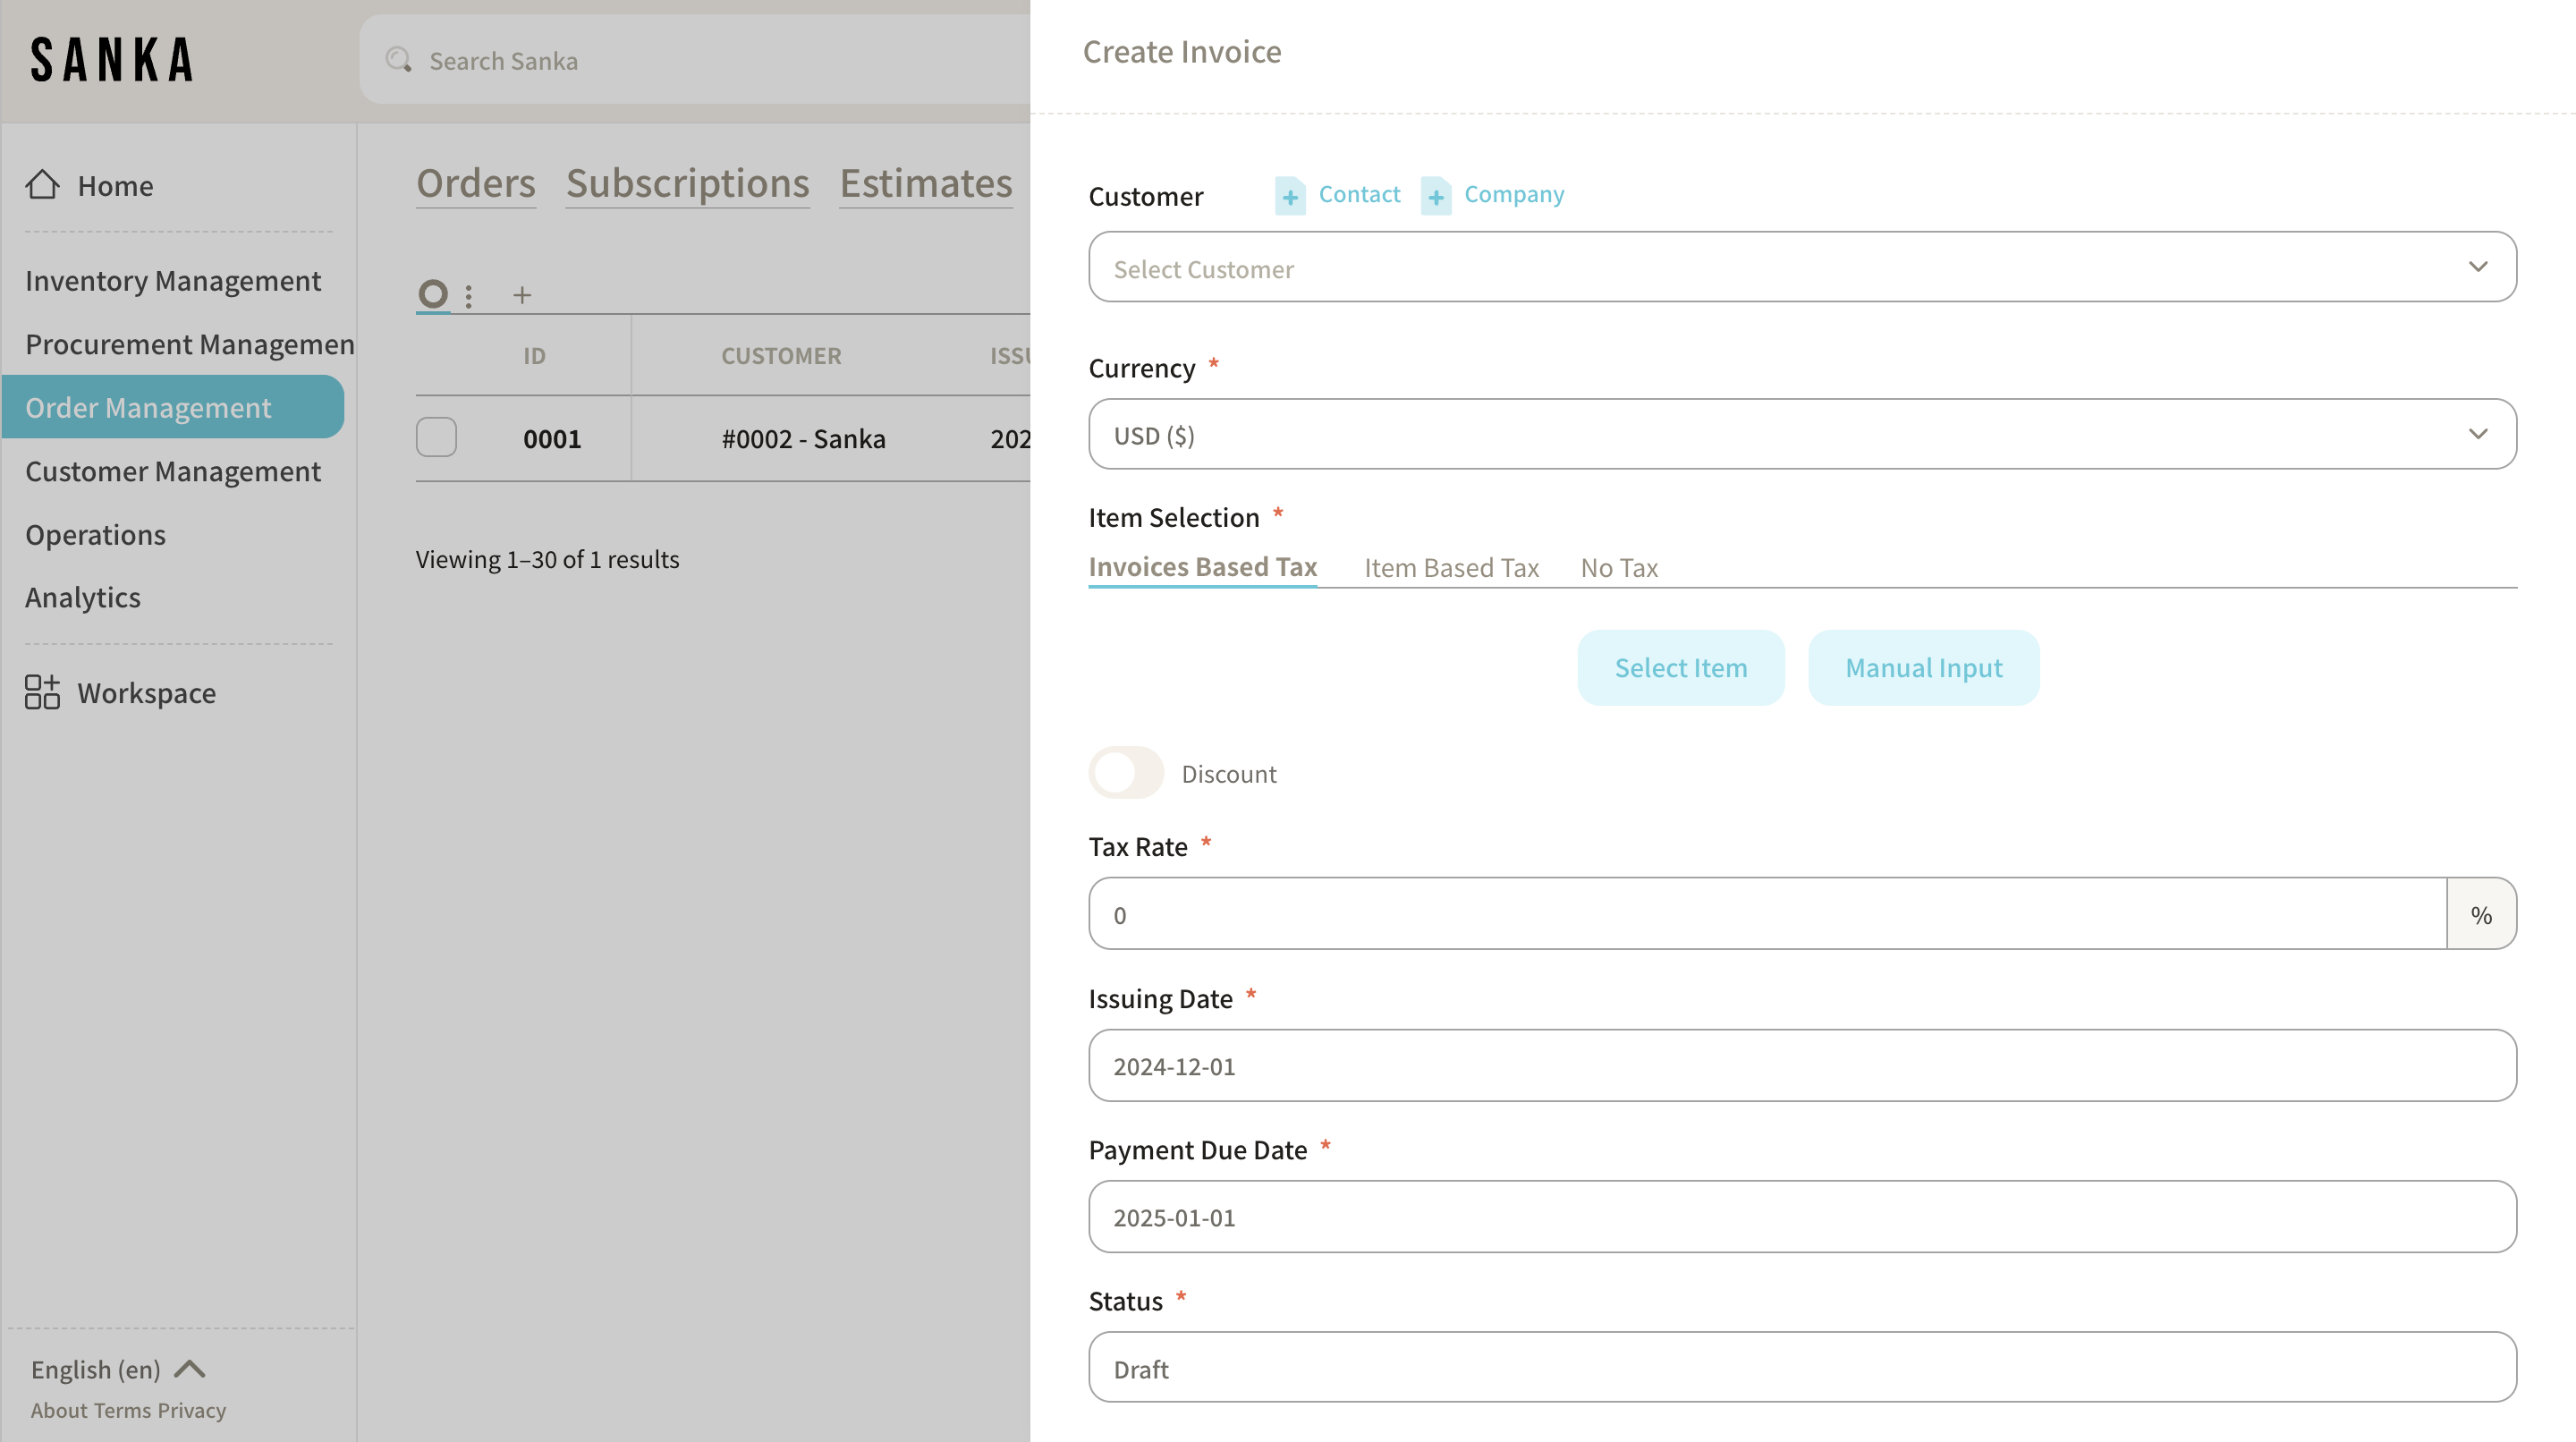
The "Create Invoice" detailed page will appear. Enter the required details.
-
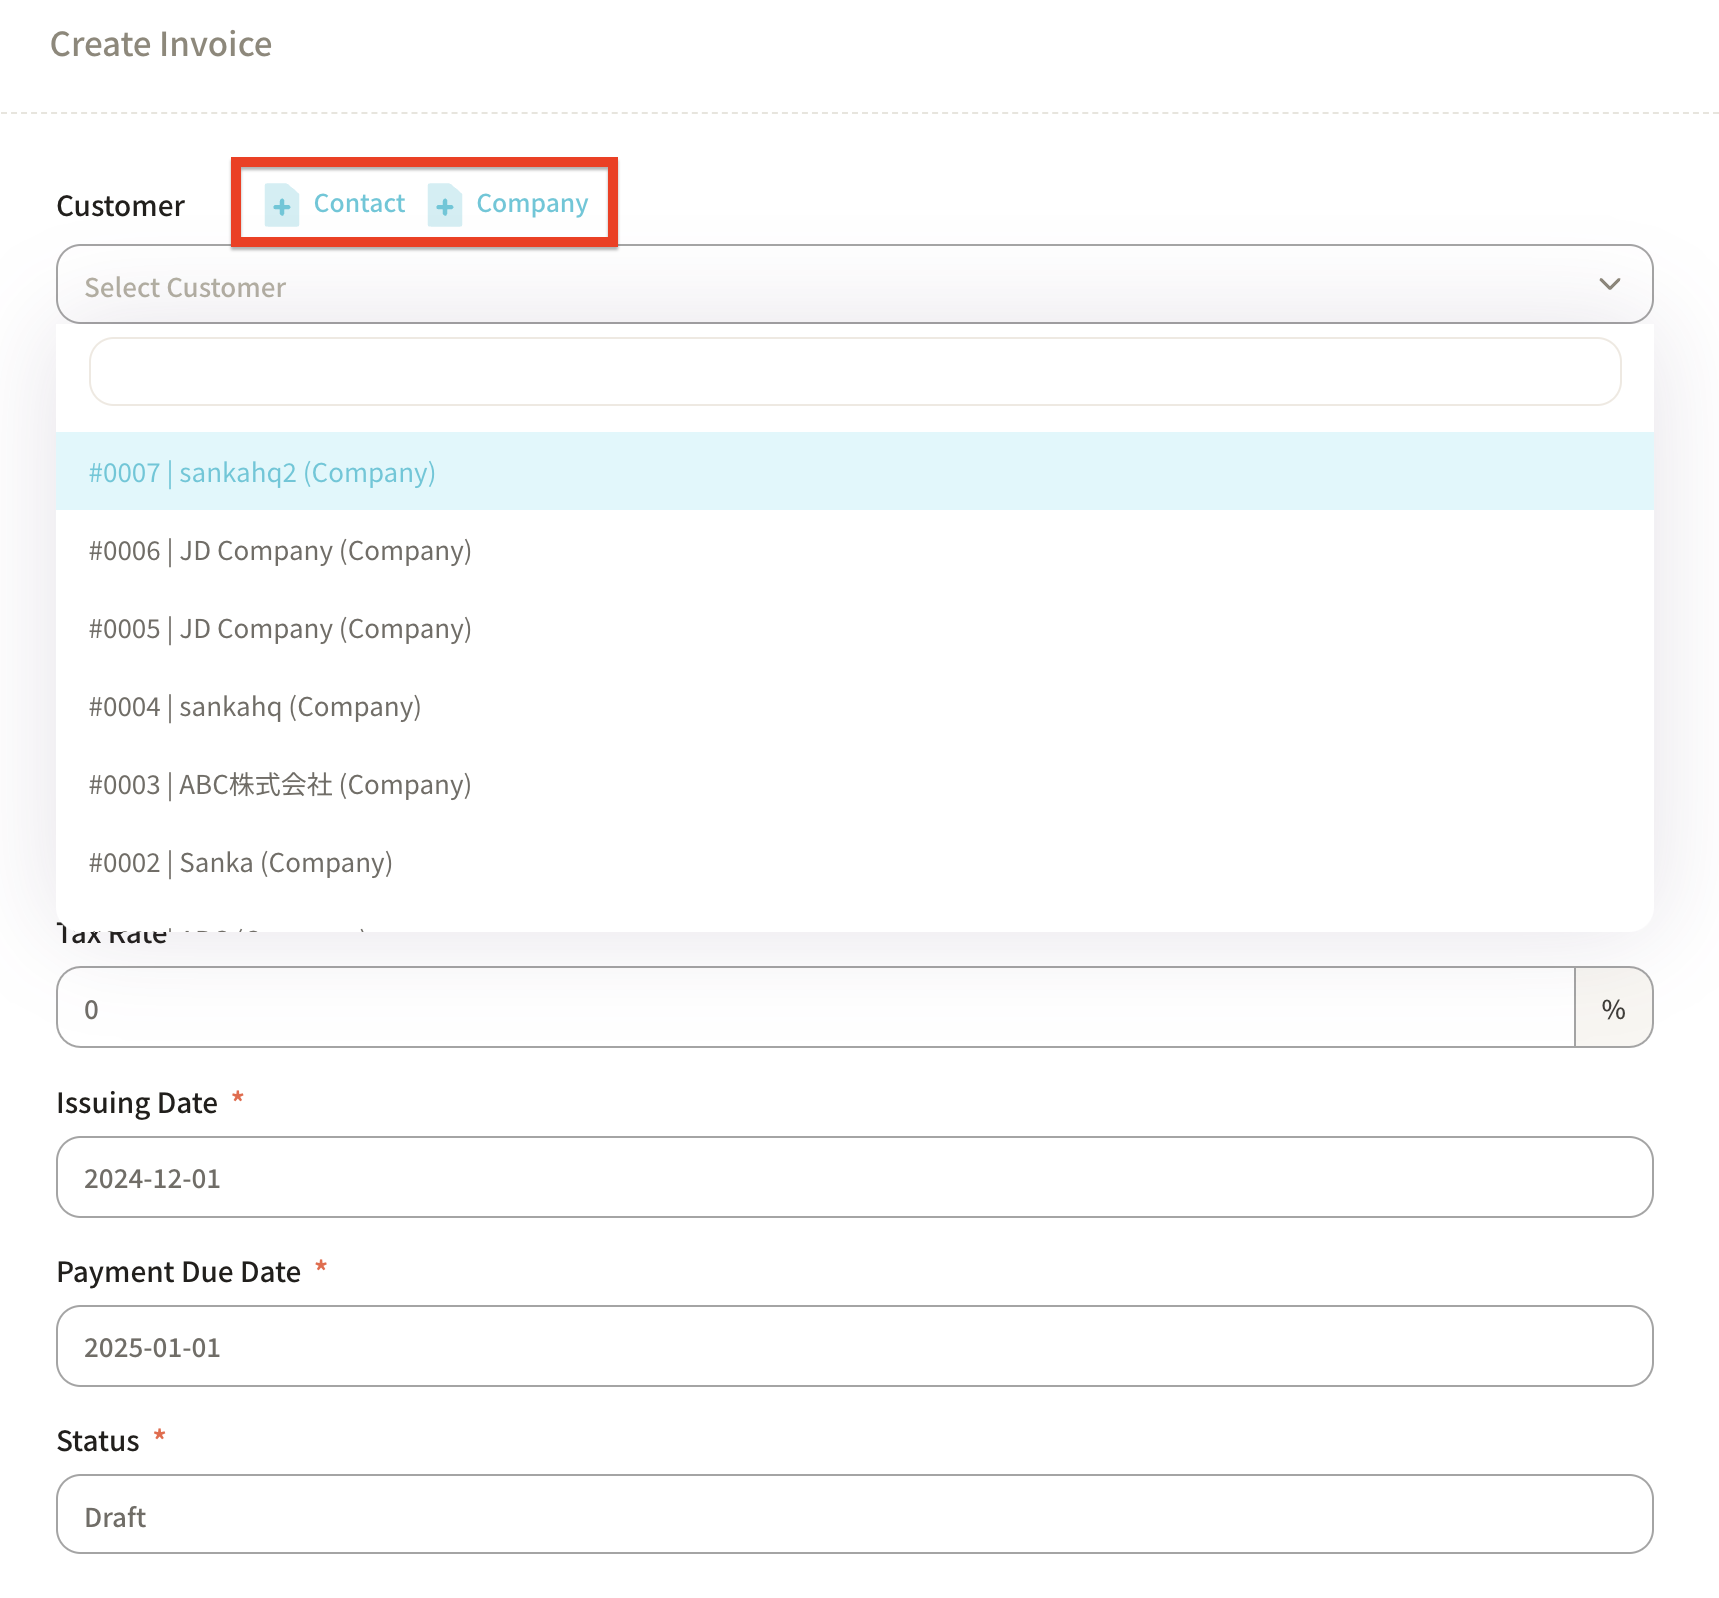
Click "Customer Information" to display registered customer/supplier details (For instructions on how to create a Supplier Master, click here).
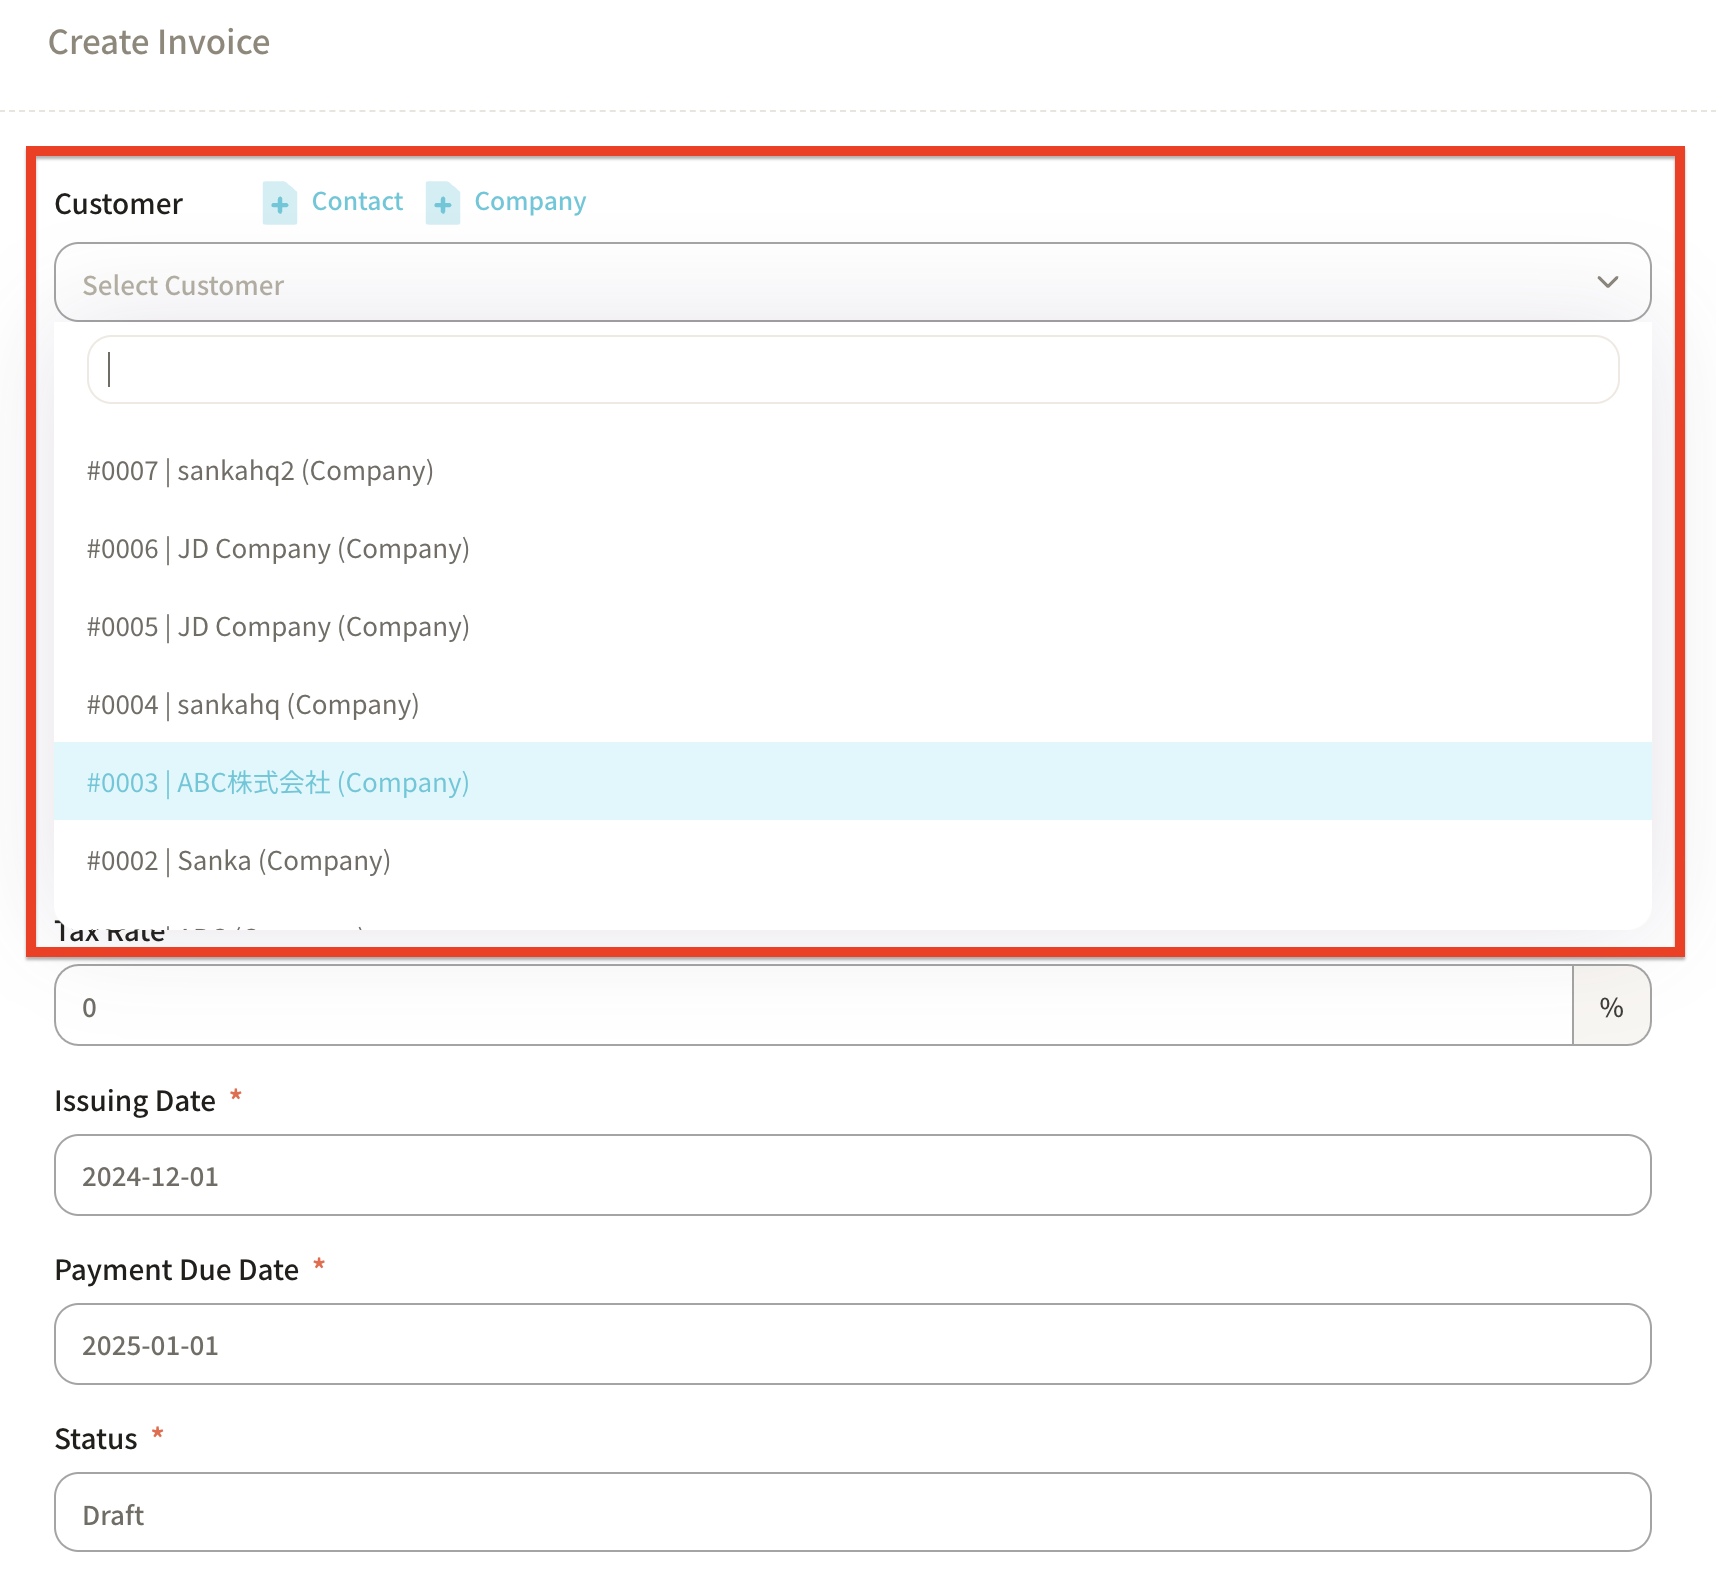
If there is no customer information, you can directly add it by clicking the "+ Contact" or "+ Company" buttons.
-
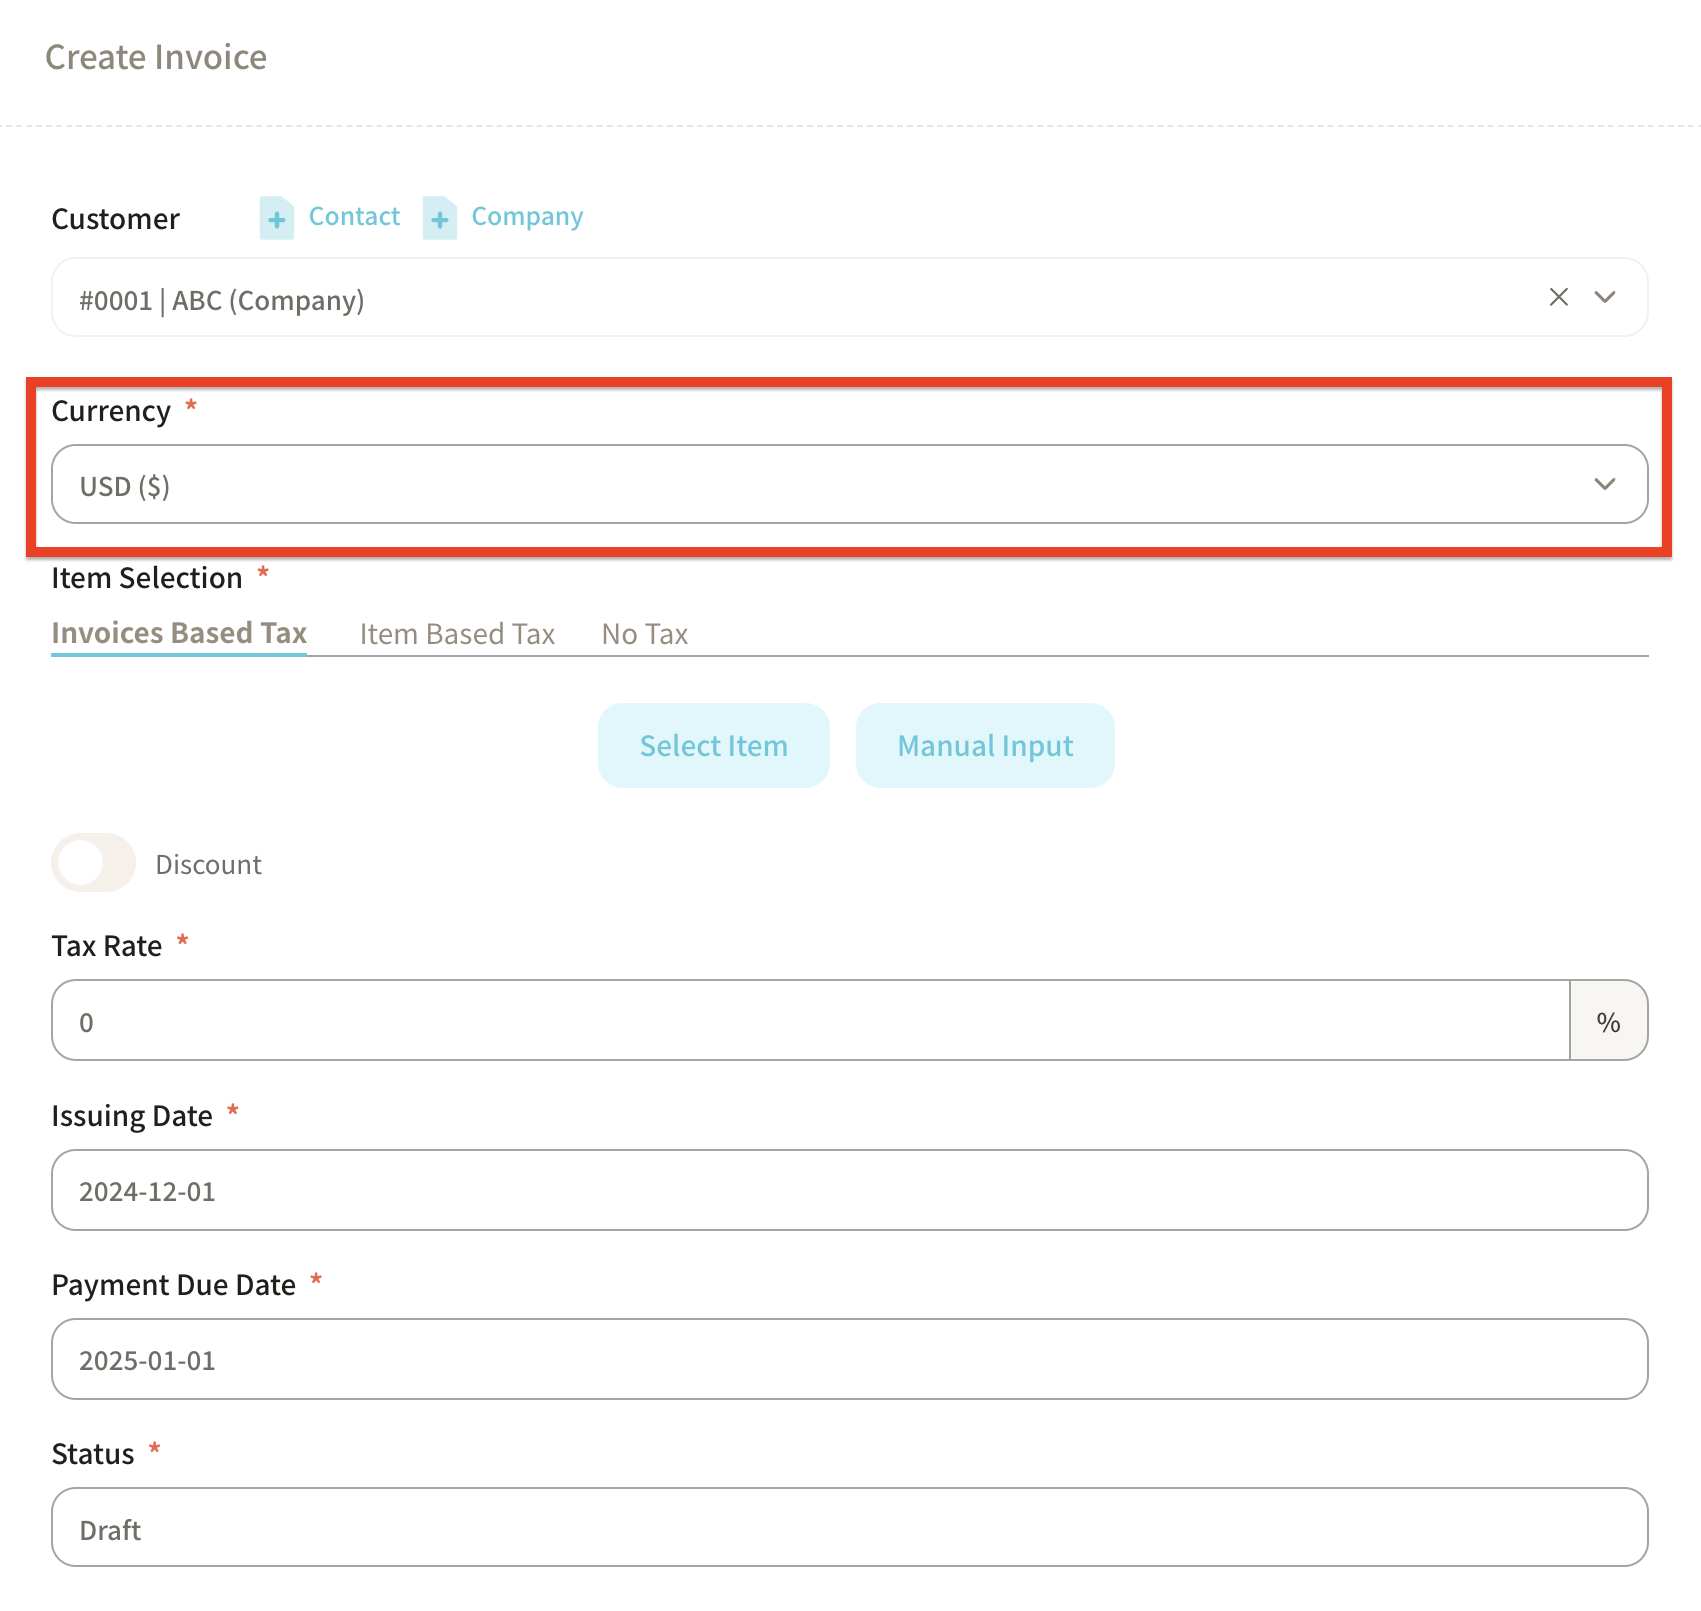
Select the "Currency."
-
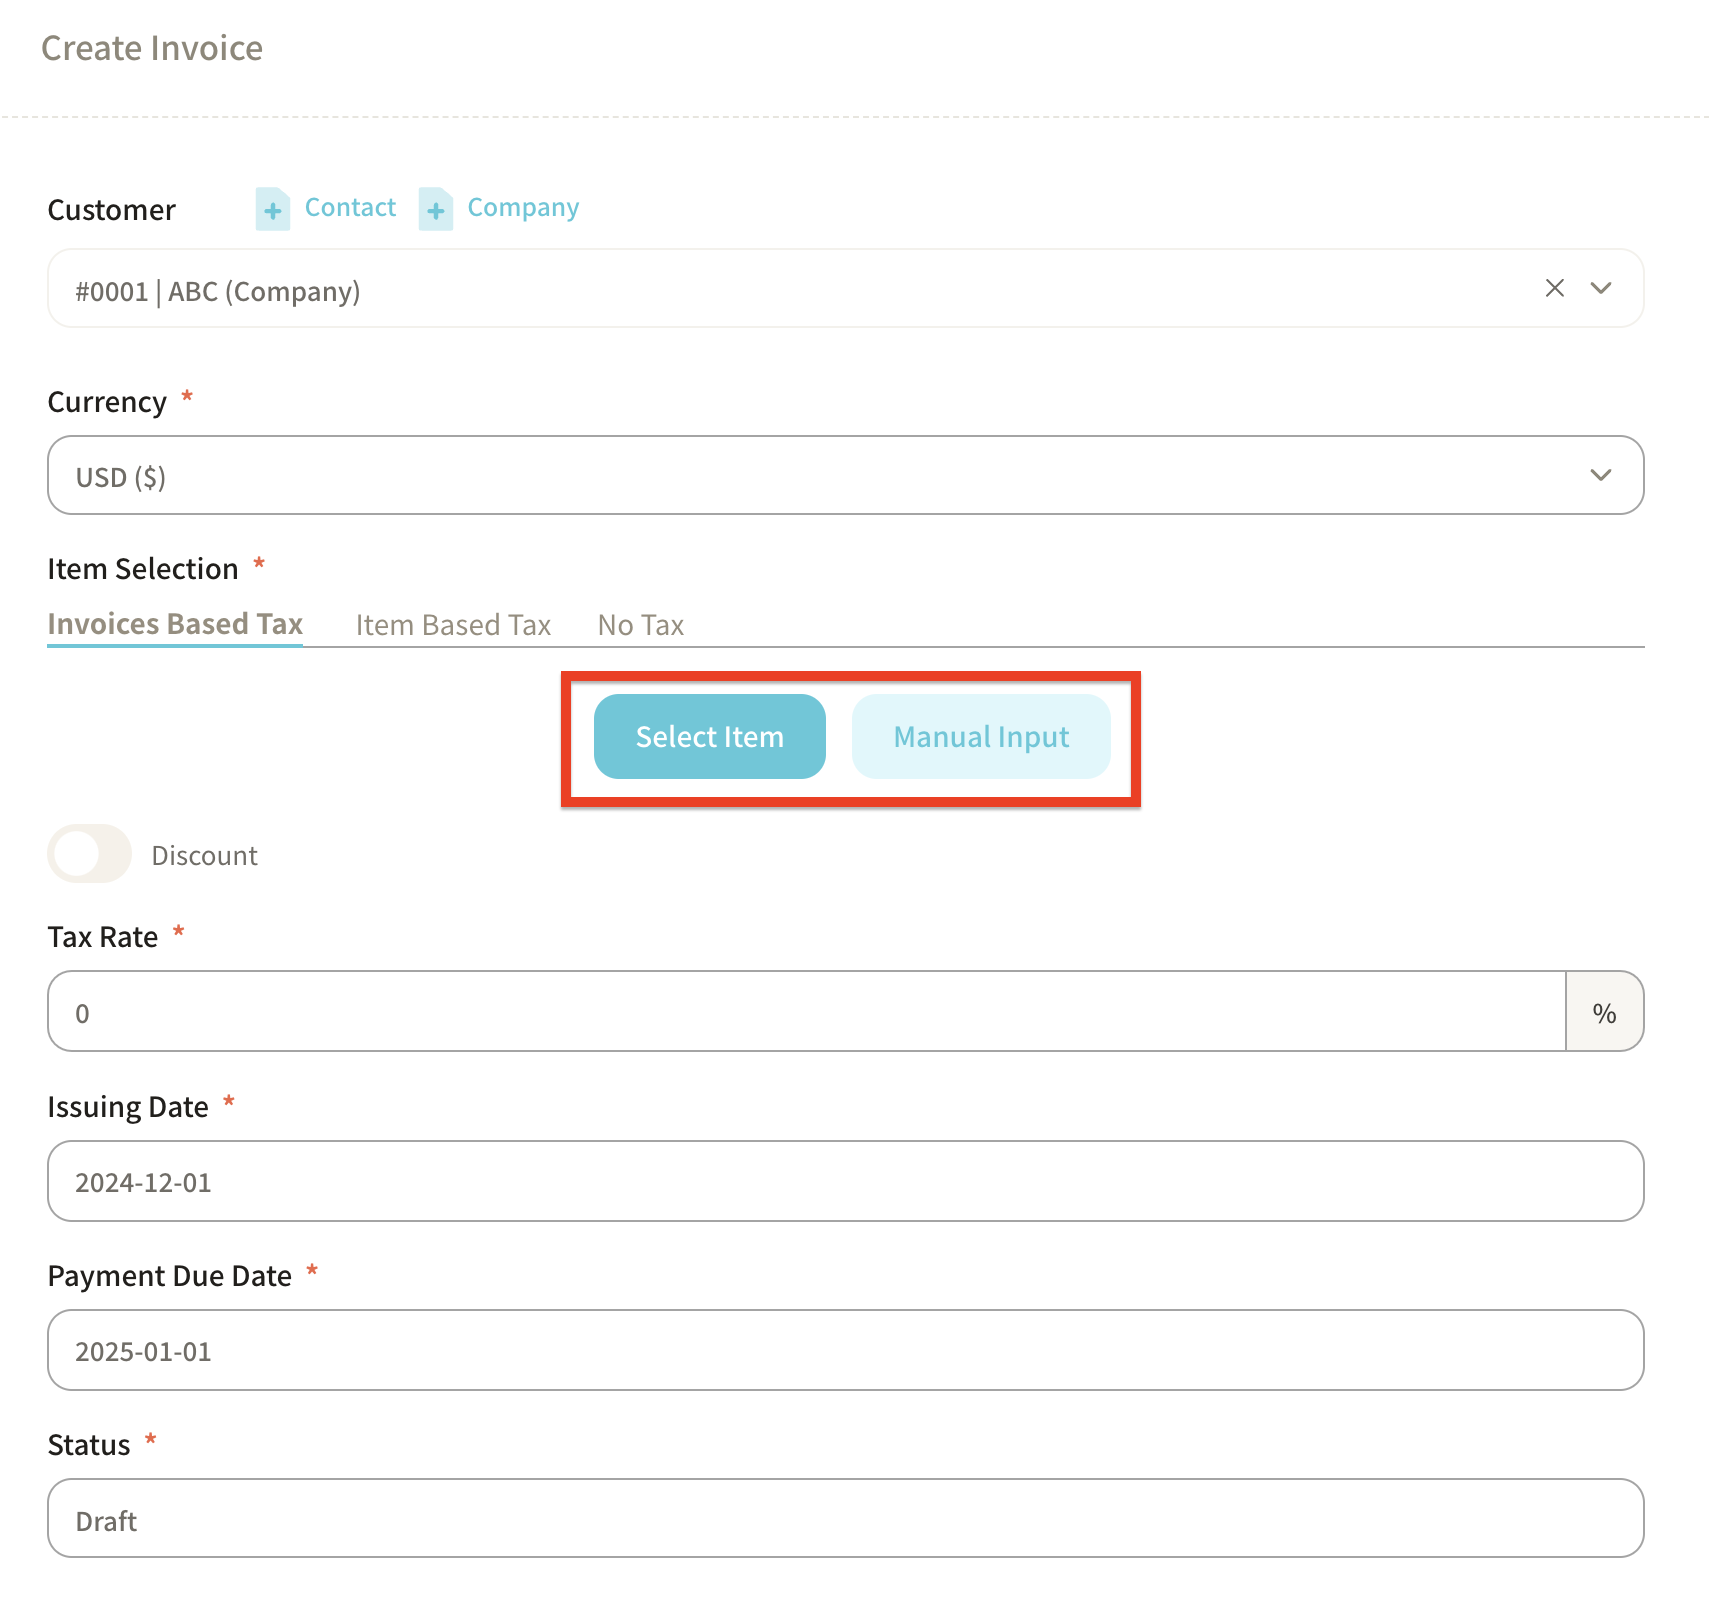
Select the items to be included in the invoice.
There are two ways to input item information: -
Select item: Choose from the existing item master registered in Sanka. For instructions on creating a Item Master, click here.
- Manual Input: Manually enter the product information.
Here, we'll proceed by selecting "Select Item."
- After selecting an item, the items registered in the item master will appear.
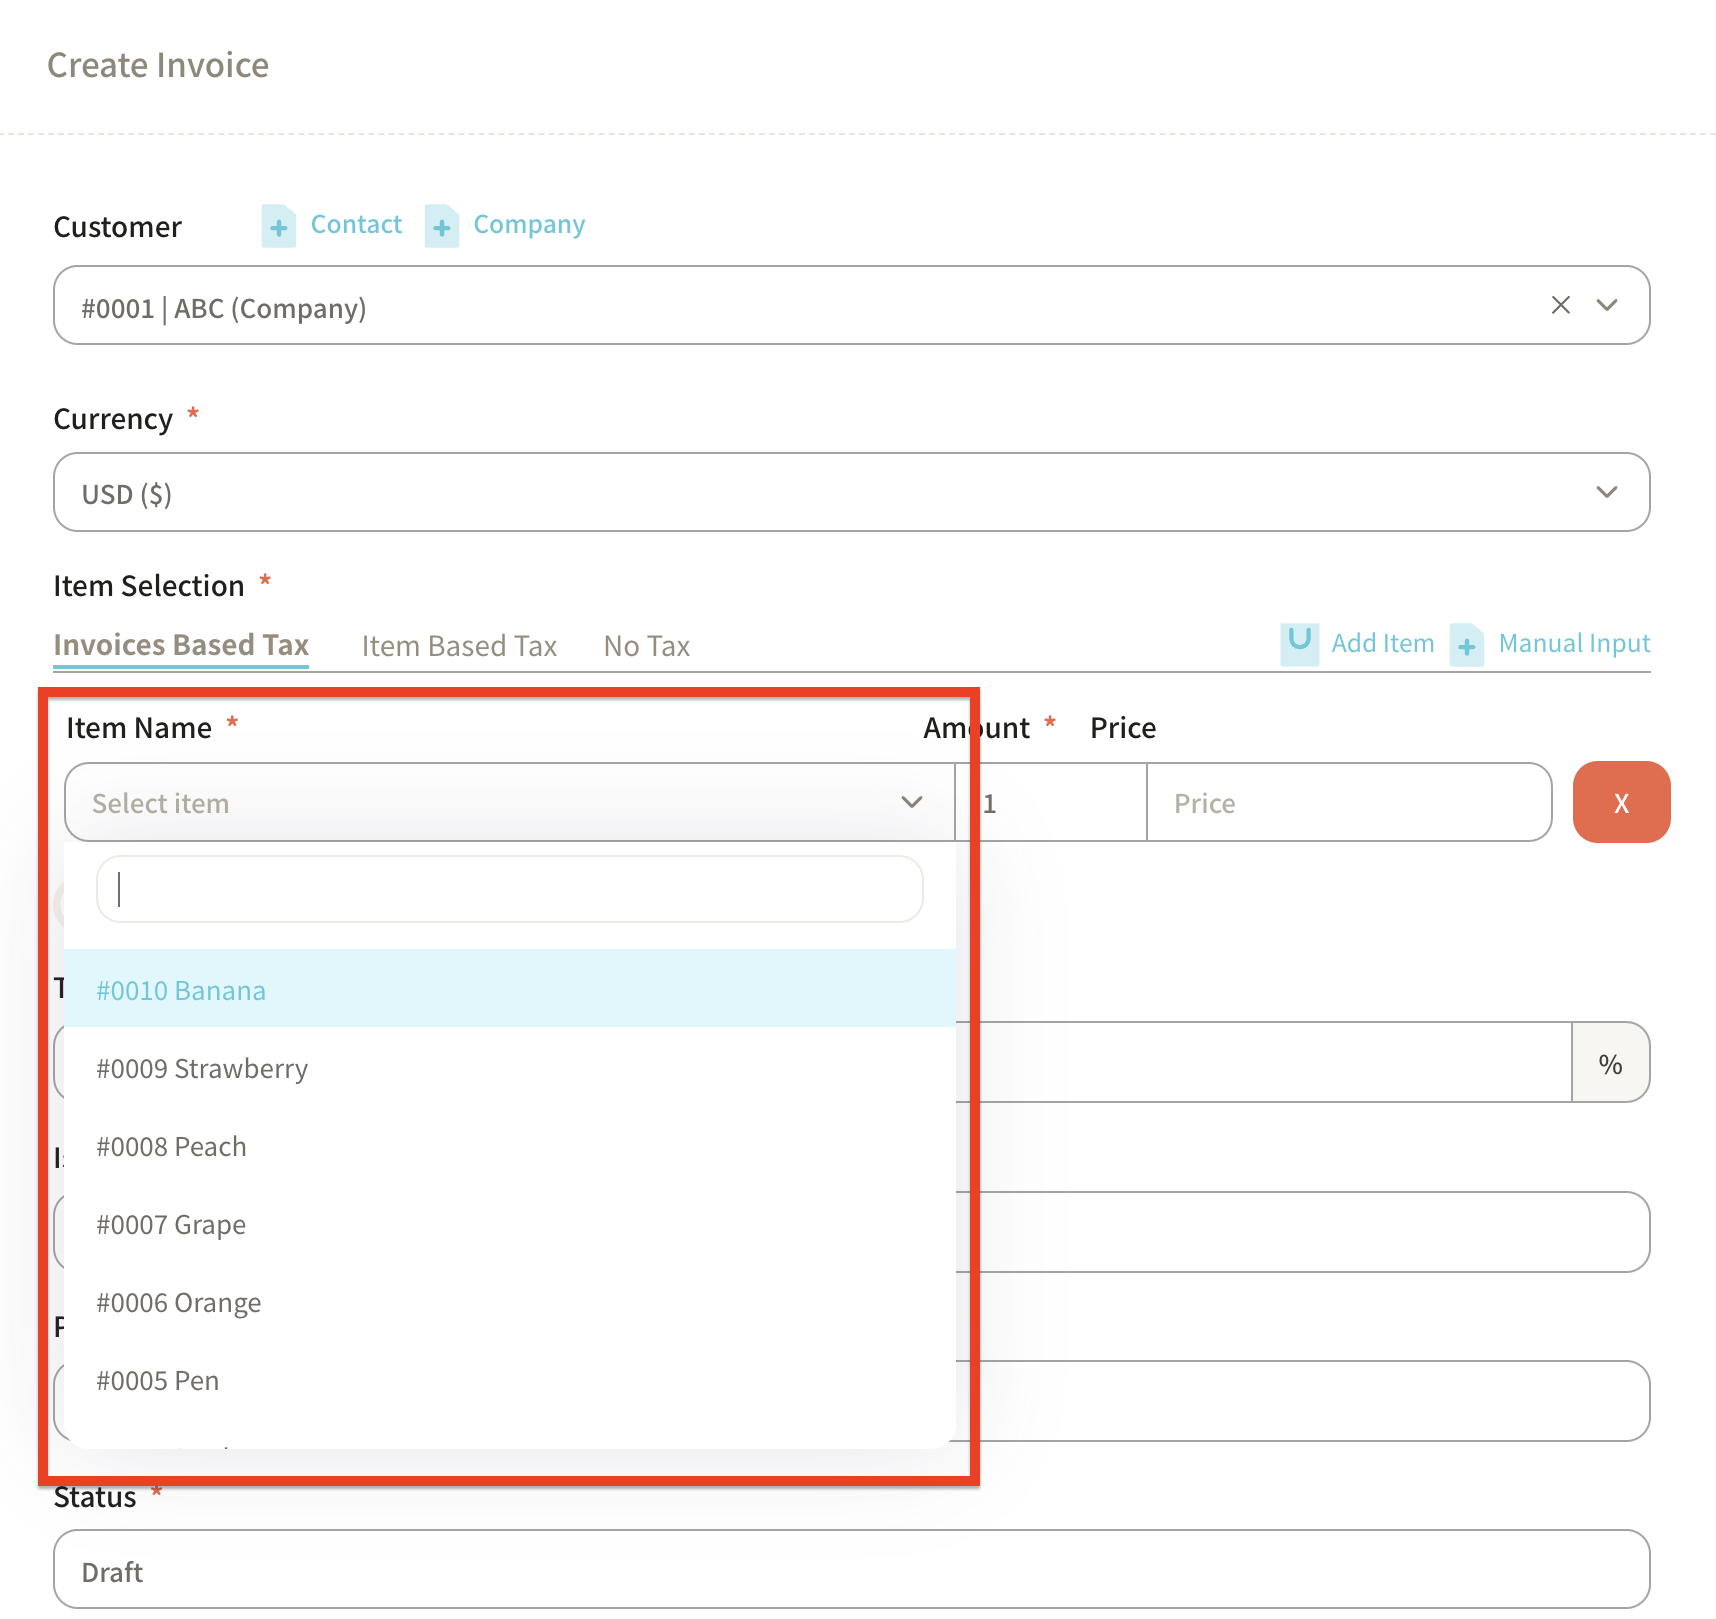
As an example, we will create an invoice for 500 units of Banana and 1,000 units of Strawberry.
First, select Banana and enter 500 units. The unit price will automatically be added based on the item master.
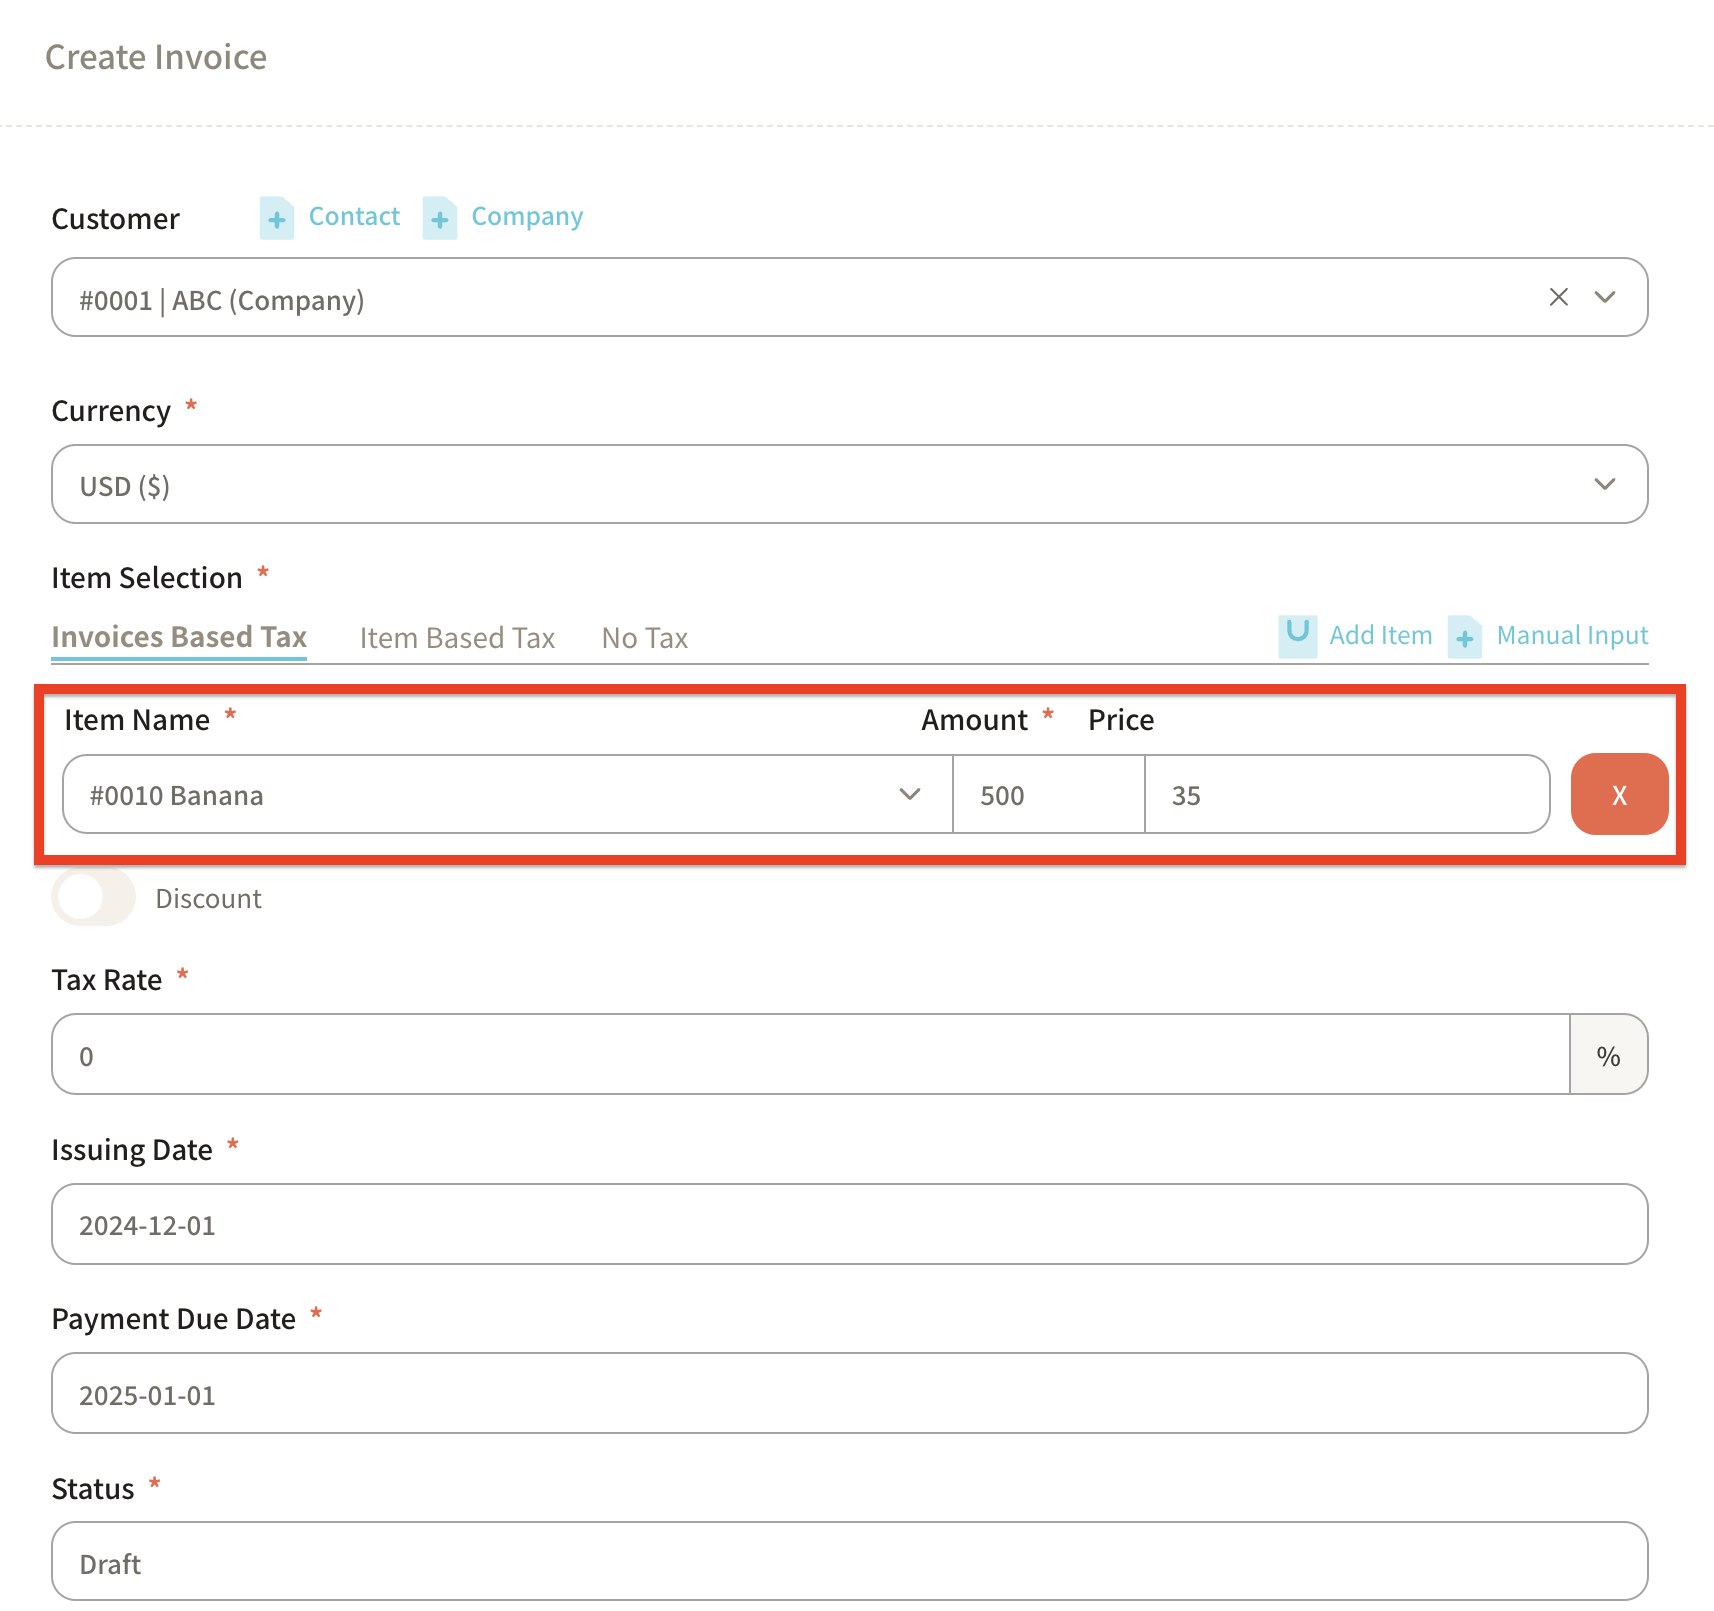
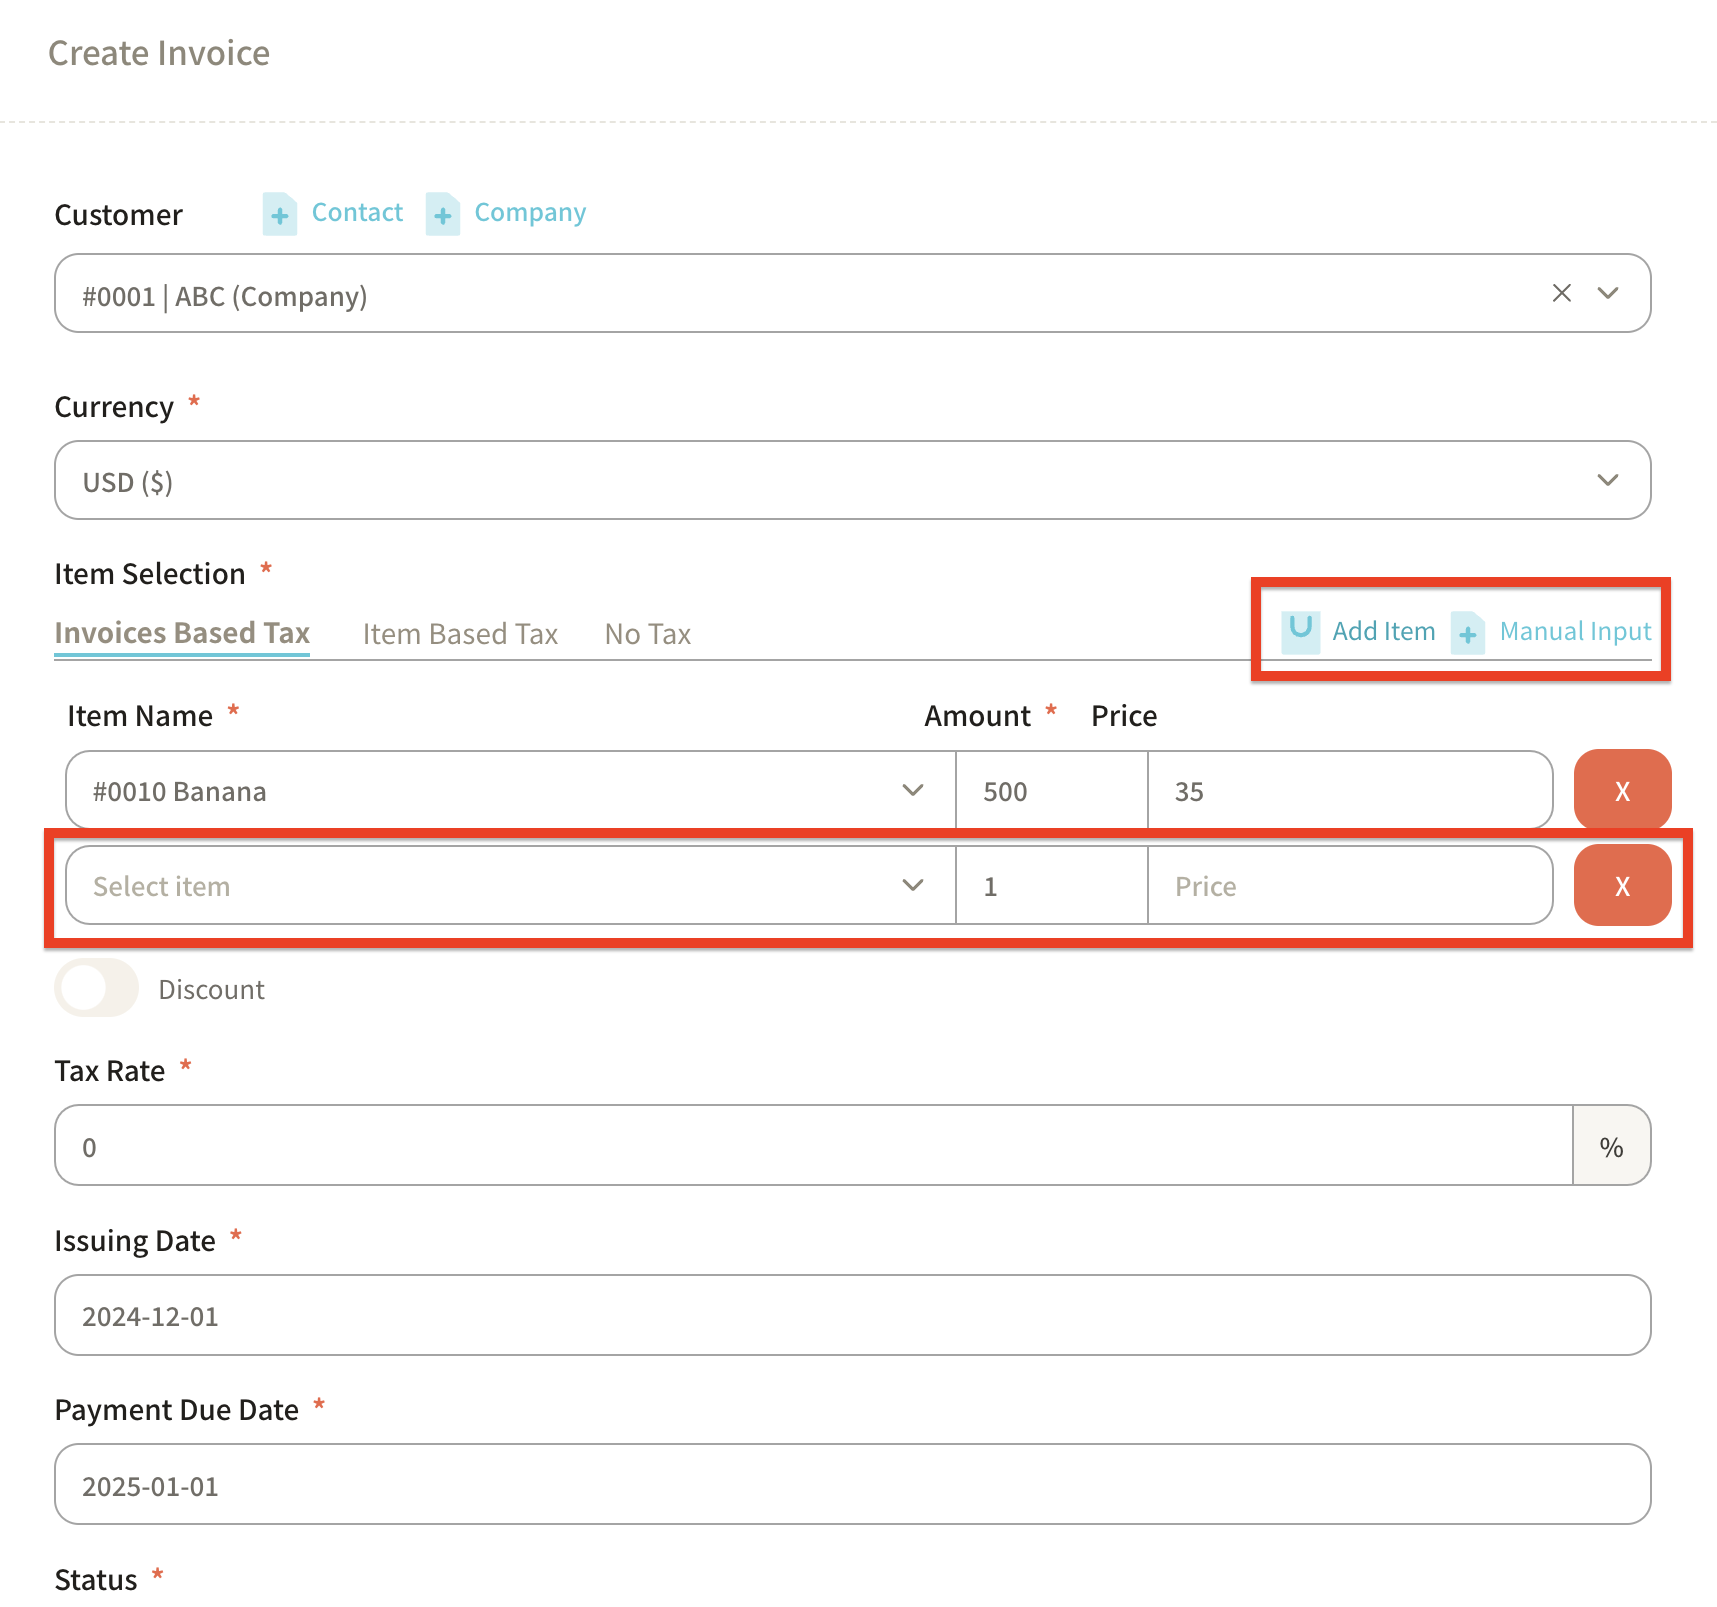
If you want to add more items to the invoice, click "Add Item" in the upper-right corner to display a blank field.
Enter 1,000 units of Strawberry.
-
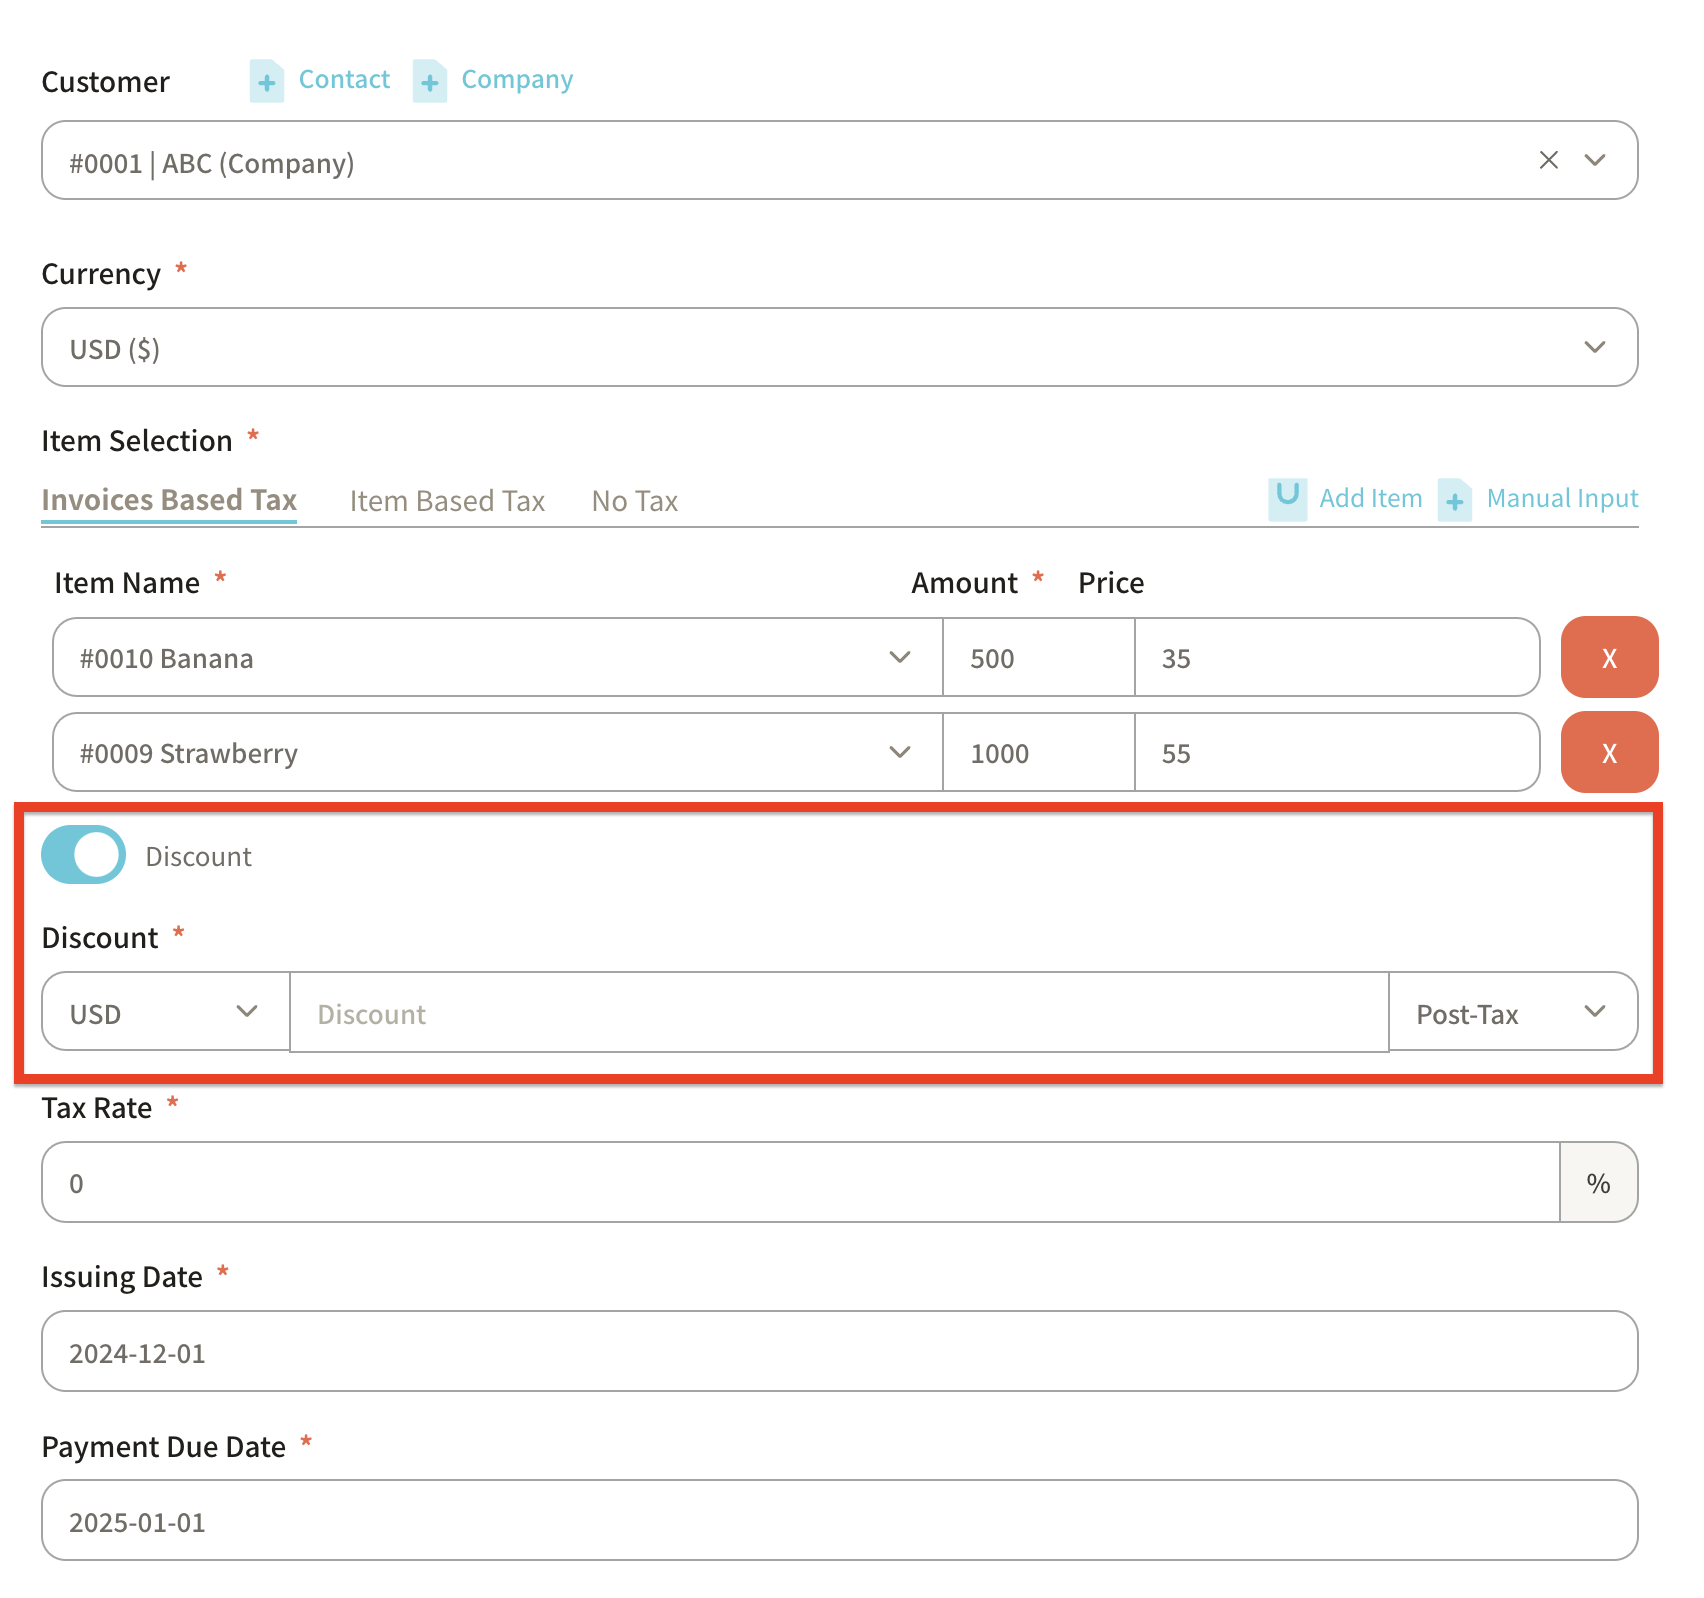
If you want to apply a discount, turn on the "Discount" option to set it up.
-
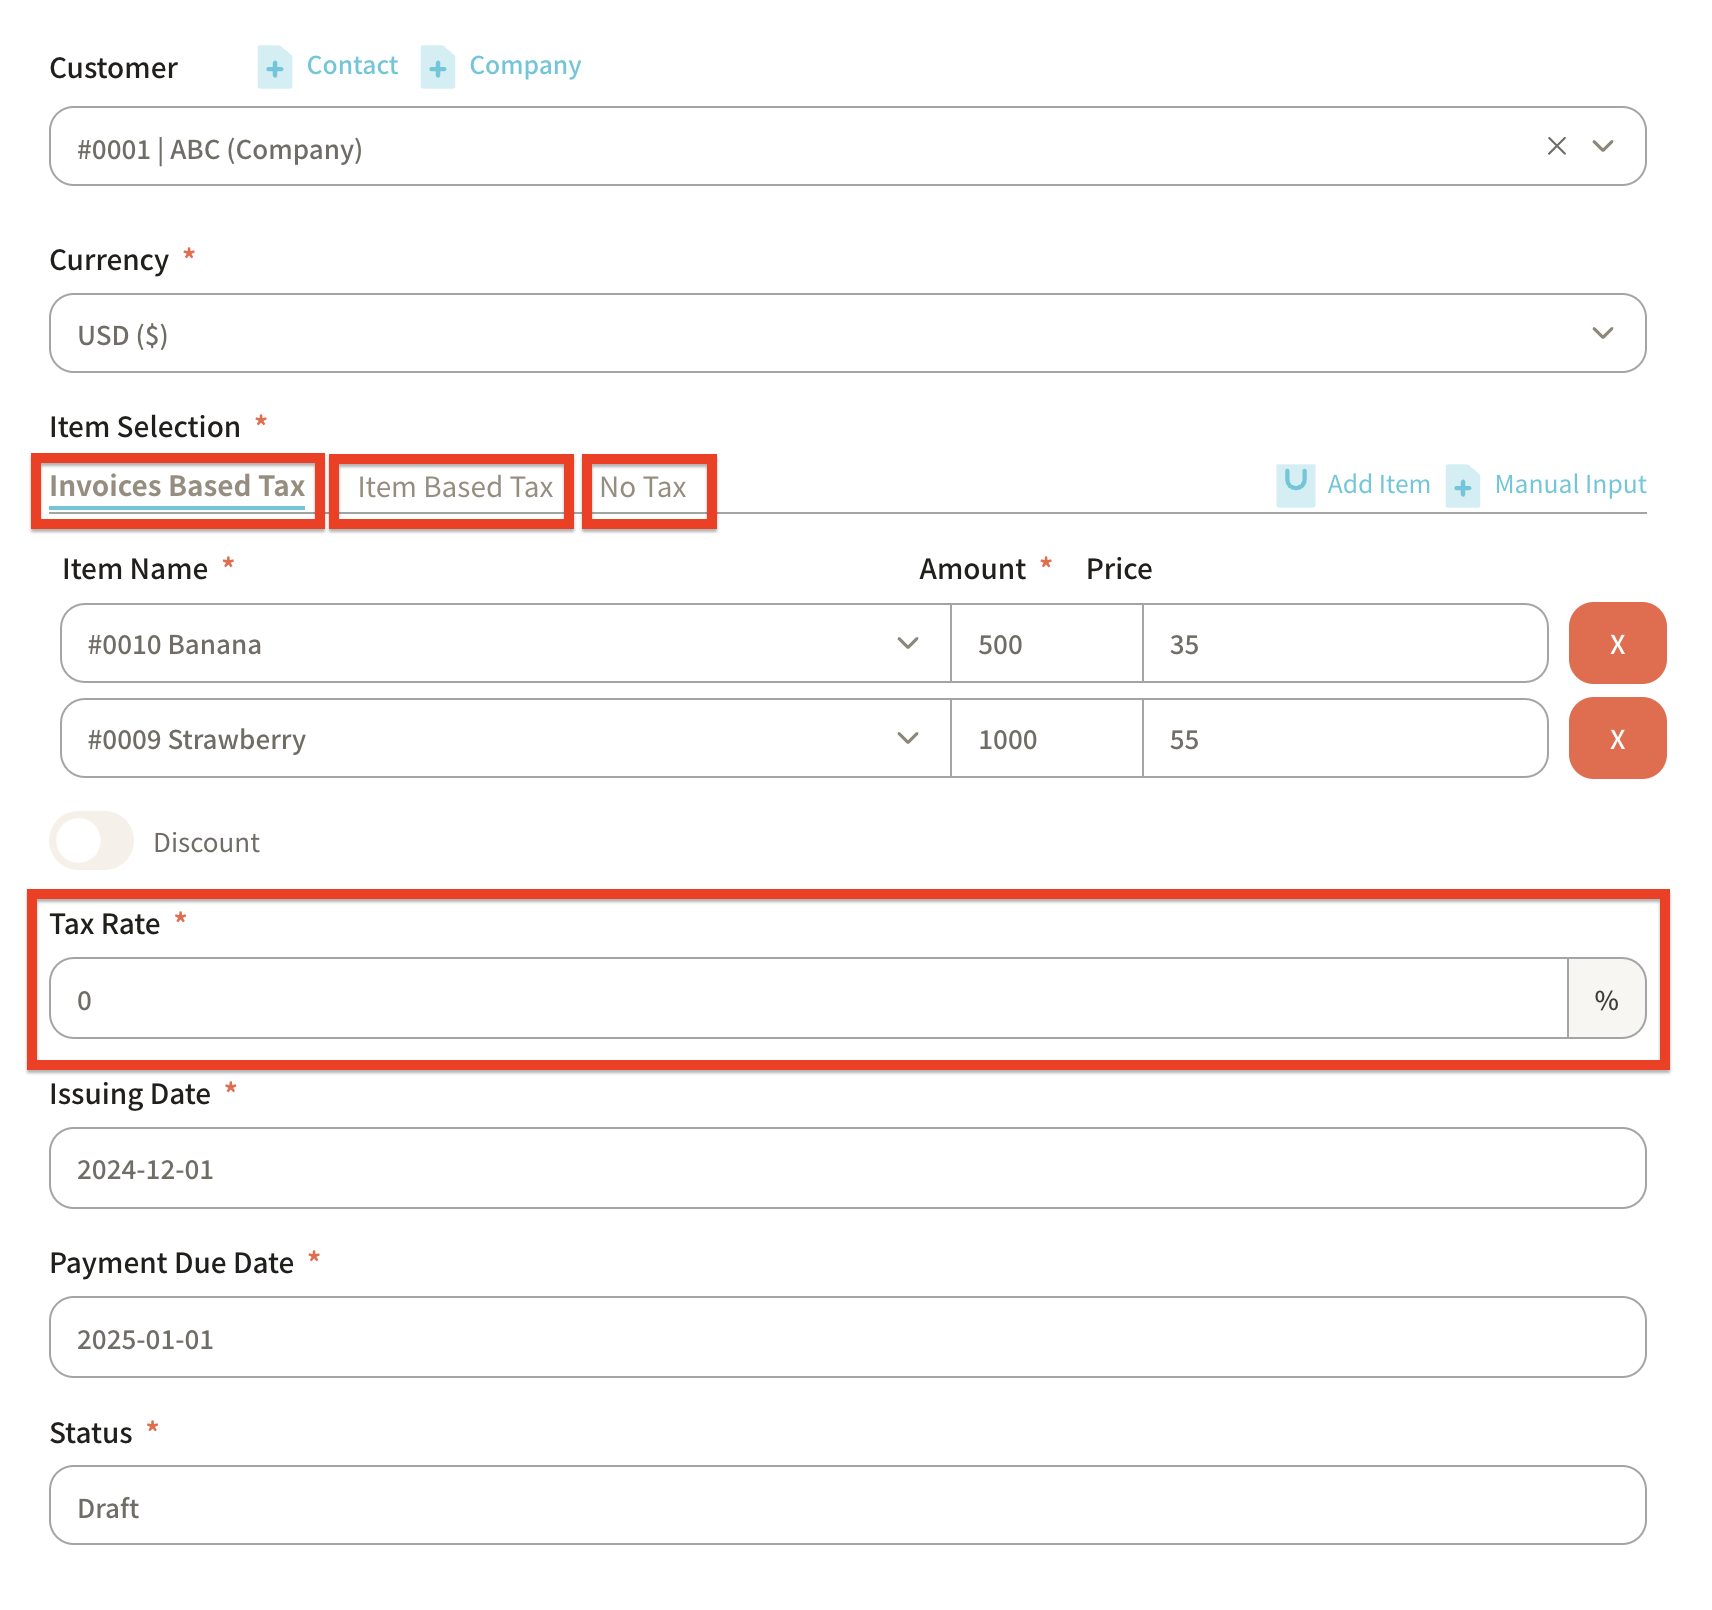
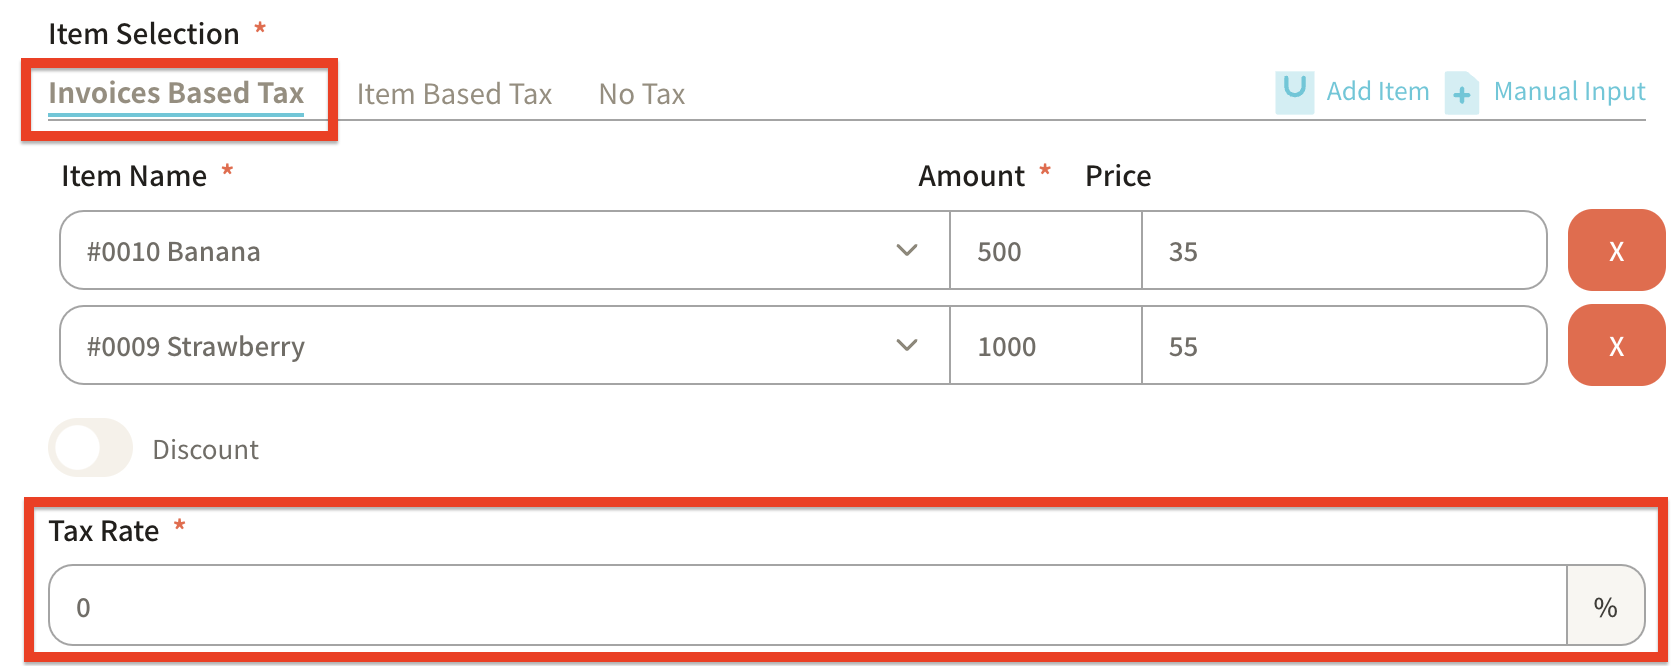
Enter the "Tax Rate."
There are three ways to set the tax rate: -
Invoice Based Tax: Applies the same tax rate to all items in the invoice.
- Item Based Tax: Set different tax rates for each product.
- No Tax: No tax rate is set, and it will not be applied to the invoice.
Example 1: Tax rate for the entire invoice
Example 2: Tax rates per item

Example 3: Tax-free

-
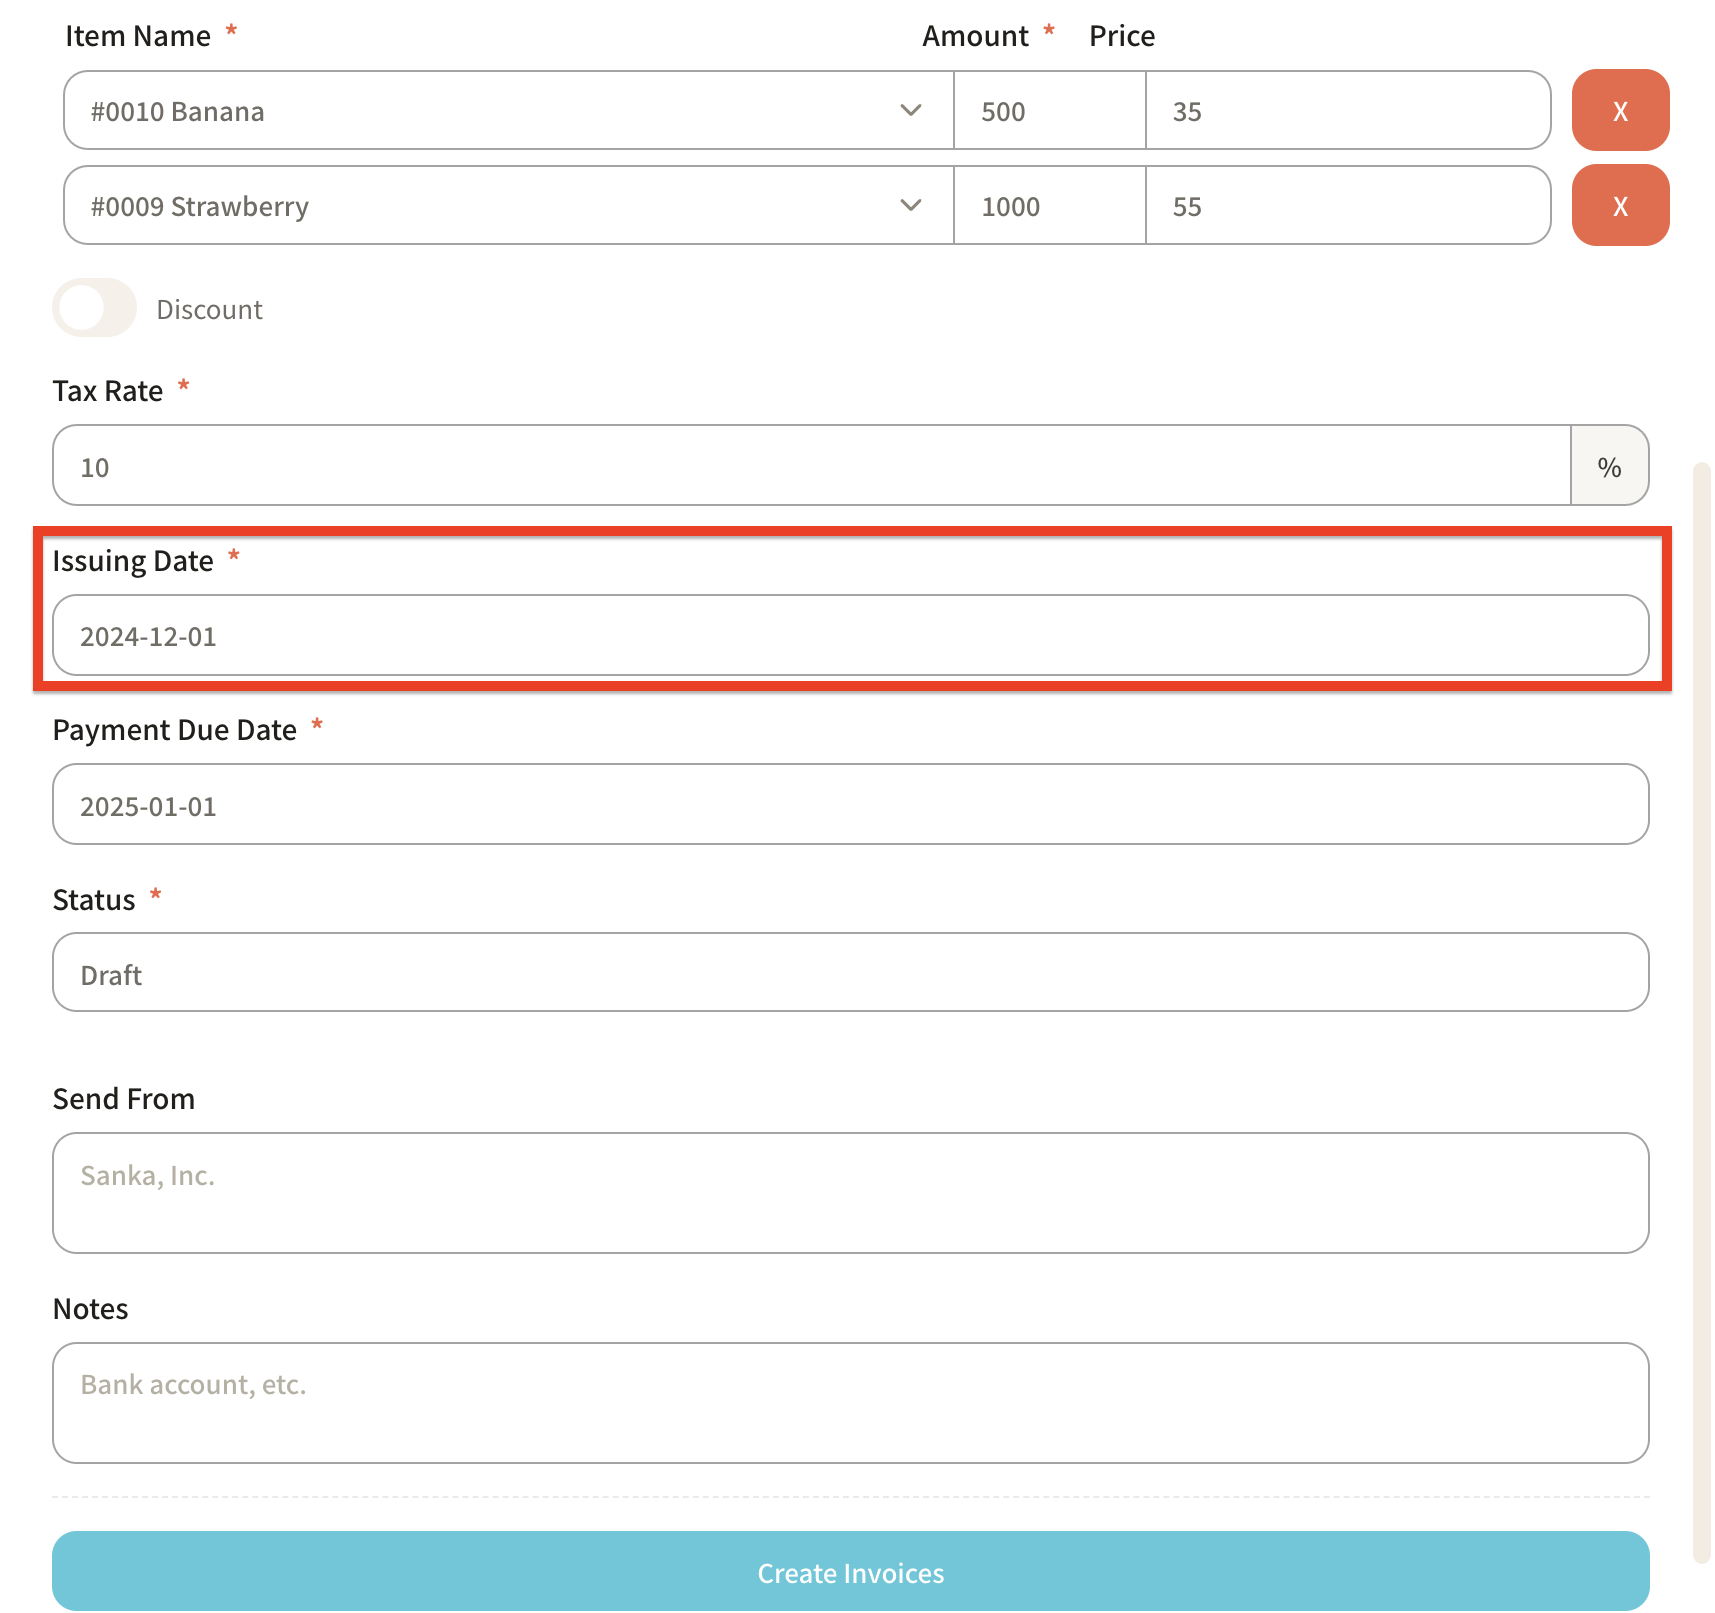
The "Issue Date" will default to the date the invoice is created, but it can be changed if necessary.
-
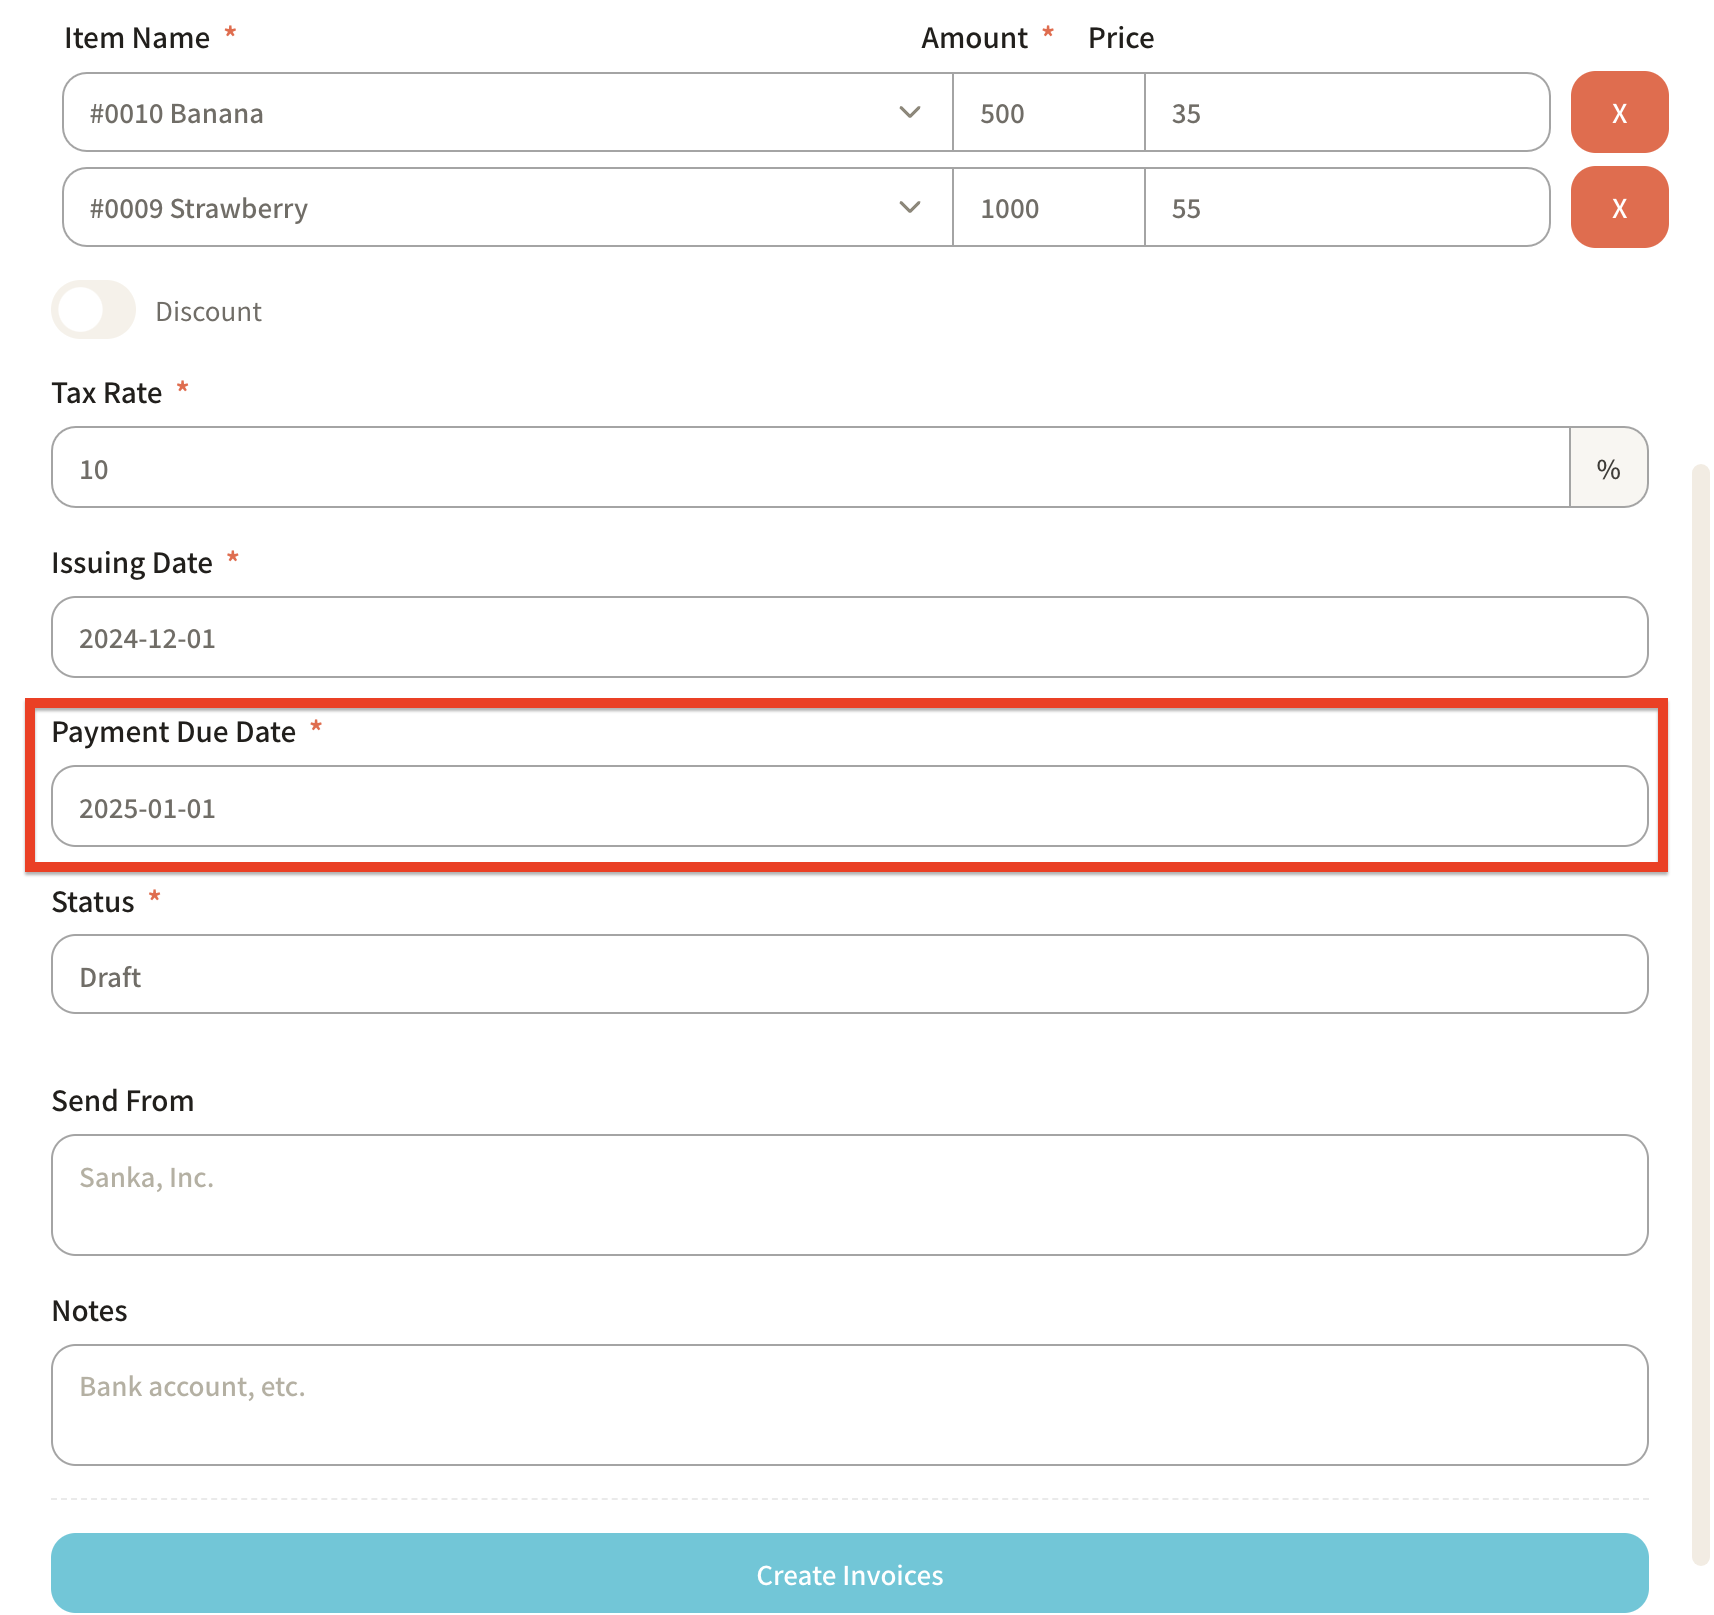
The "Payment Due Date" will default to one month after the invoice creation date but can also be adjusted if needed.
-
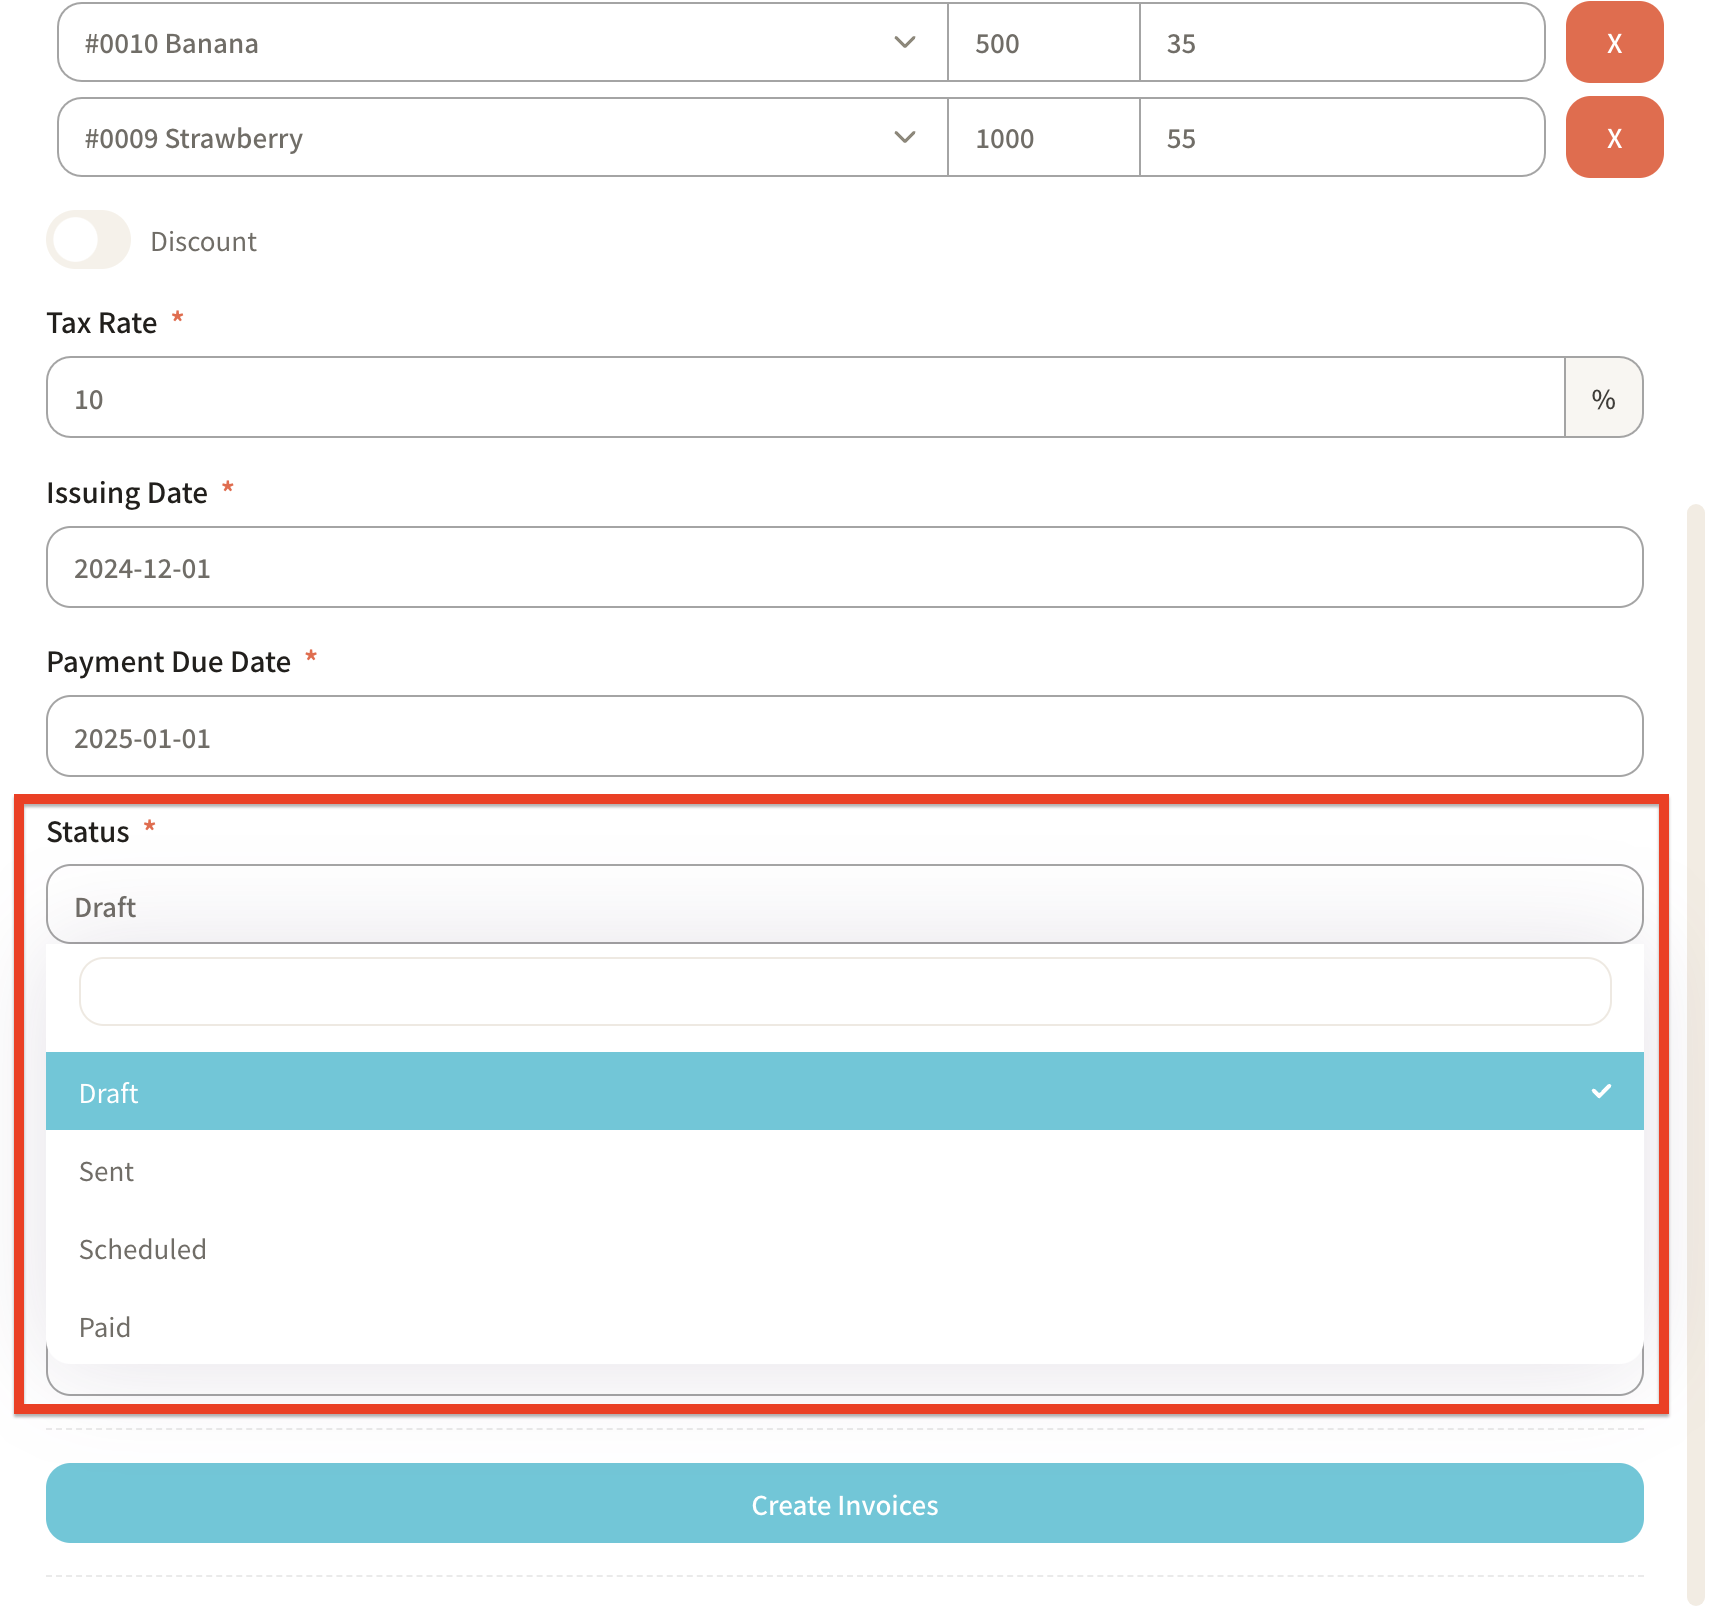
Select the status of the invoice from "Draft," "Sent," "Scheduled," or "Paid."
-
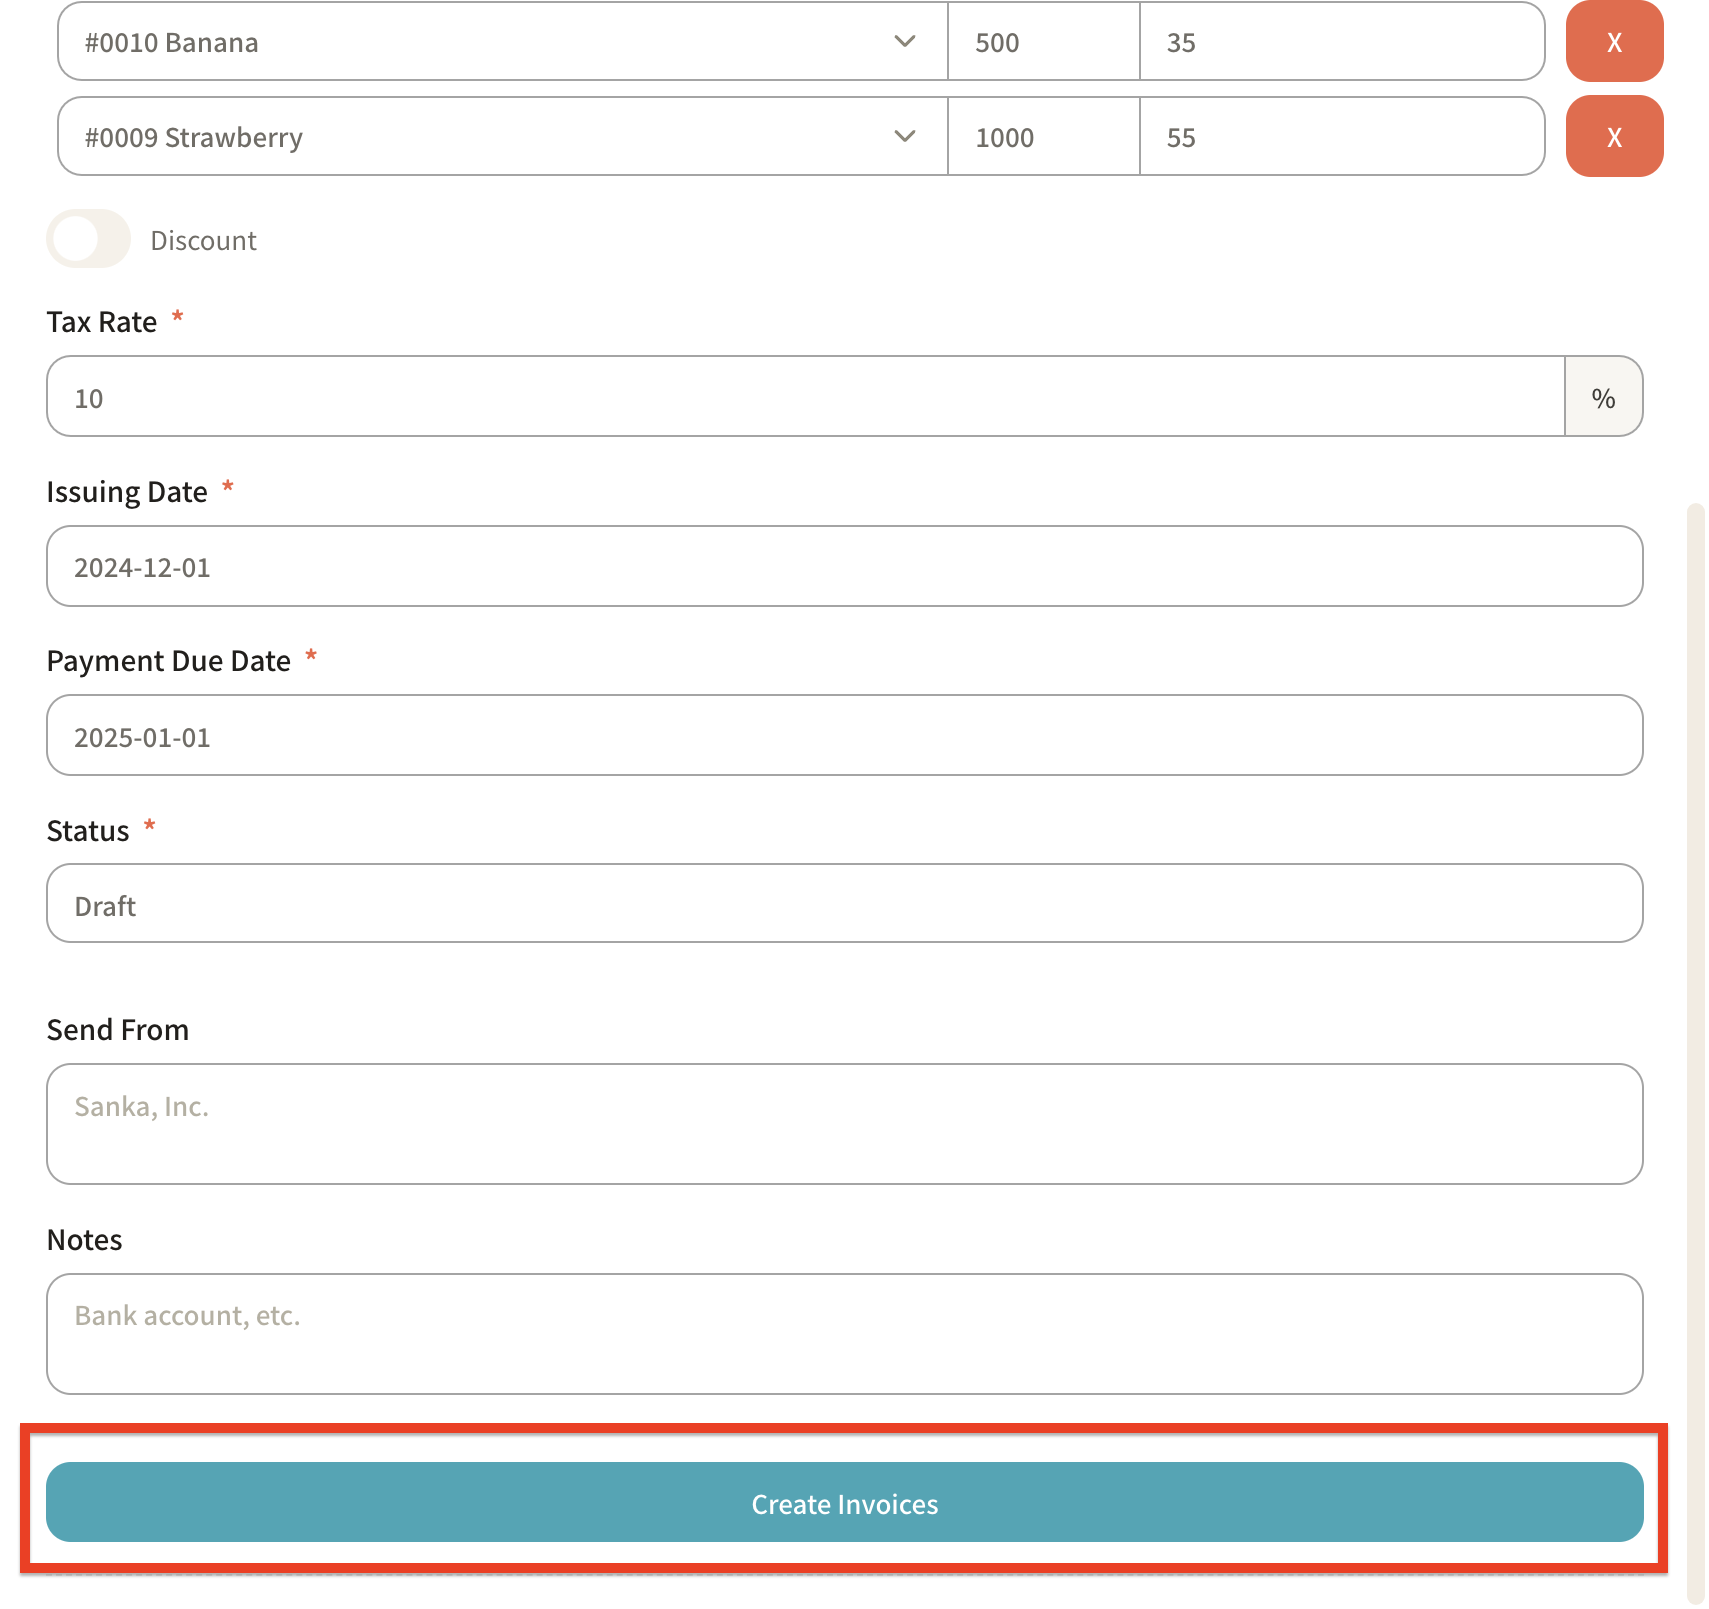
Once all the necessary information has been entered, click "Create Invoice."
-
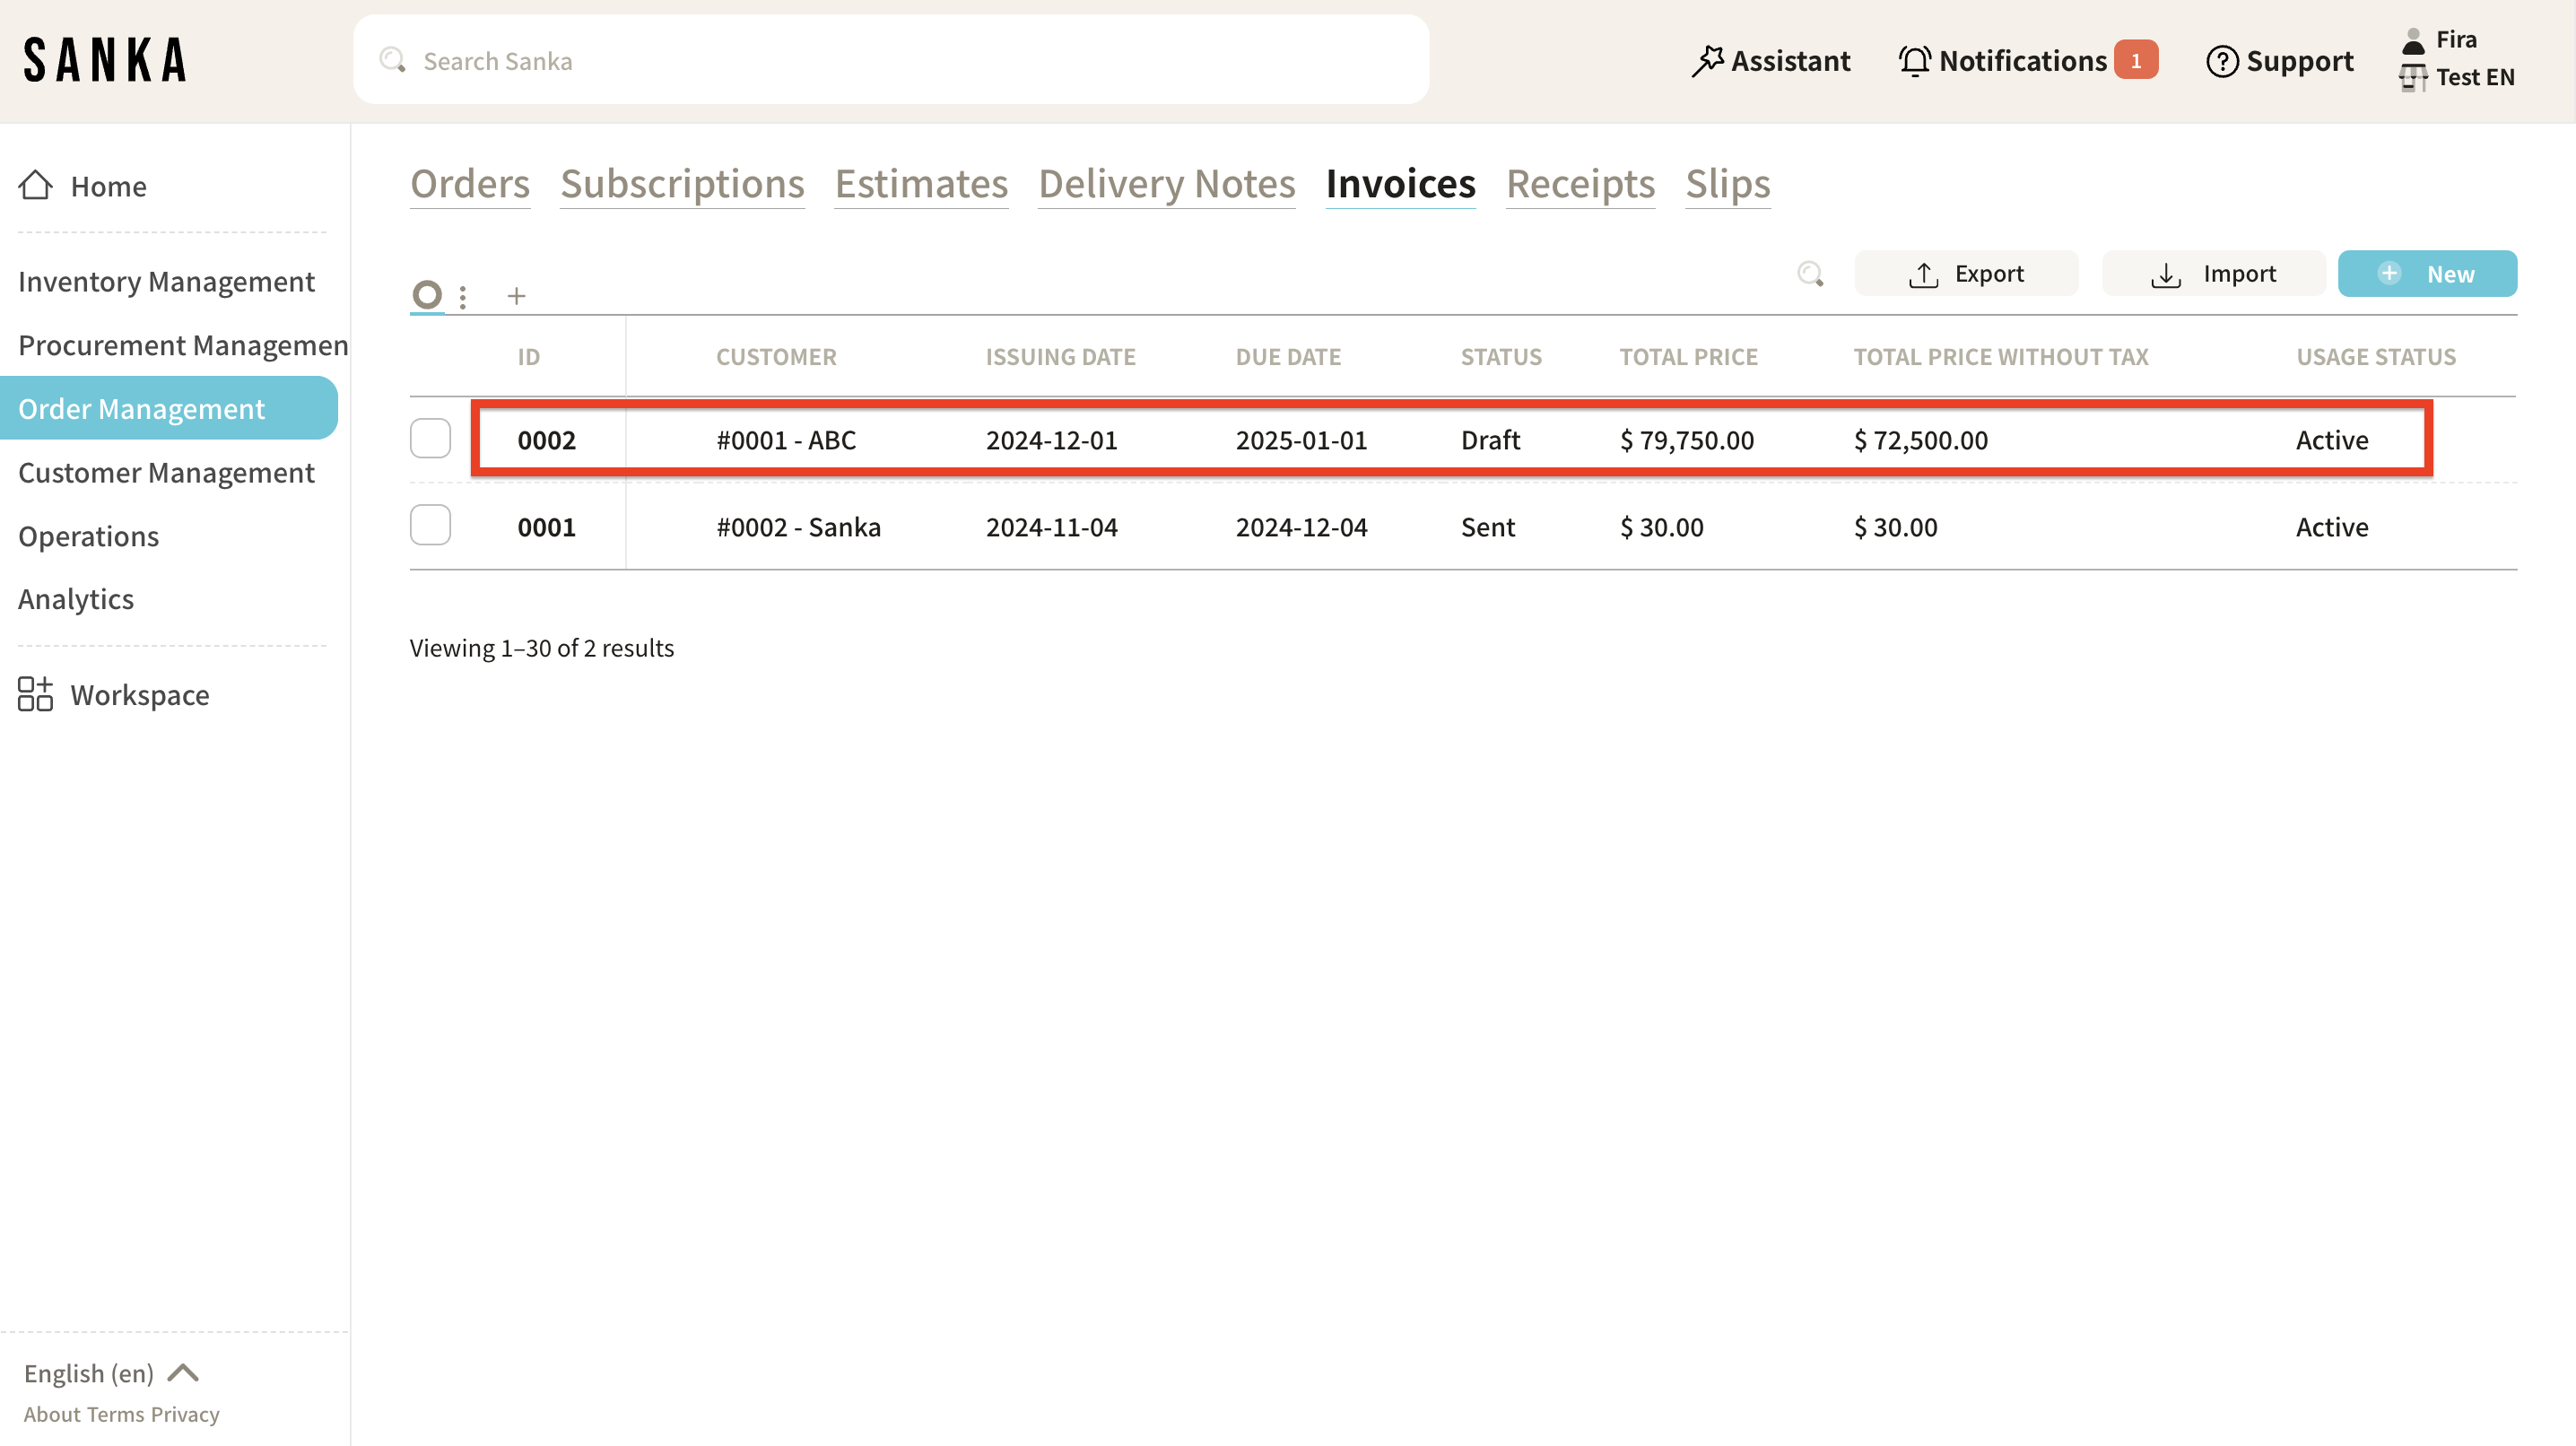
The registered details will be displayed on the "Invoice" object page.
The "Total Price" and "Total Price without Tax" will be automatically calculated.
How to Edit Registered Information
In Sanka, once information is registered, it cannot be deleted to prevent accidental loss.
Therefore, it’s important to master the steps to edit the information.
-
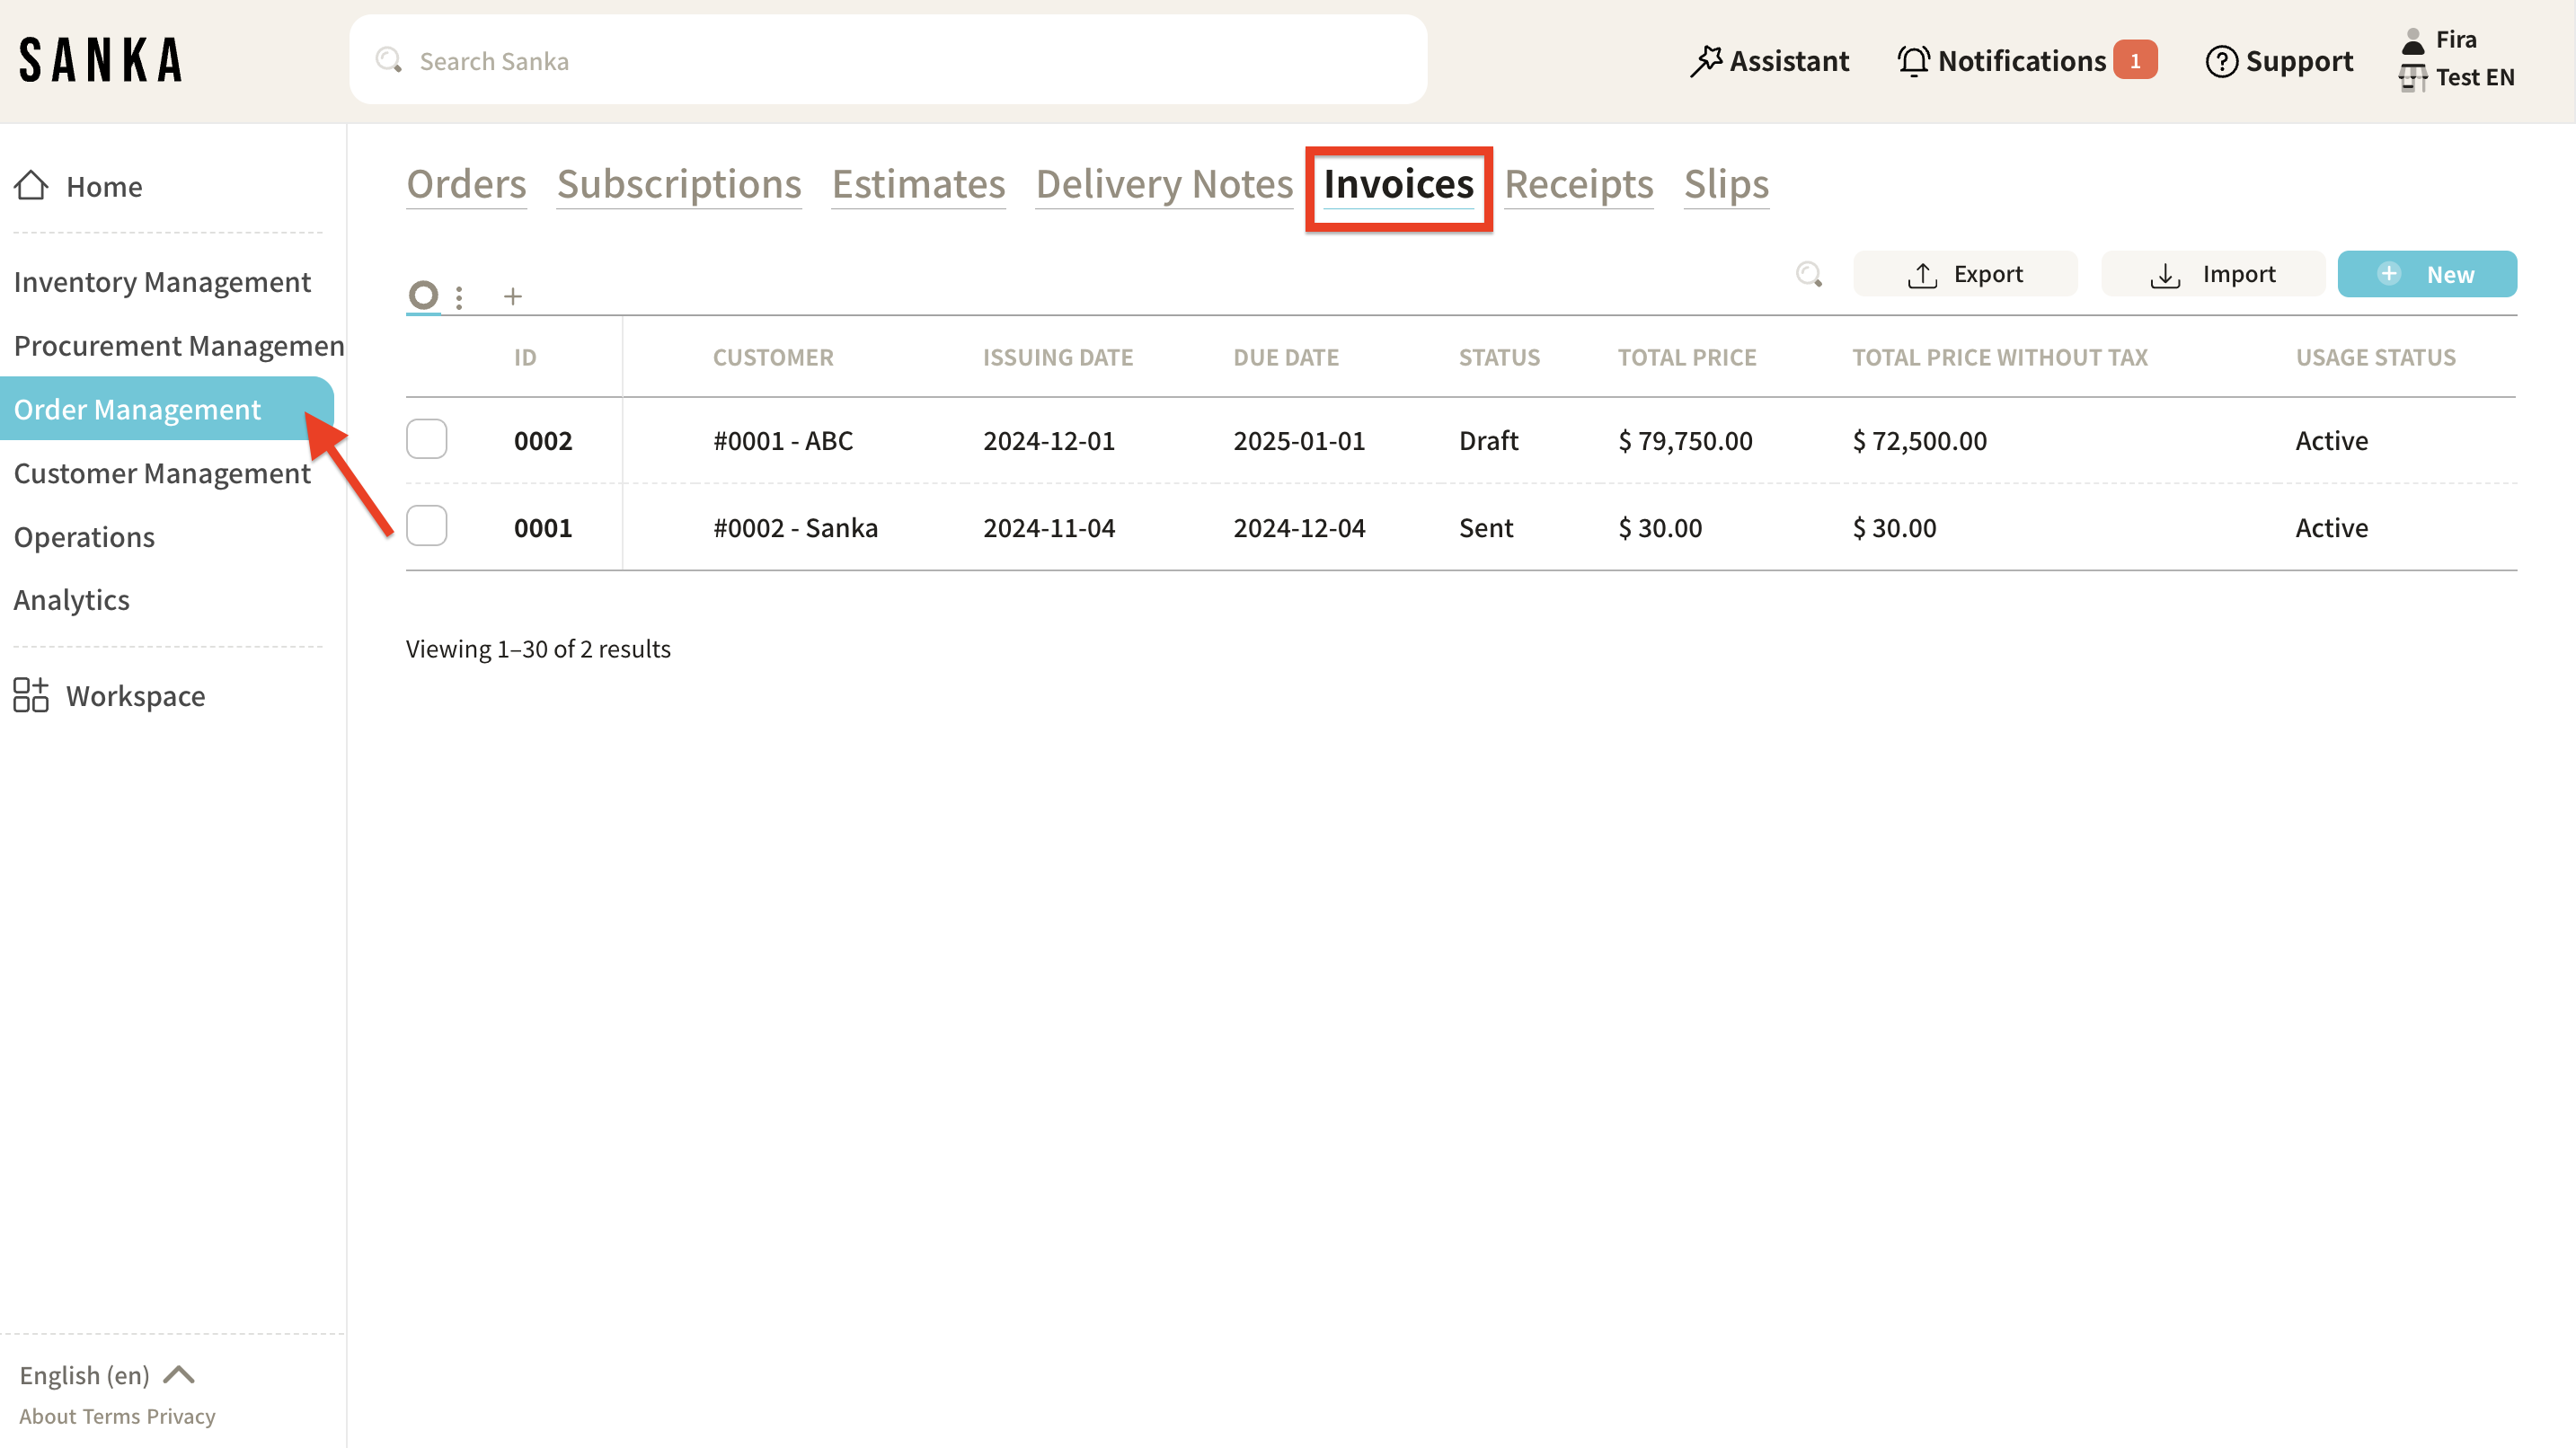
Go to Invoice object.
-
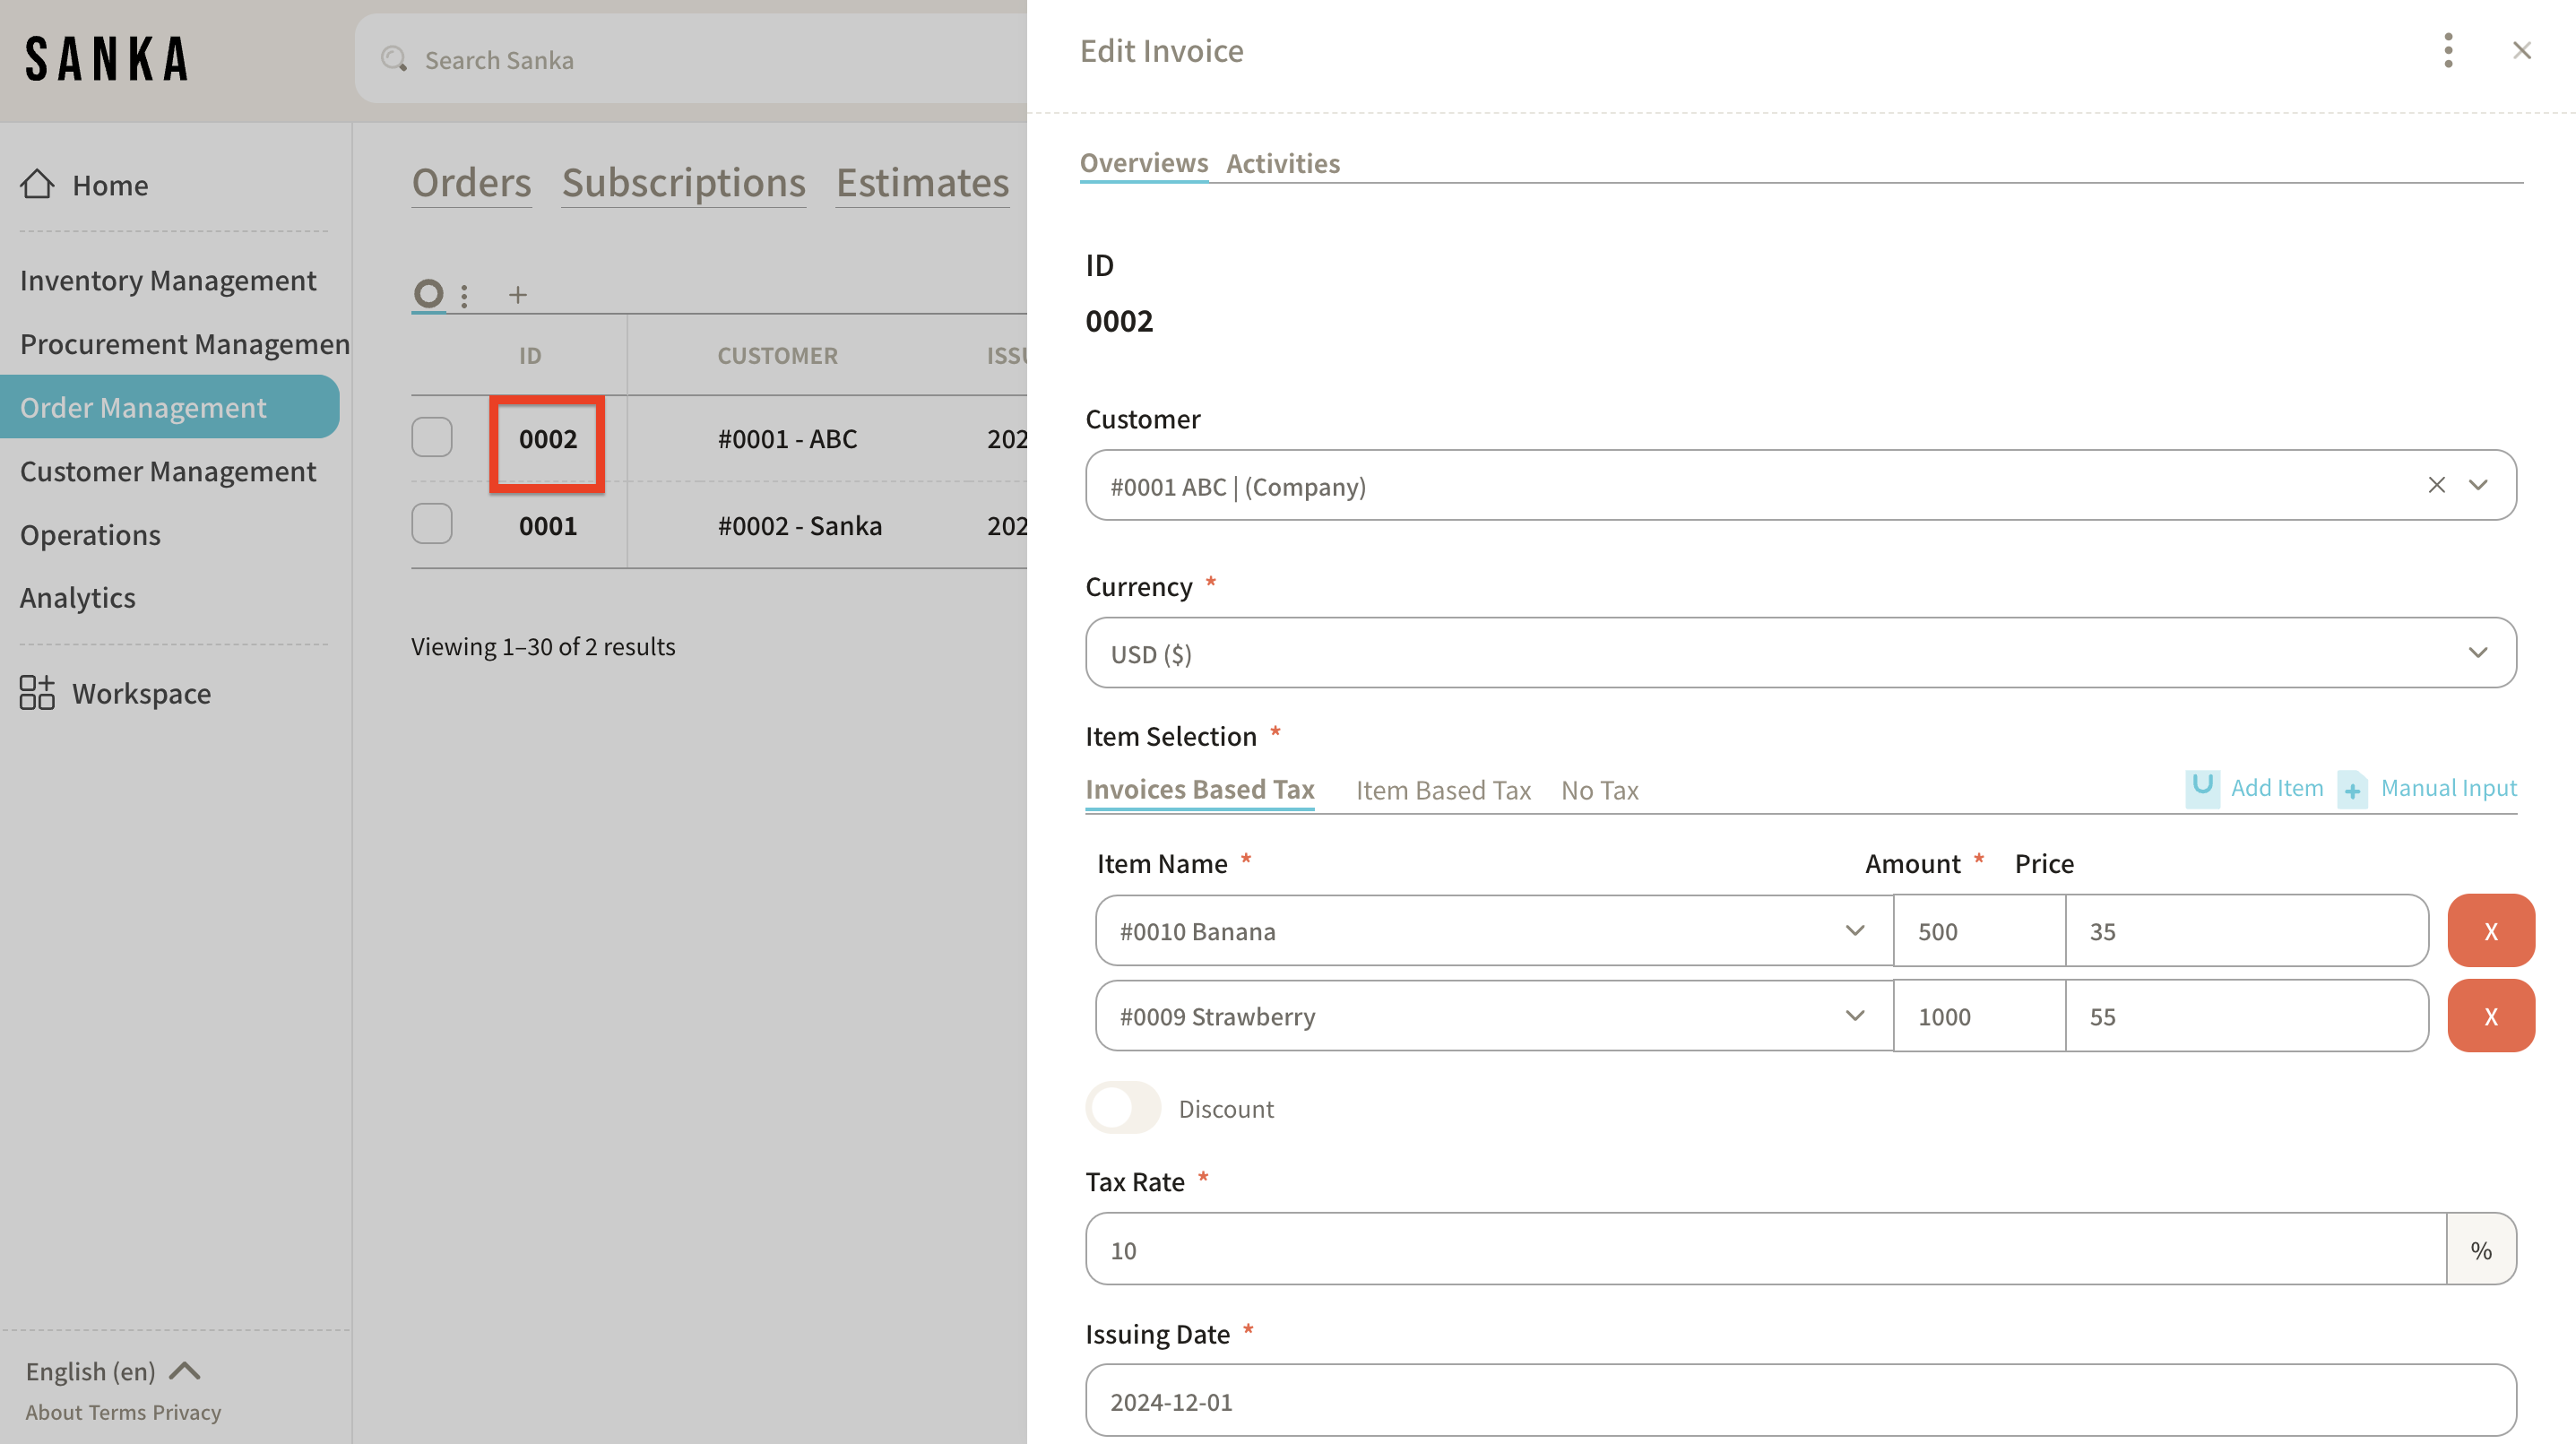
Click on the "ID" to display the "Edit Invoice" detailed page, where you can make necessary changes. If you've finished editing the information, click "Update."
How to Archive Invoice Information
With the archive feature, you can hide registered invoice information from the table.
-
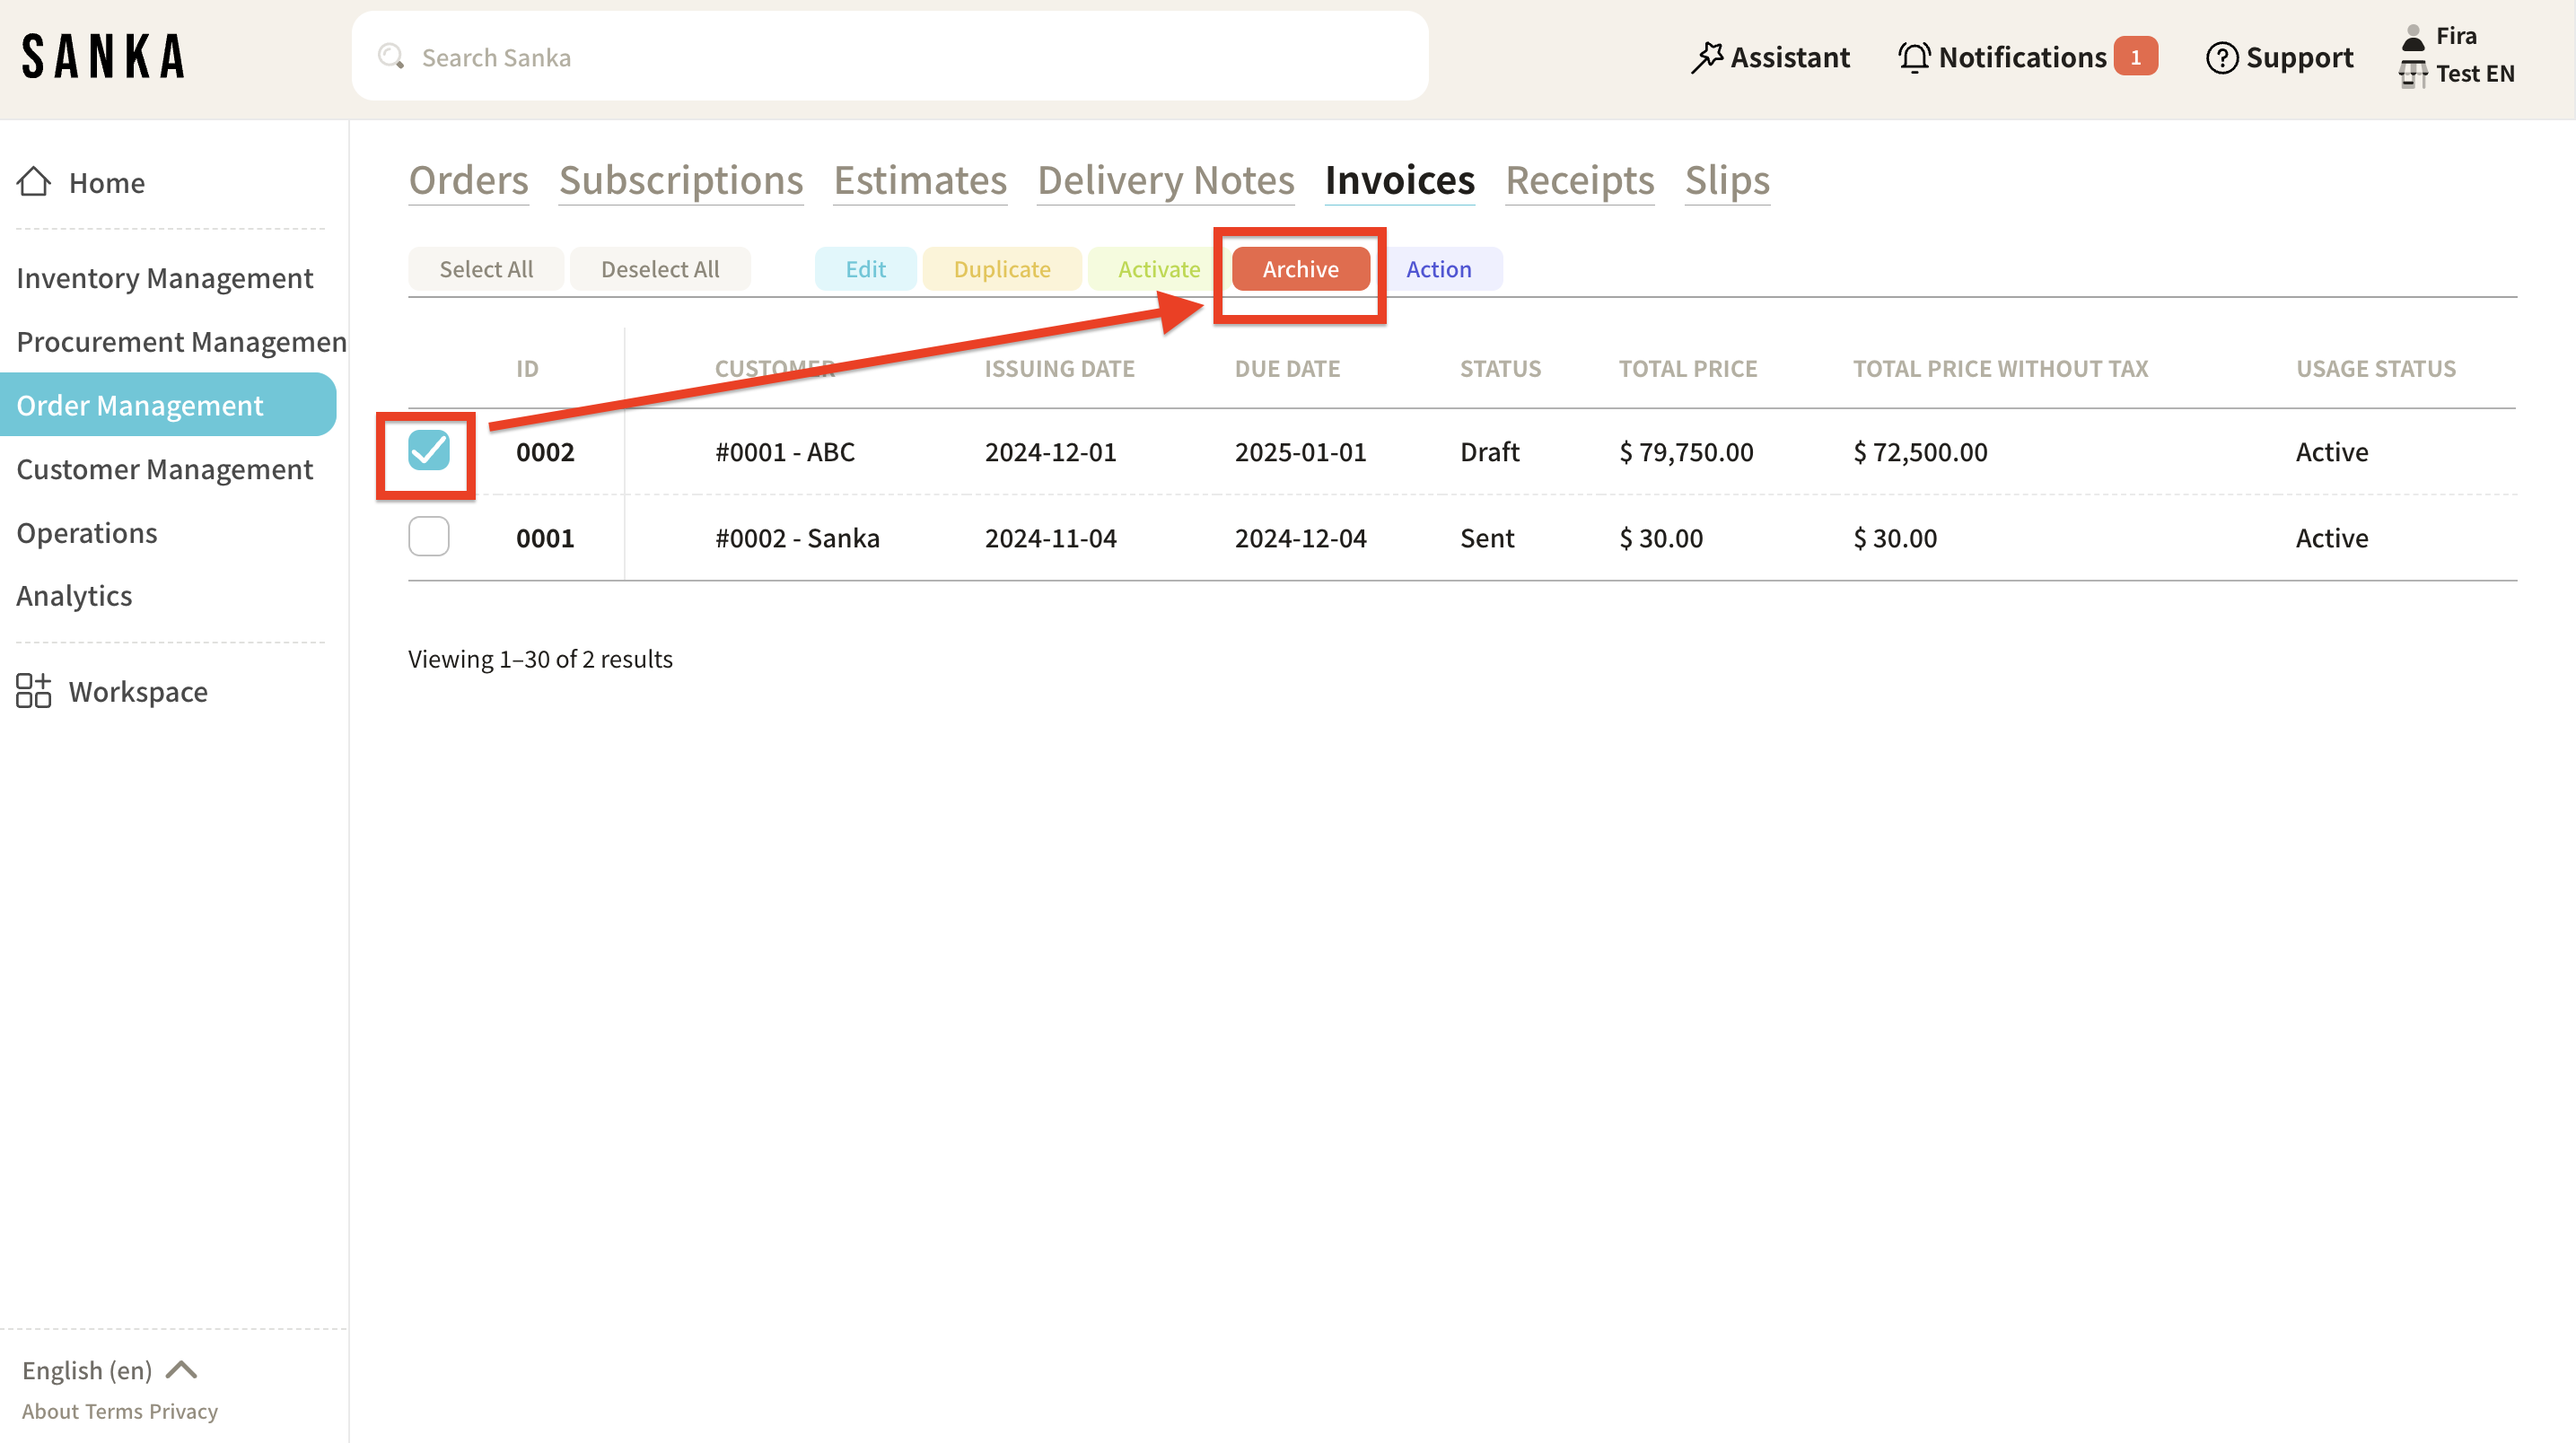
Click the box of the invoice you want to archive, and select "Archive."
-
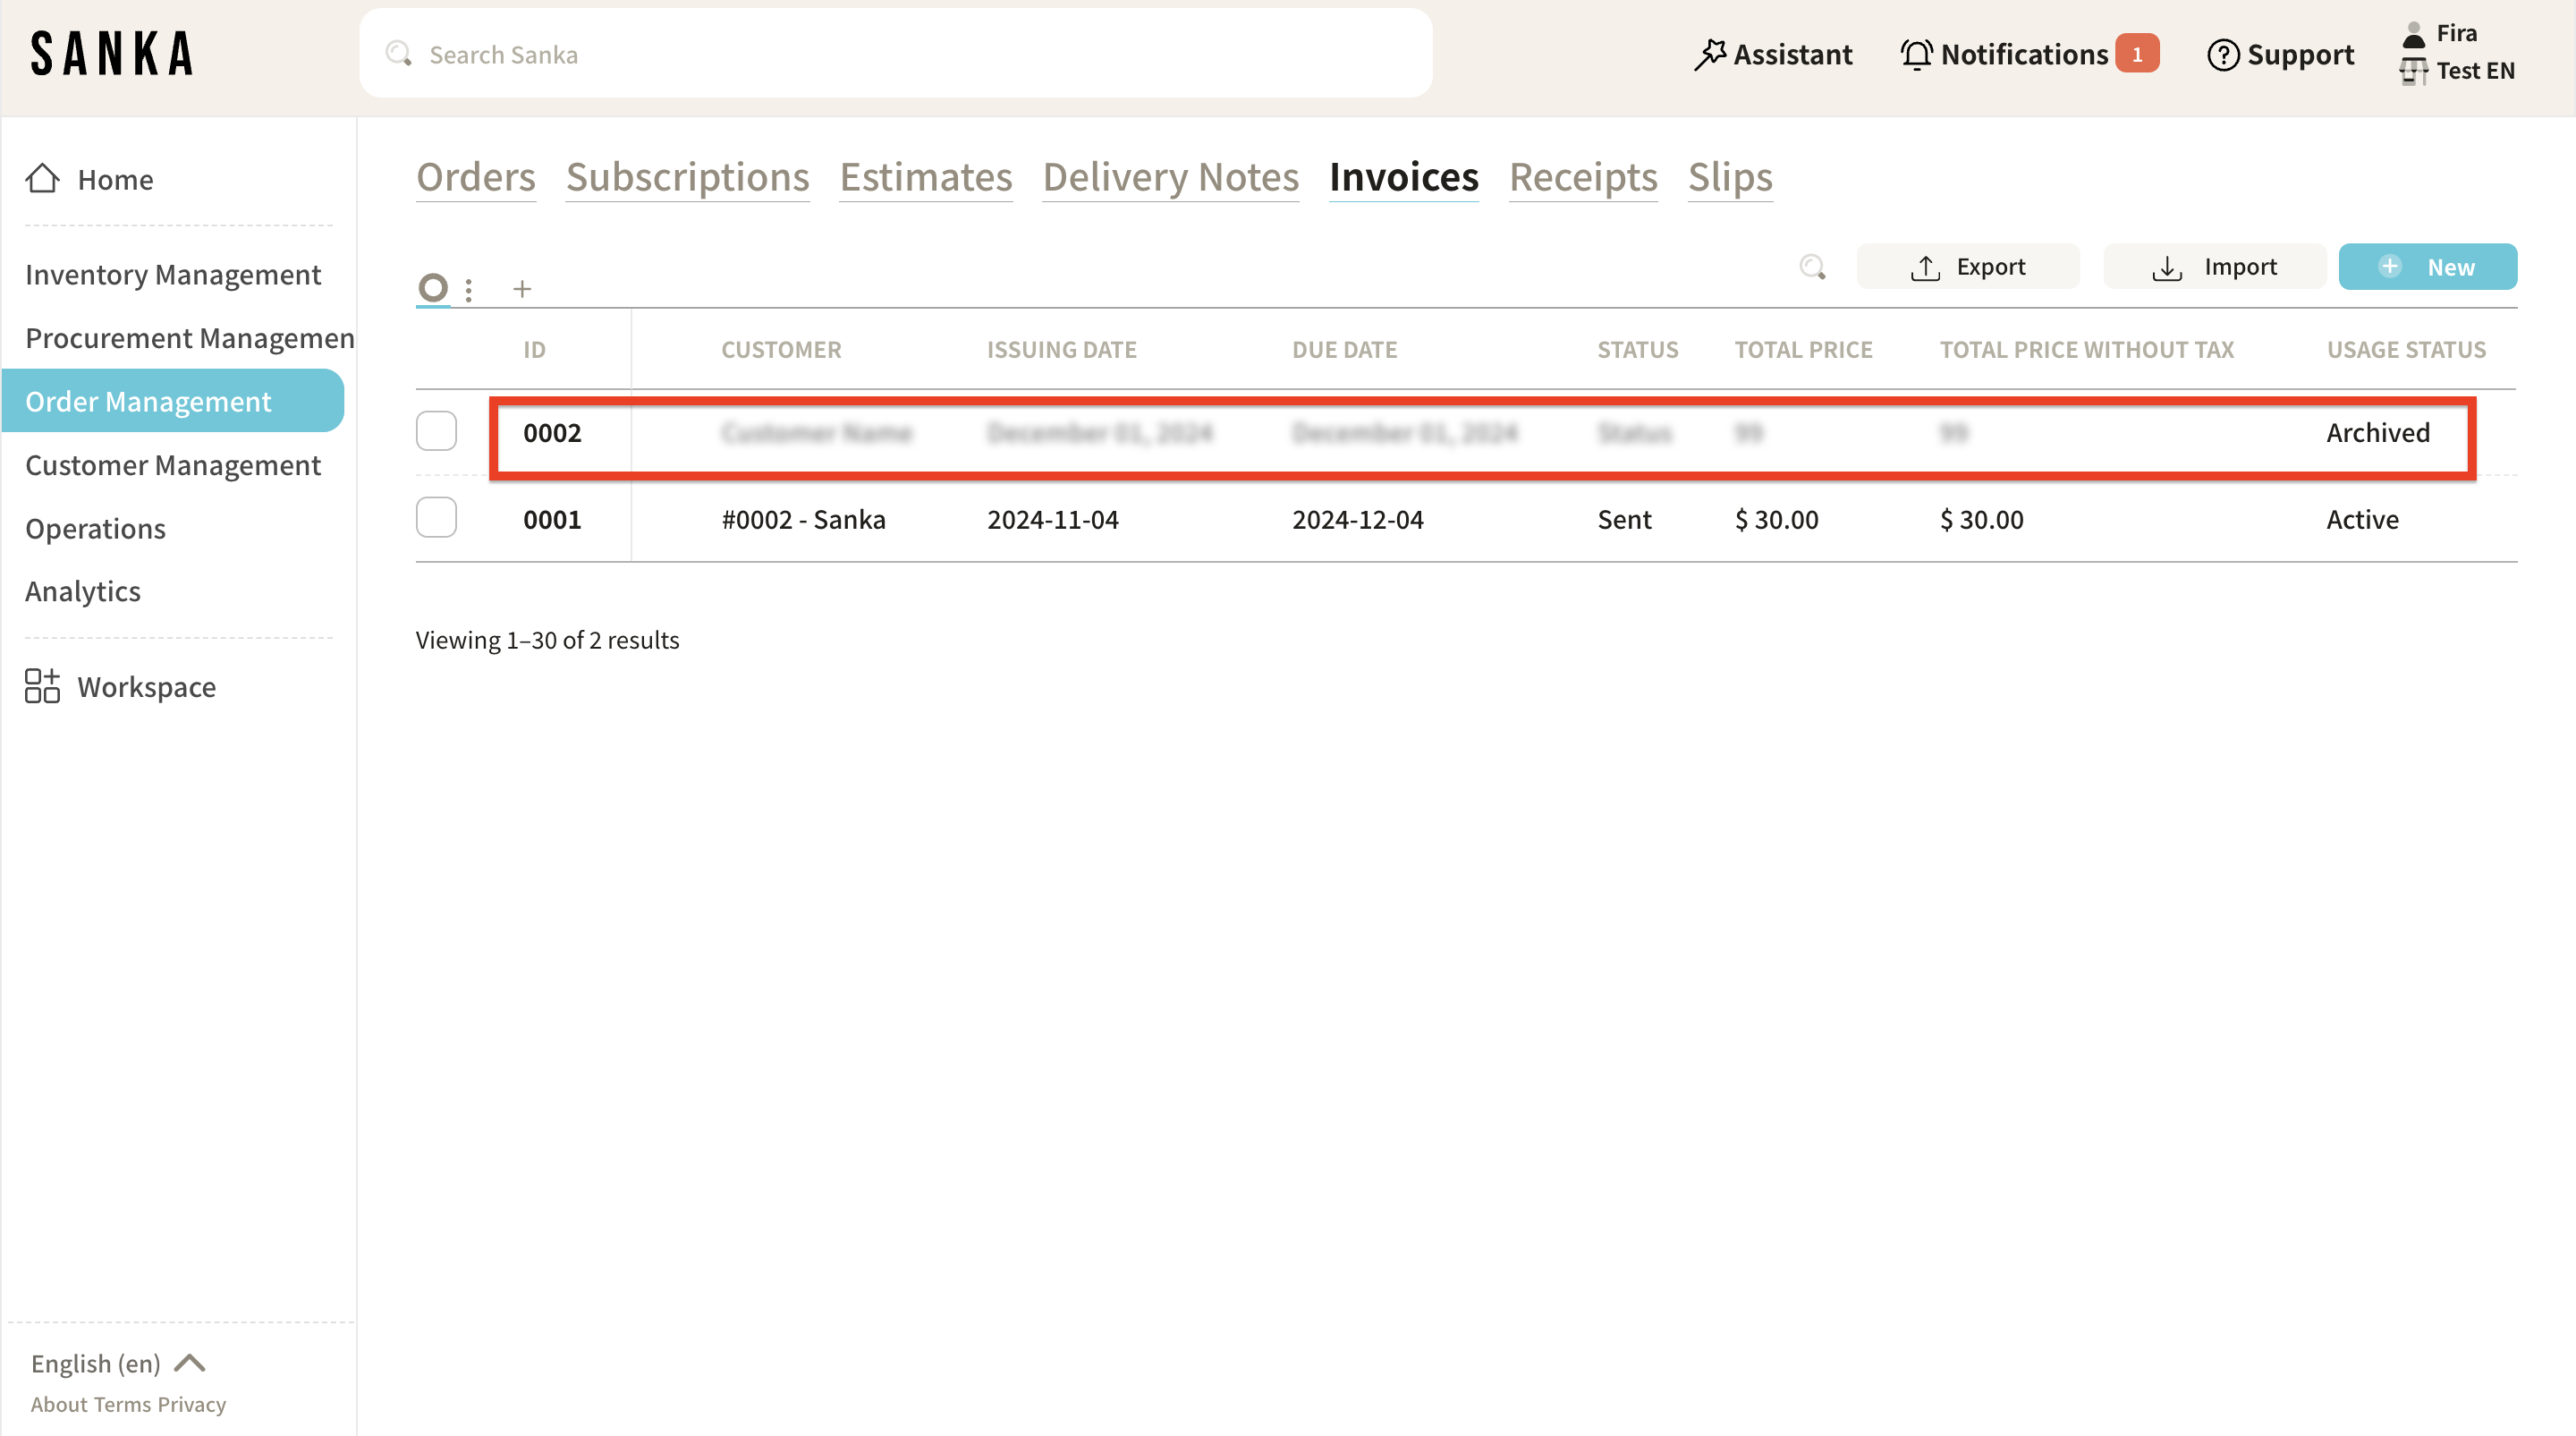
Archived invoice will be grayed out.
-
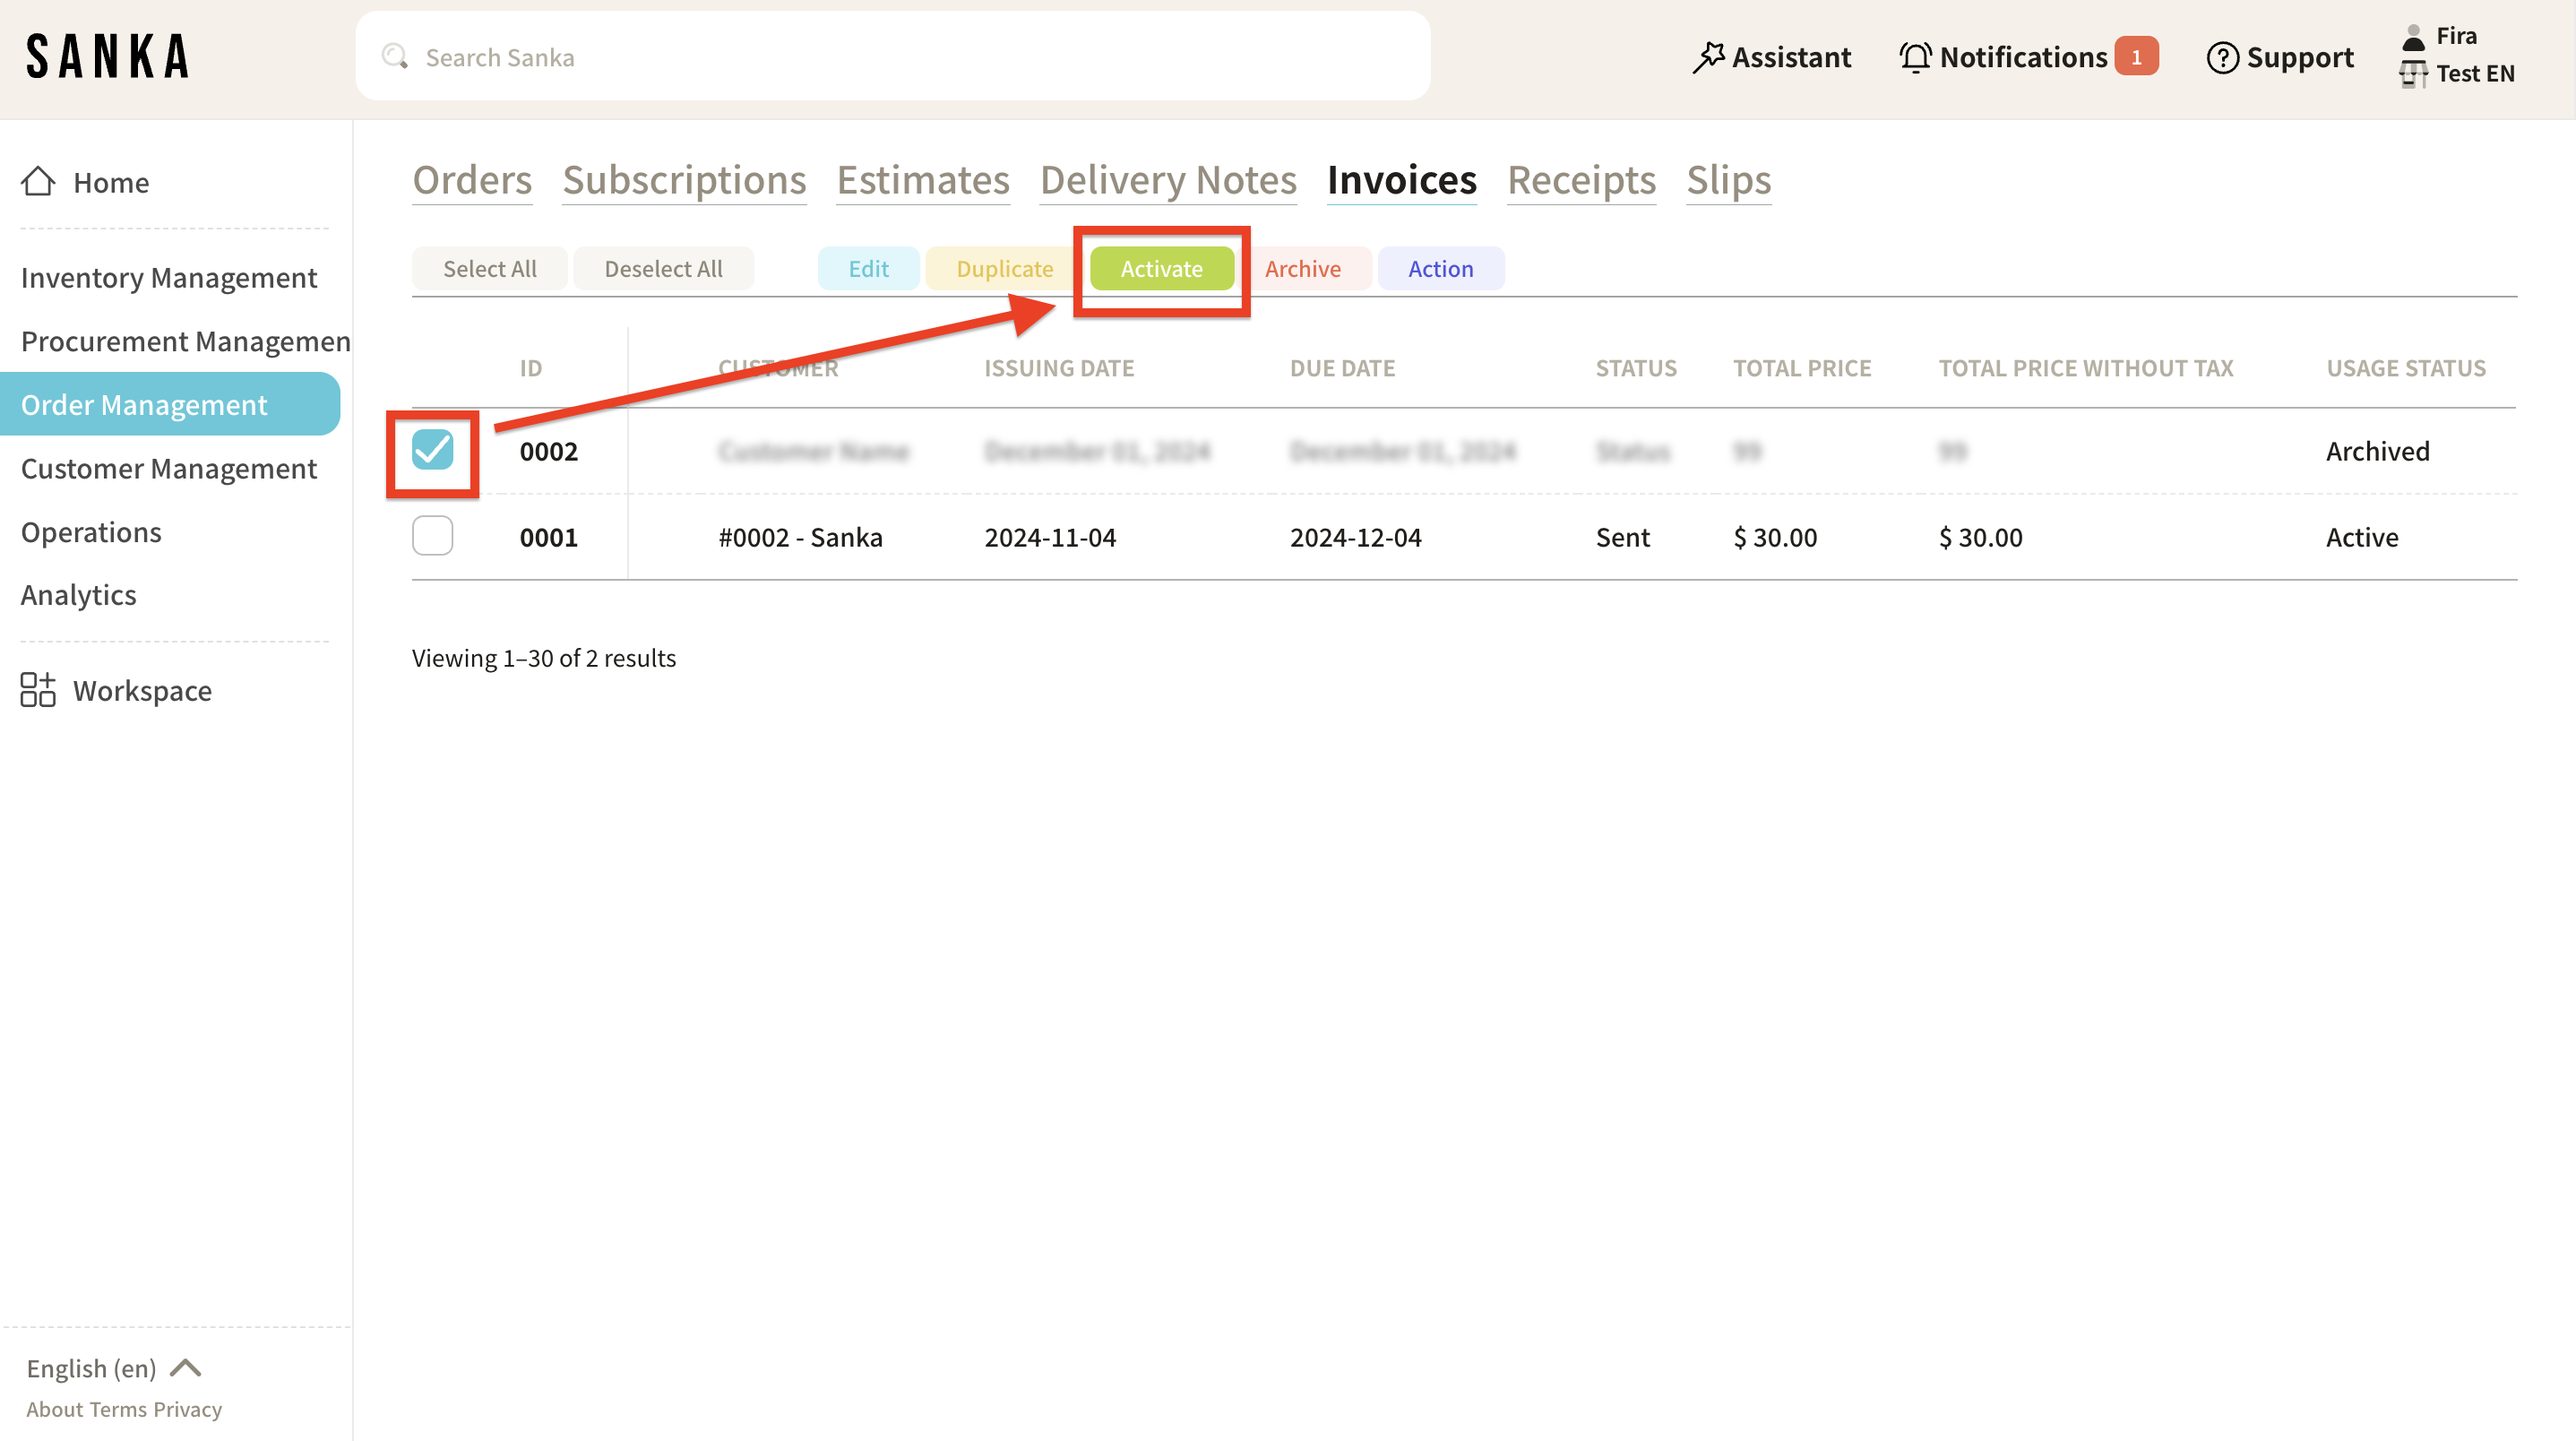
If you want to unarchive it, click the box of the relevant invoice and select "Activate."
-
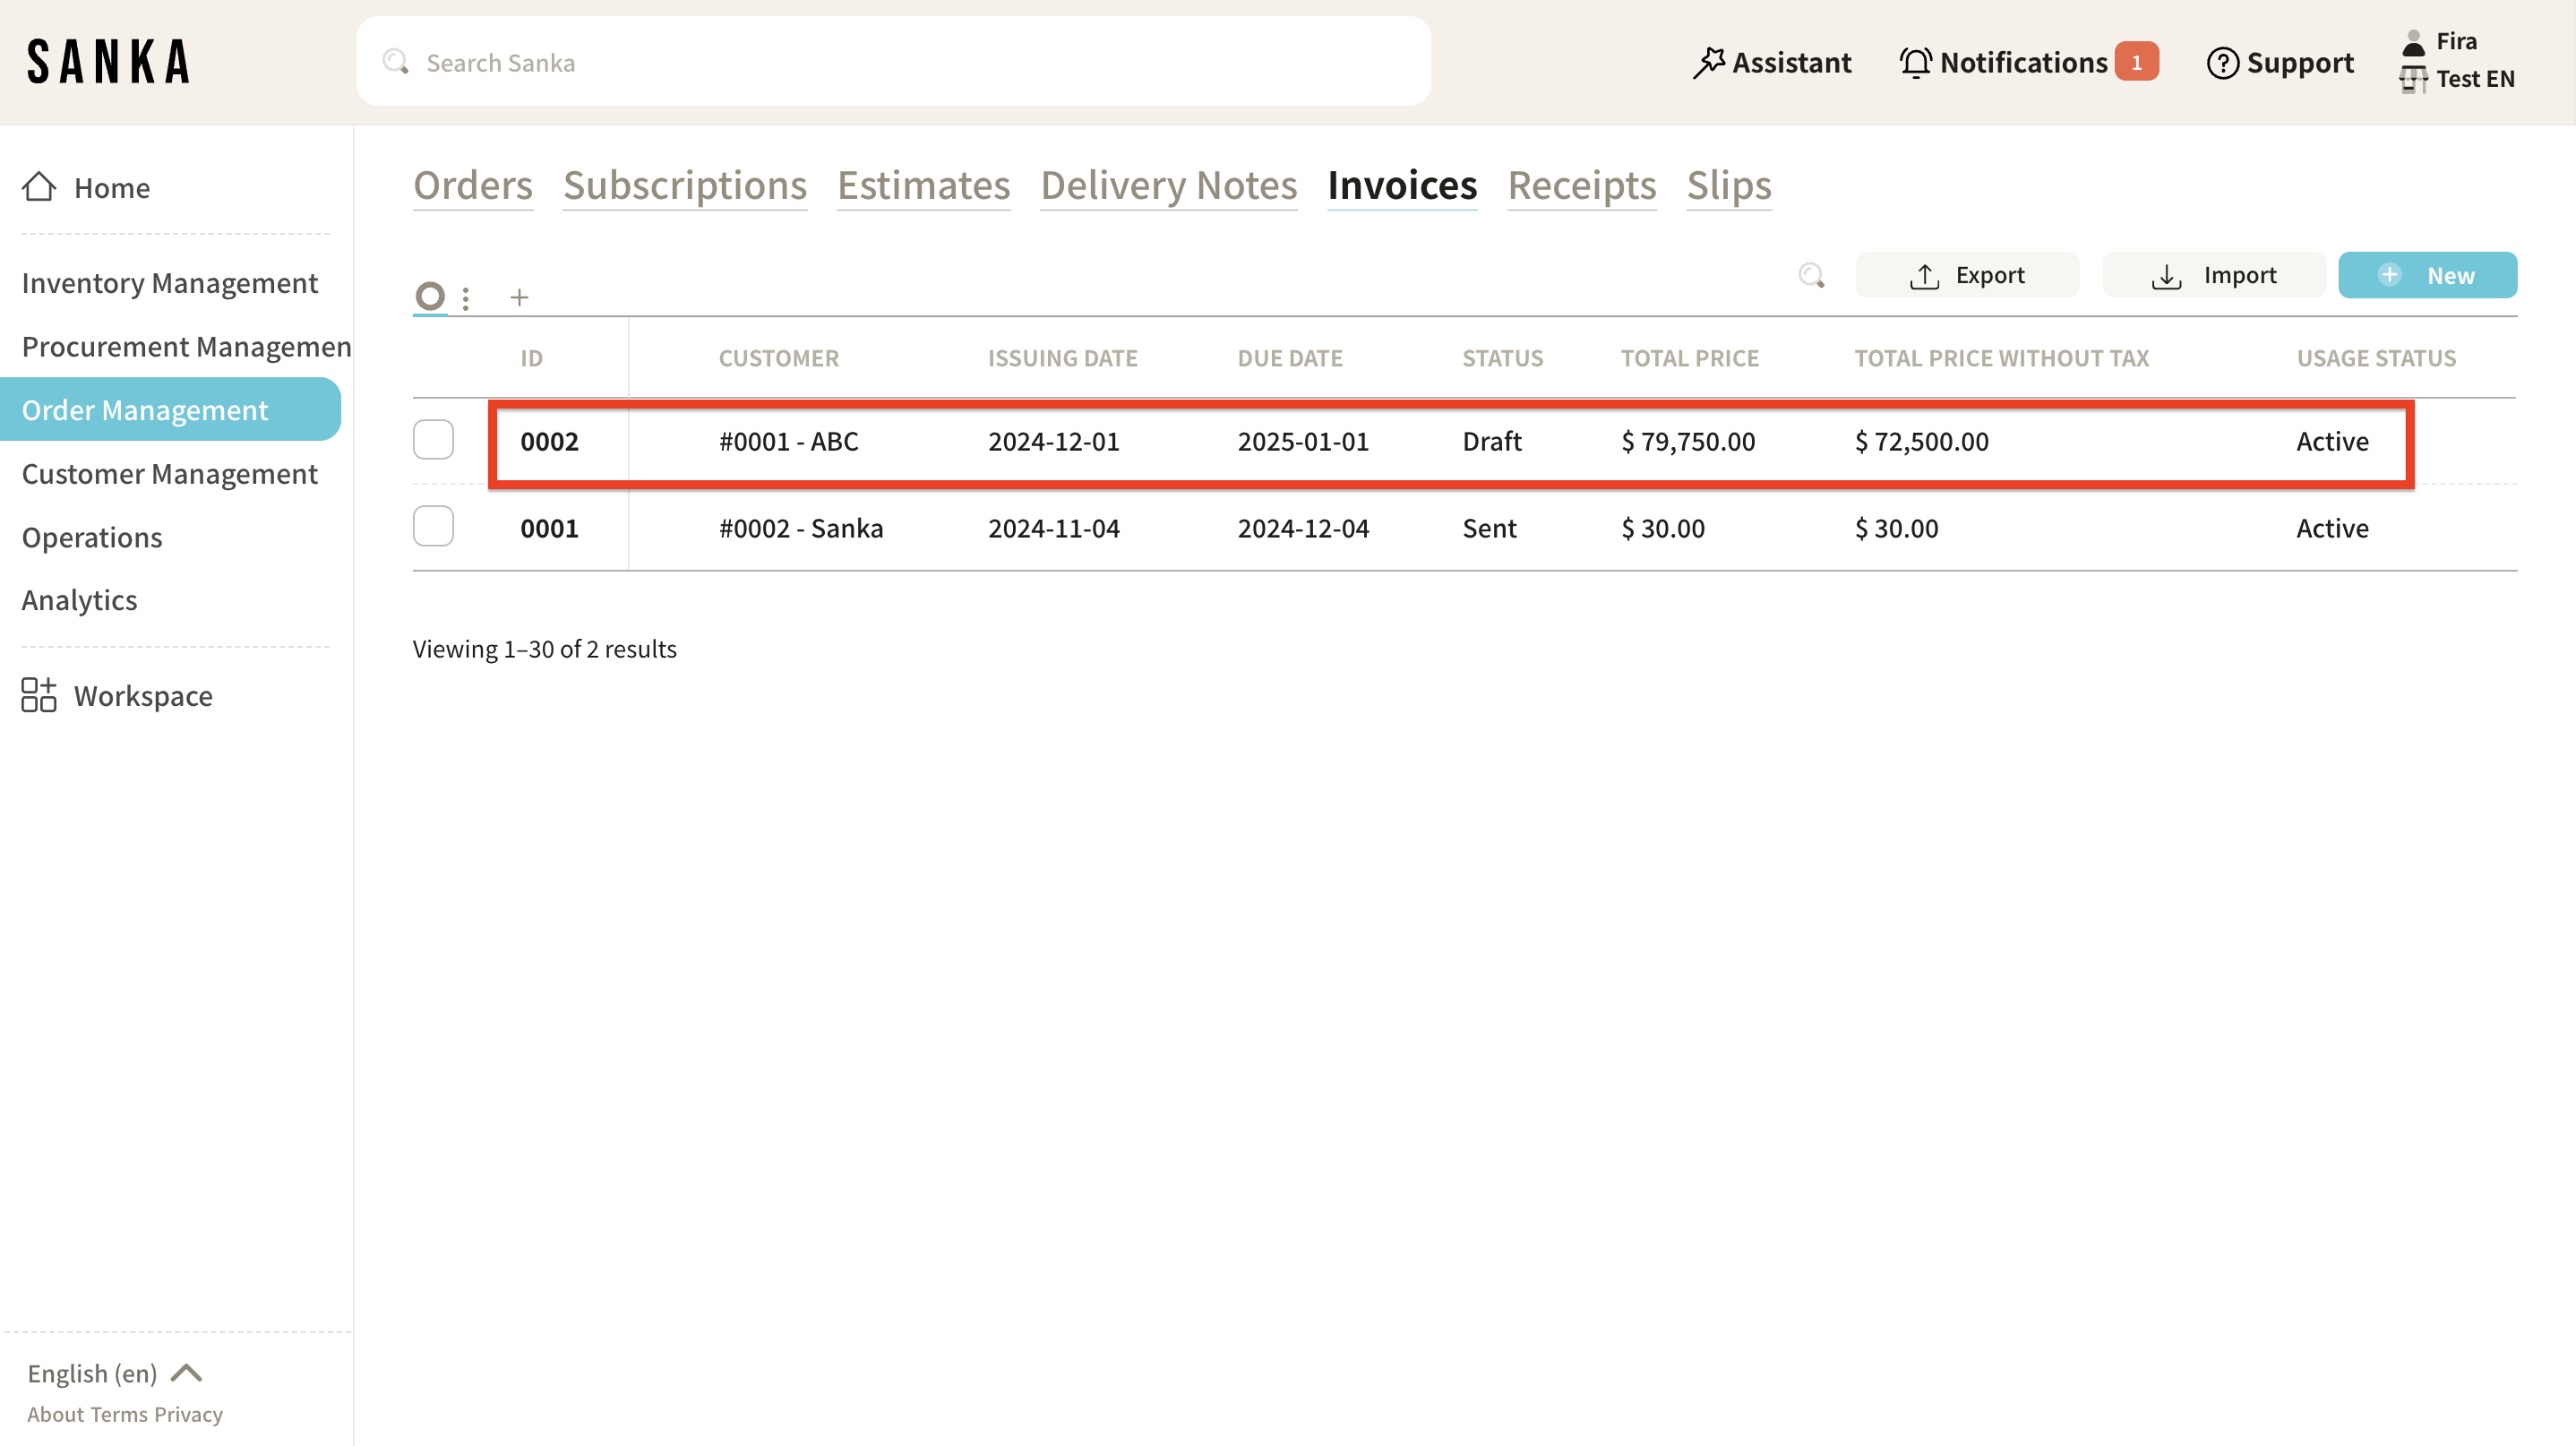
Activated invoice will no longer be grayed out and will return to their normal display.
Next Steps
Next, let's create the necessary documents.


