Overview
Bulk uploading contacts in Sanka allows you to efficiently manage and add multiple contacts at once, saving time and effort compared to manual entry.
This guide will walk you through the process of bulk uploading contacts using a CSV file.
Process to Bulk Upload Contacts Using CSV:
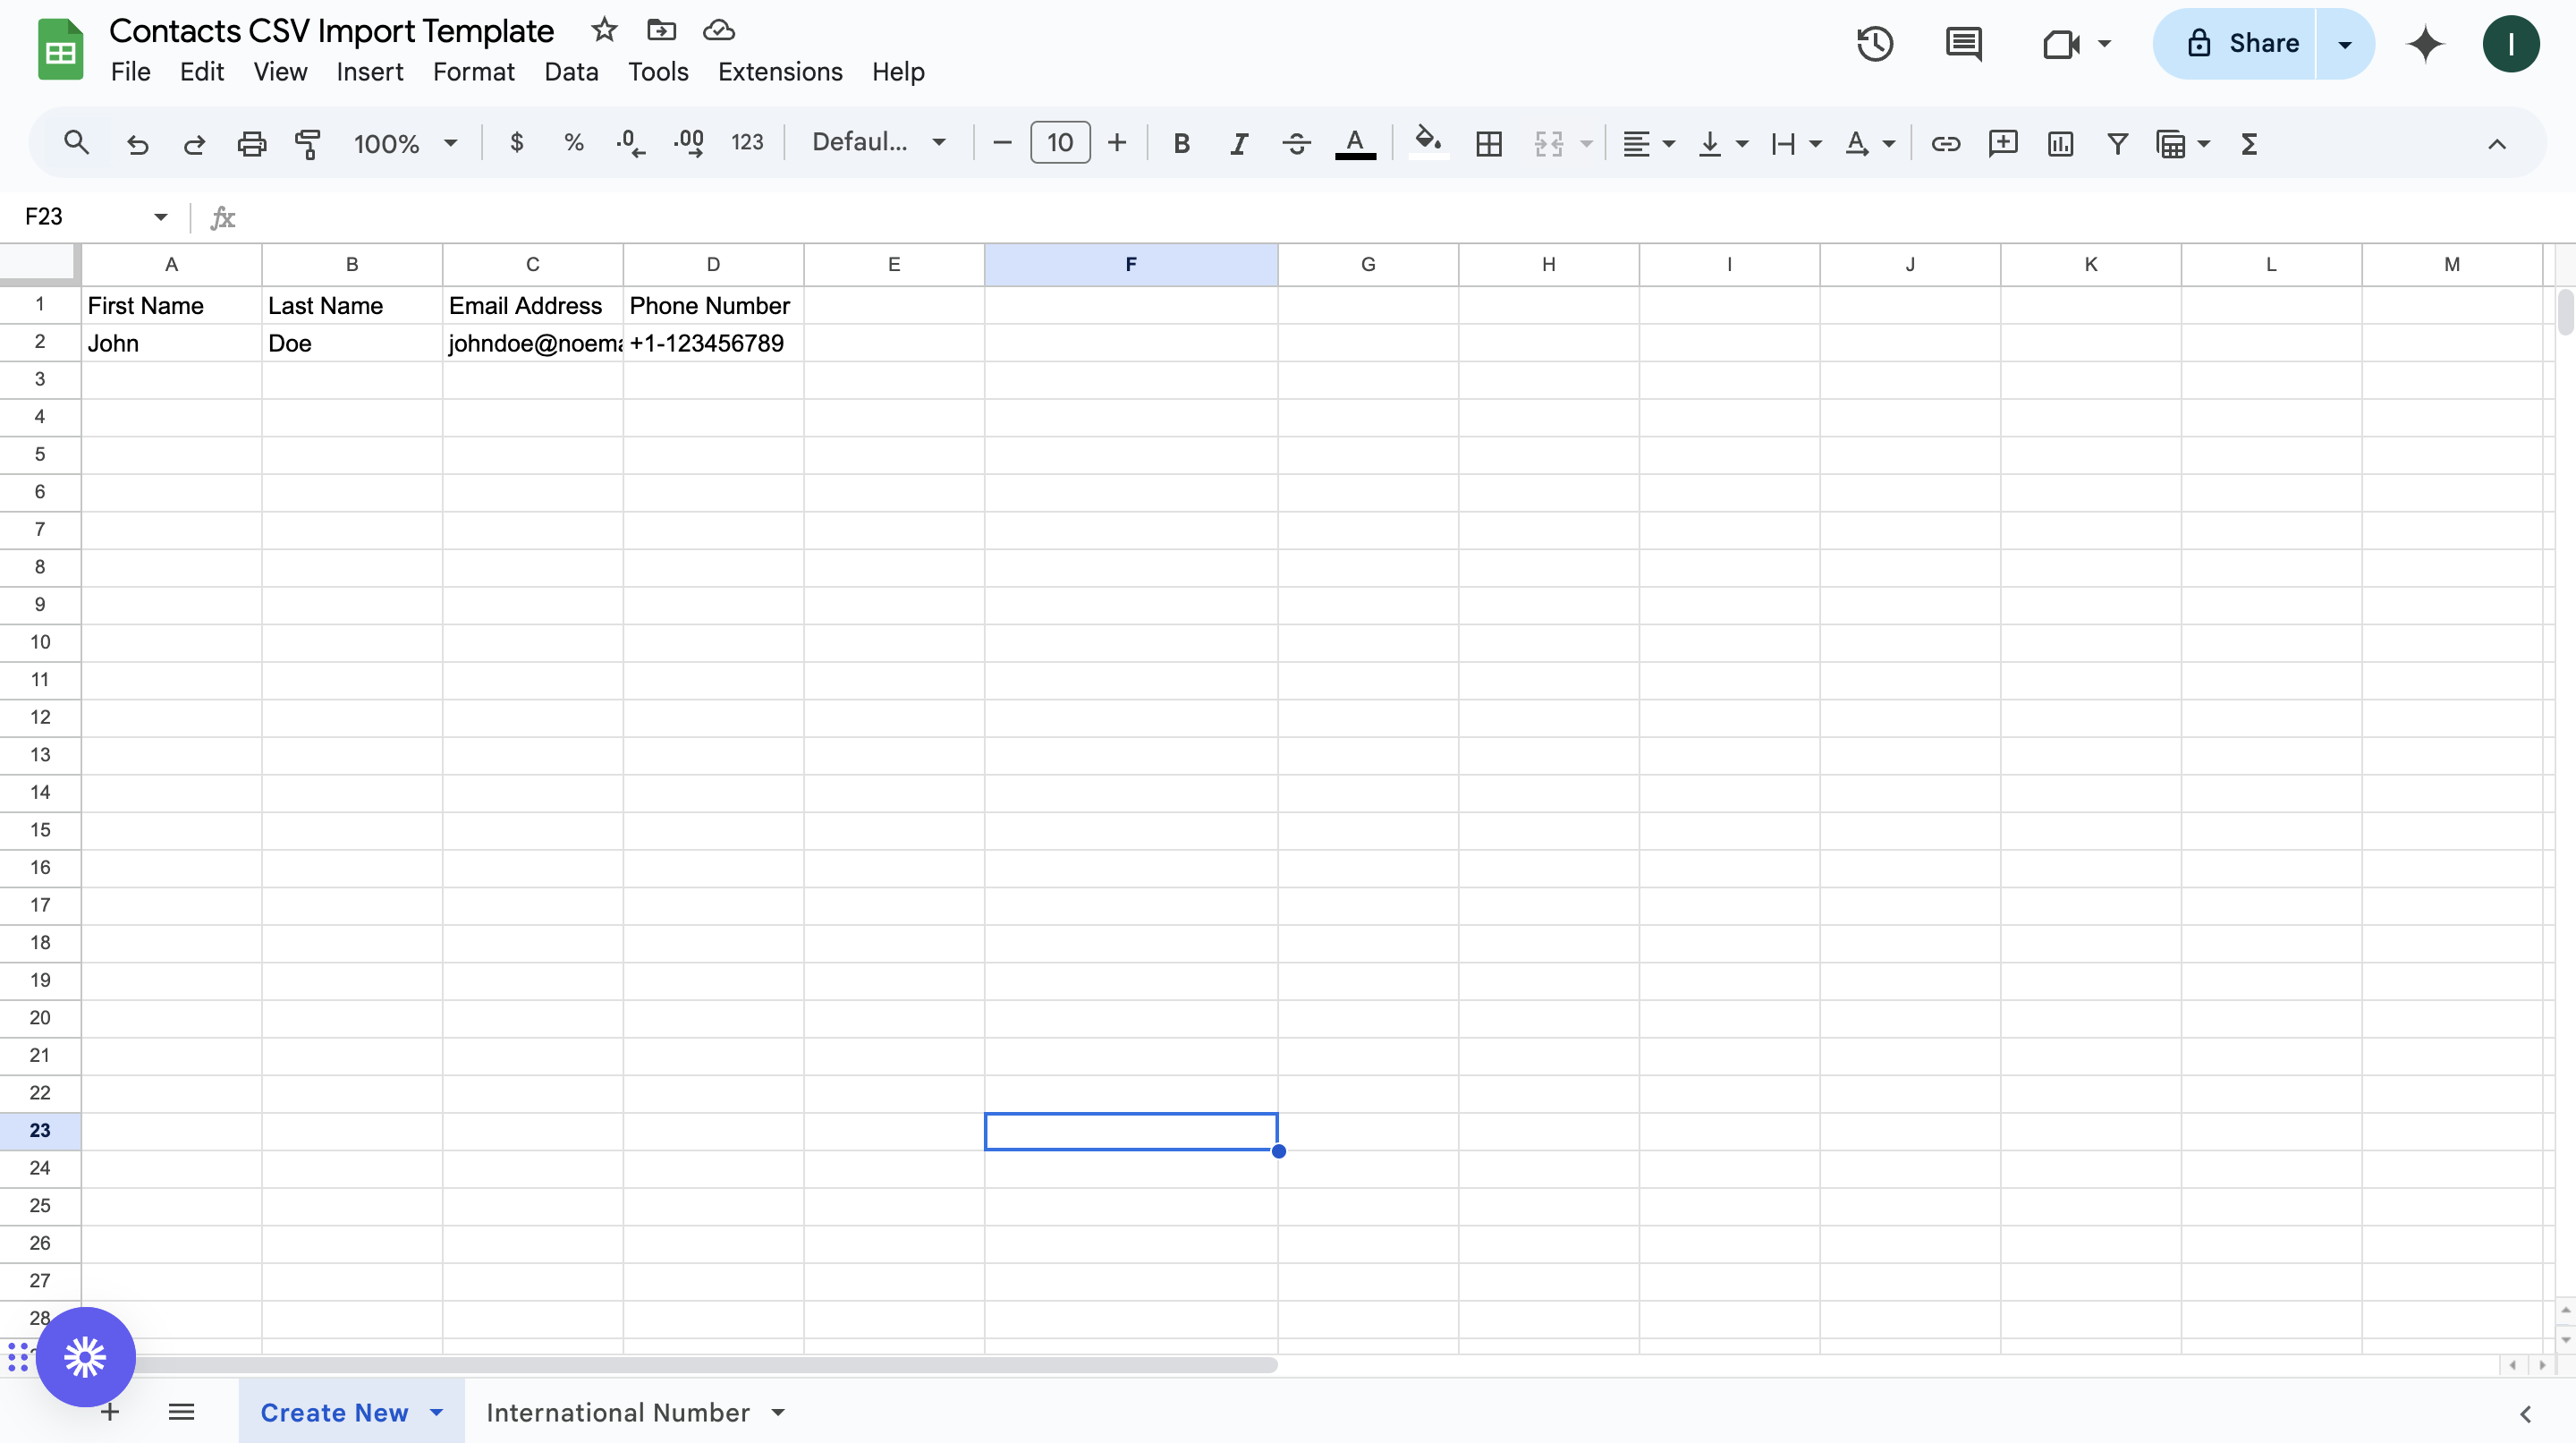
For bulk registration of company information, you can use Sanka's "Contact CSV Import Template."
-
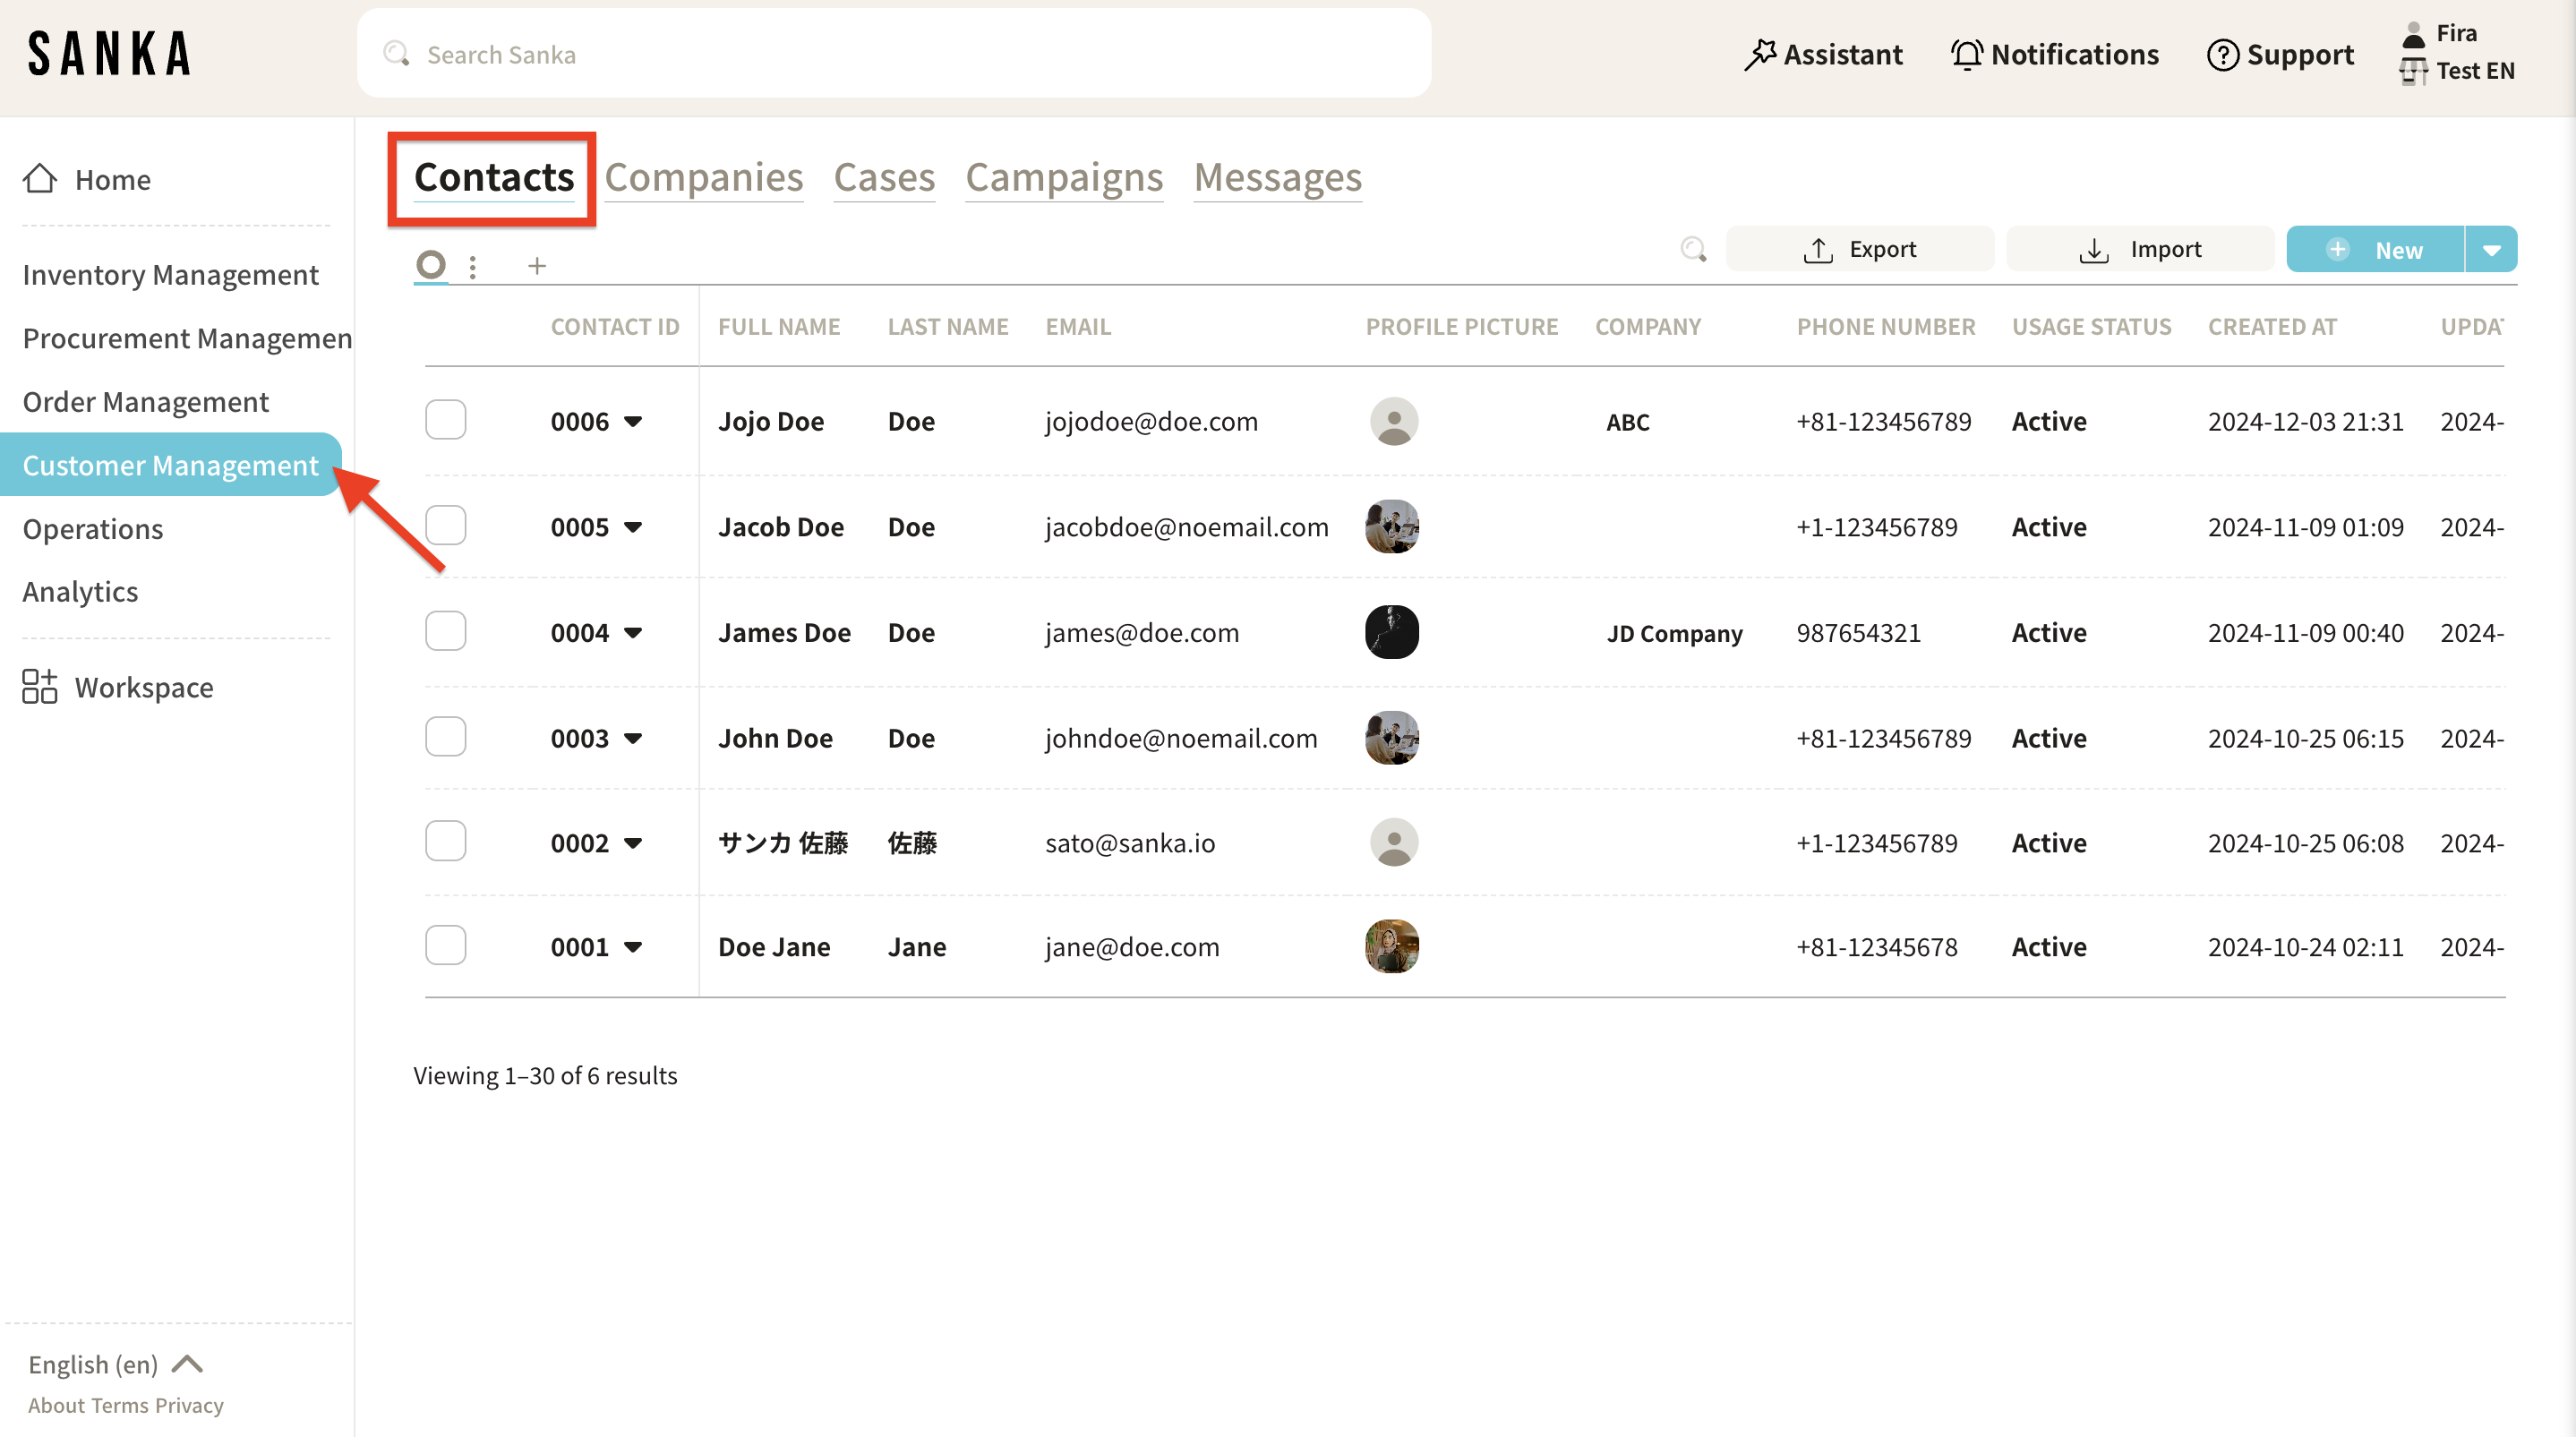
Click on the "Customer Management" module on the left side of the screen, then select the "Contacts" object.
-
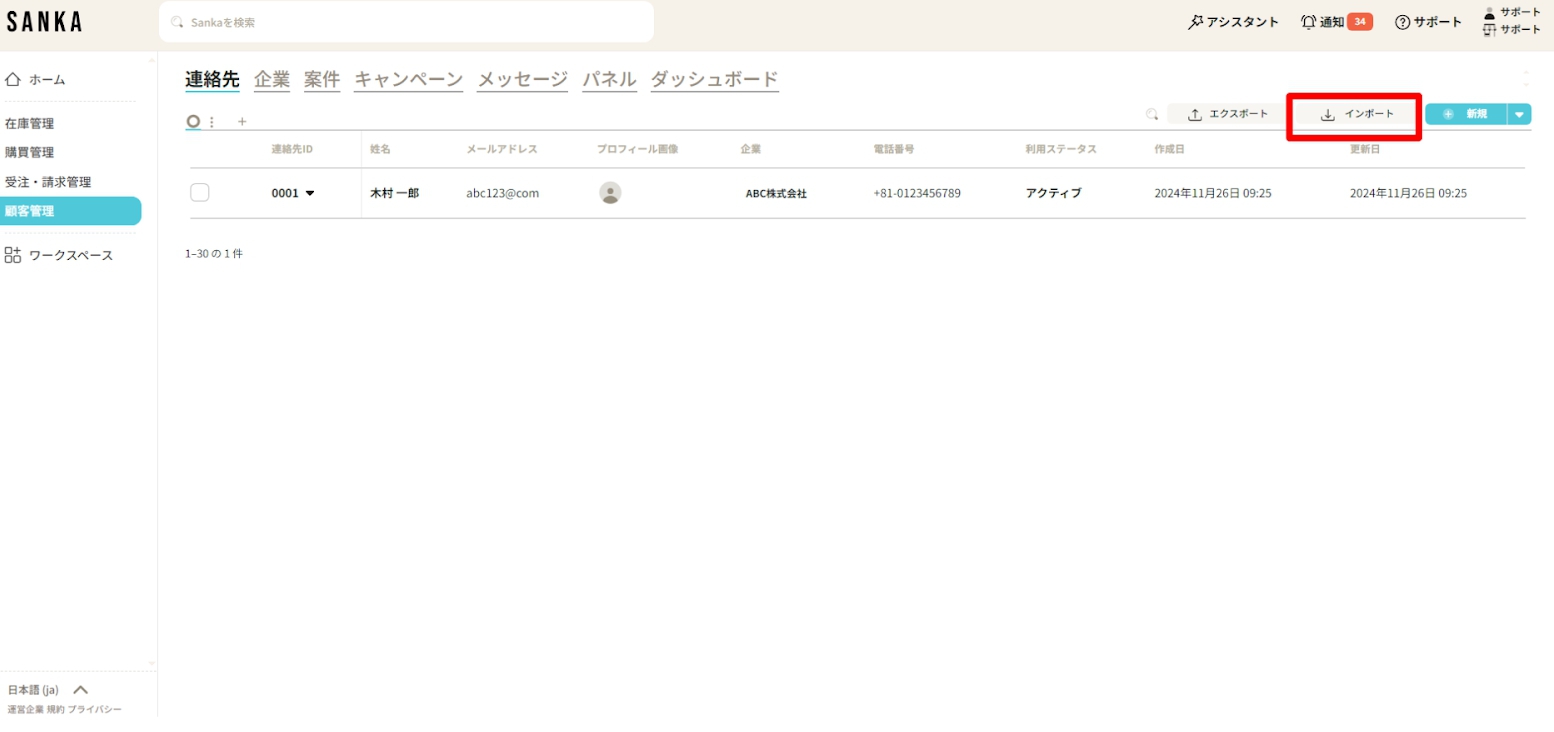
Click the "Import" button in the top-right corner of the screen.
-
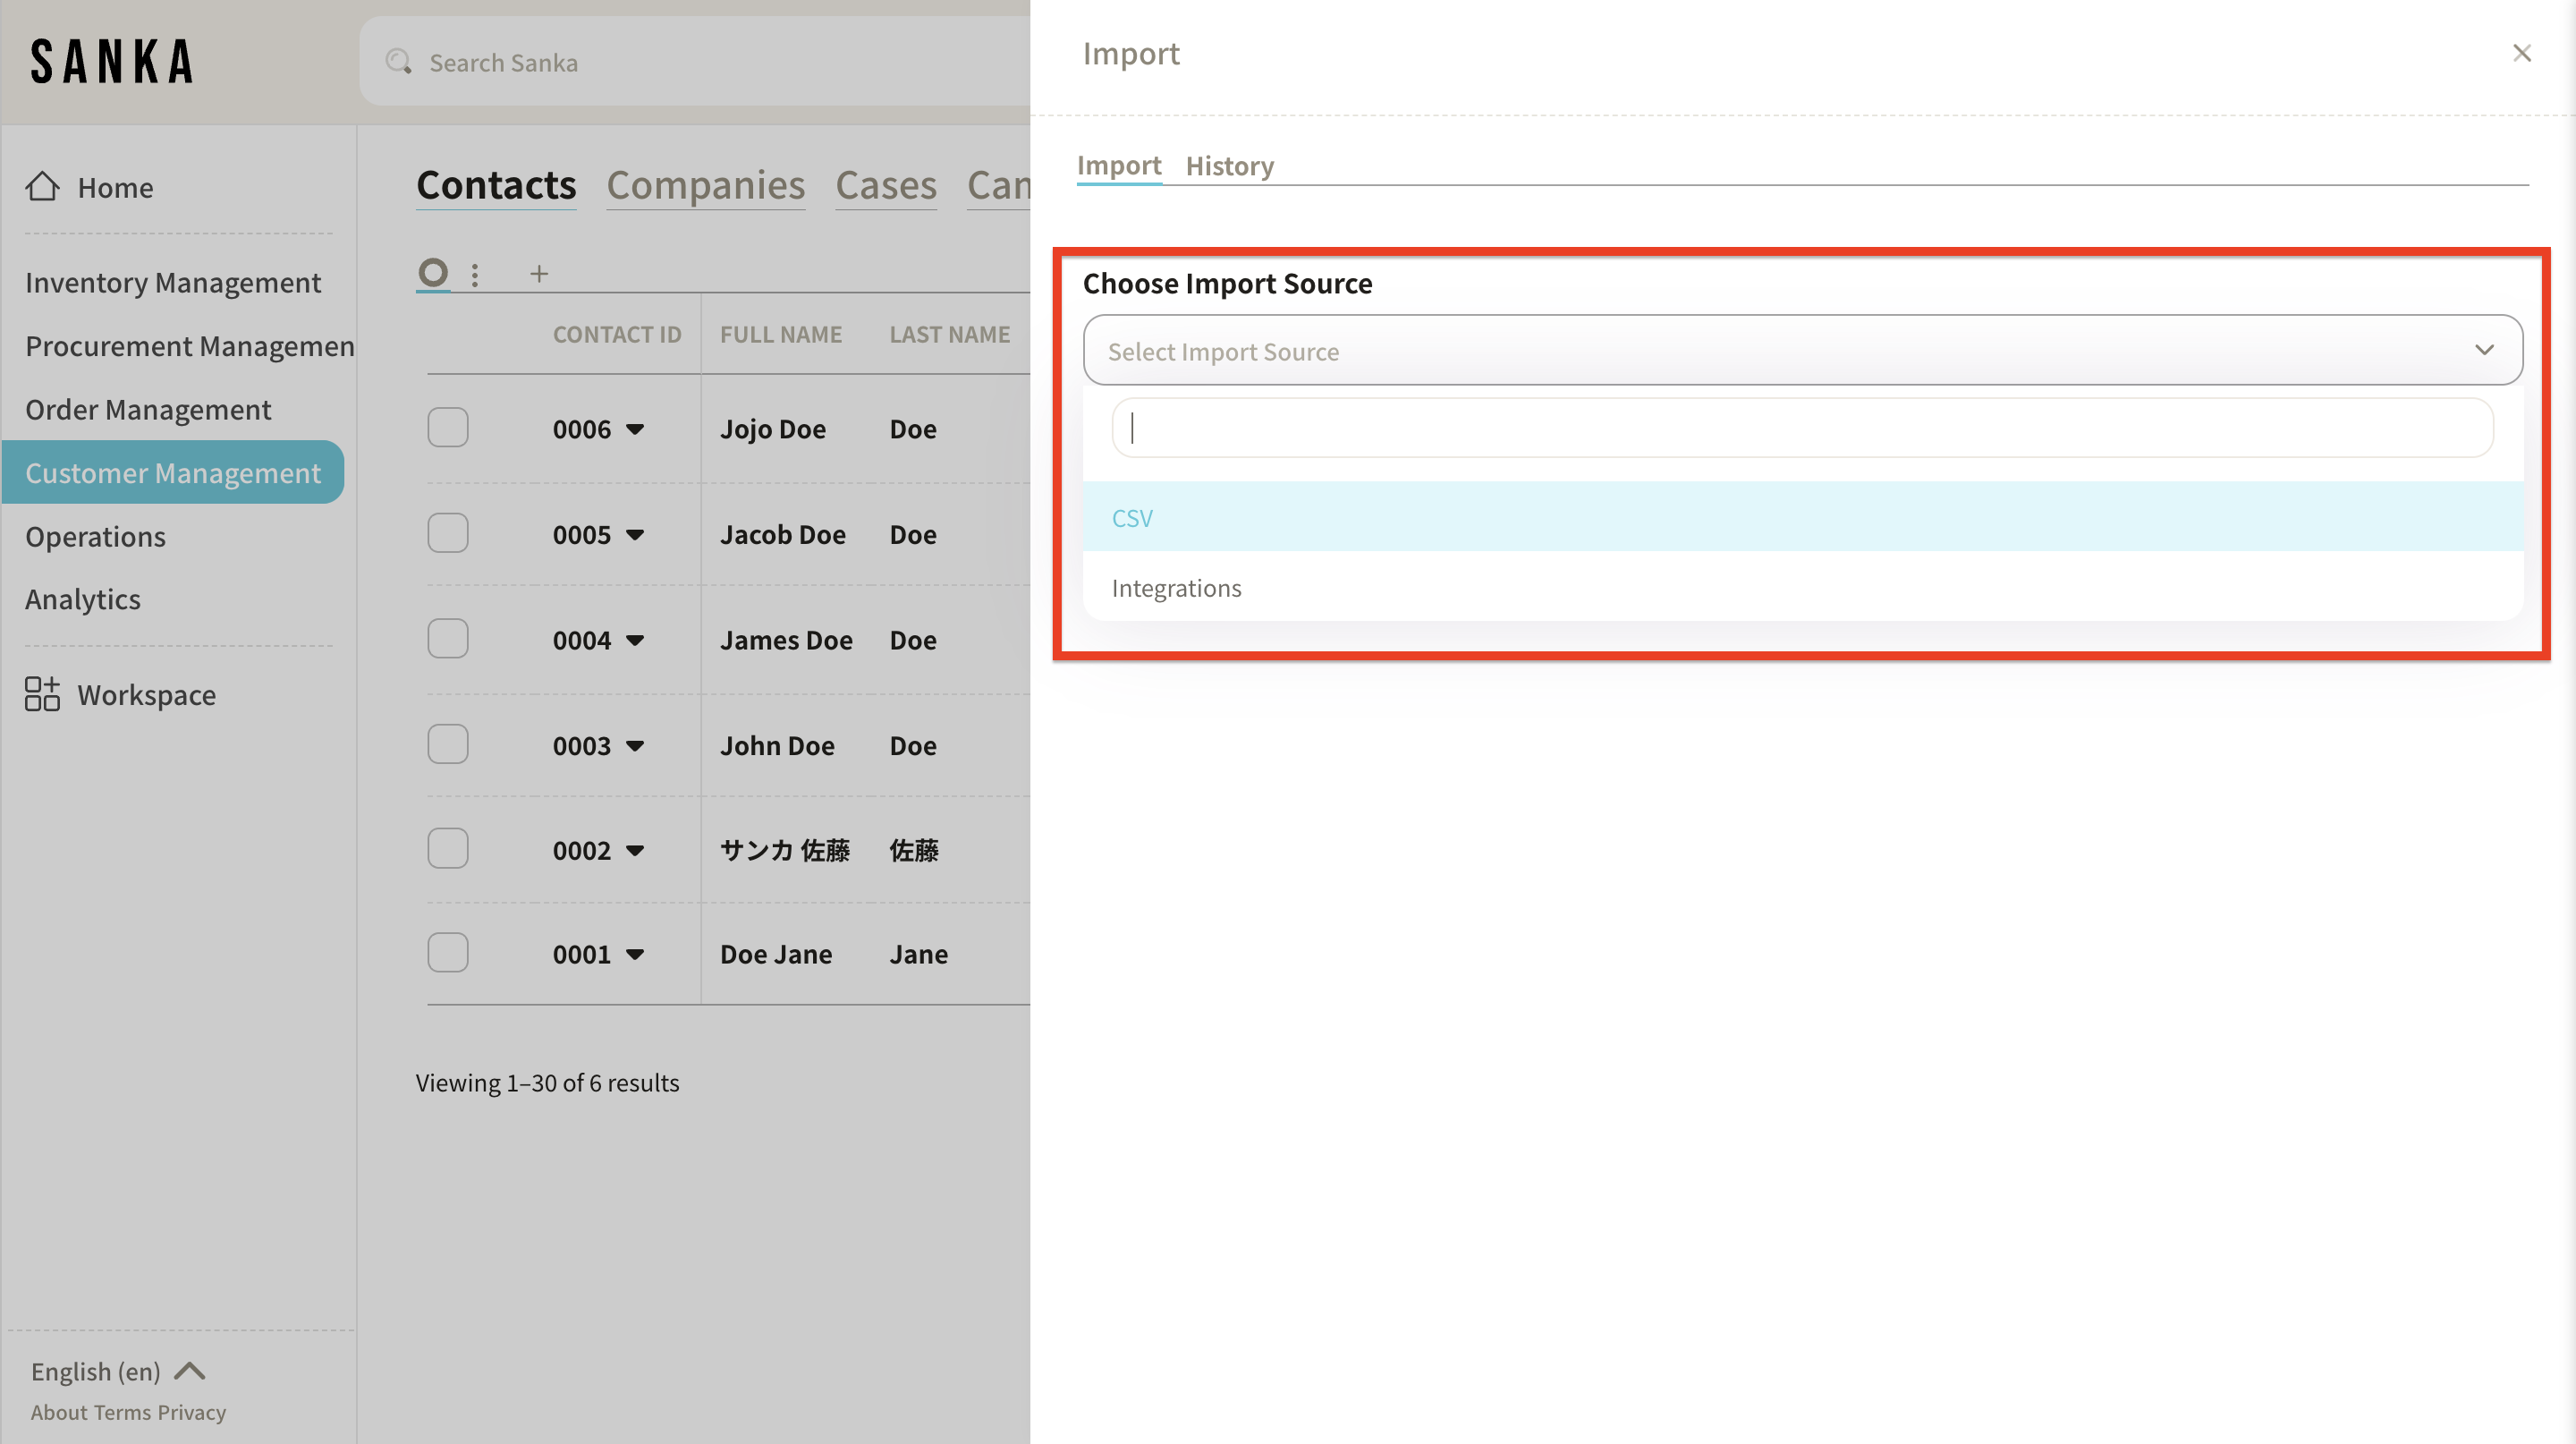
The "Import" menu will appear. Under "Select Source," choose "CSV File."
-
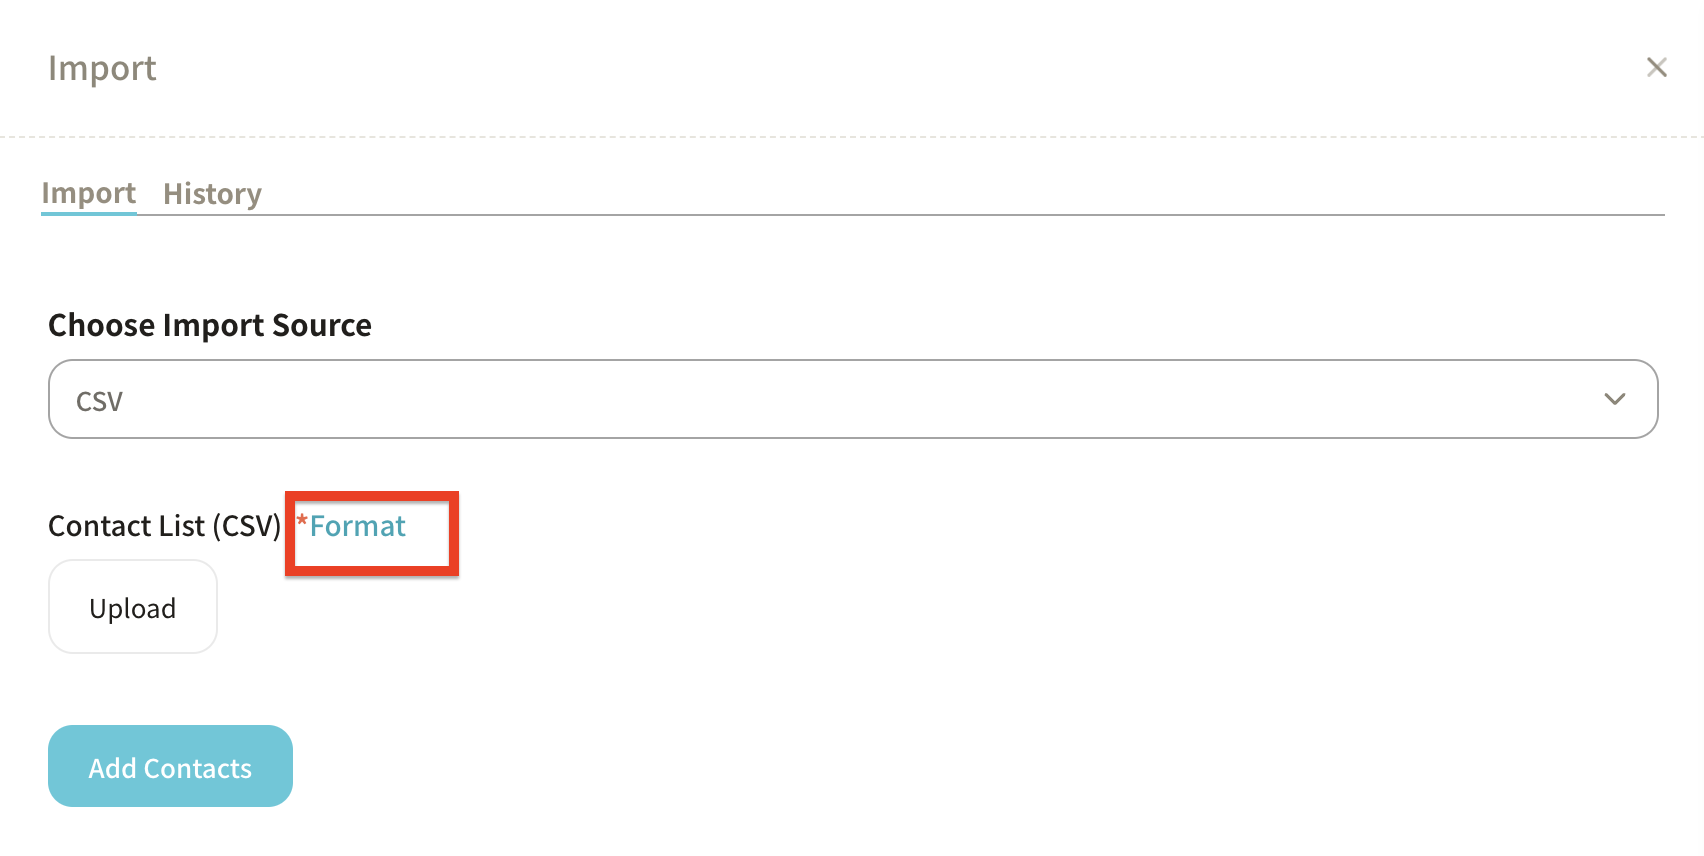
When you select the file, Sanka's "Contact CSV Import Format" will open.
-
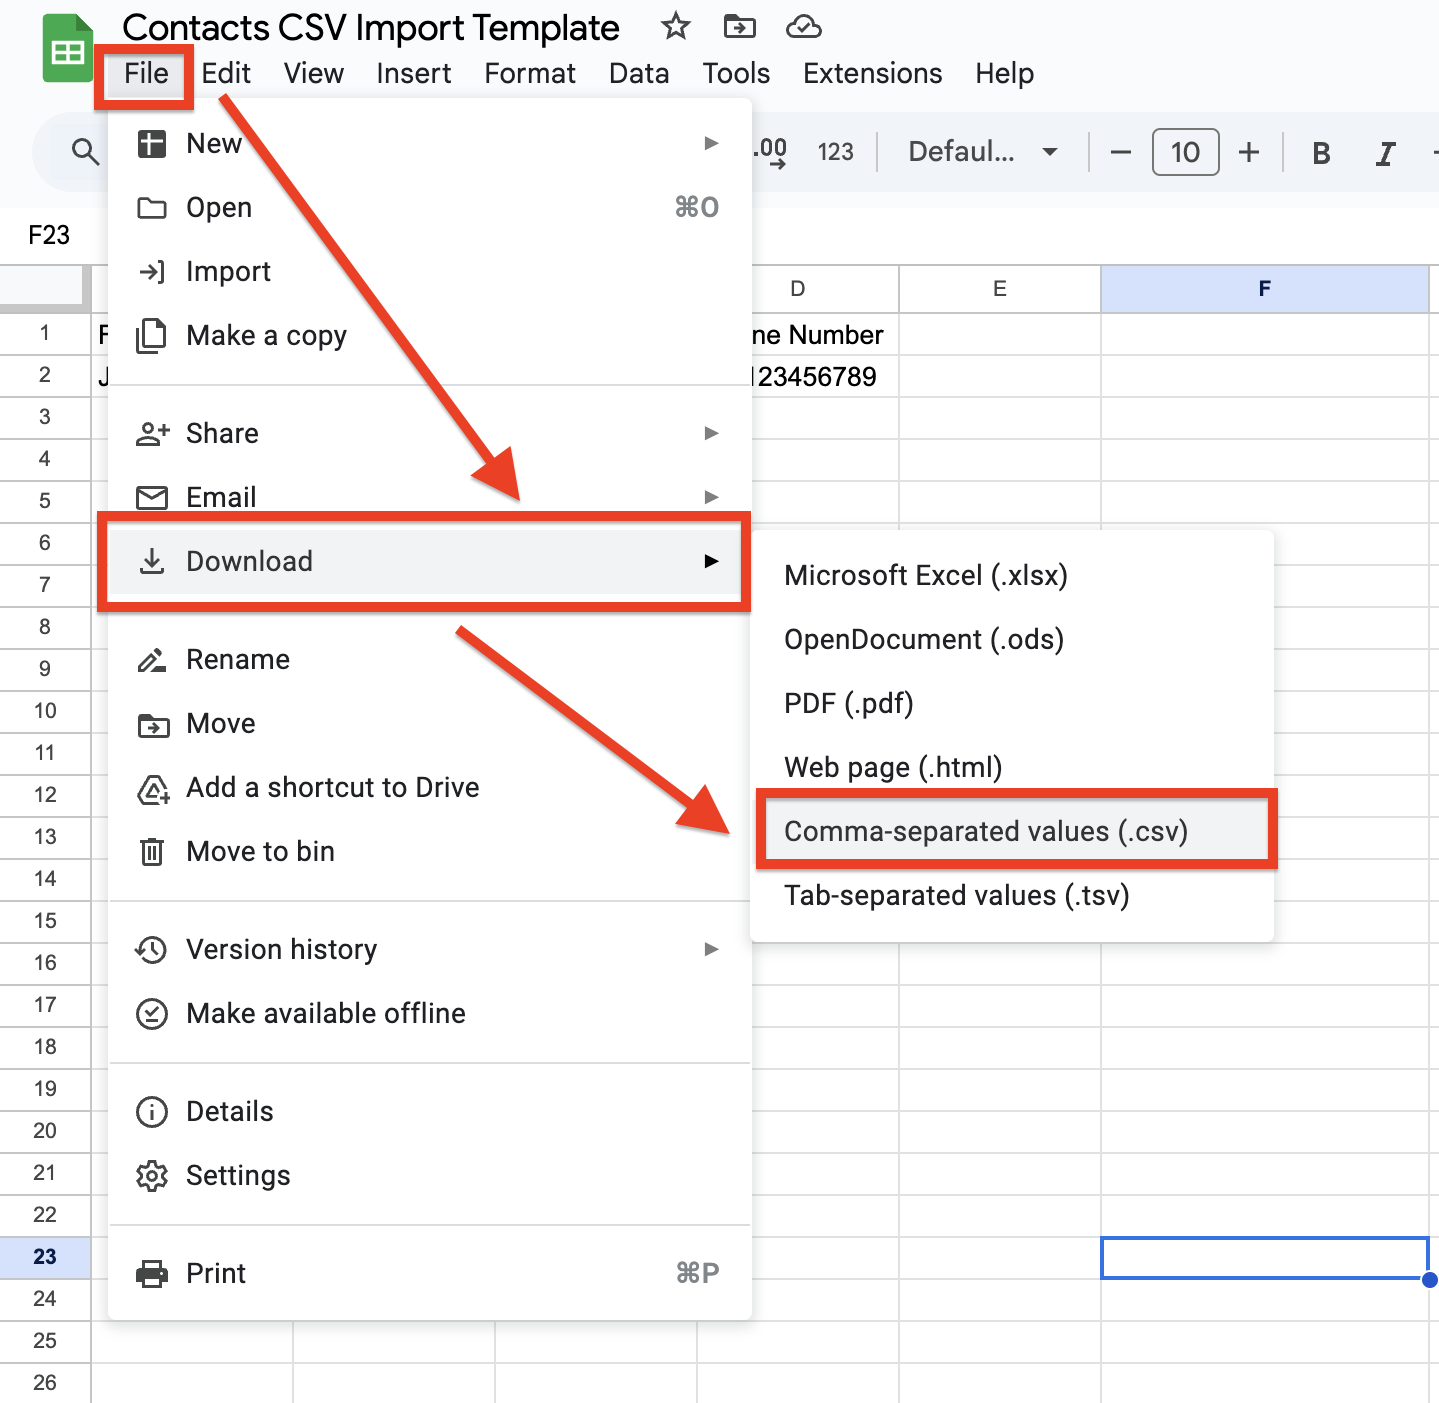
Download the "Contact CSV Import Template" to your desktop.
Select "File" → "Download" → "Comma Separated Values (.csv)" and save it in your desired location.
-
Enter the necessary information in the downloaded template.

-
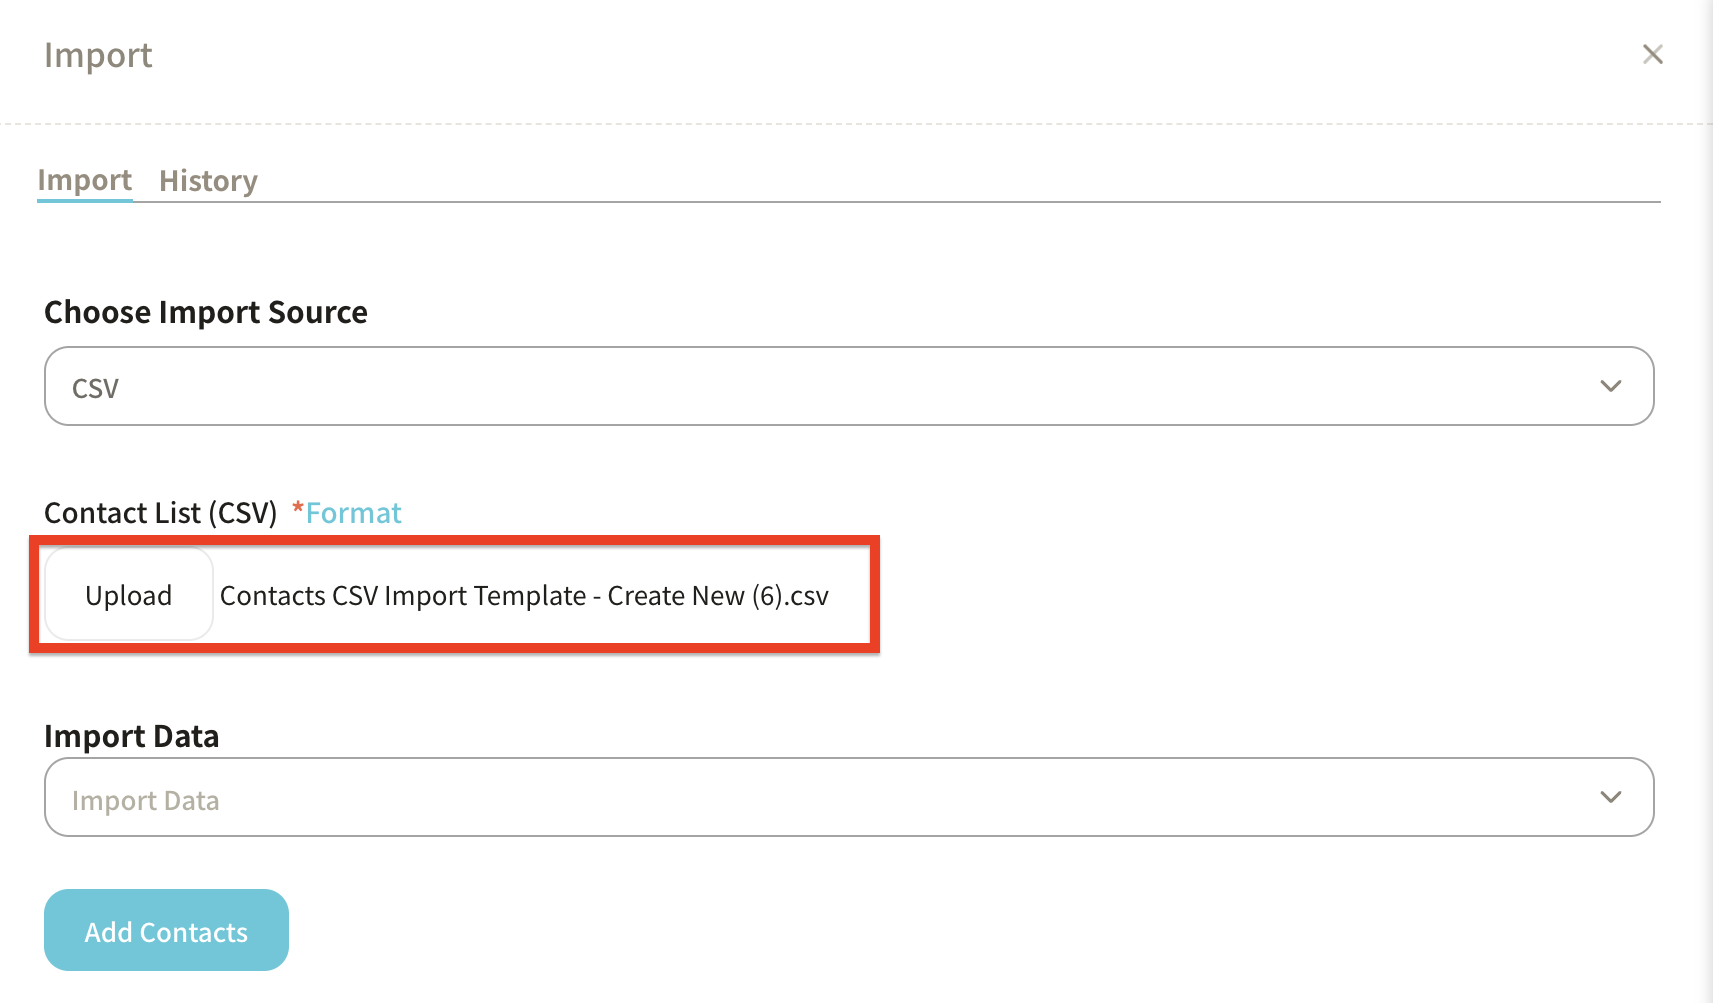
Return to the Sanka page, select "Upload," and choose the template file.
-
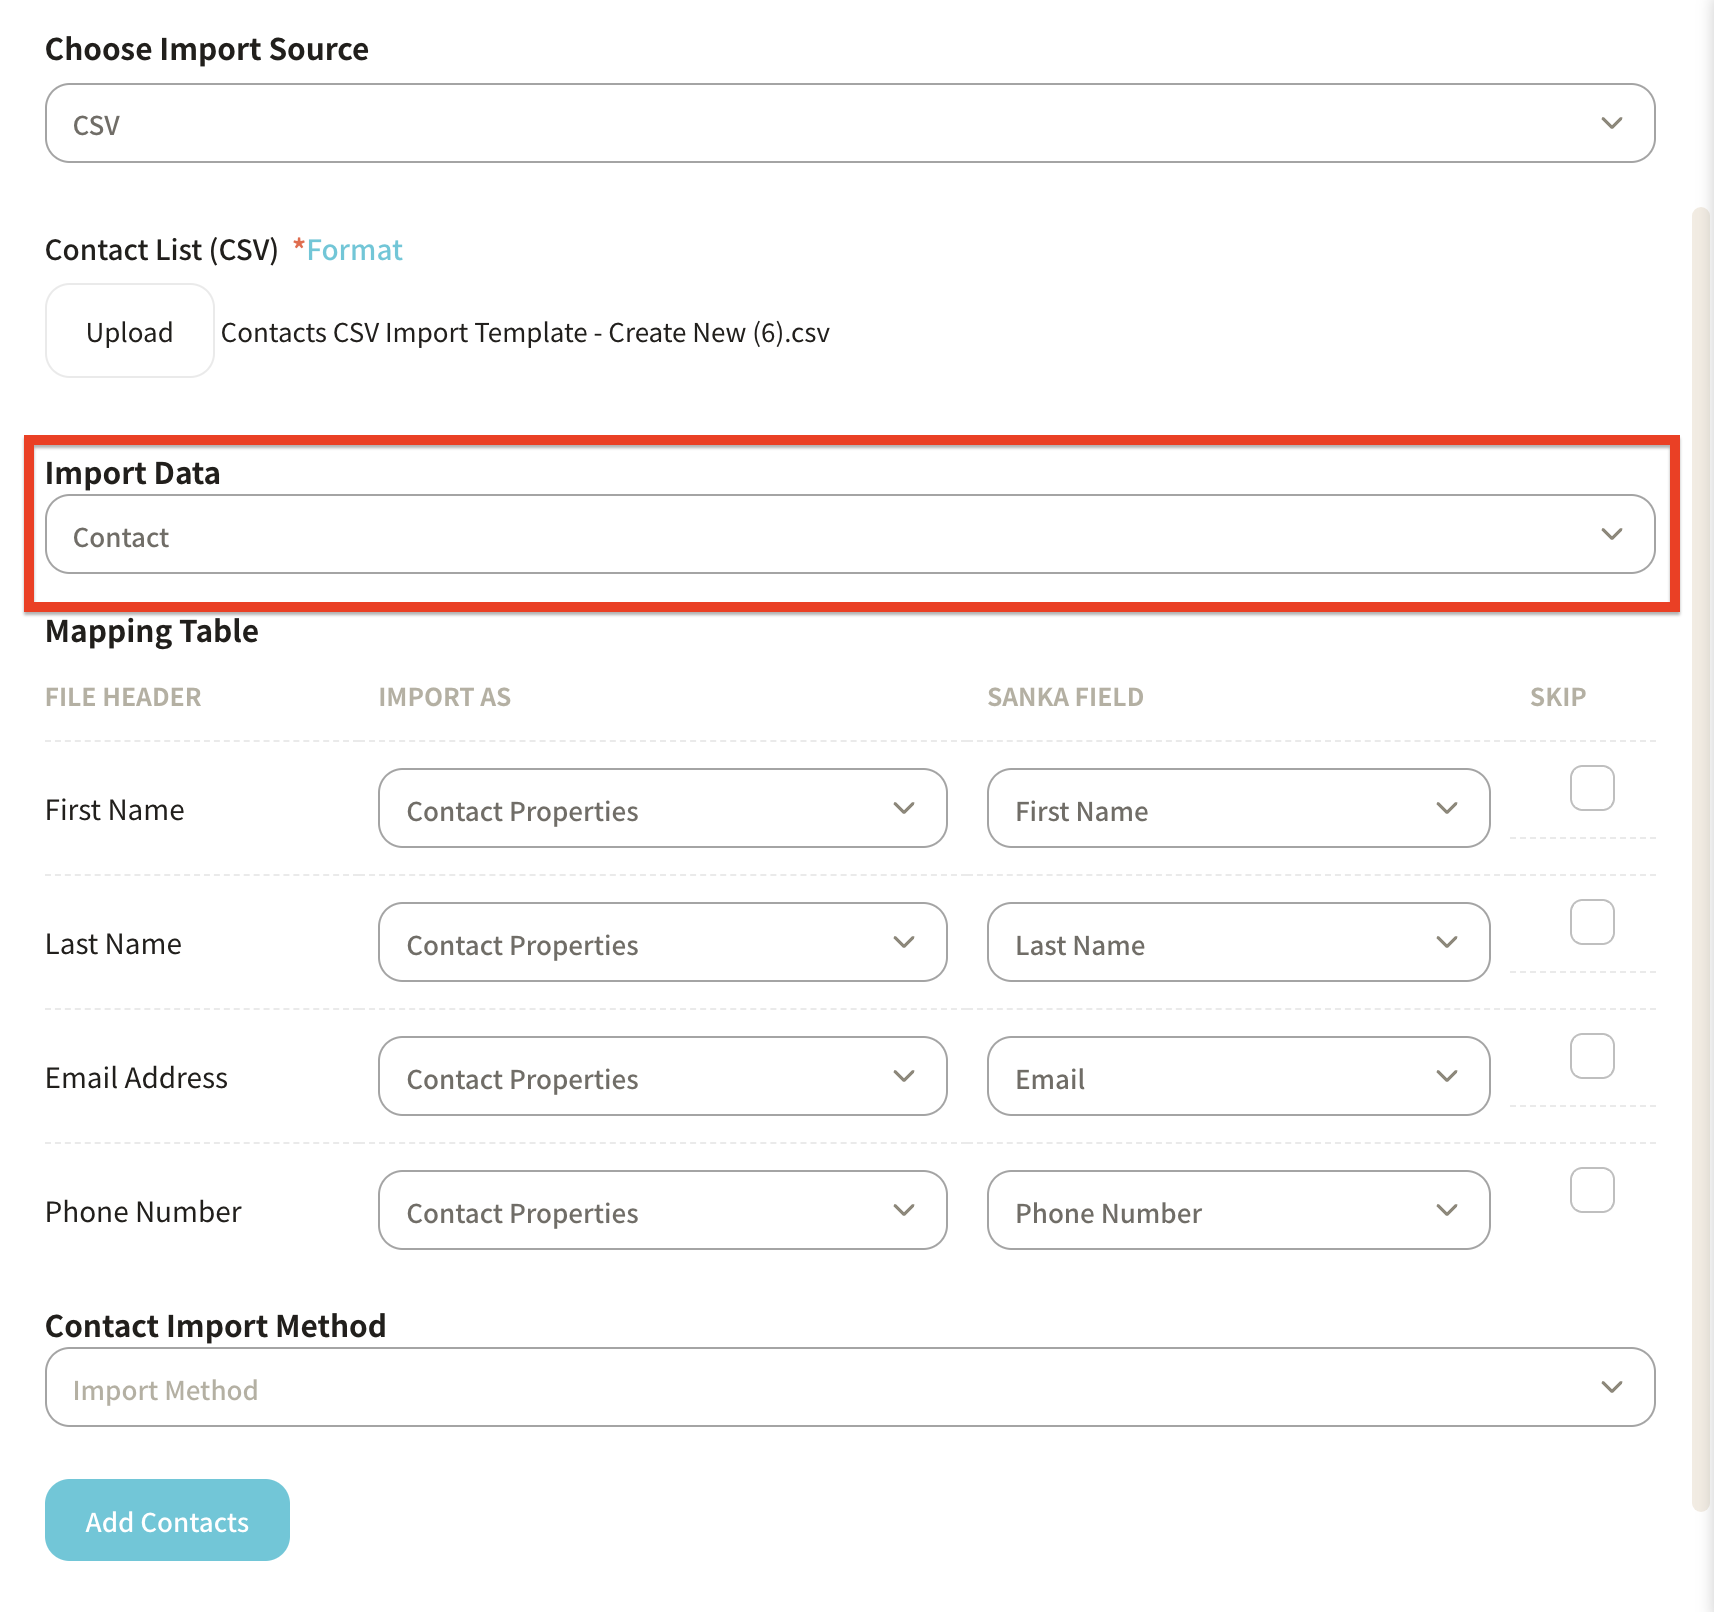
Select "Contacts" under "Import Data."
-
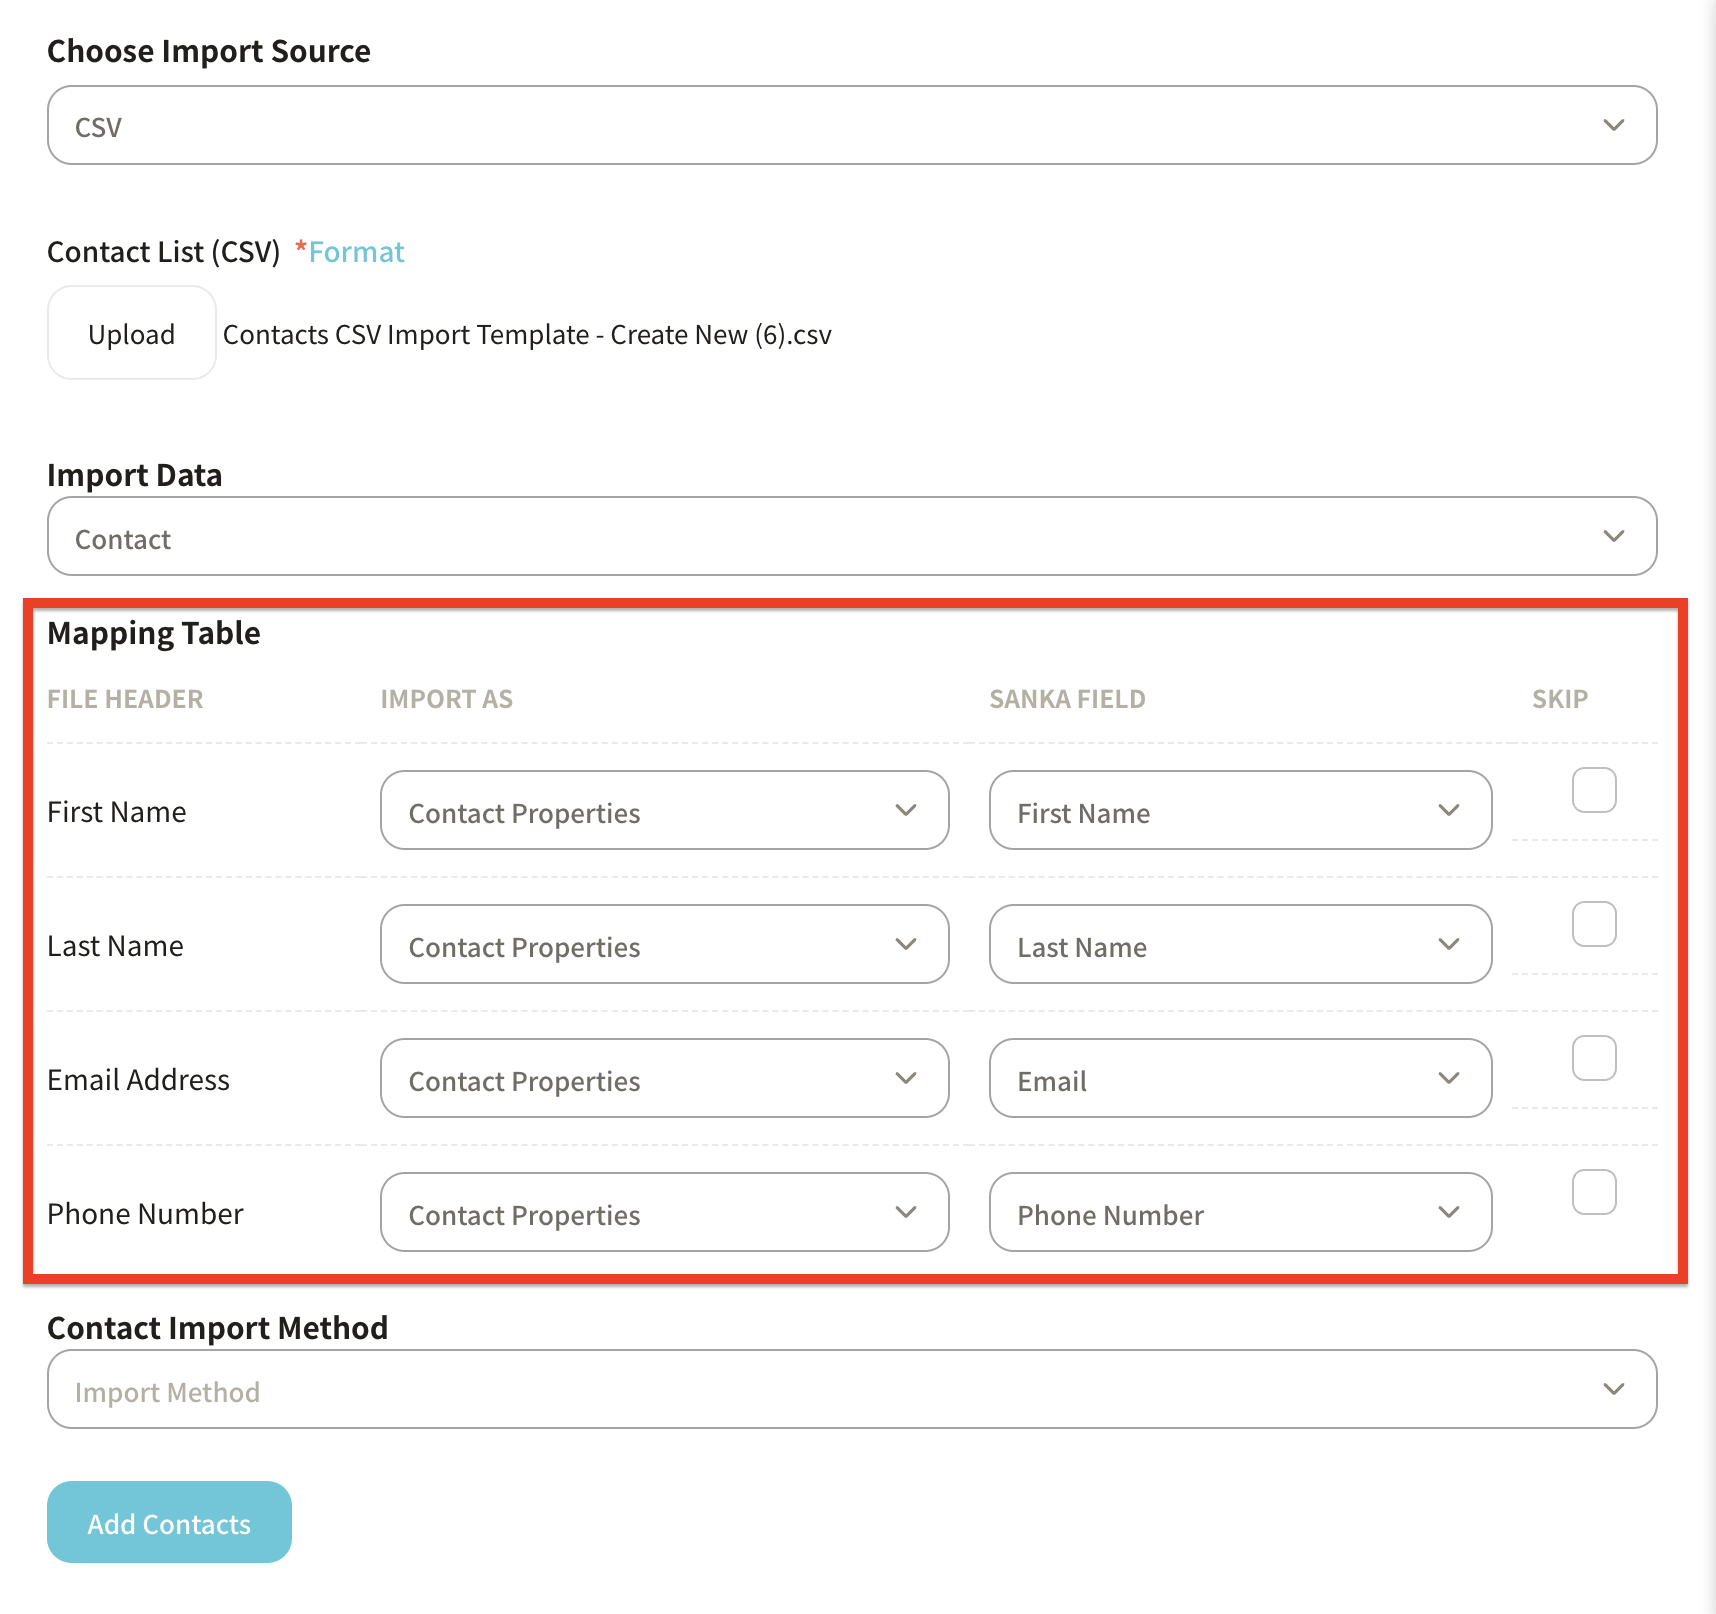
A mapping table will appear. Adjust the information as needed.
- Import Information: Select "Contact Properties."
-
Sanka Fields: Match the items in the template file with the displayed fields in Sanka.
-
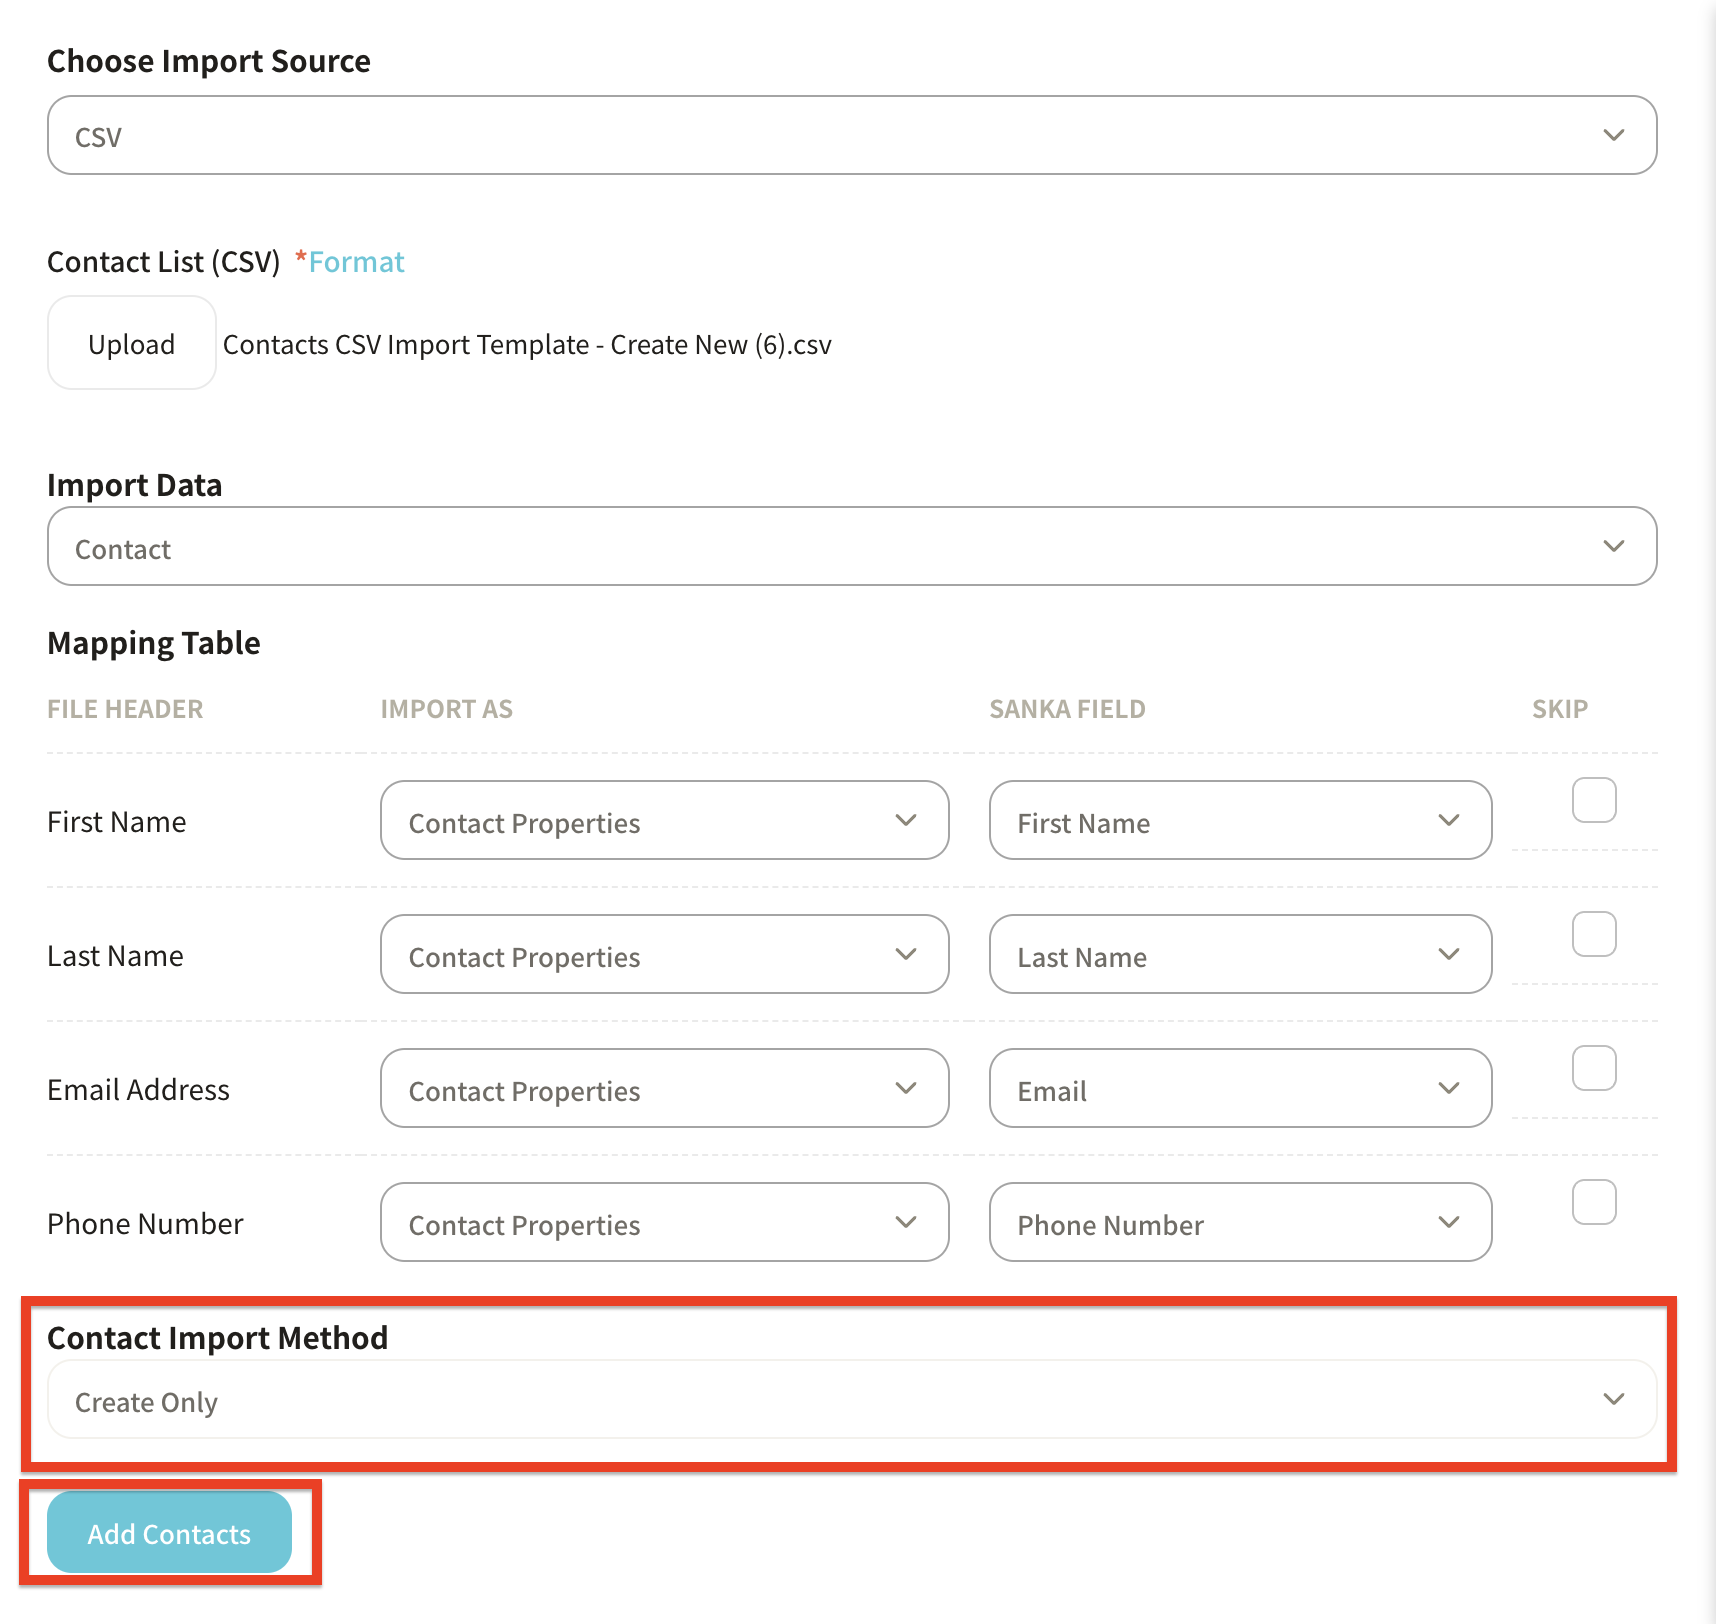
Under "Import Method for Contacts," select "Create Only" and click "Create Contact."
-
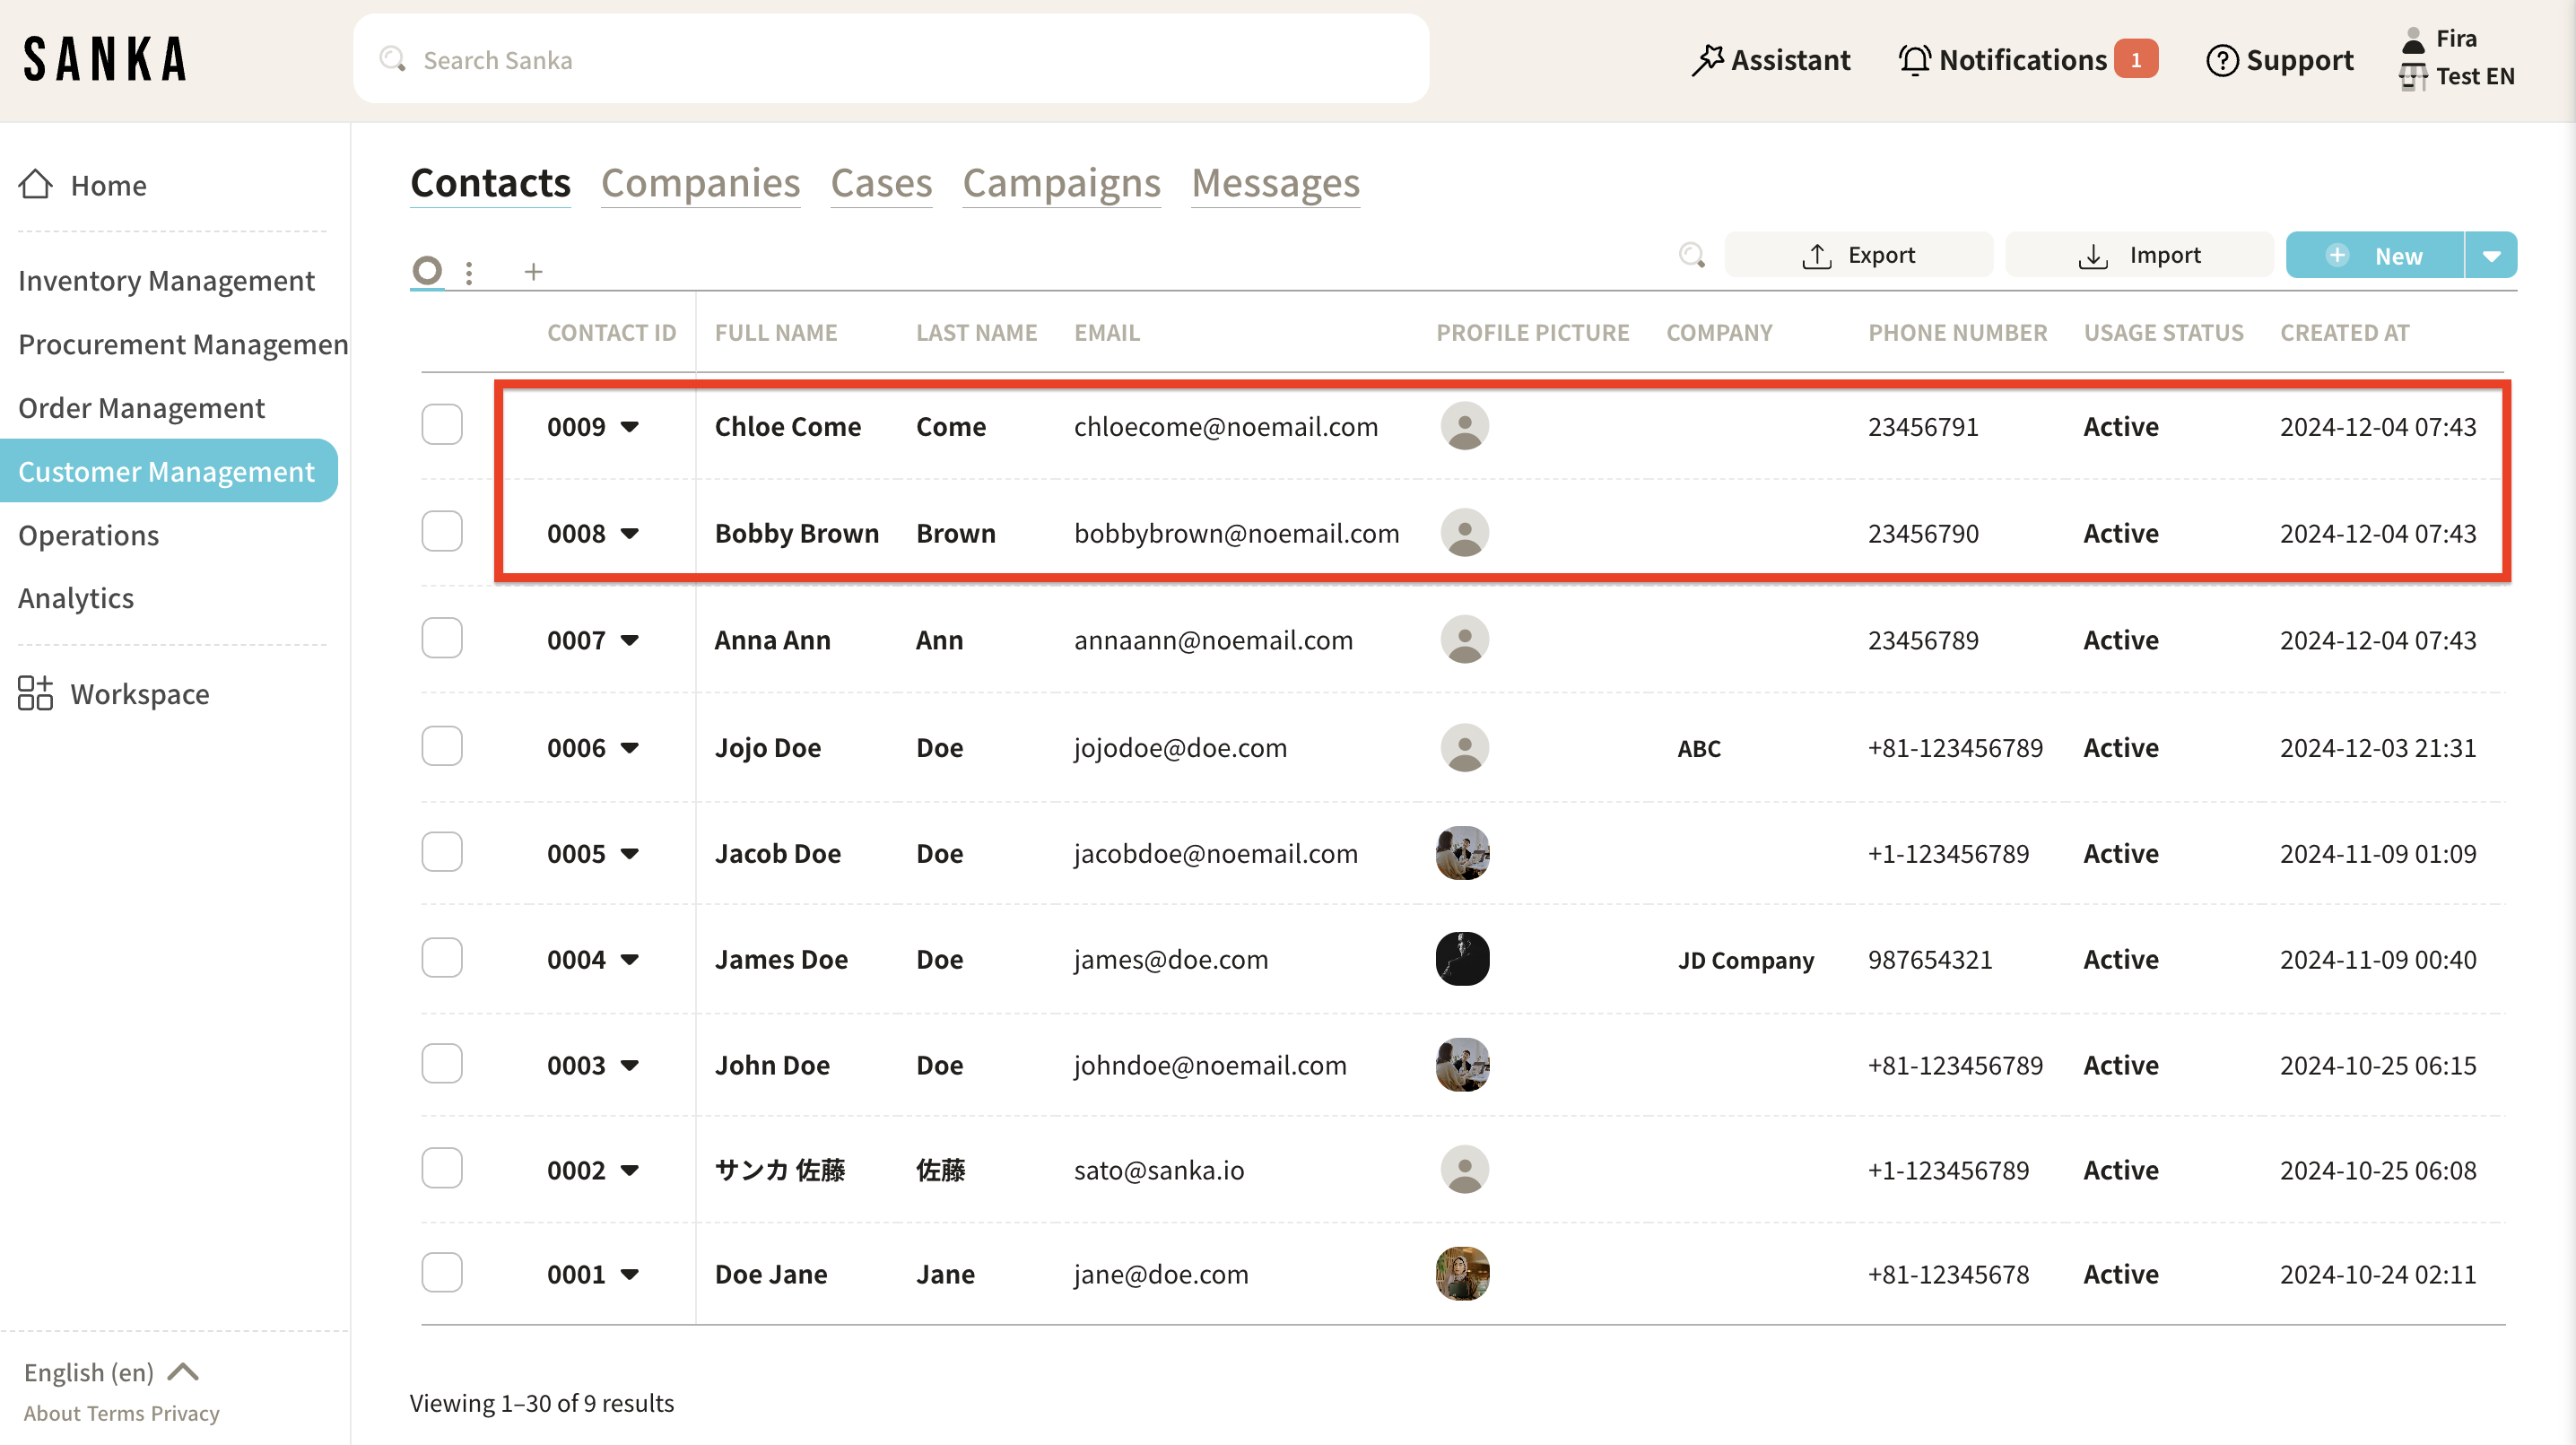
The content of the CSV file has been registered in the "Contacts" object screen.
How to Edit Registered Contacts
In Sanka, once information is registered, it cannot be deleted to avoid accidental loss of data.
Therefore, mastering the method to edit information is crucial.
-
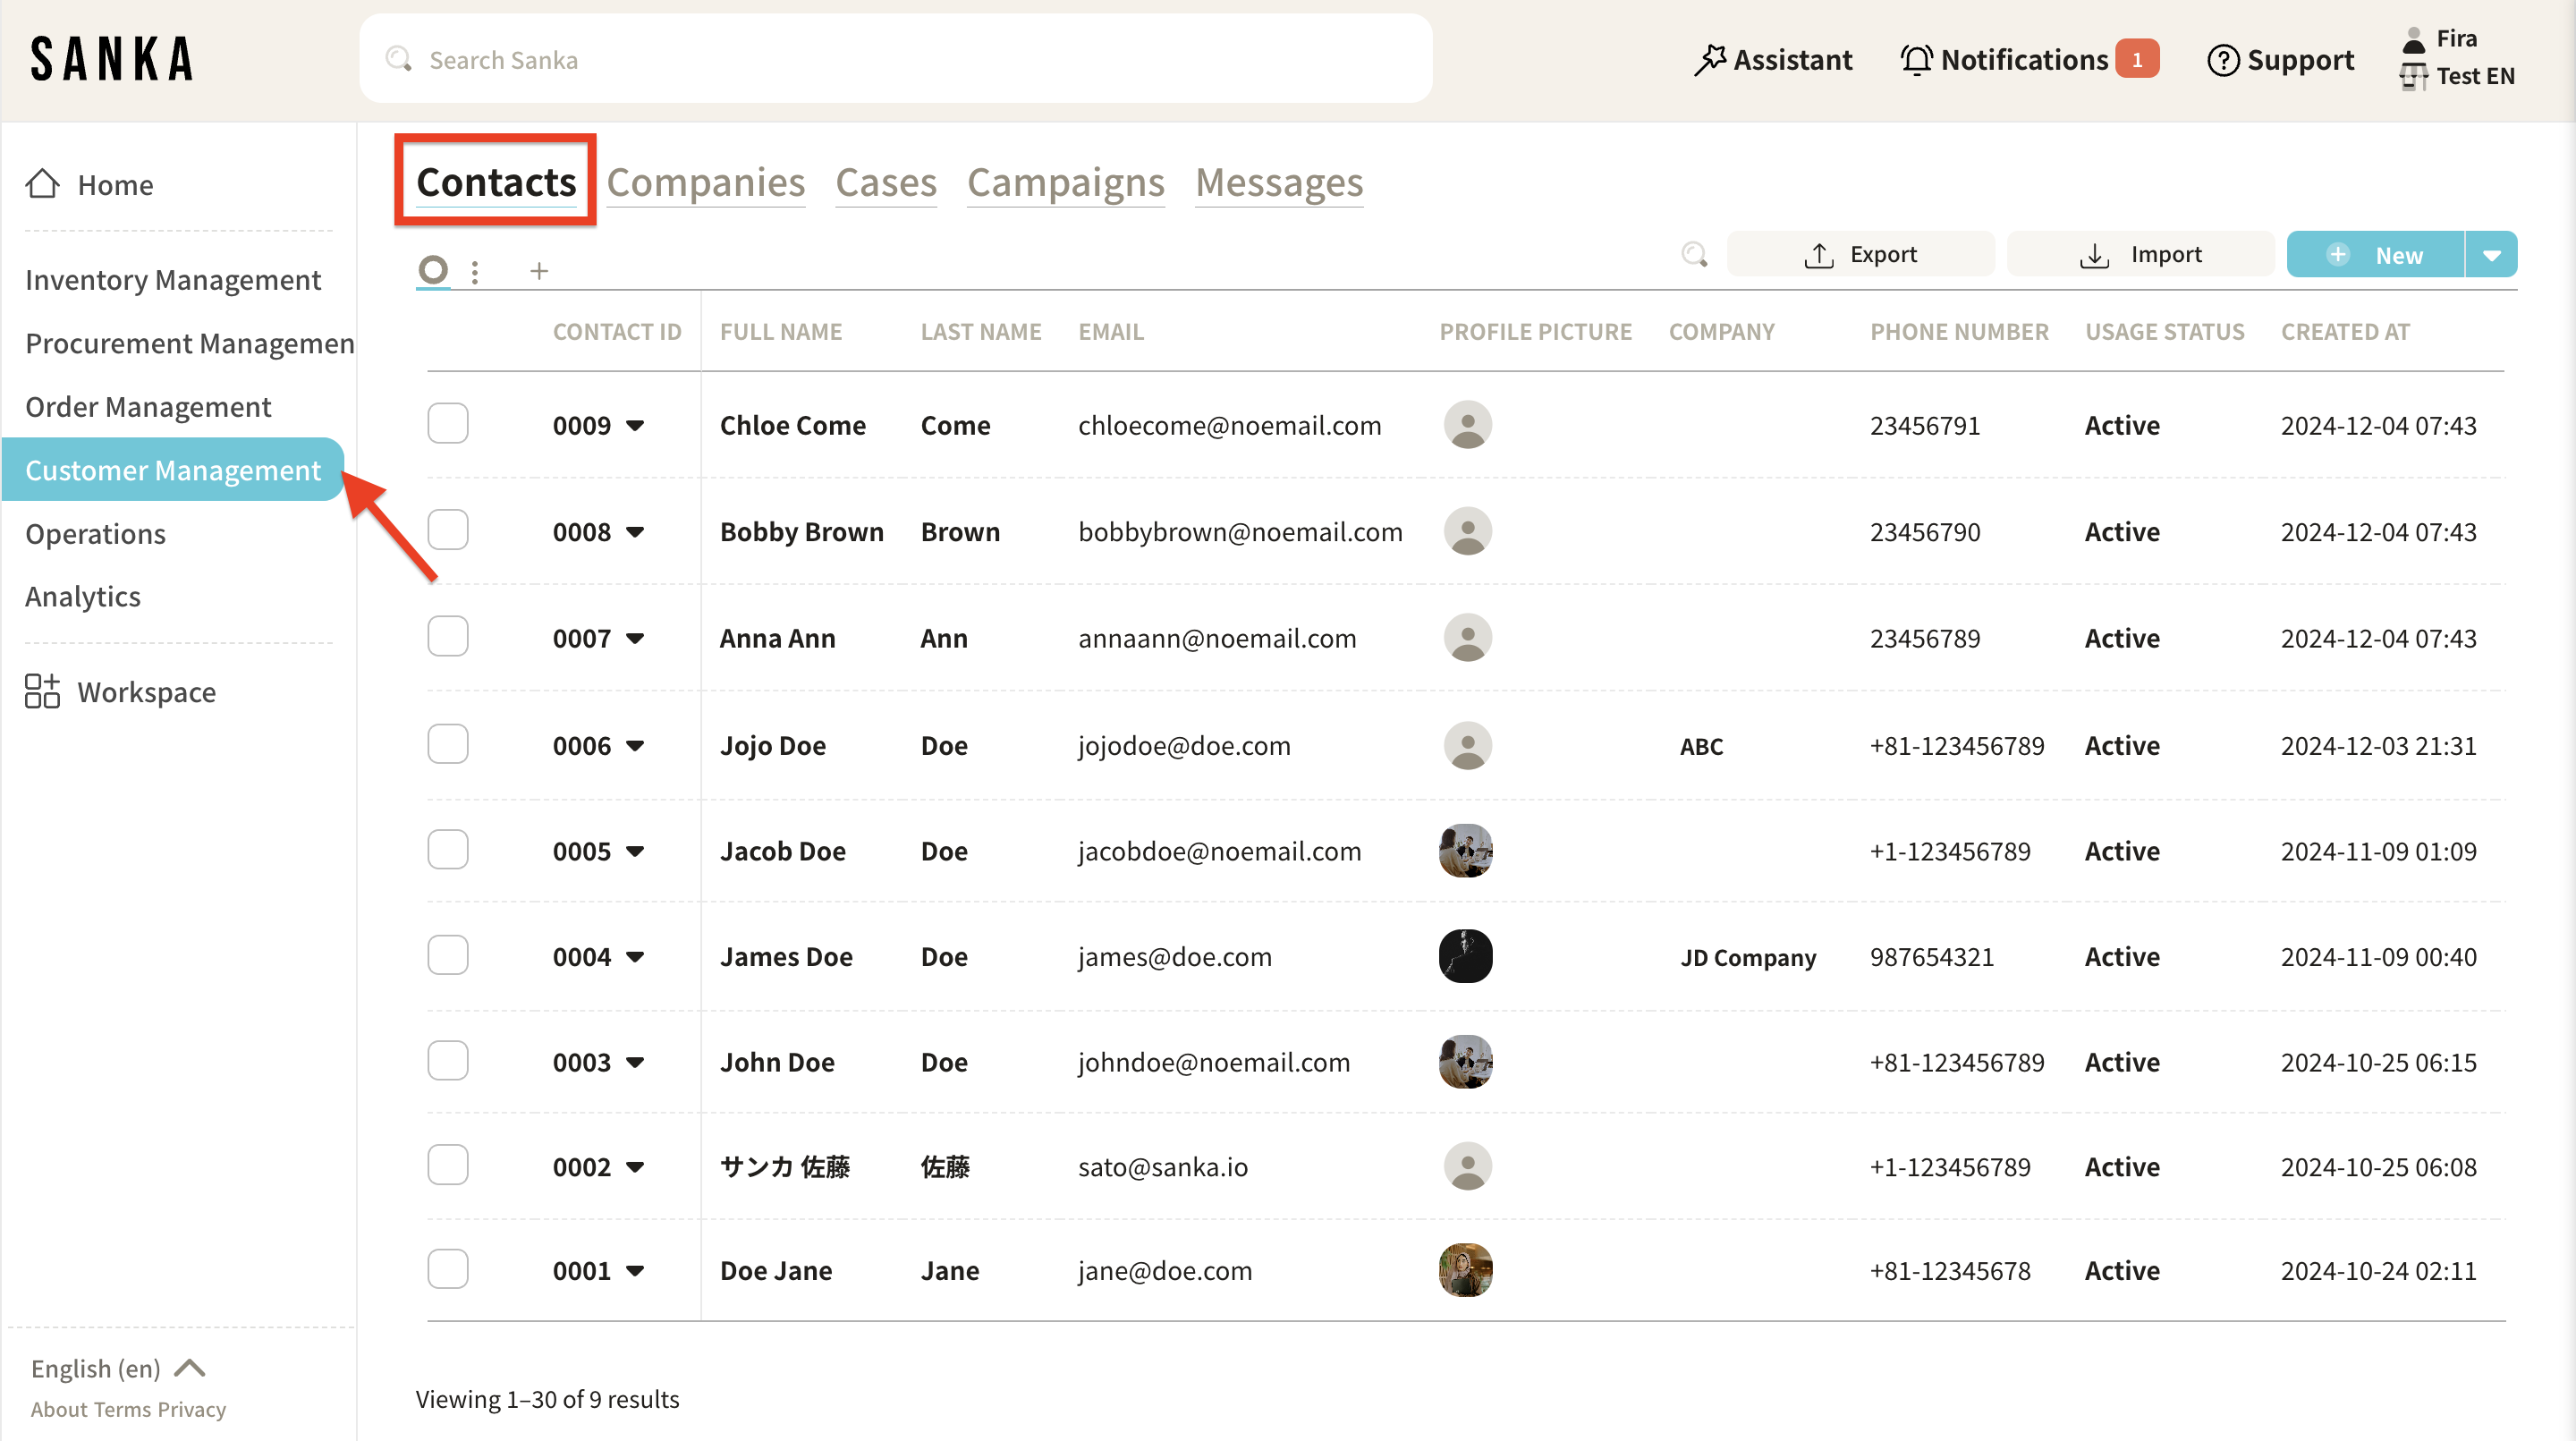
Click on the "Customer Management" module on the left side of the screen, then select the "Contacts" object.
-
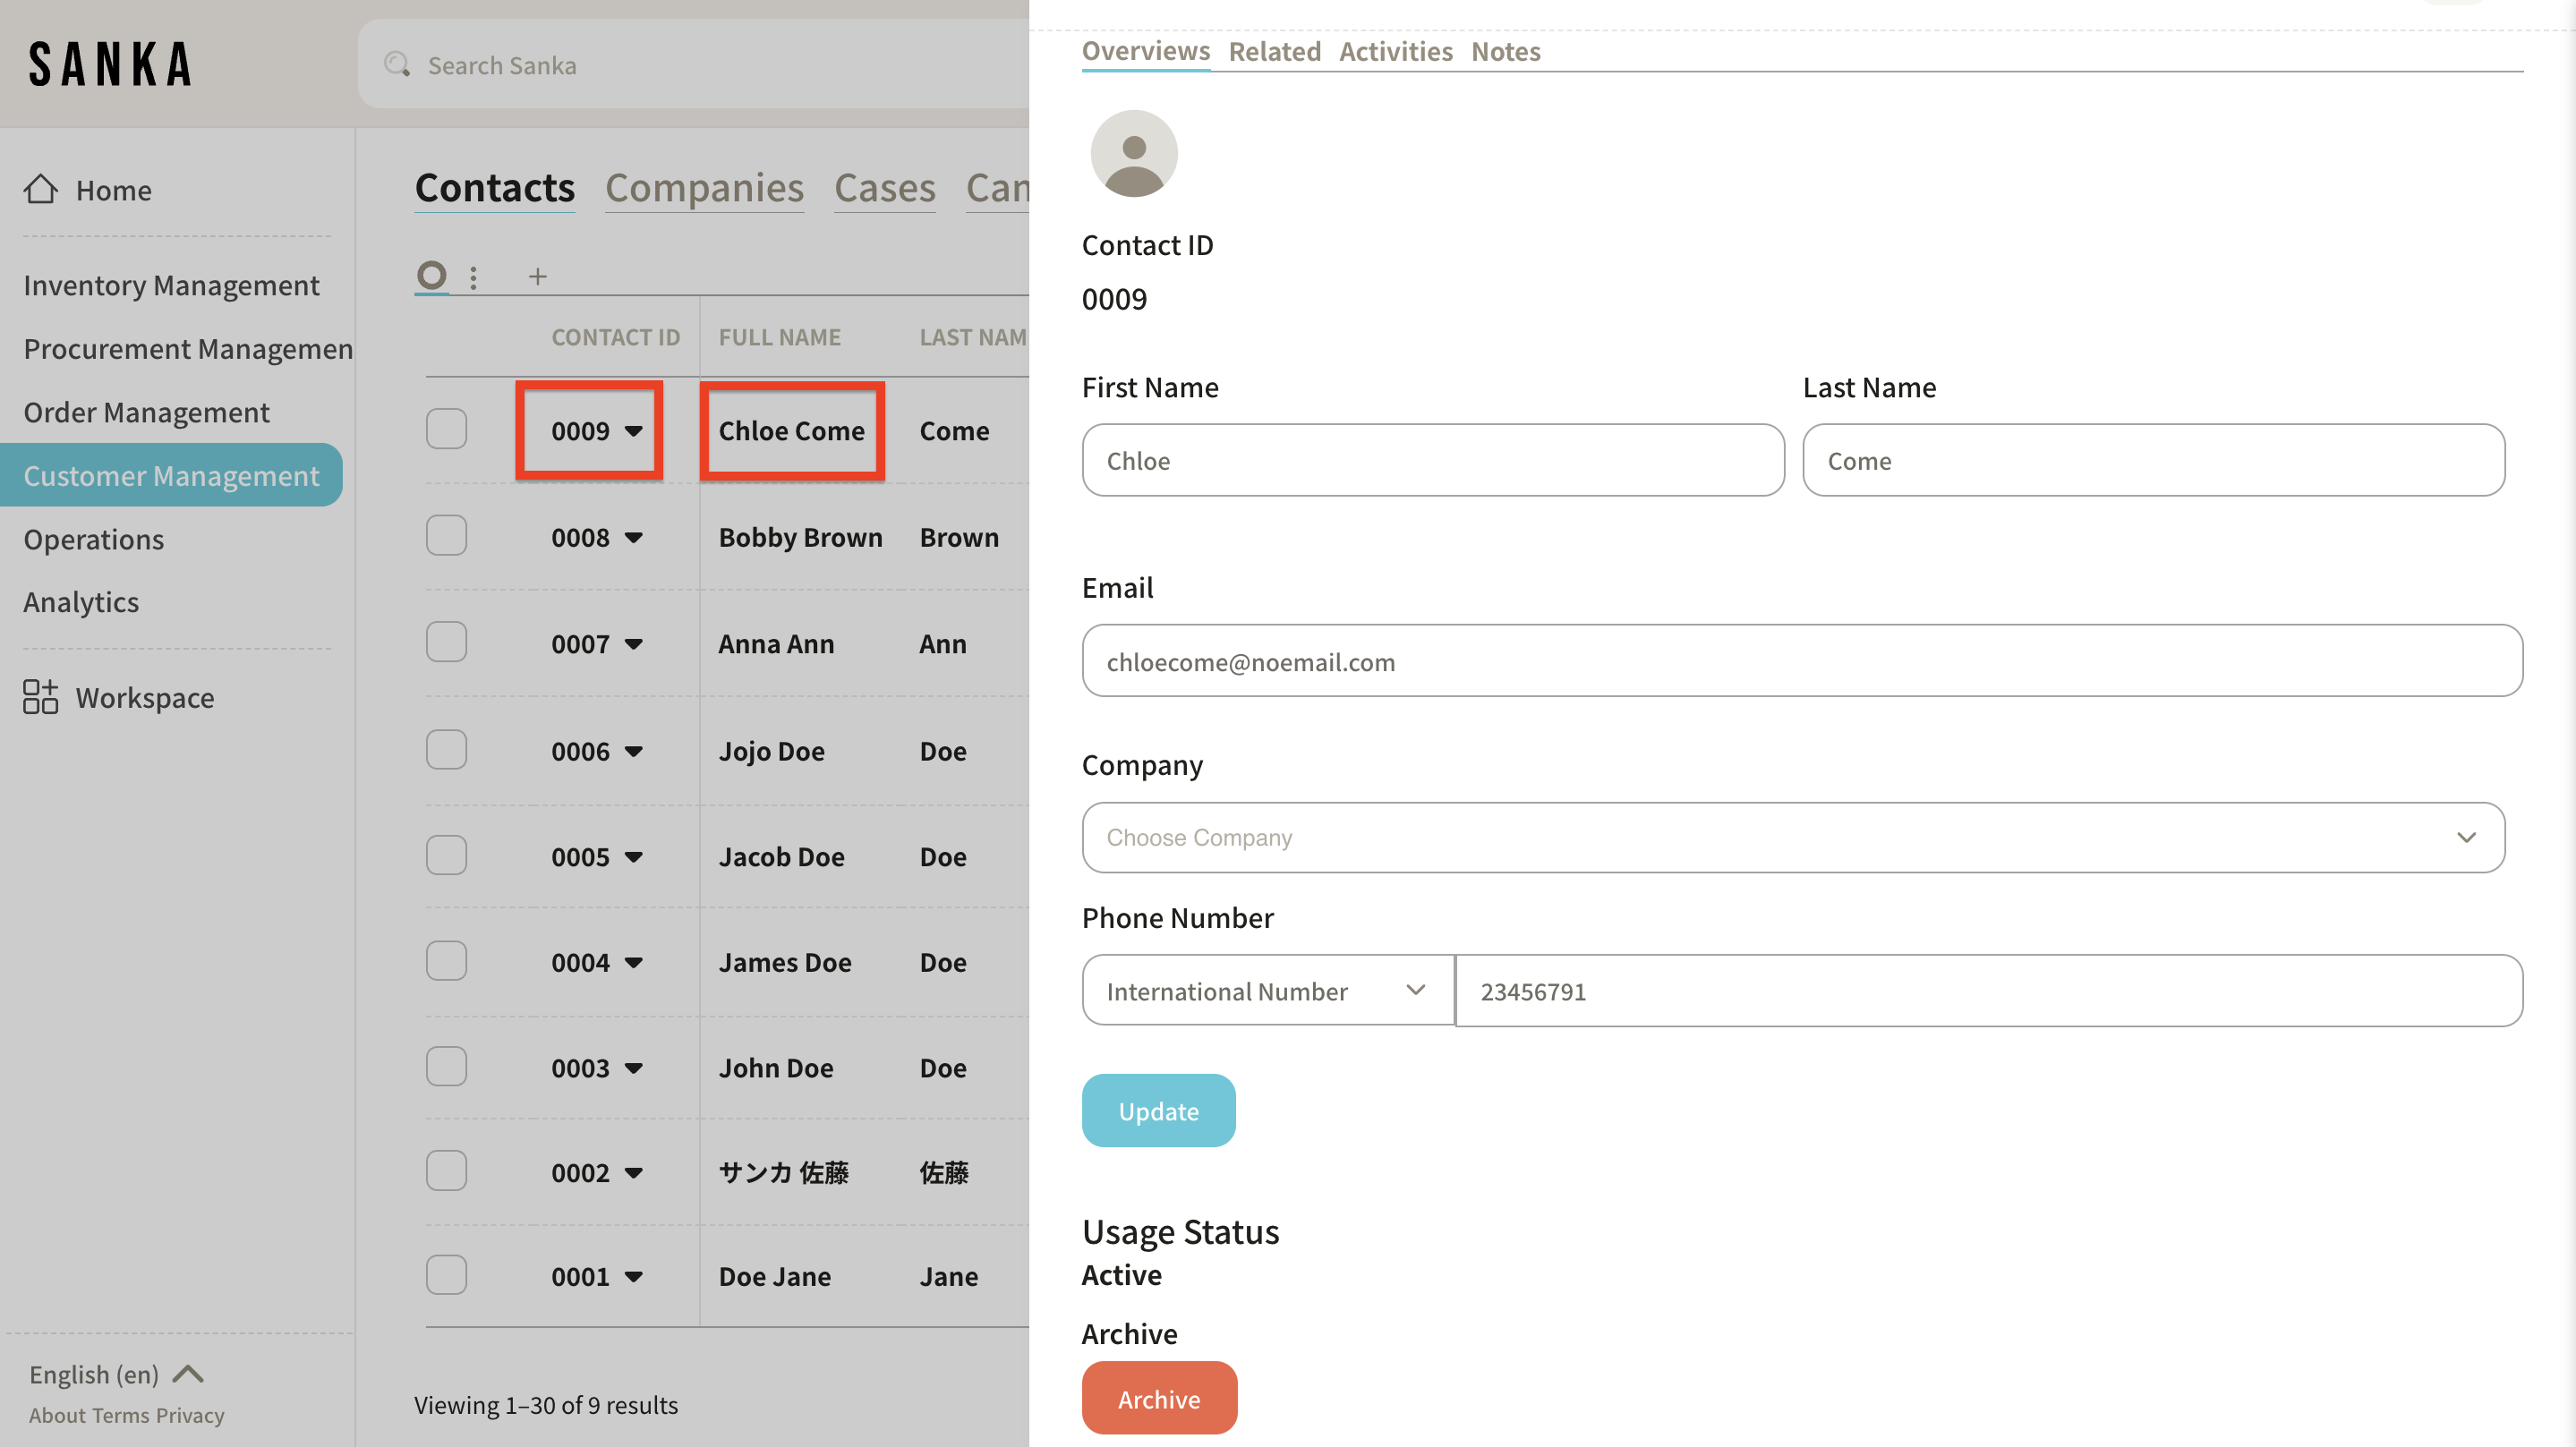
Click the "Contact ID" or "Name" to display the "Profile" menu, where you can edit the information.
Finally, click "Update" if you've finished your editing.
How to Archive Contact Information
The archive feature allows you to hide registered contact information from the table.
-
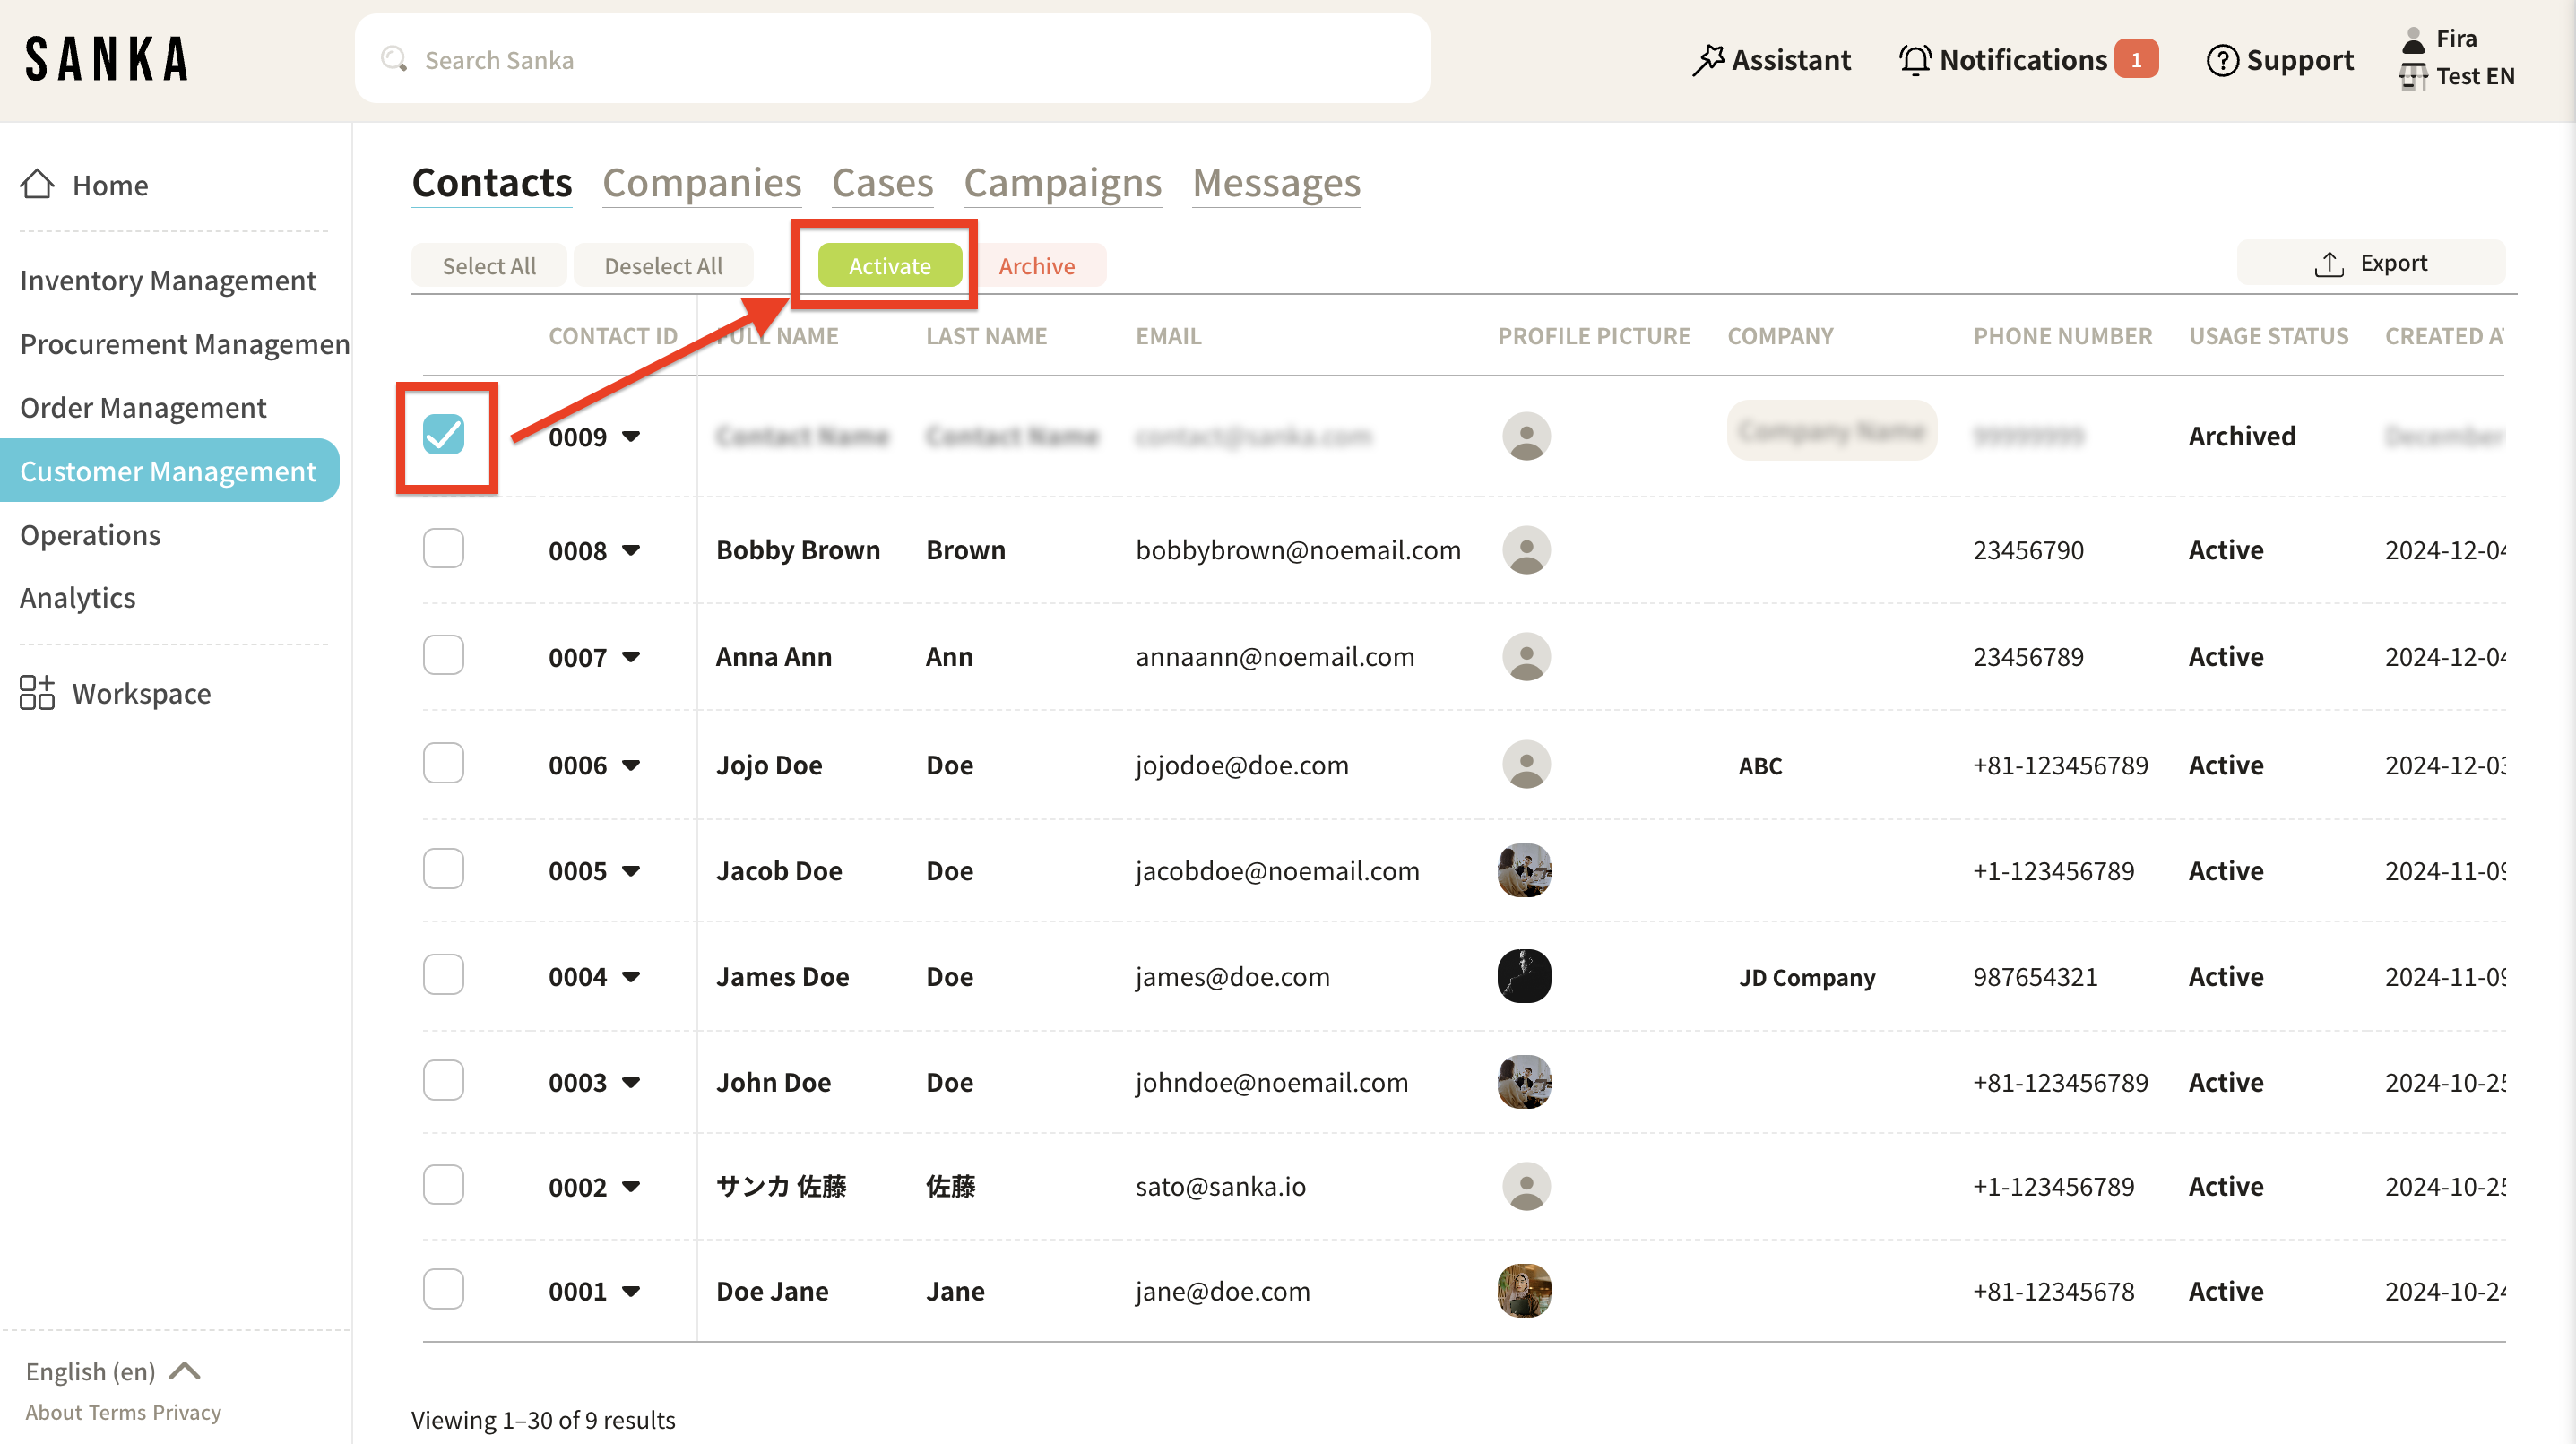
Click the box next to the contact you want to archive, then select "Archive."
-
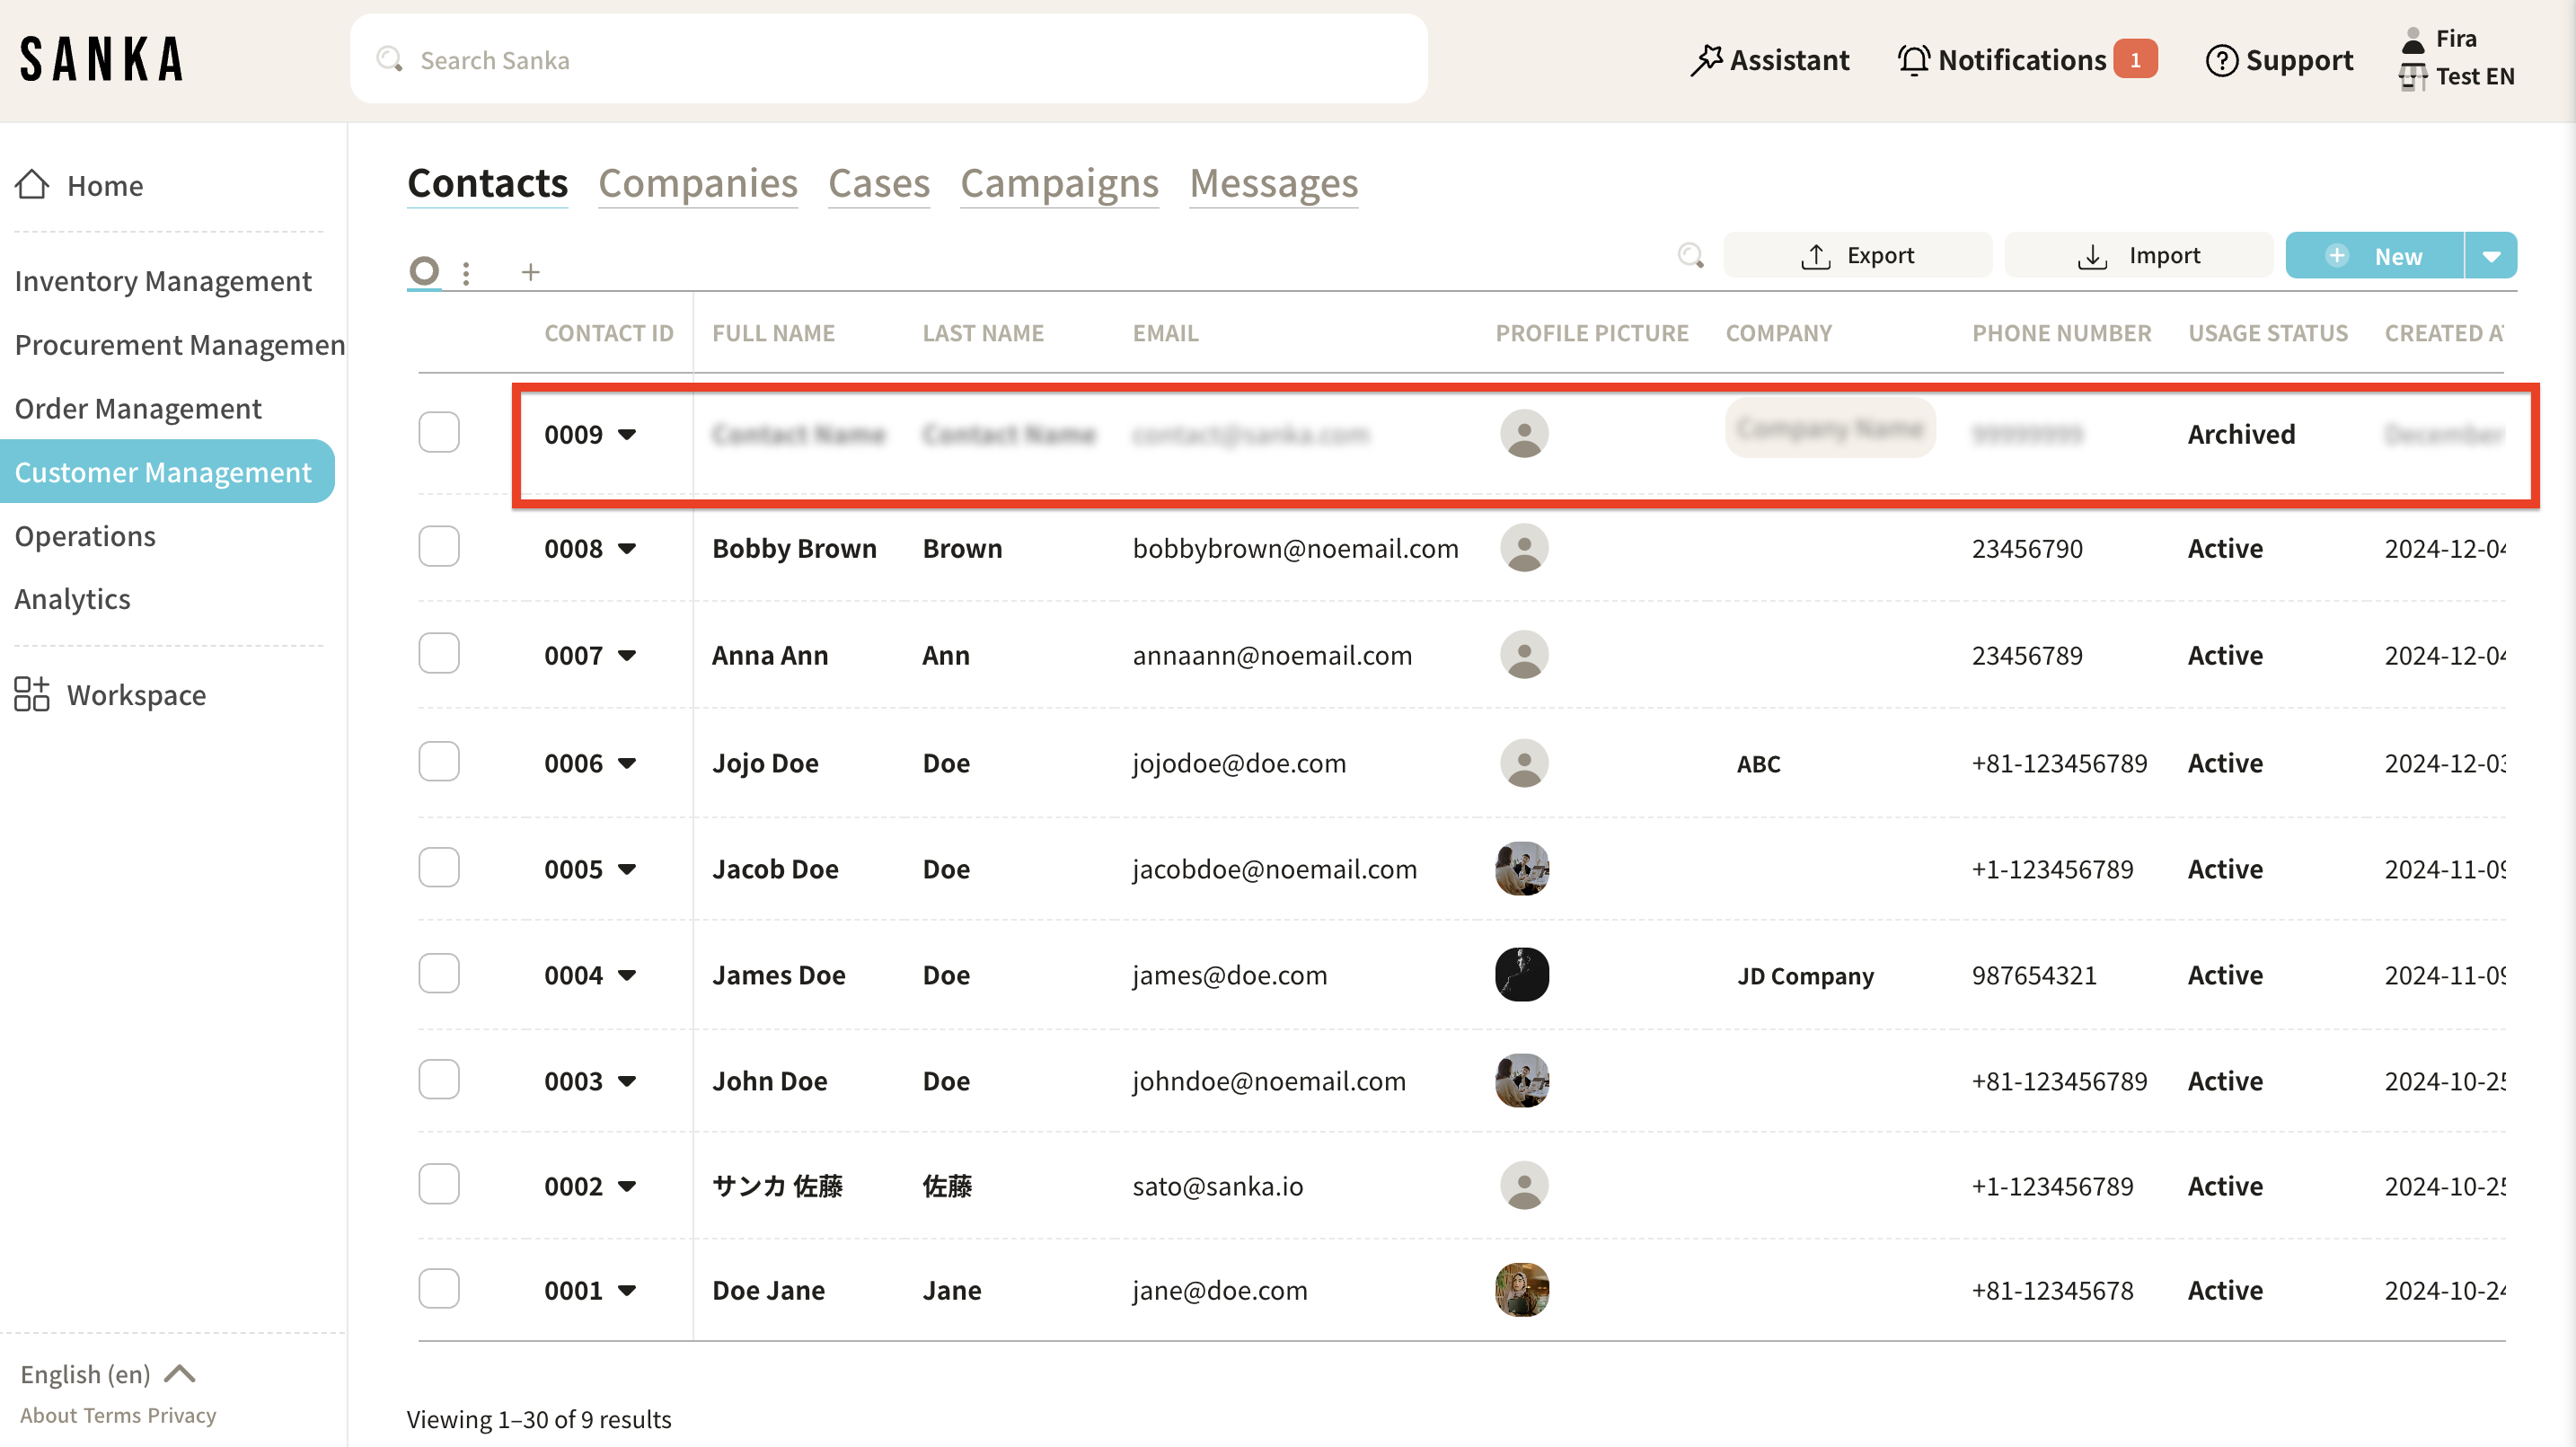
Archived contacts will appear grayed out.
-
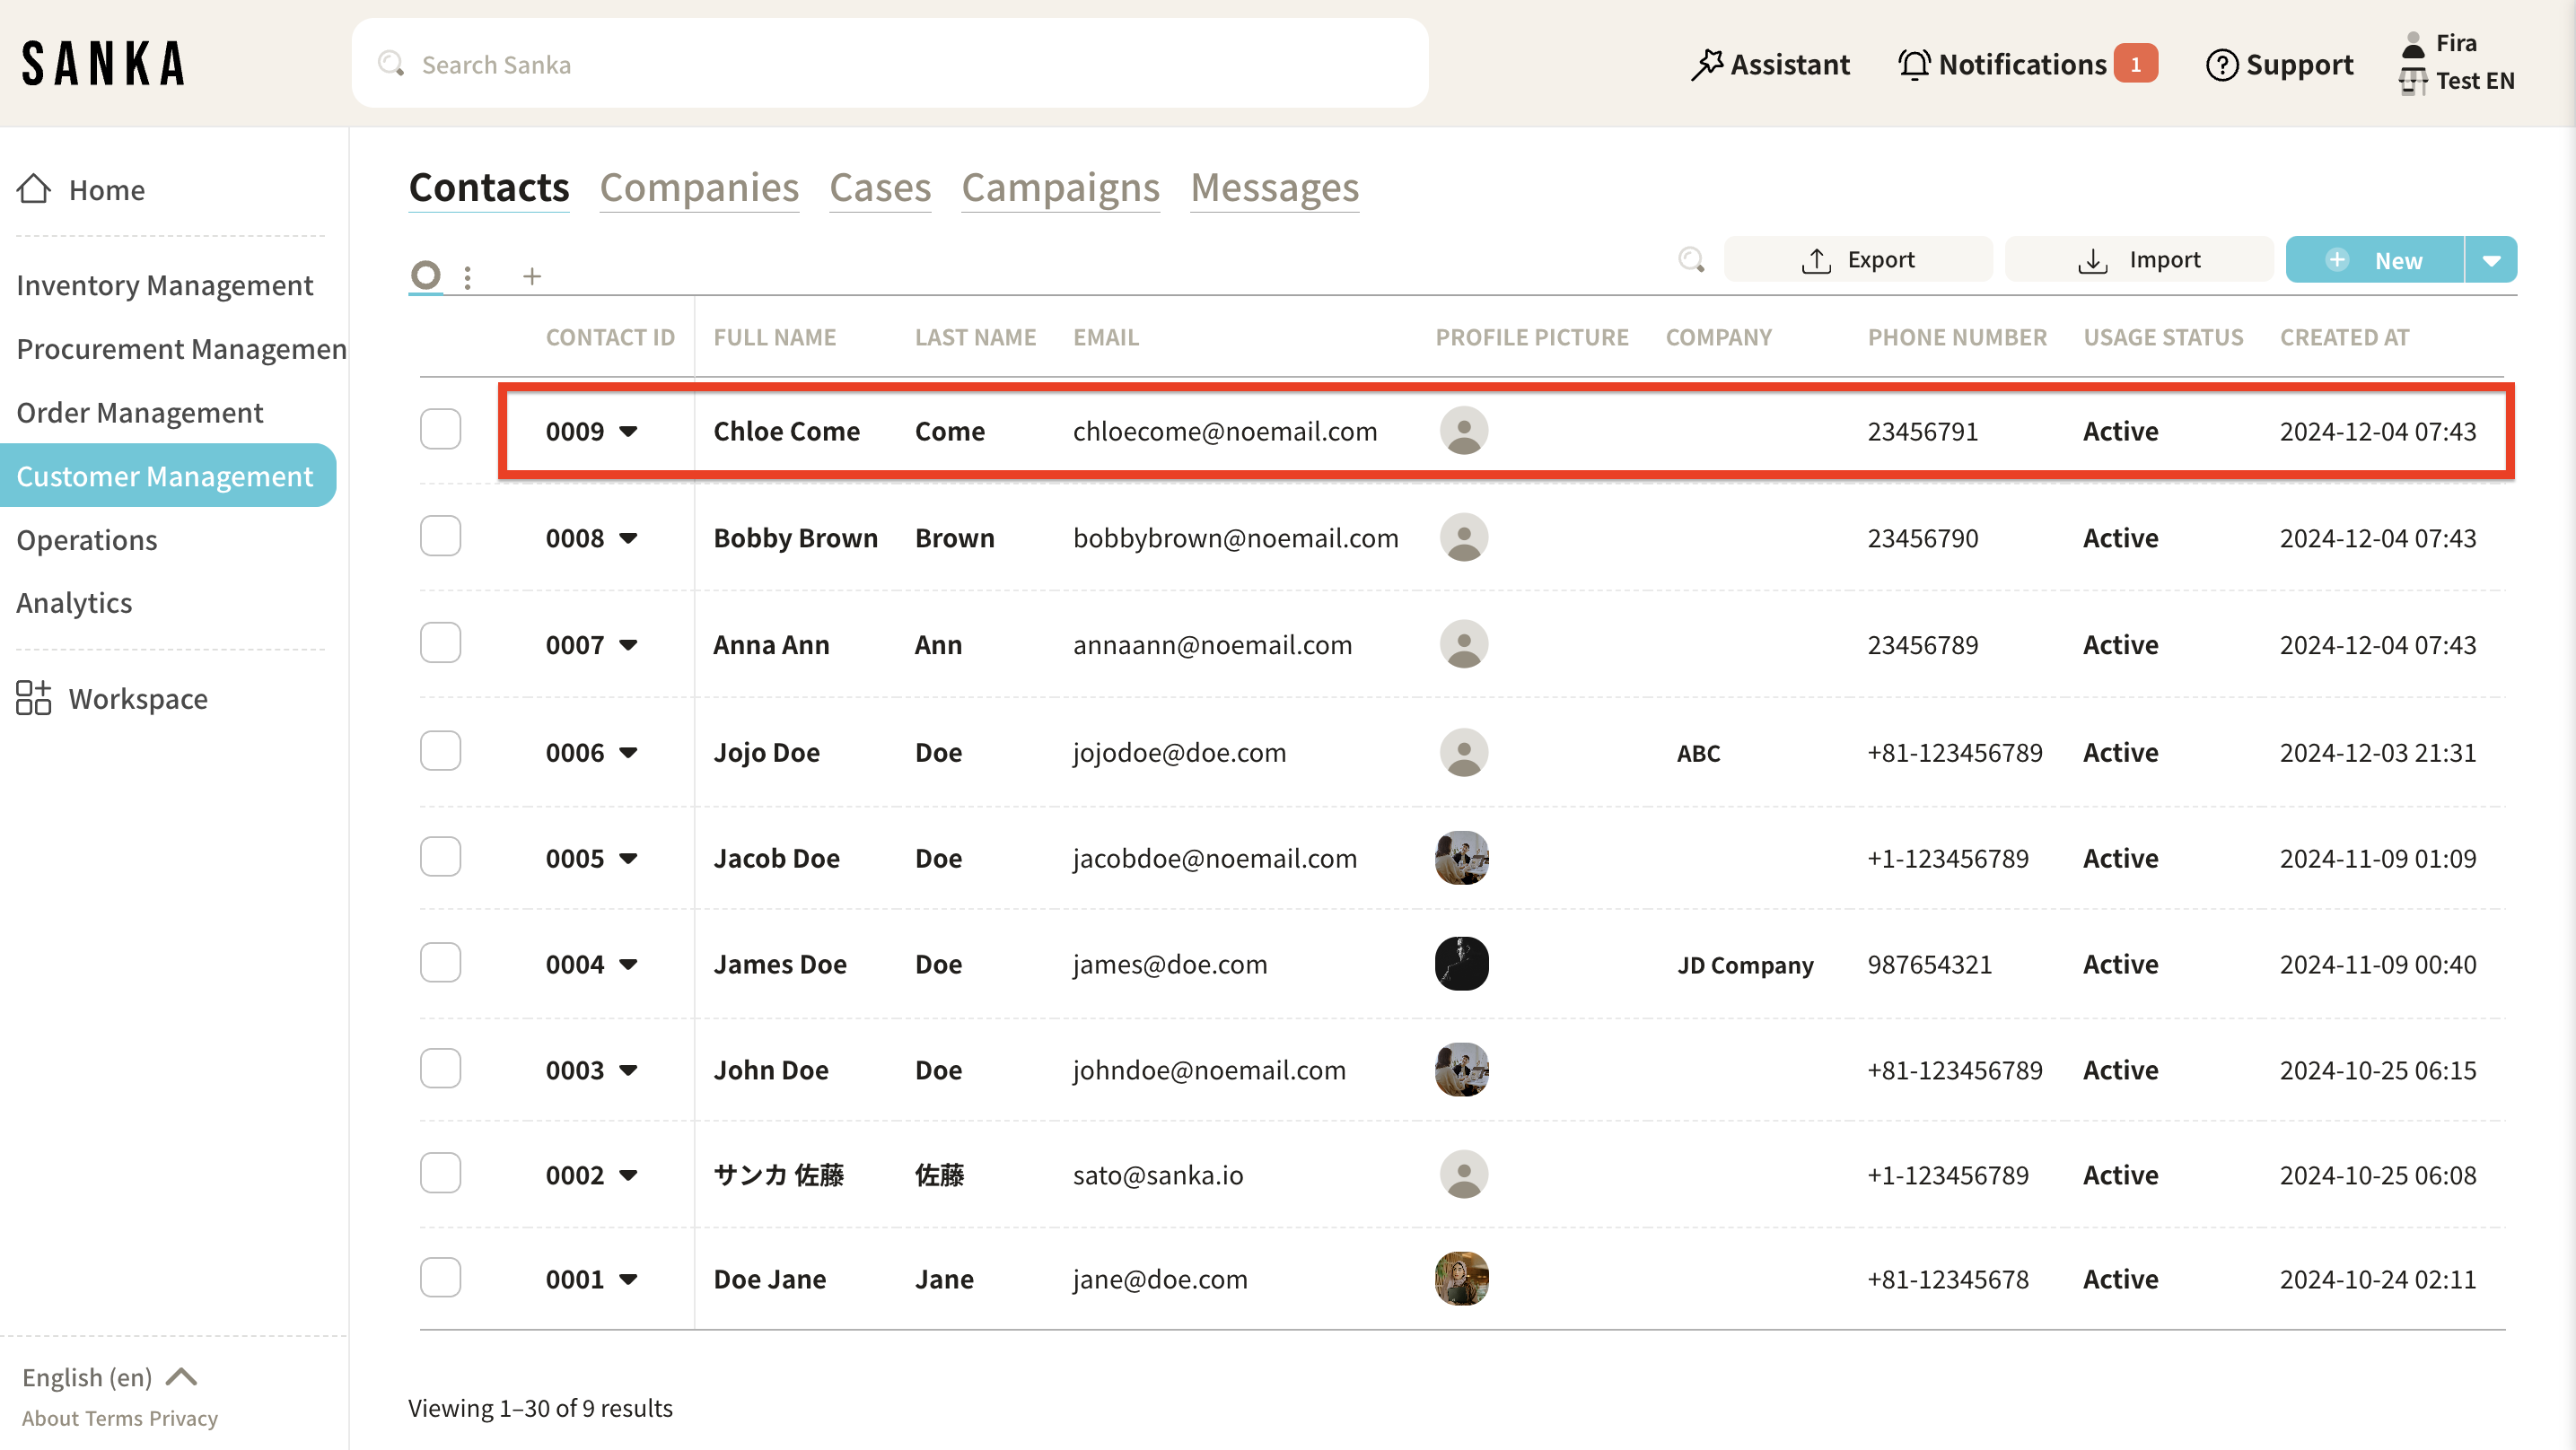
To unarchive, click the box next to the contact and select "Activate."

-
The contact will return to normal display.
Next Steps
Other things you can do in the customer management system:


