This guide explains how to register a case.
Additionally, with Sanka, you can exchange messages within the system. You can use it for inquiry management, so let's master how to use it here.
※ For basic concepts such as "Object" and "Module," please refer to Sanka Basics.
What you will learn in this guide
- How to register a case
- How to edit a registered case
- How to archive a case
- How to use the messaging feature
- Next steps
How to register a case
-
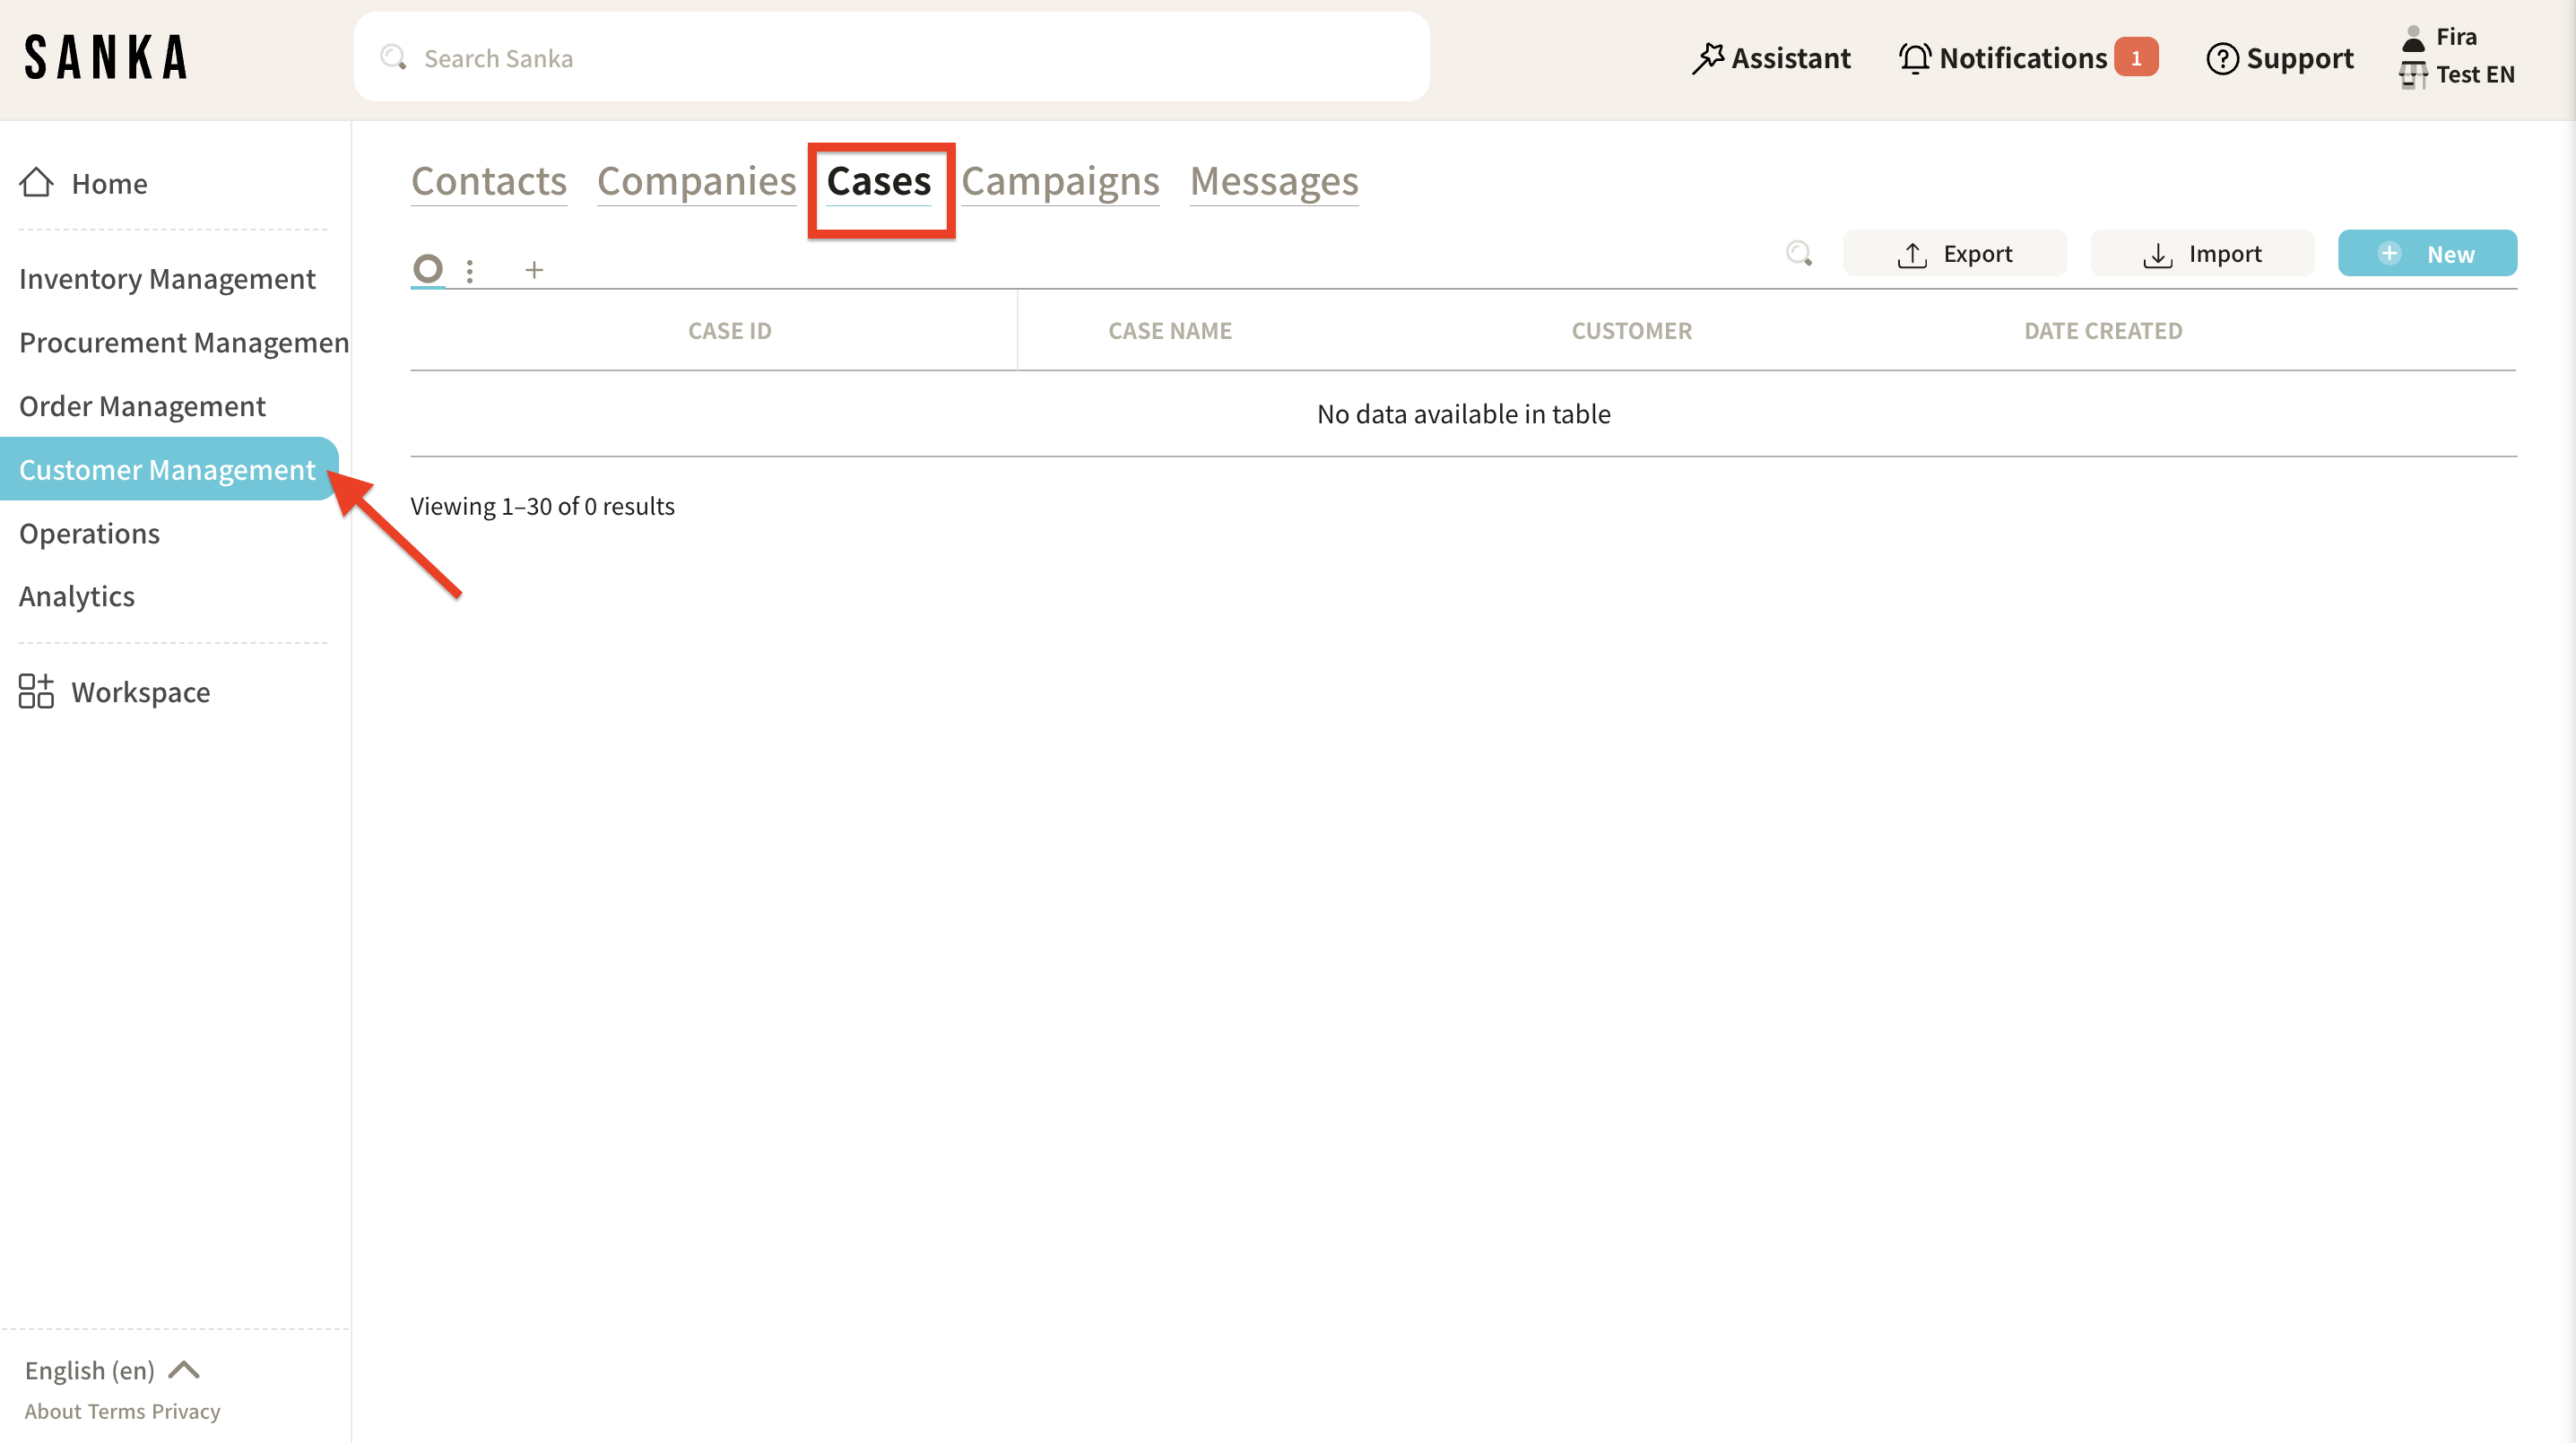
Click the "Customer Management" module on the left side of the screen, then select the "Case" object.
-
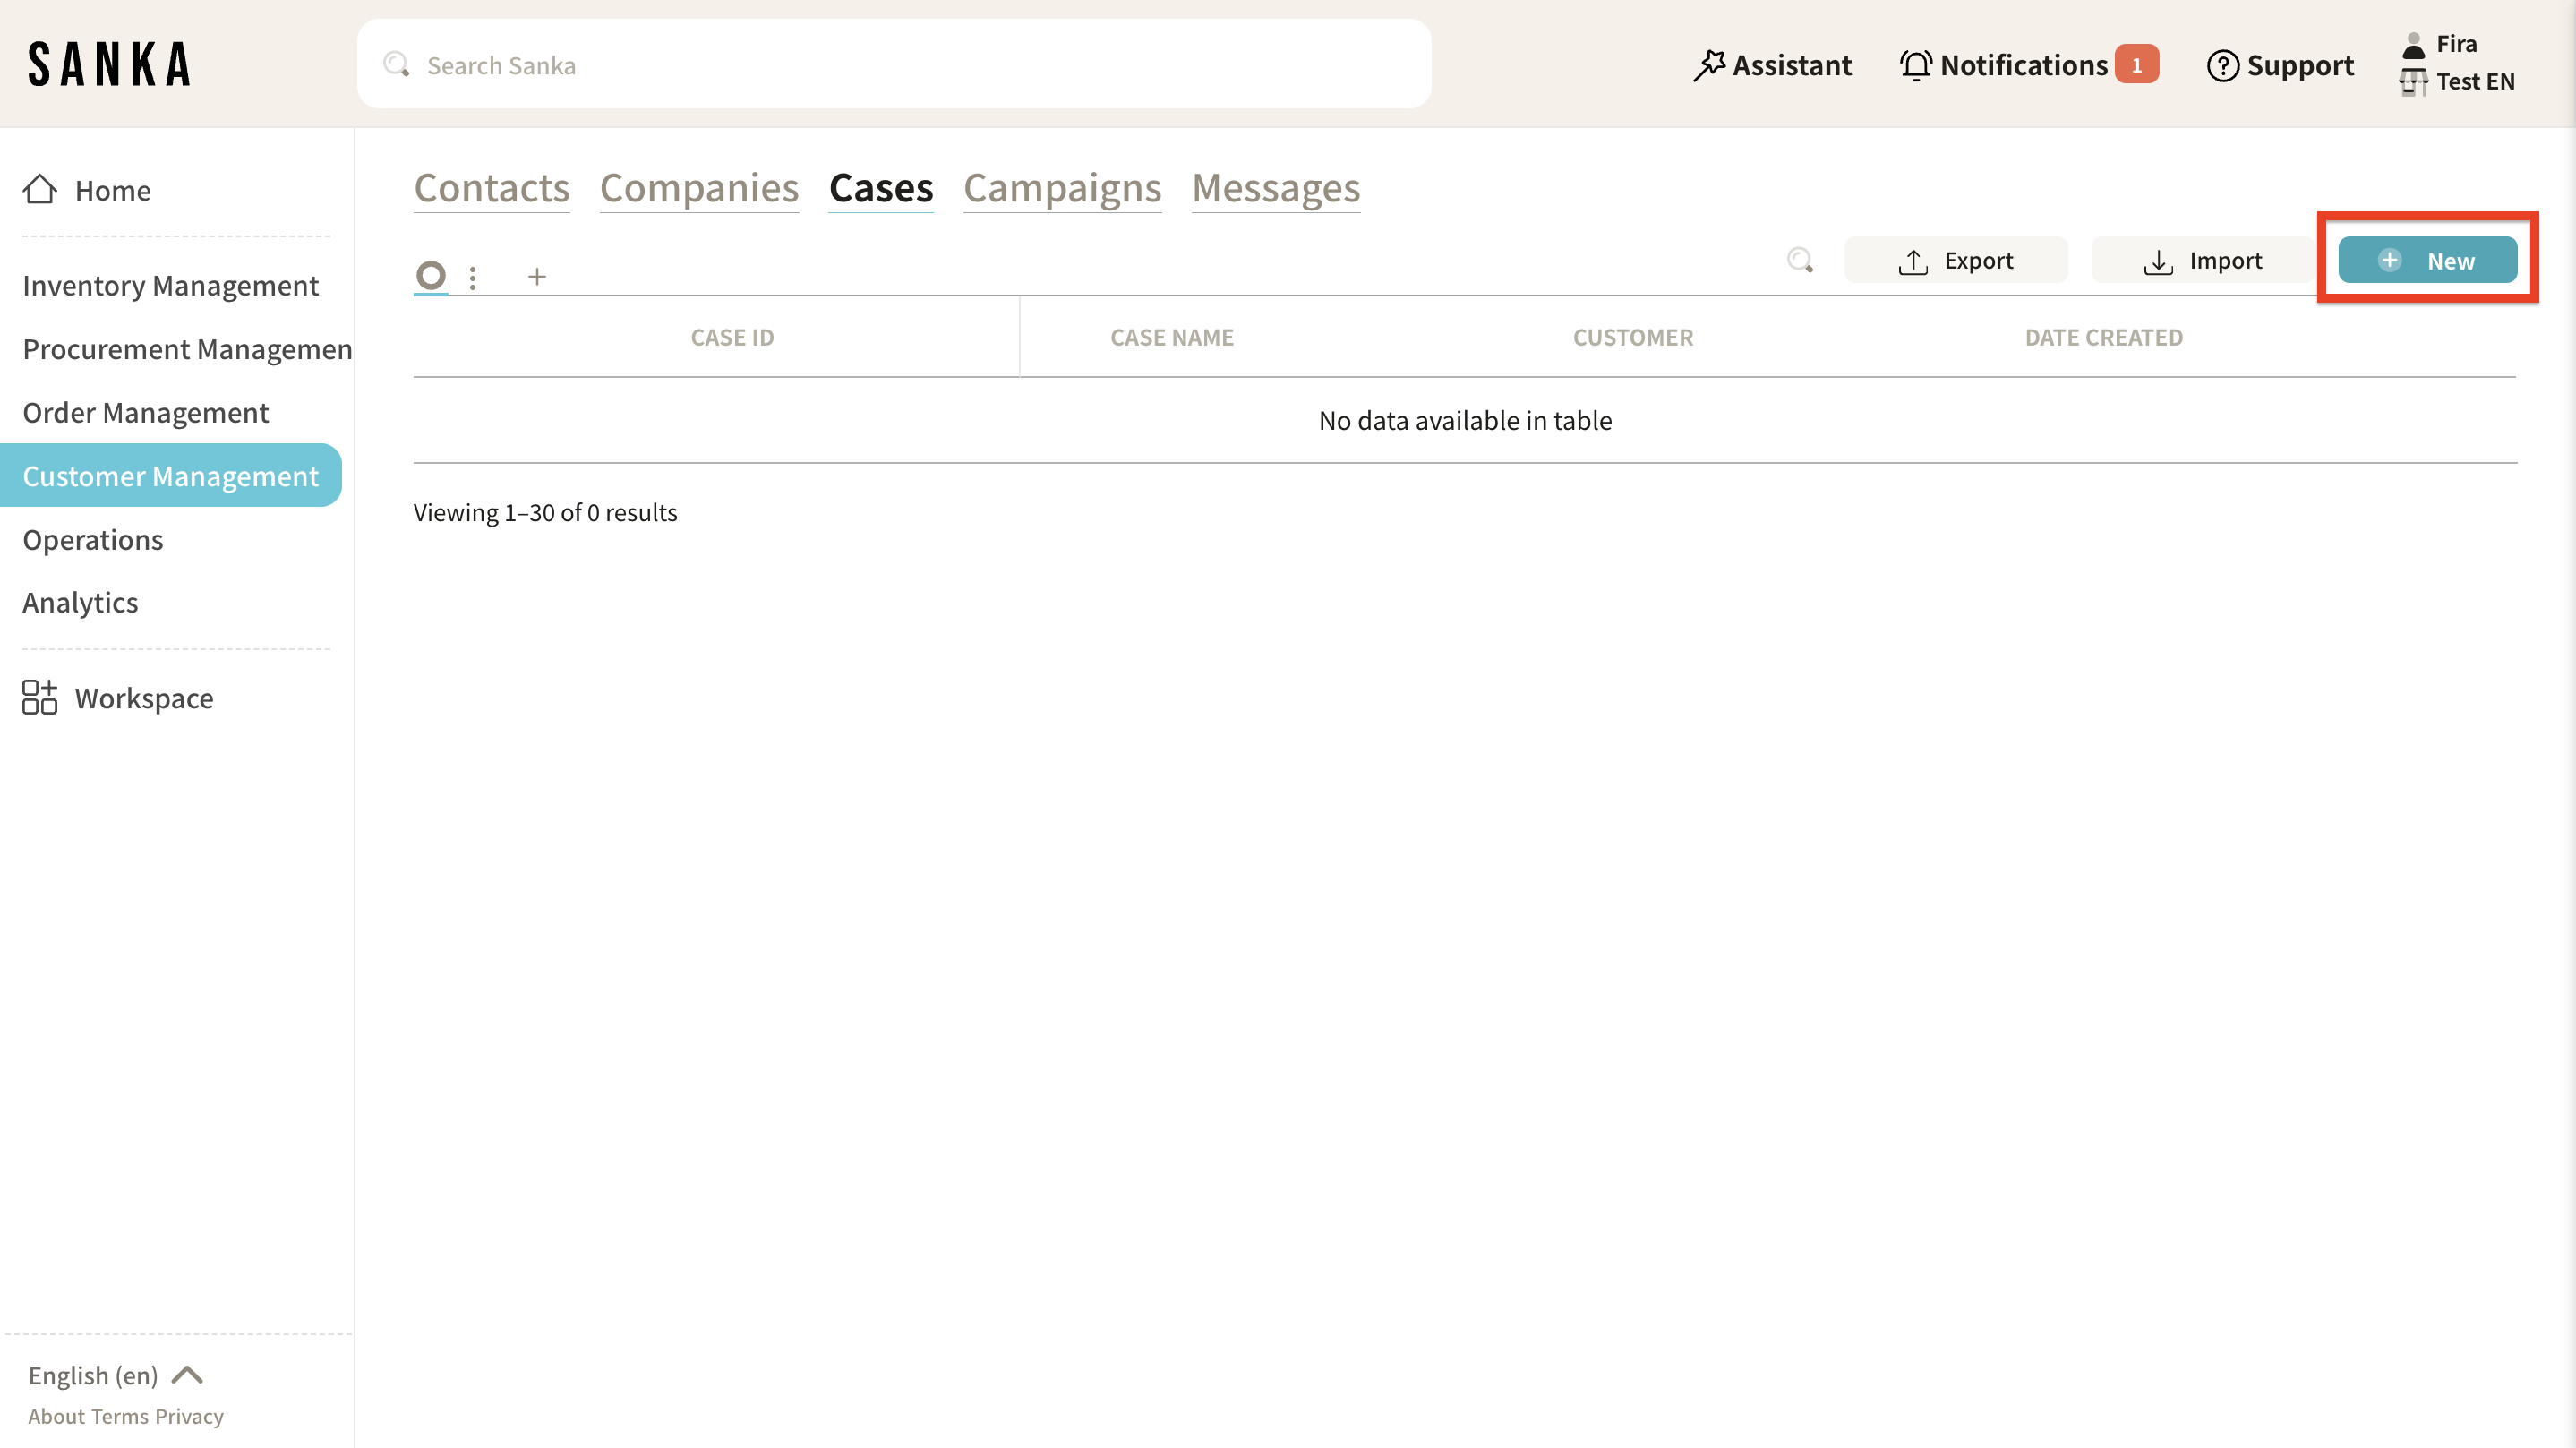
Click the "New" button in the upper right corner.
-
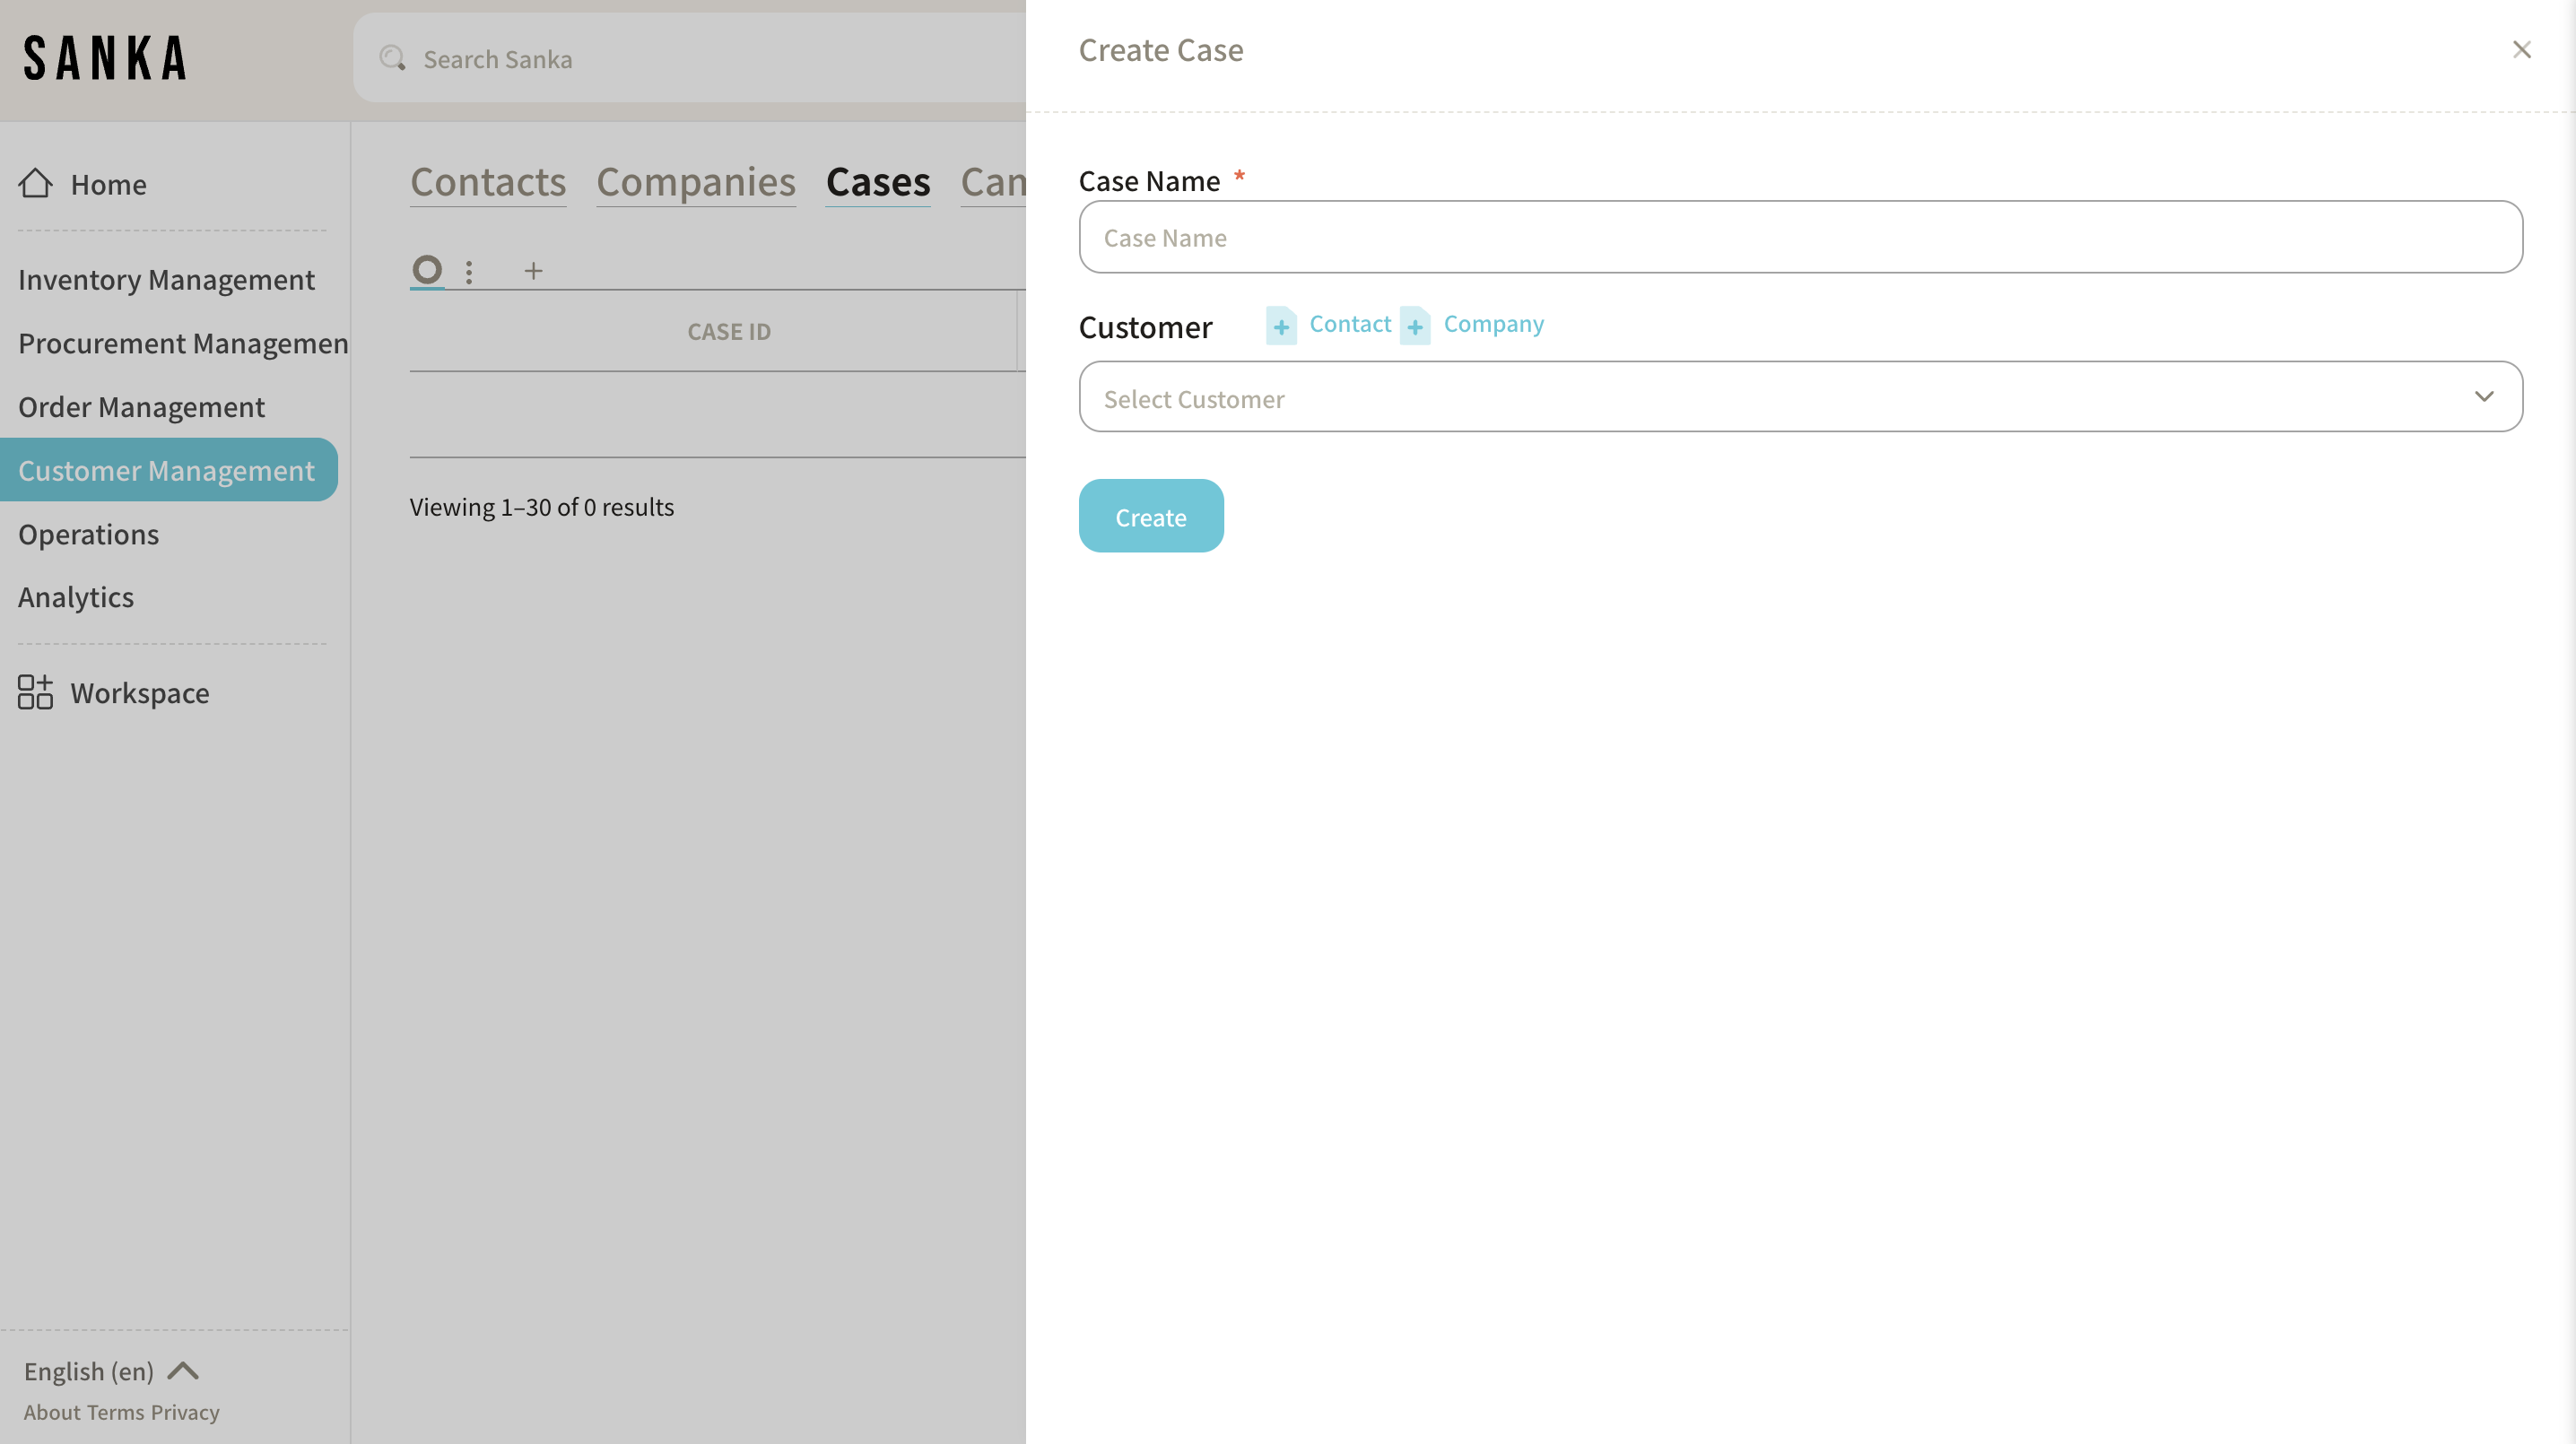
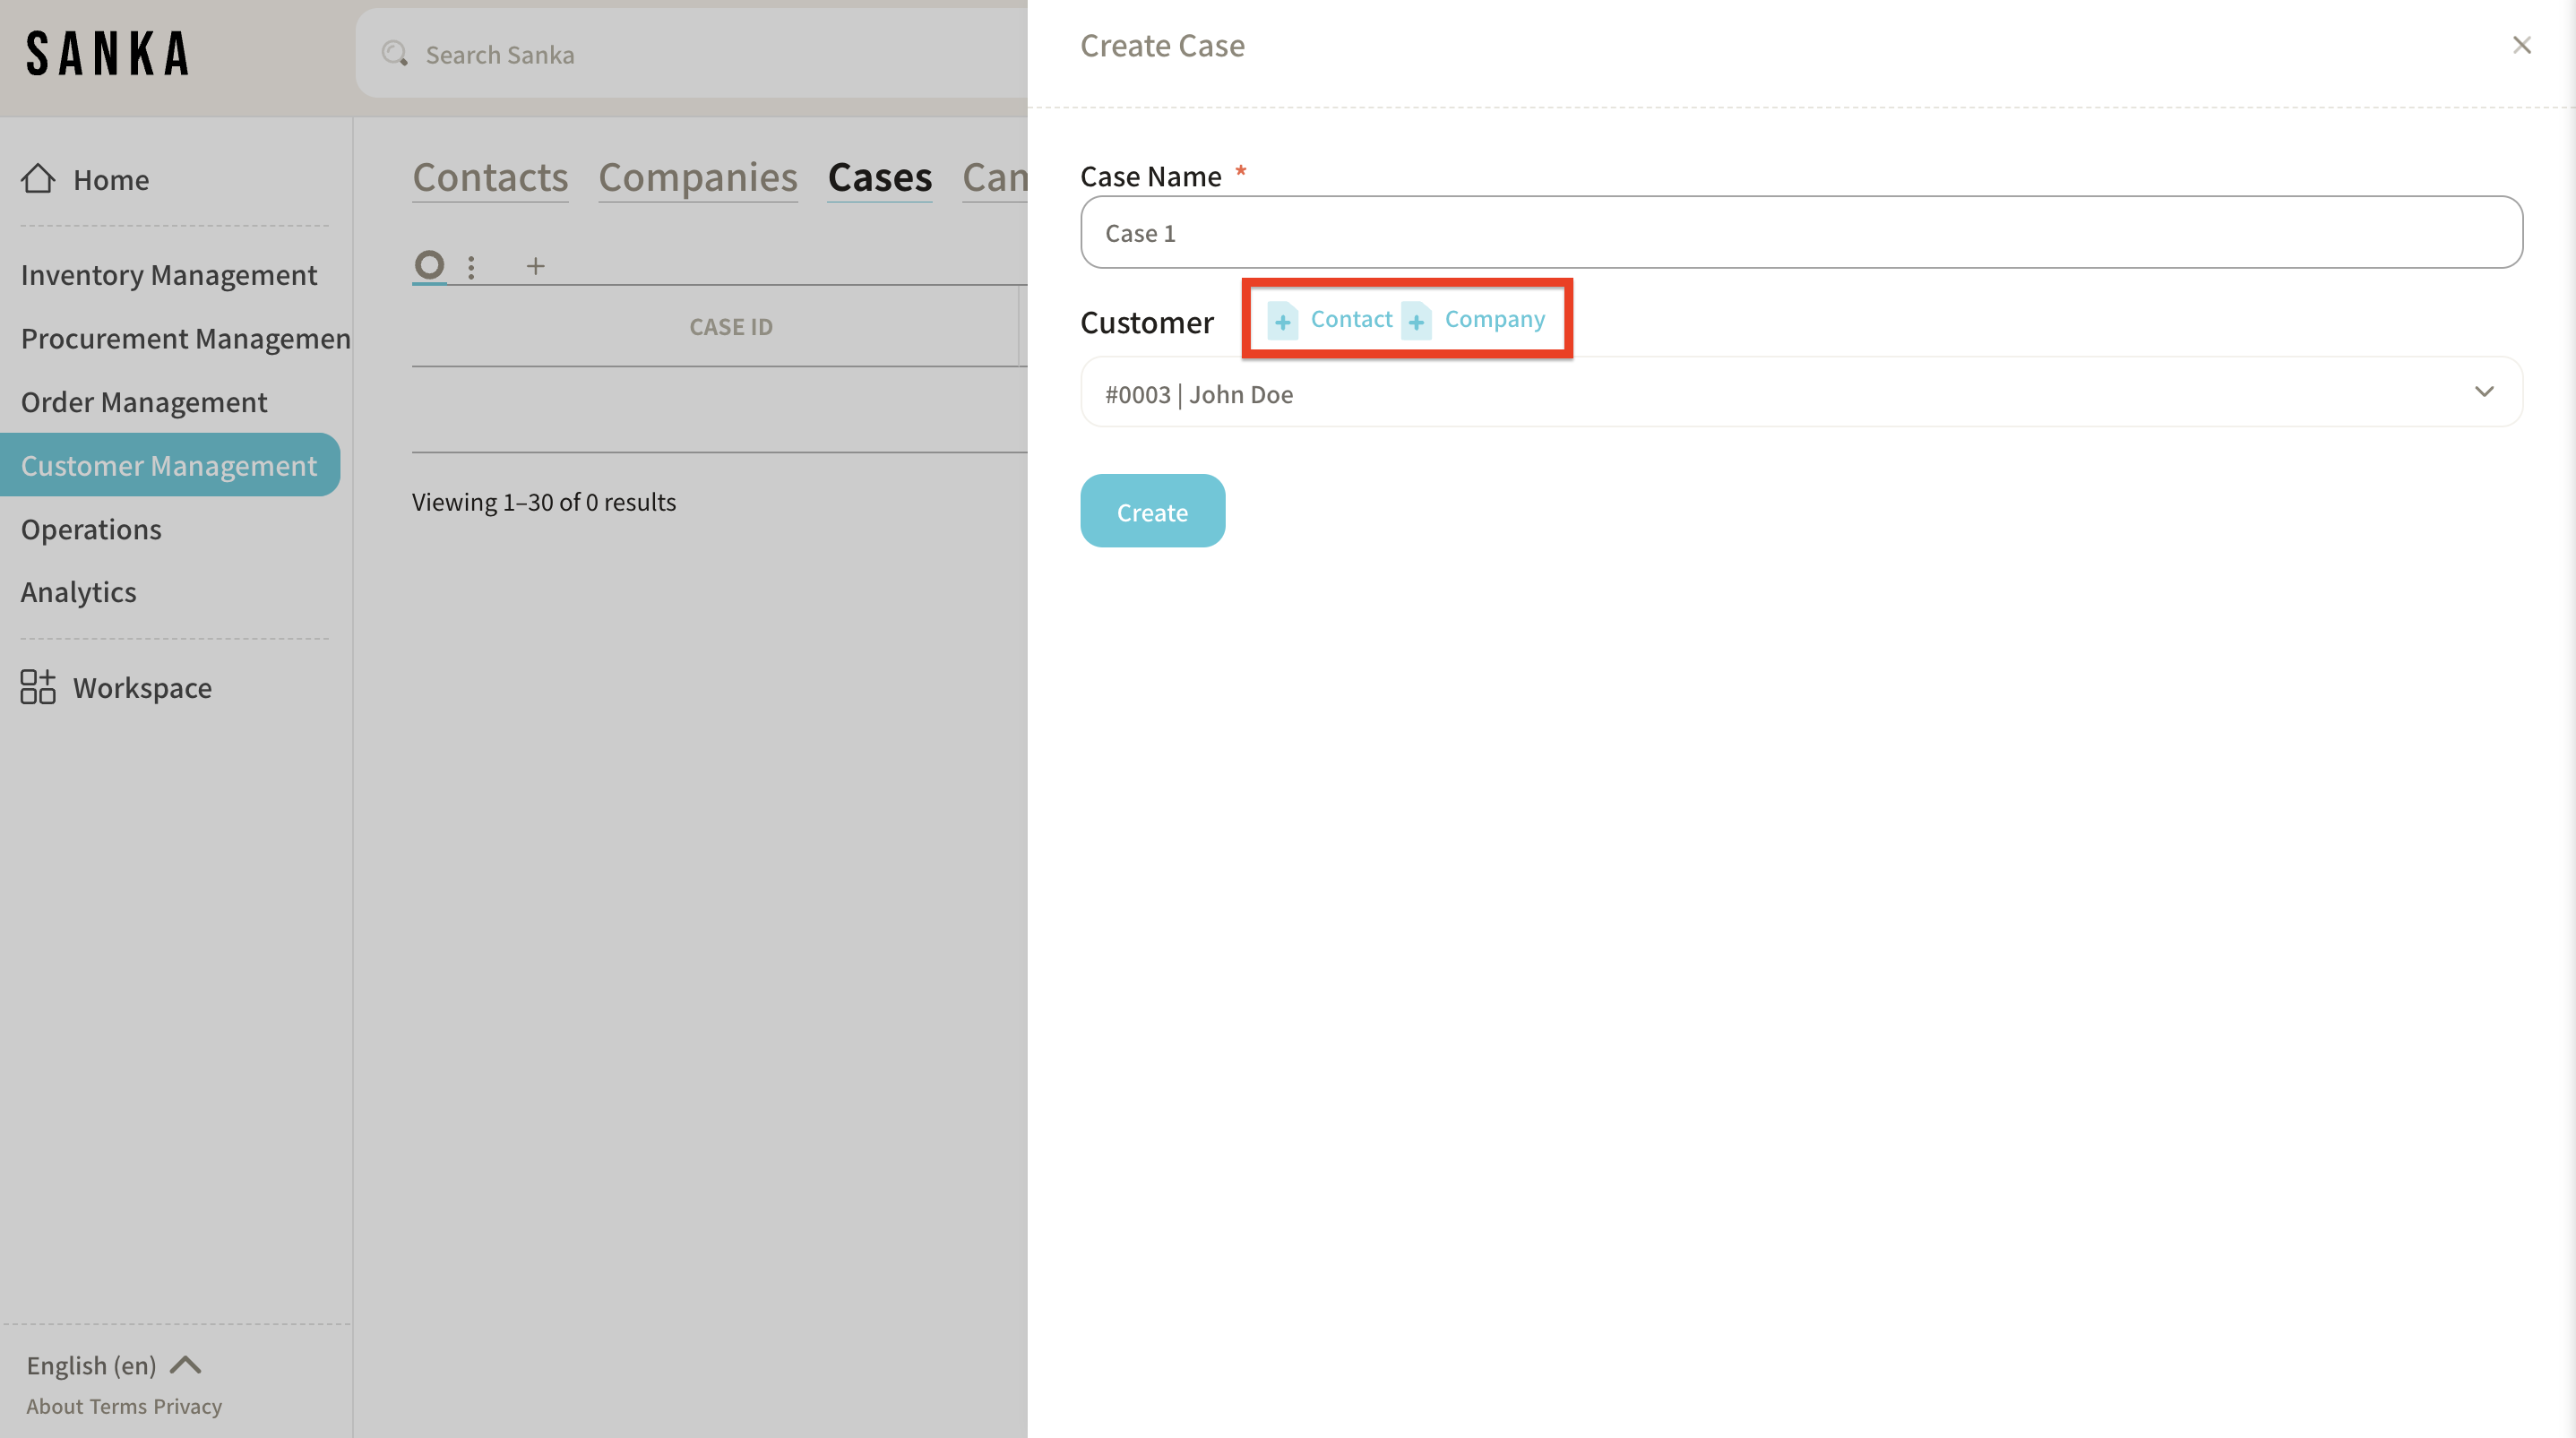
The "Create Case" detail page will appear, so fill in the required information.
-
Click "Customer Info," and customers registered in the "Company" and "Contact" objects of the "Customer Management" module will appear.
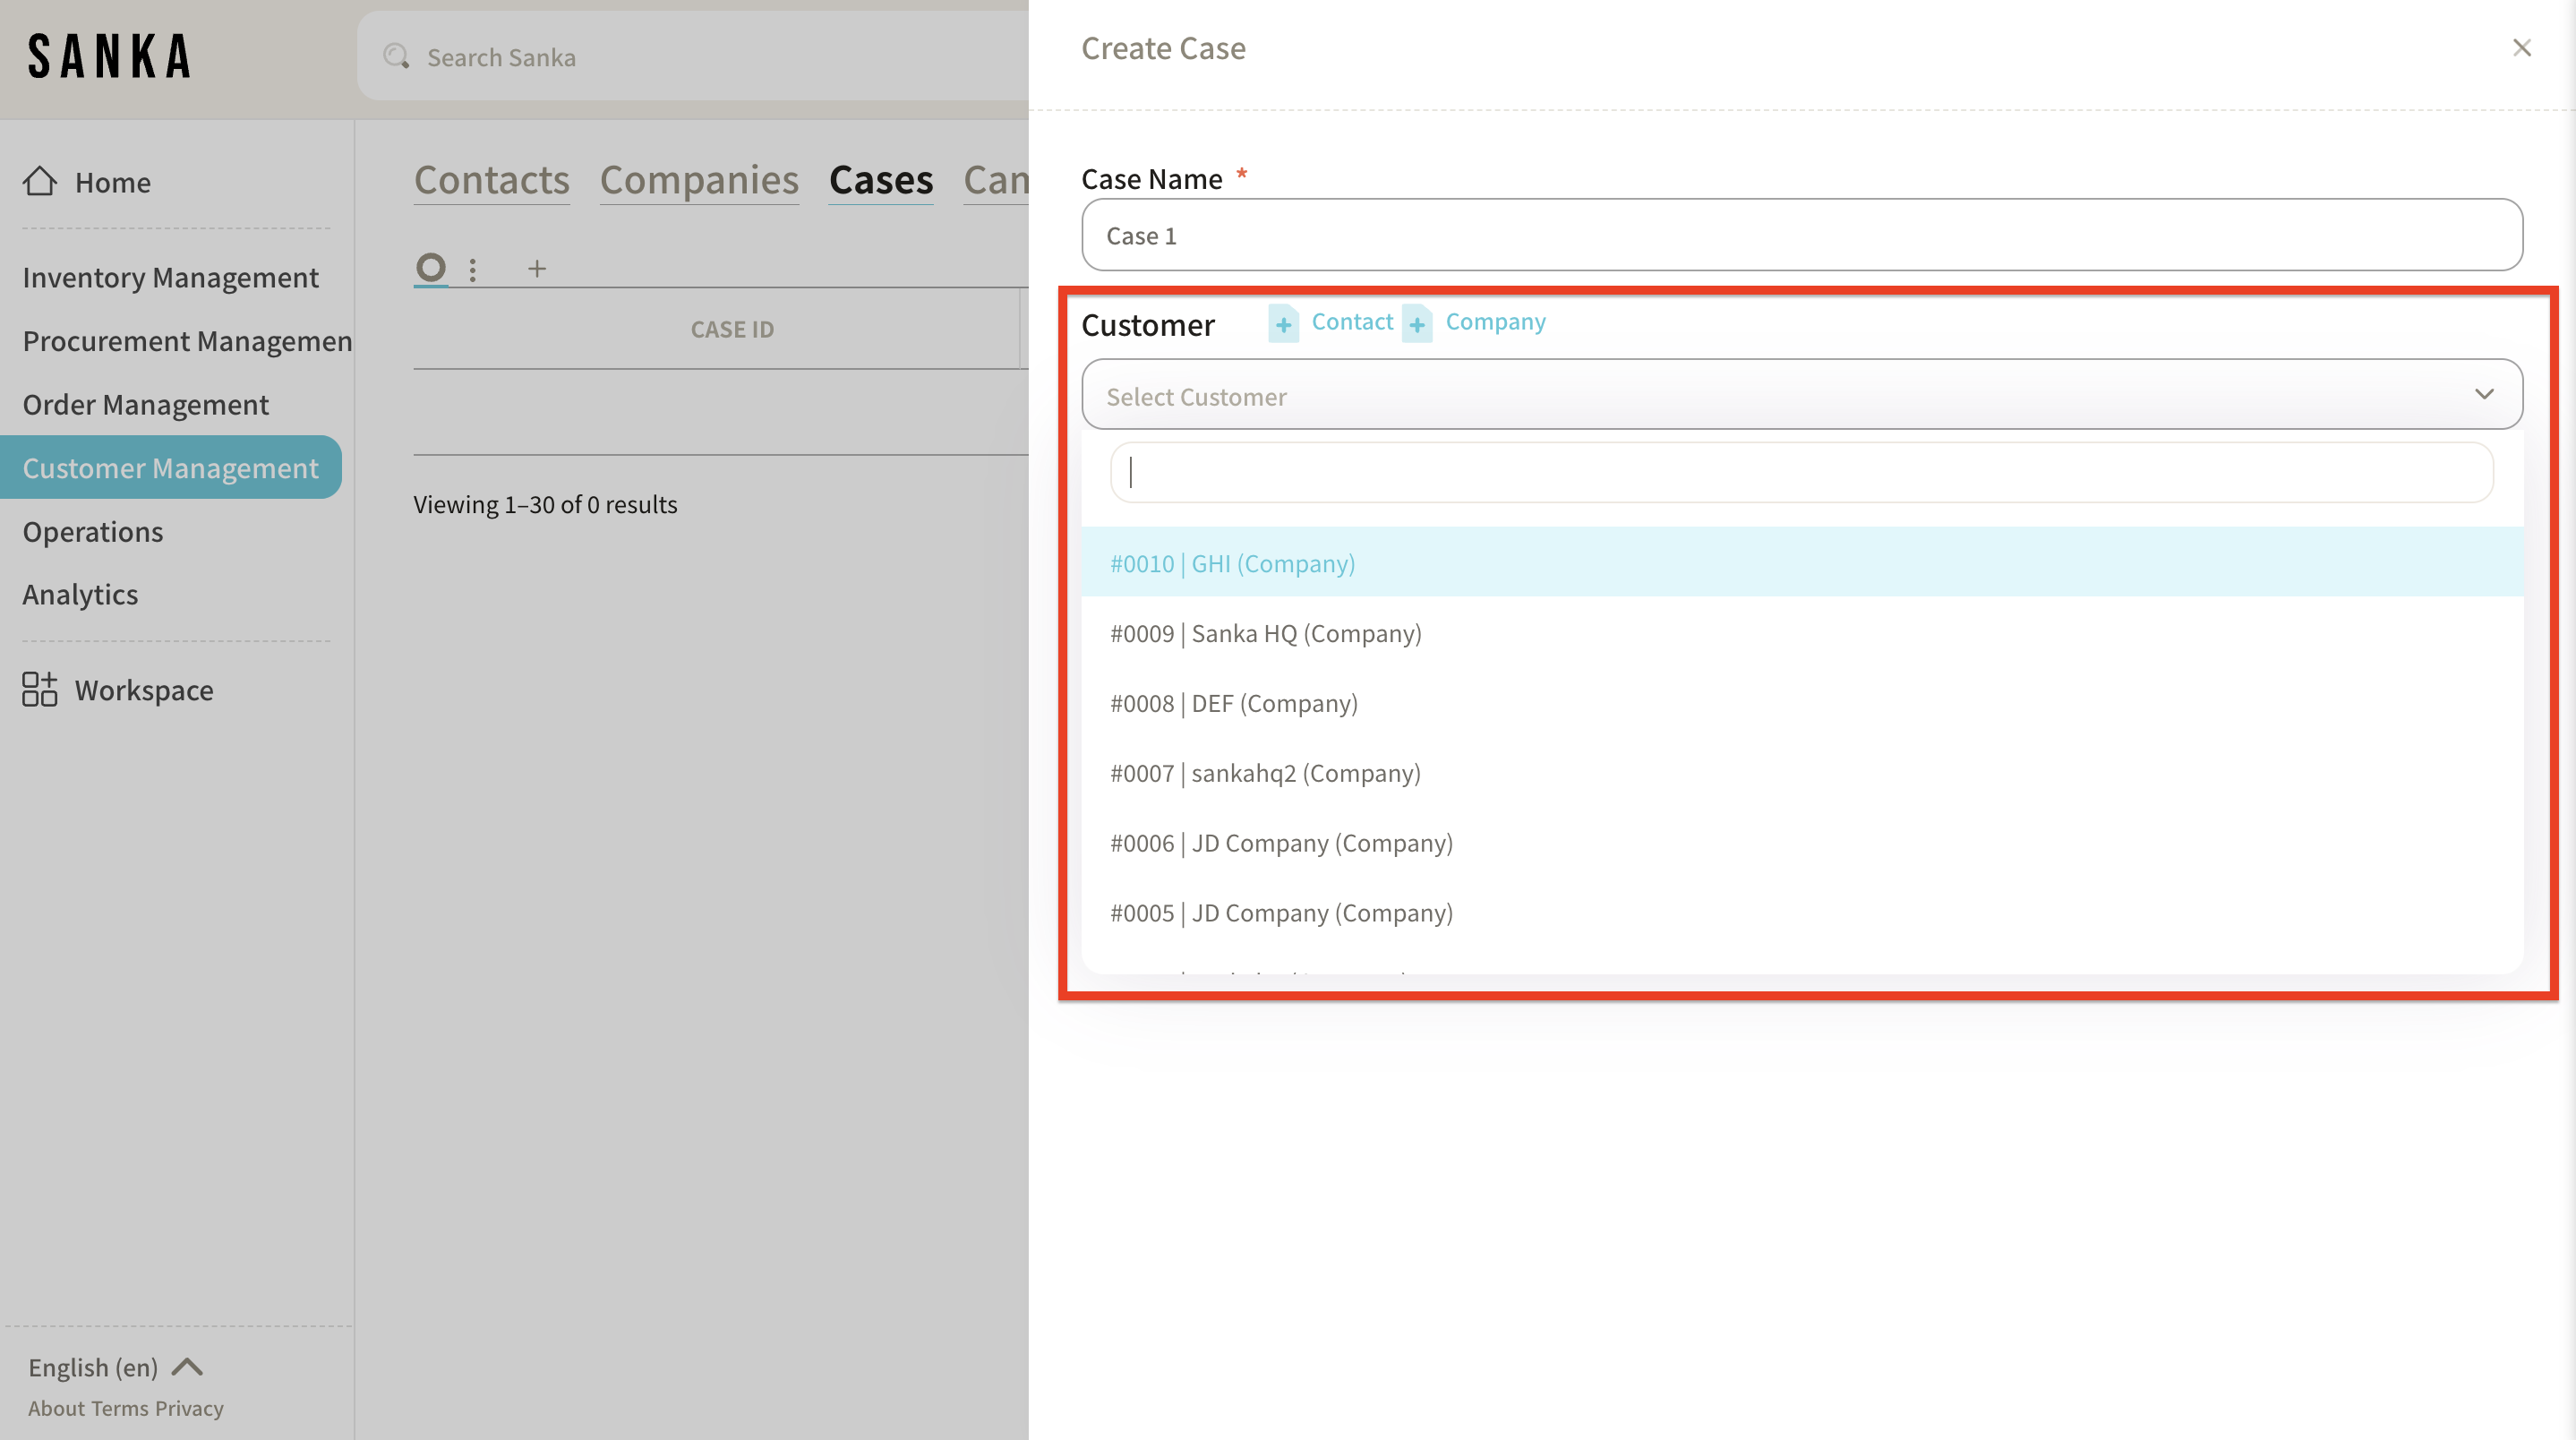
If not listed, you can click "+Contact" or "+Company" to add information.
-
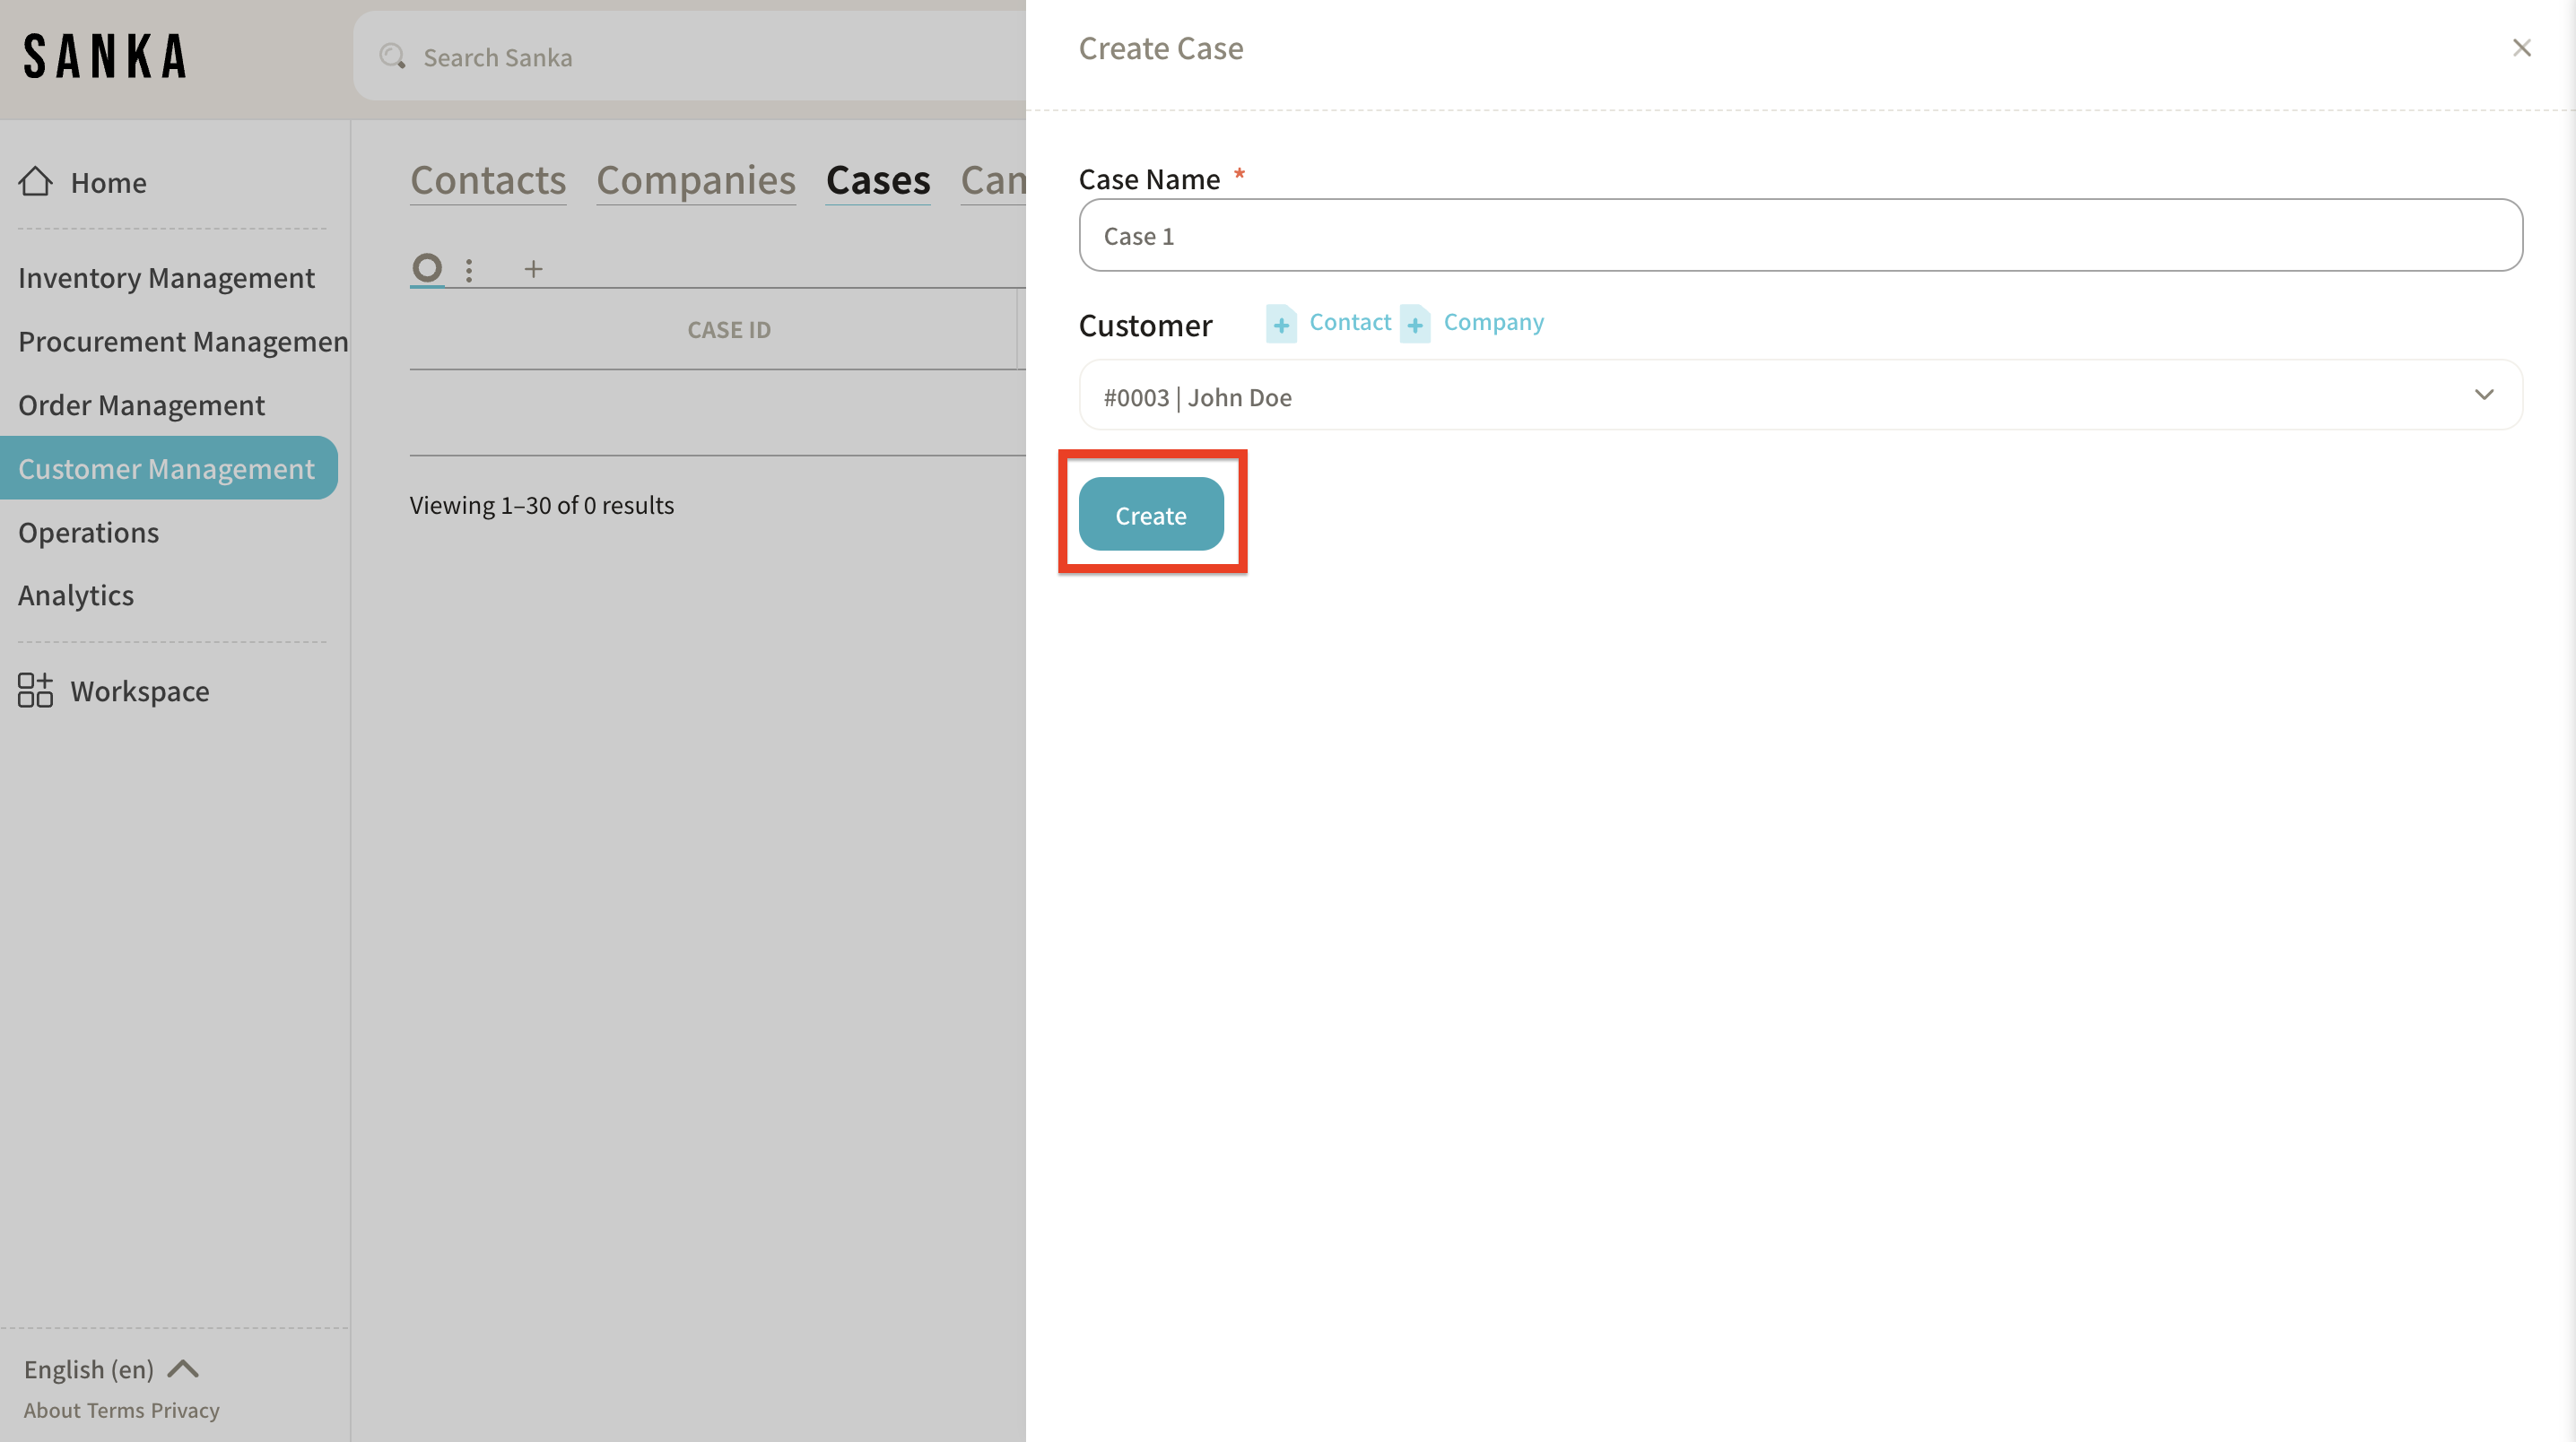
After entering the information, click "Create."
-
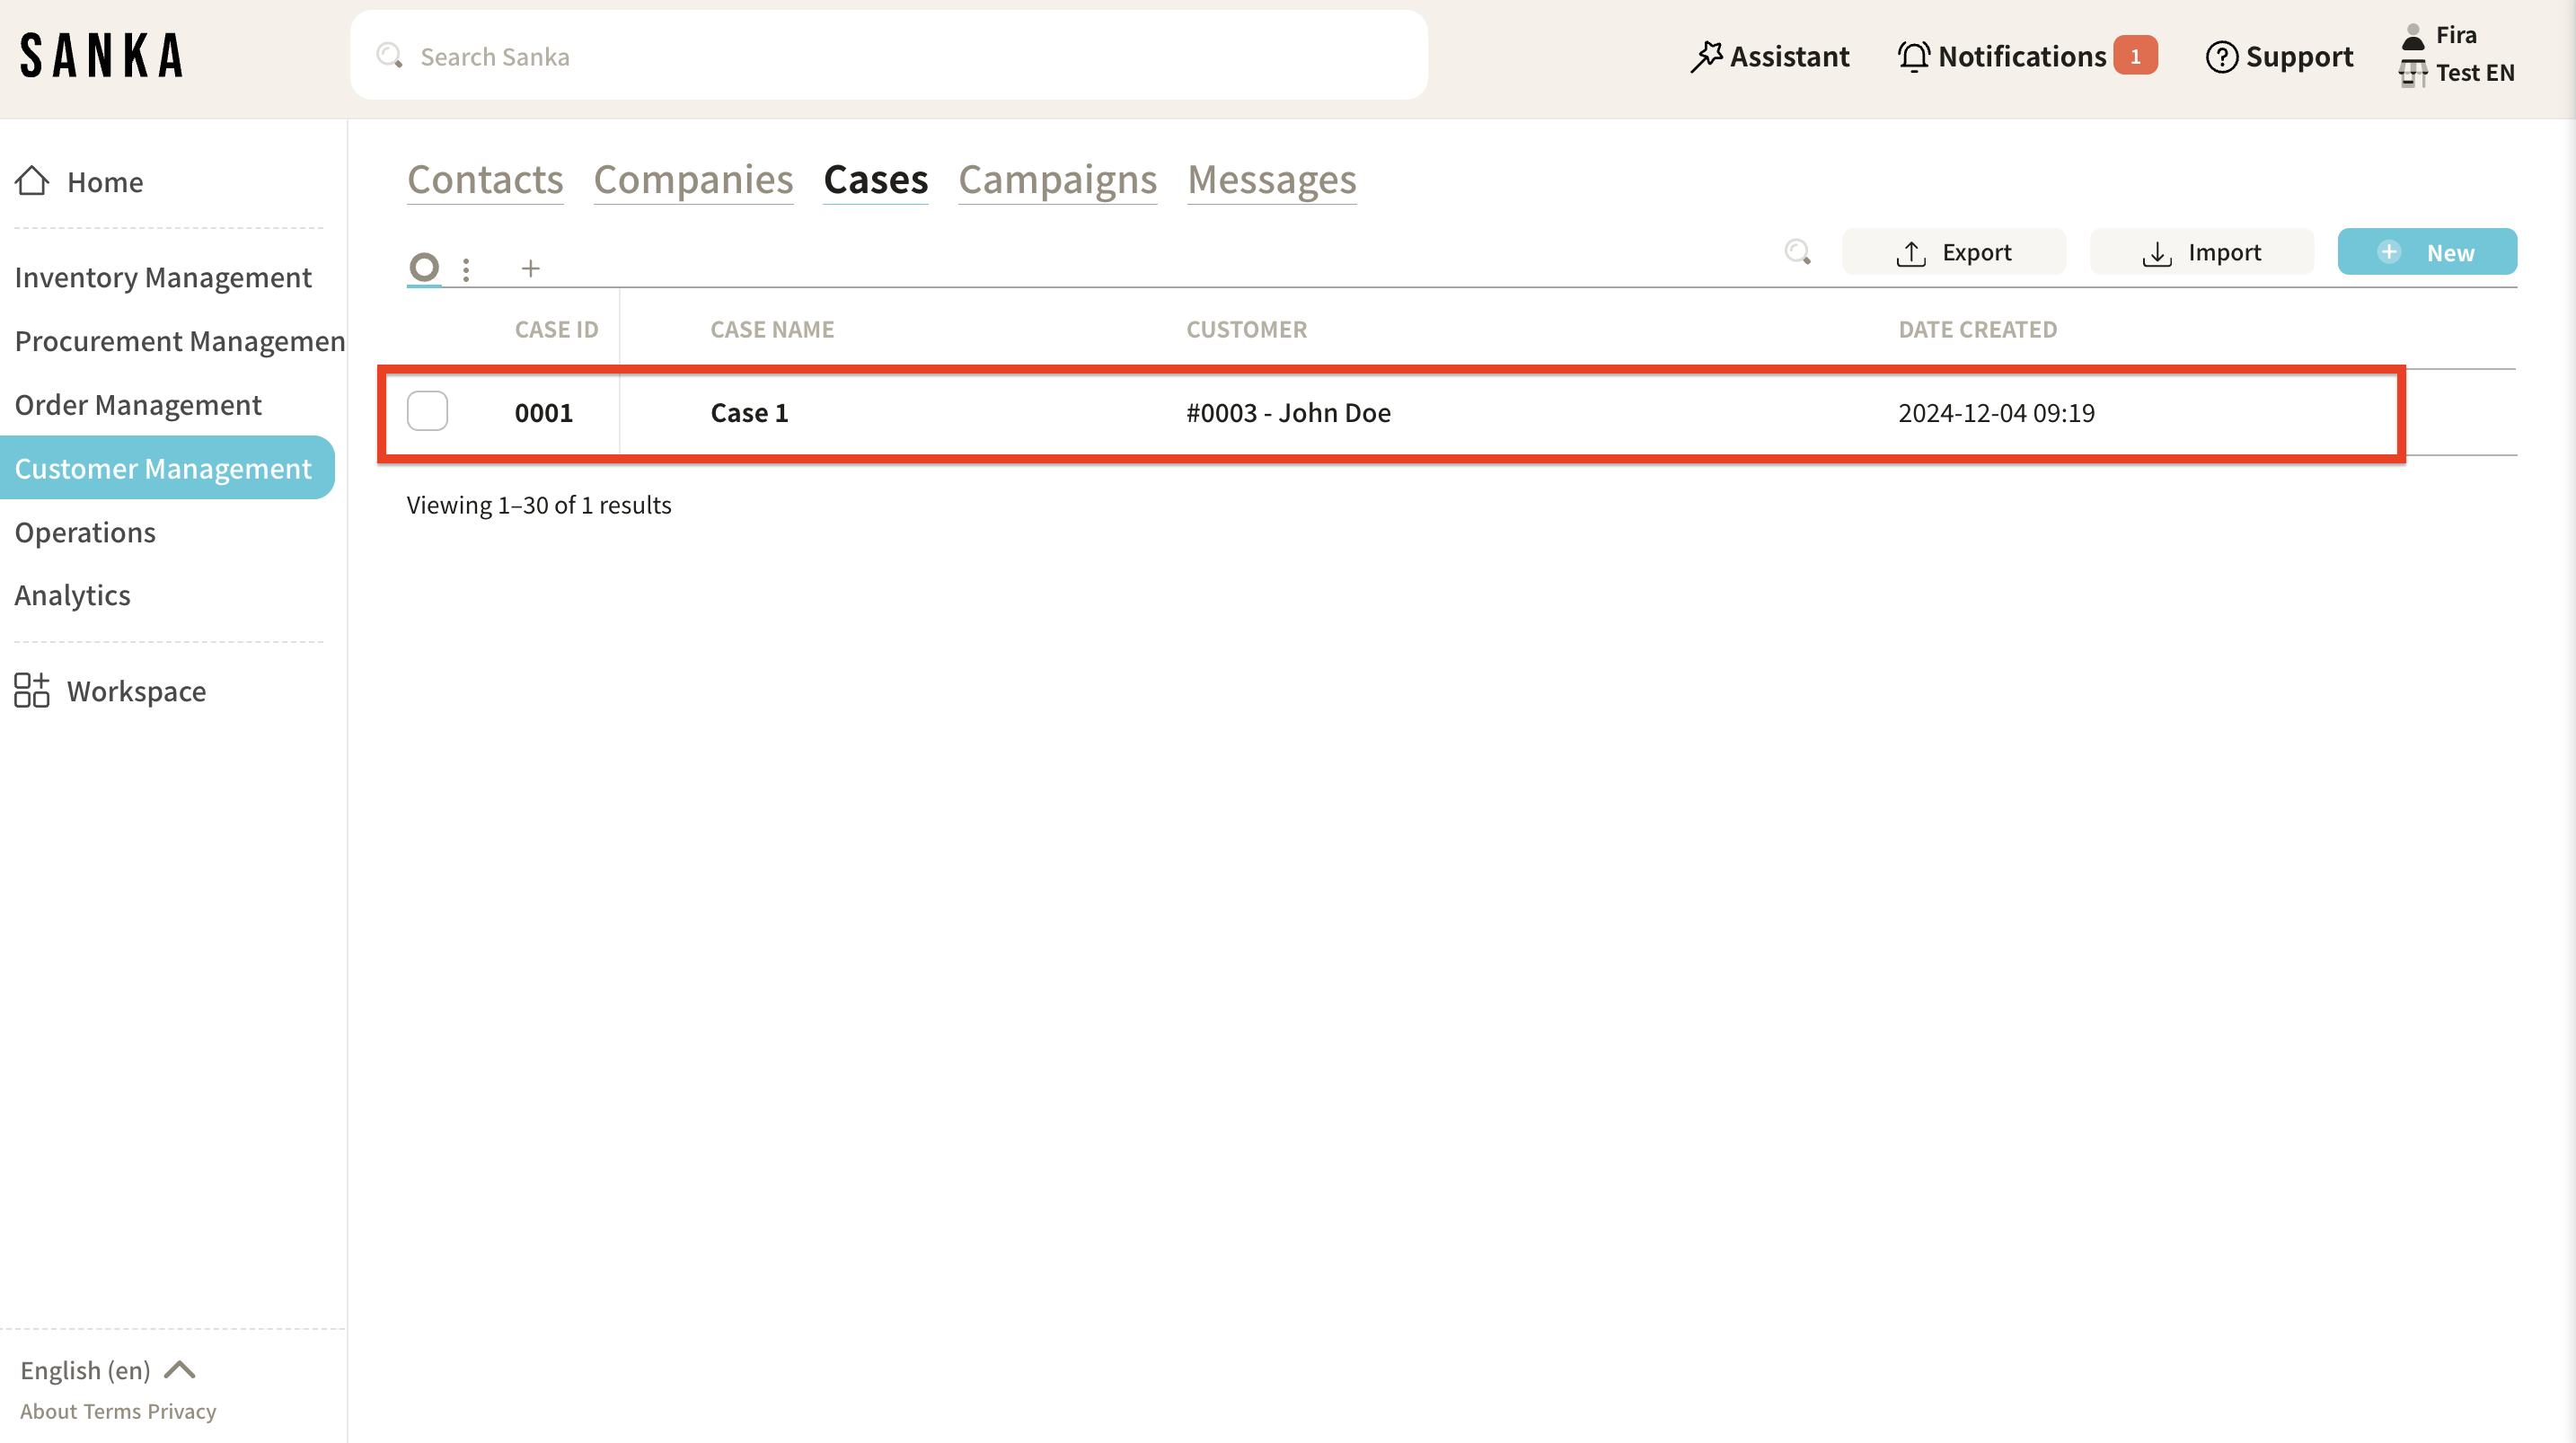
The information has now been added to the "Case" record.
-
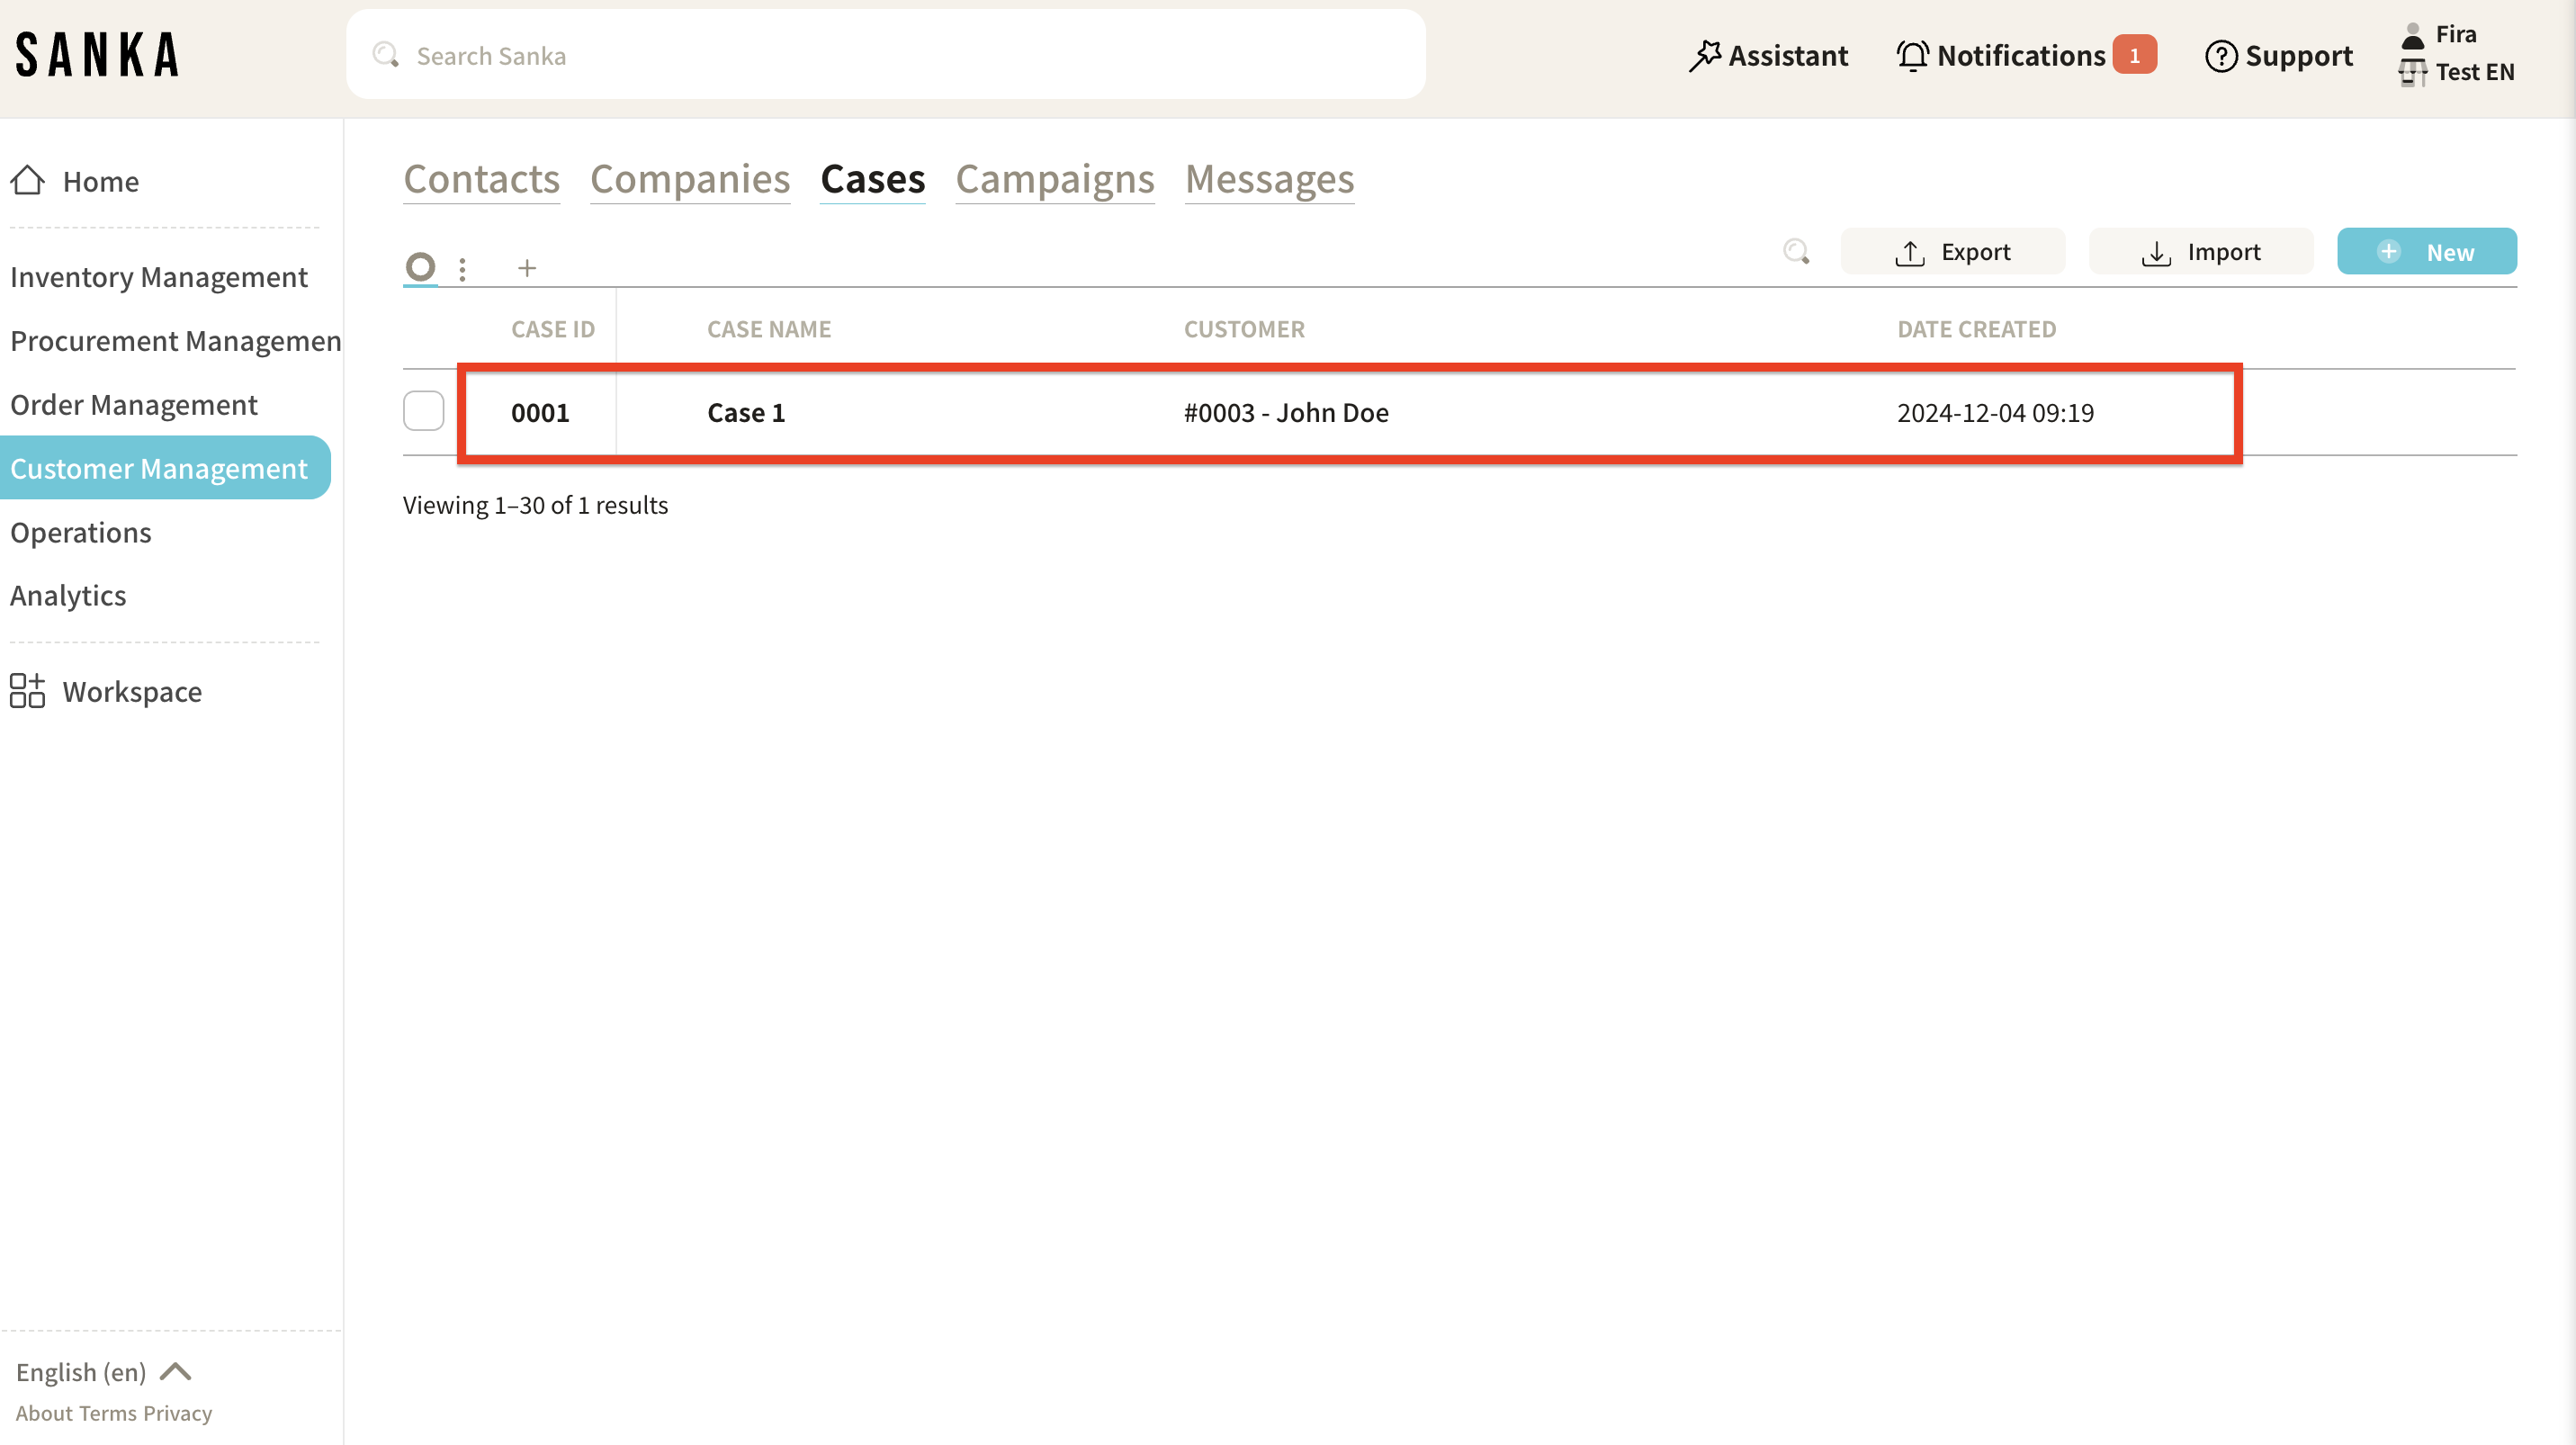
Clicking on the "Case ID" or "Case Name" will display the "Case Management" menu.
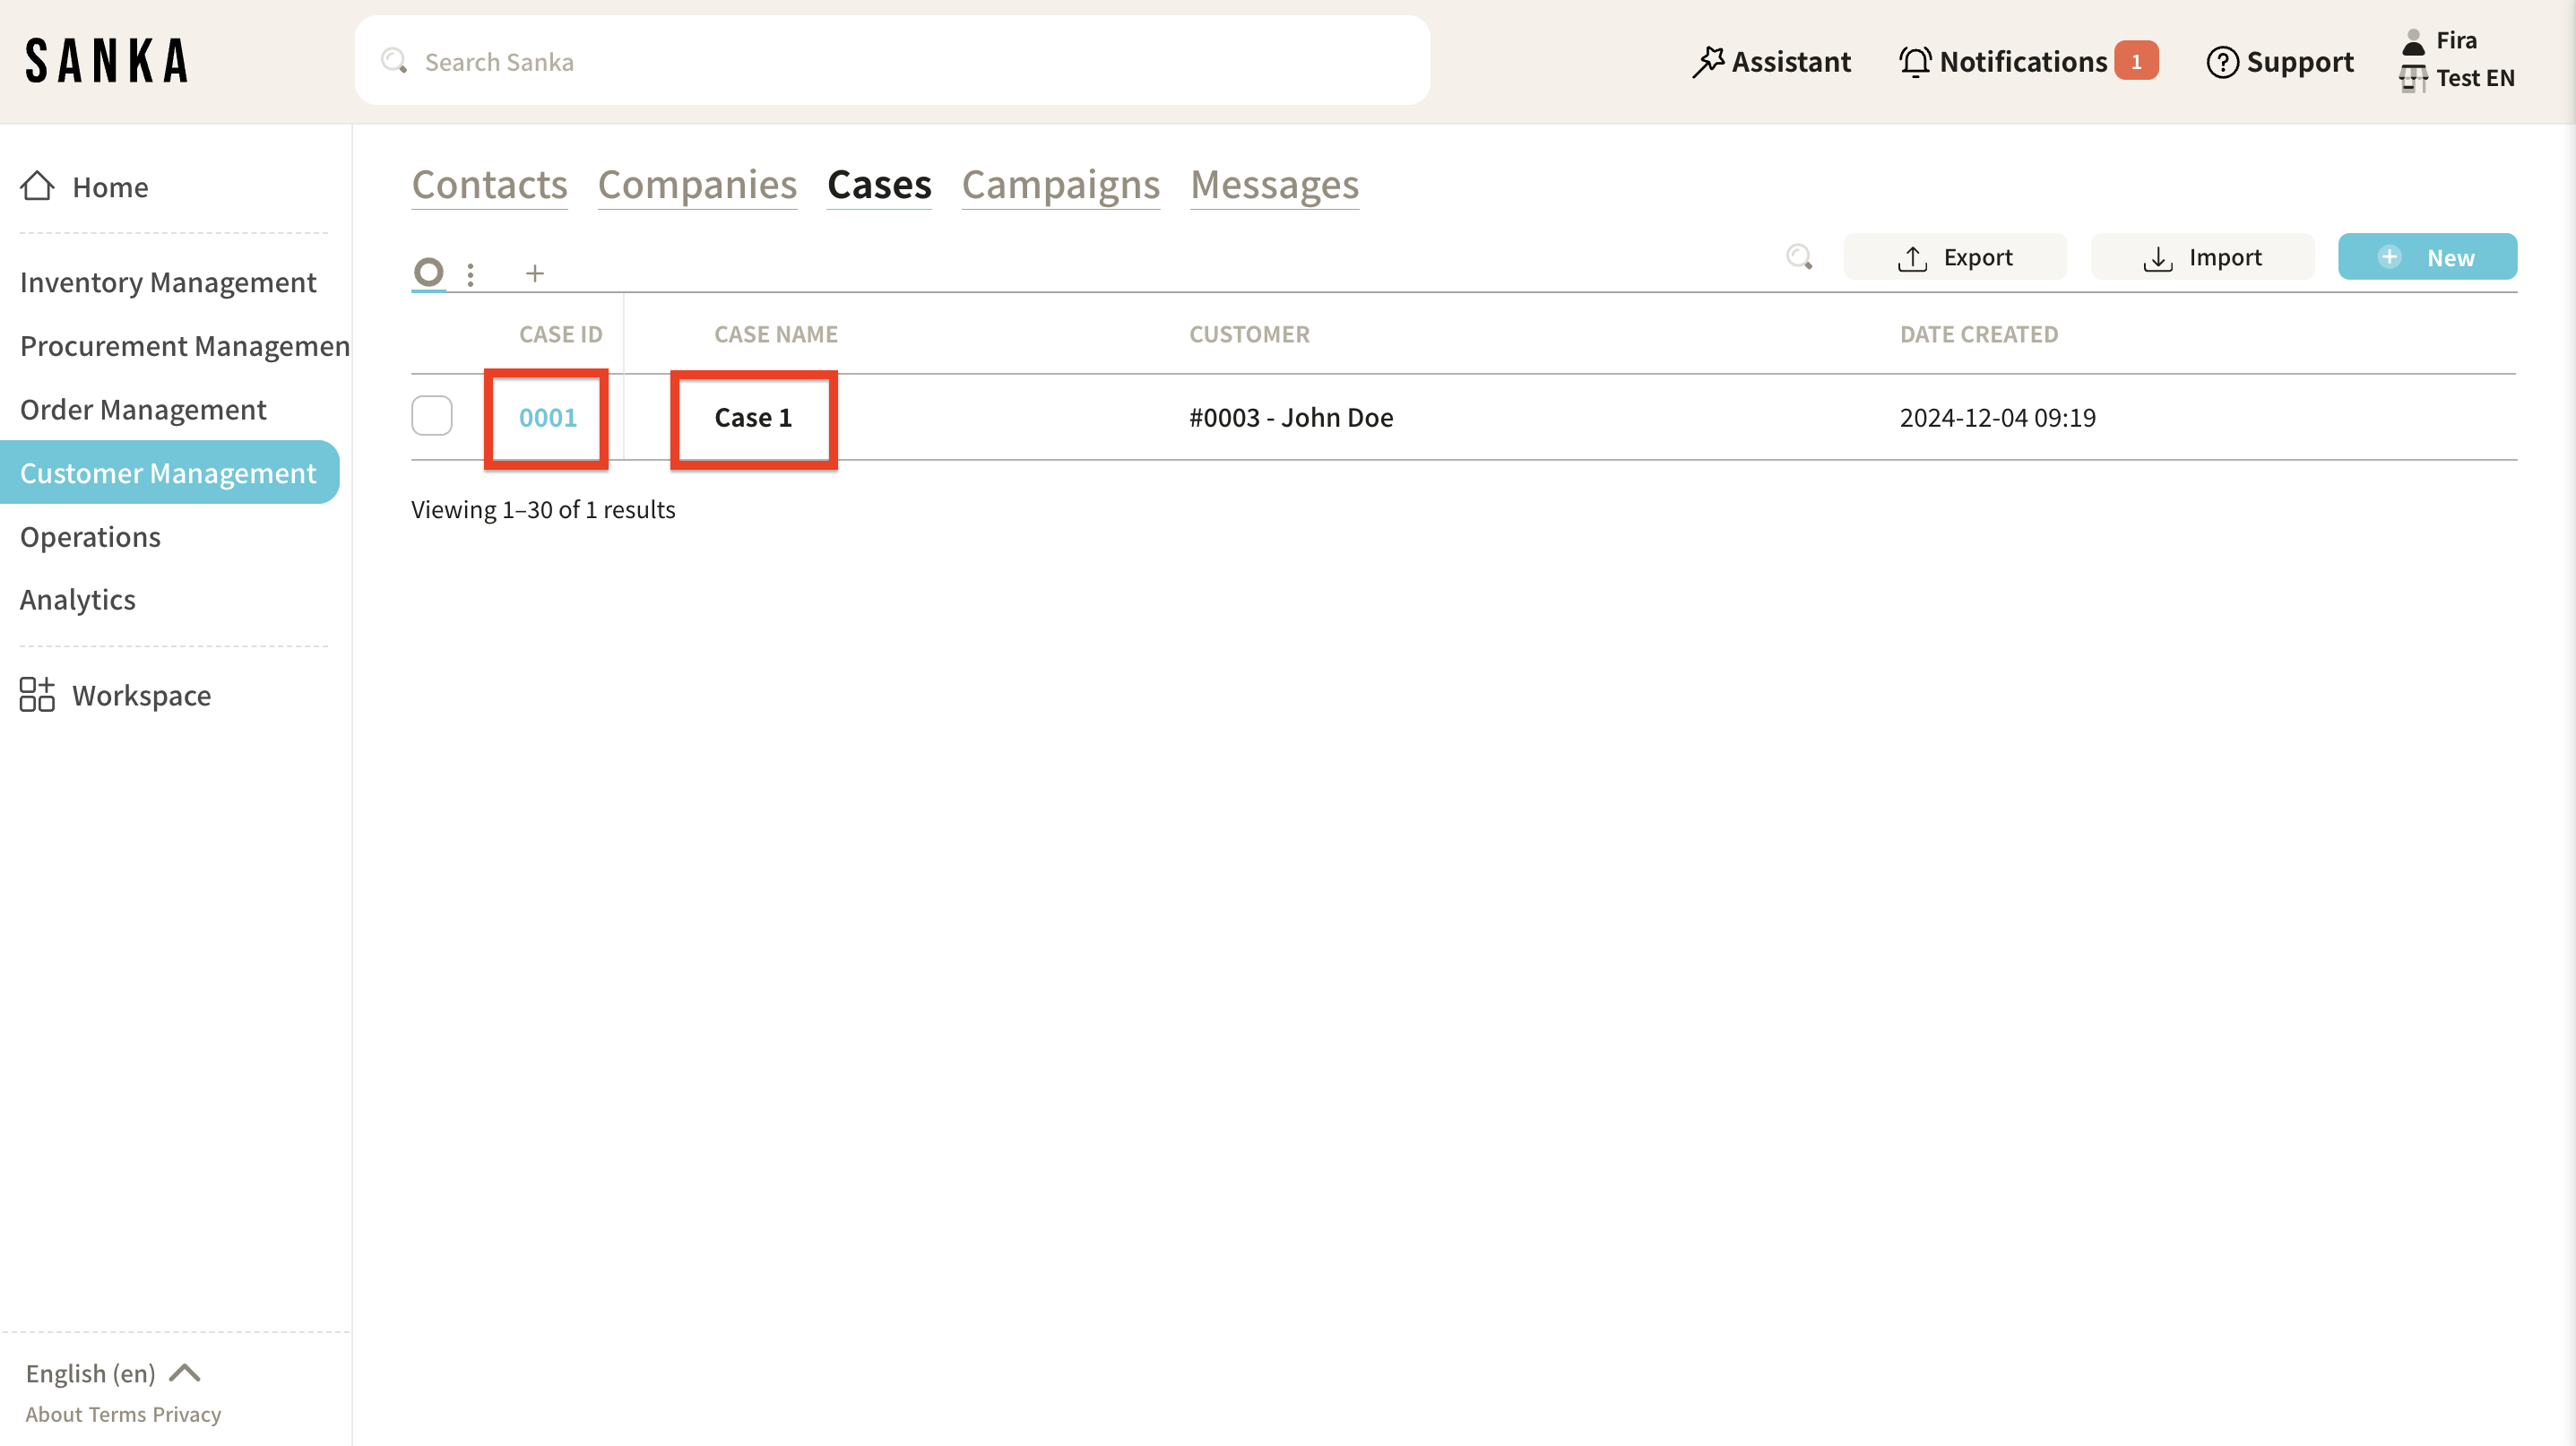
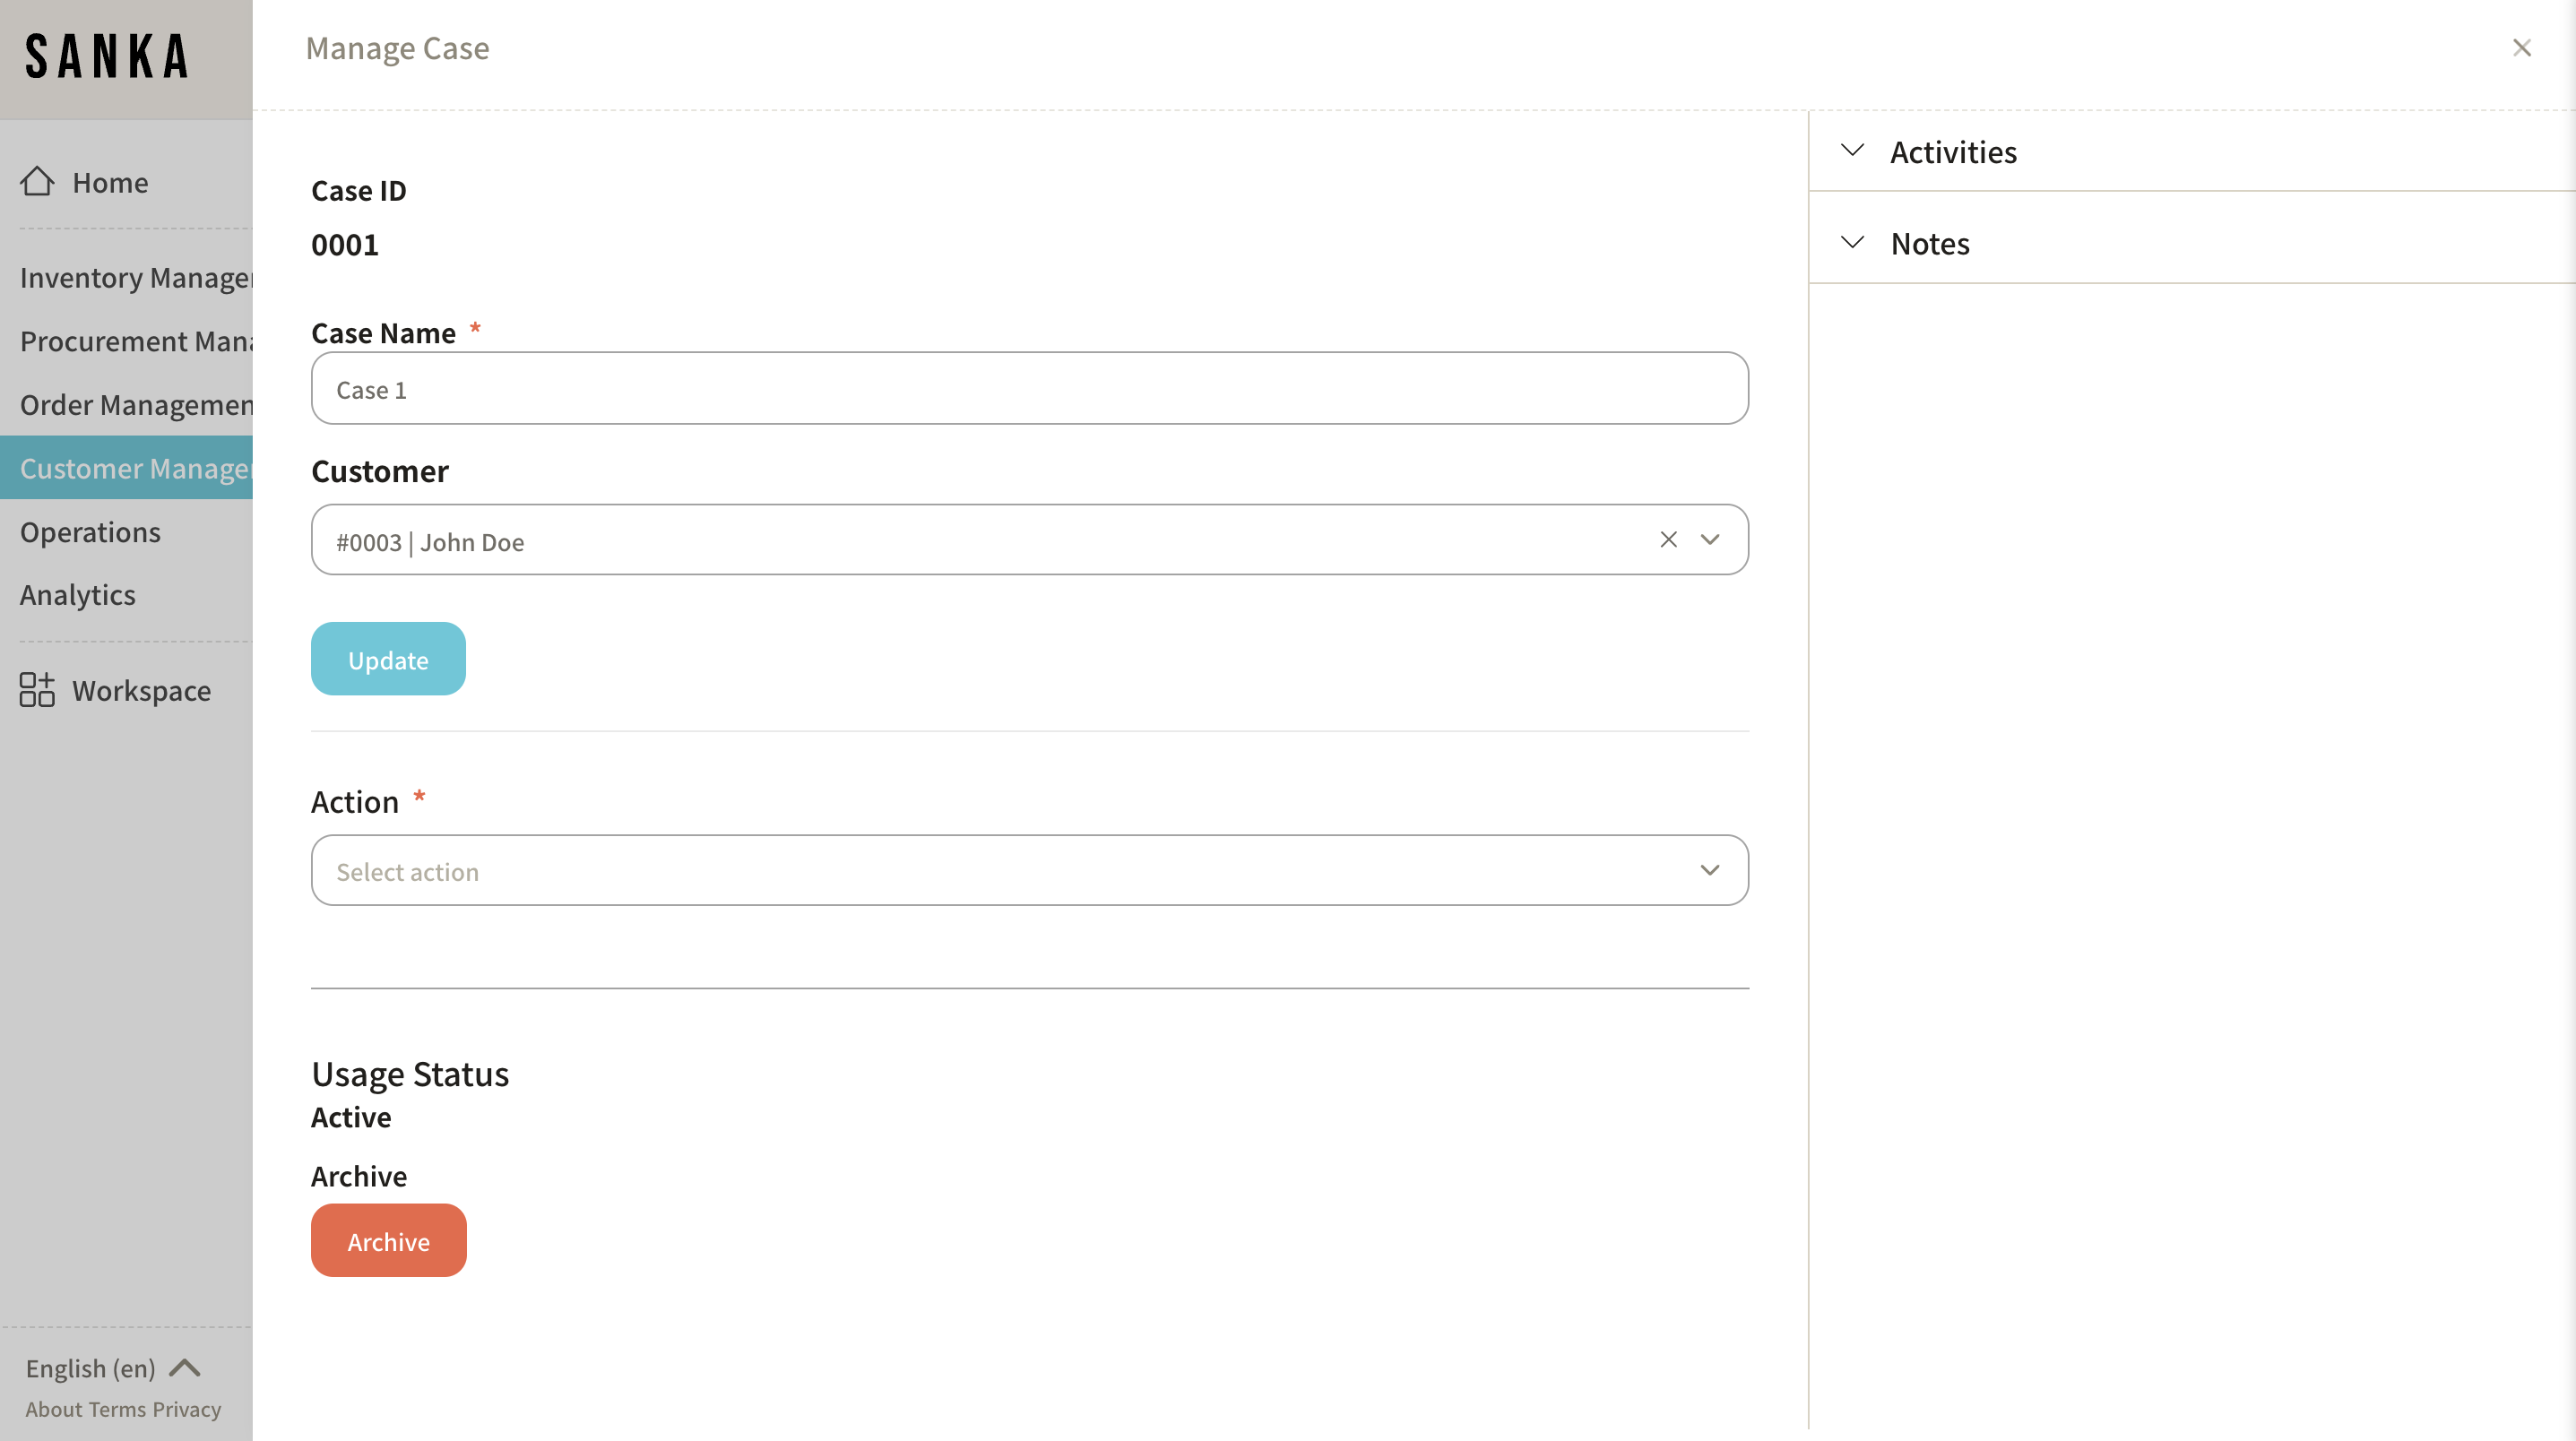
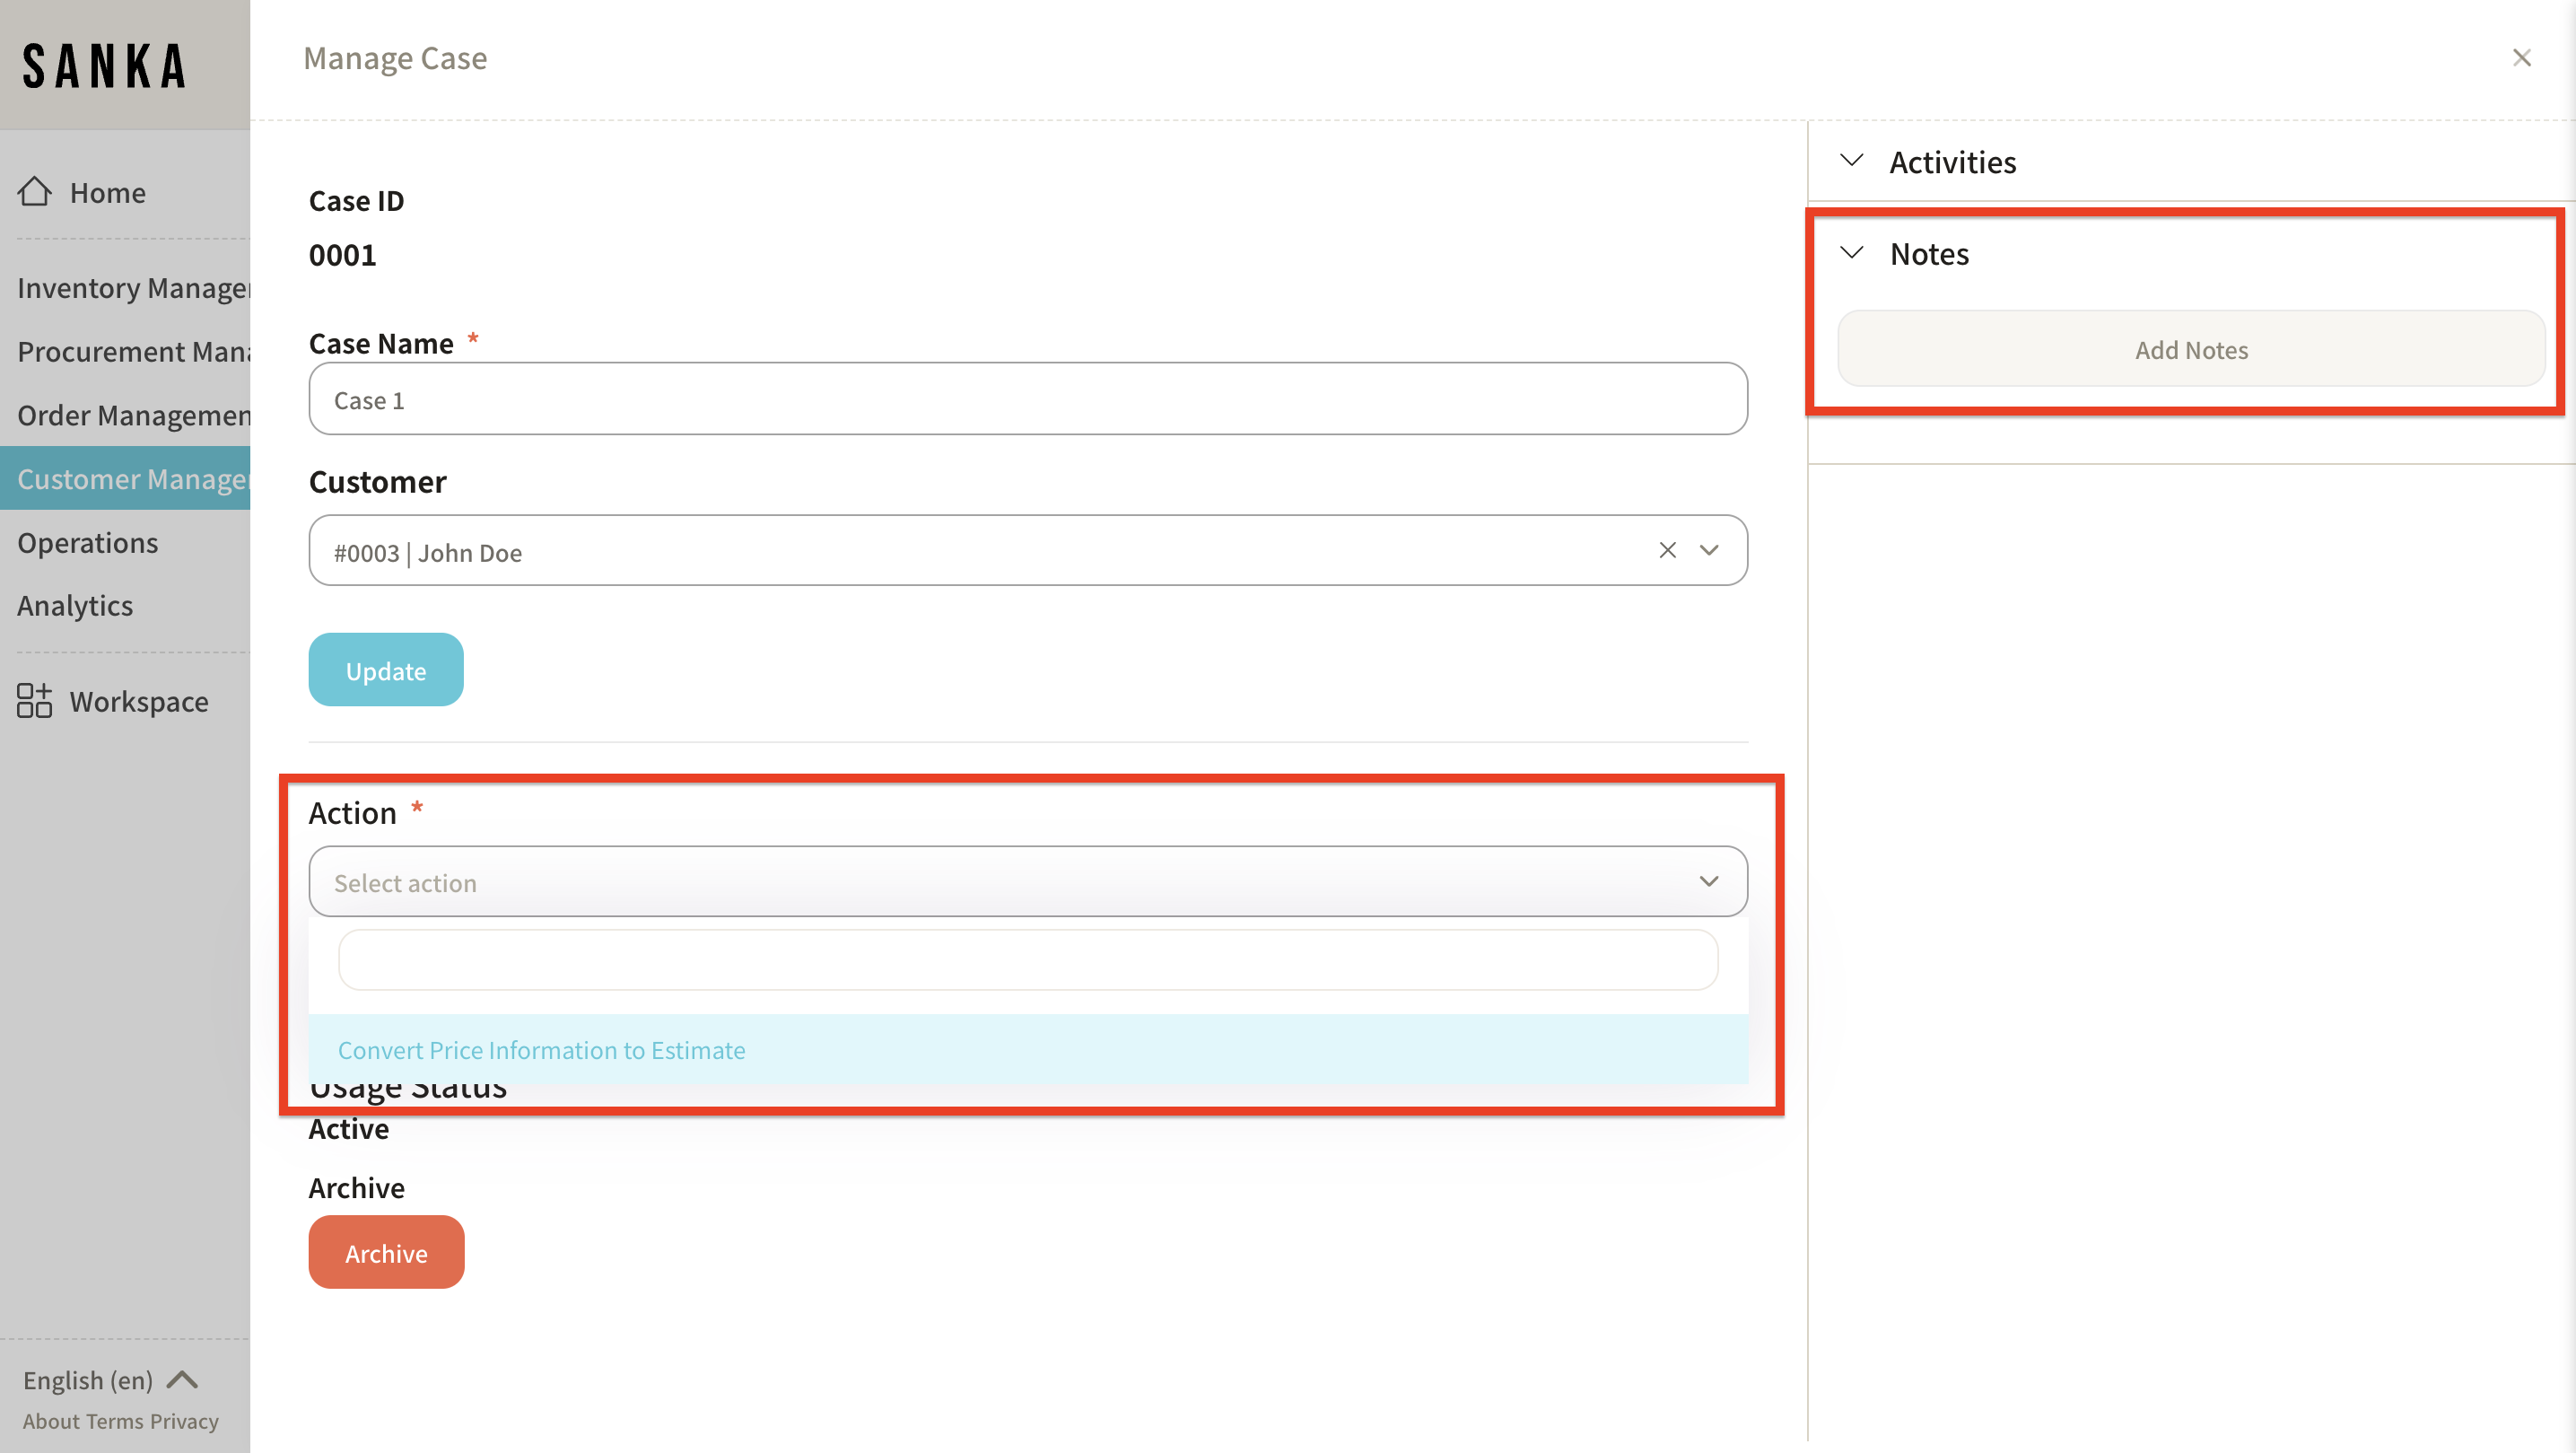
- In the "Case Management" menu, you can manage tasks under "Action" or add notes under "Notes."
How to edit a registered case
In Sanka, registered information cannot be deleted to prevent accidental data loss.
Therefore, let's learn how to edit the information.
-
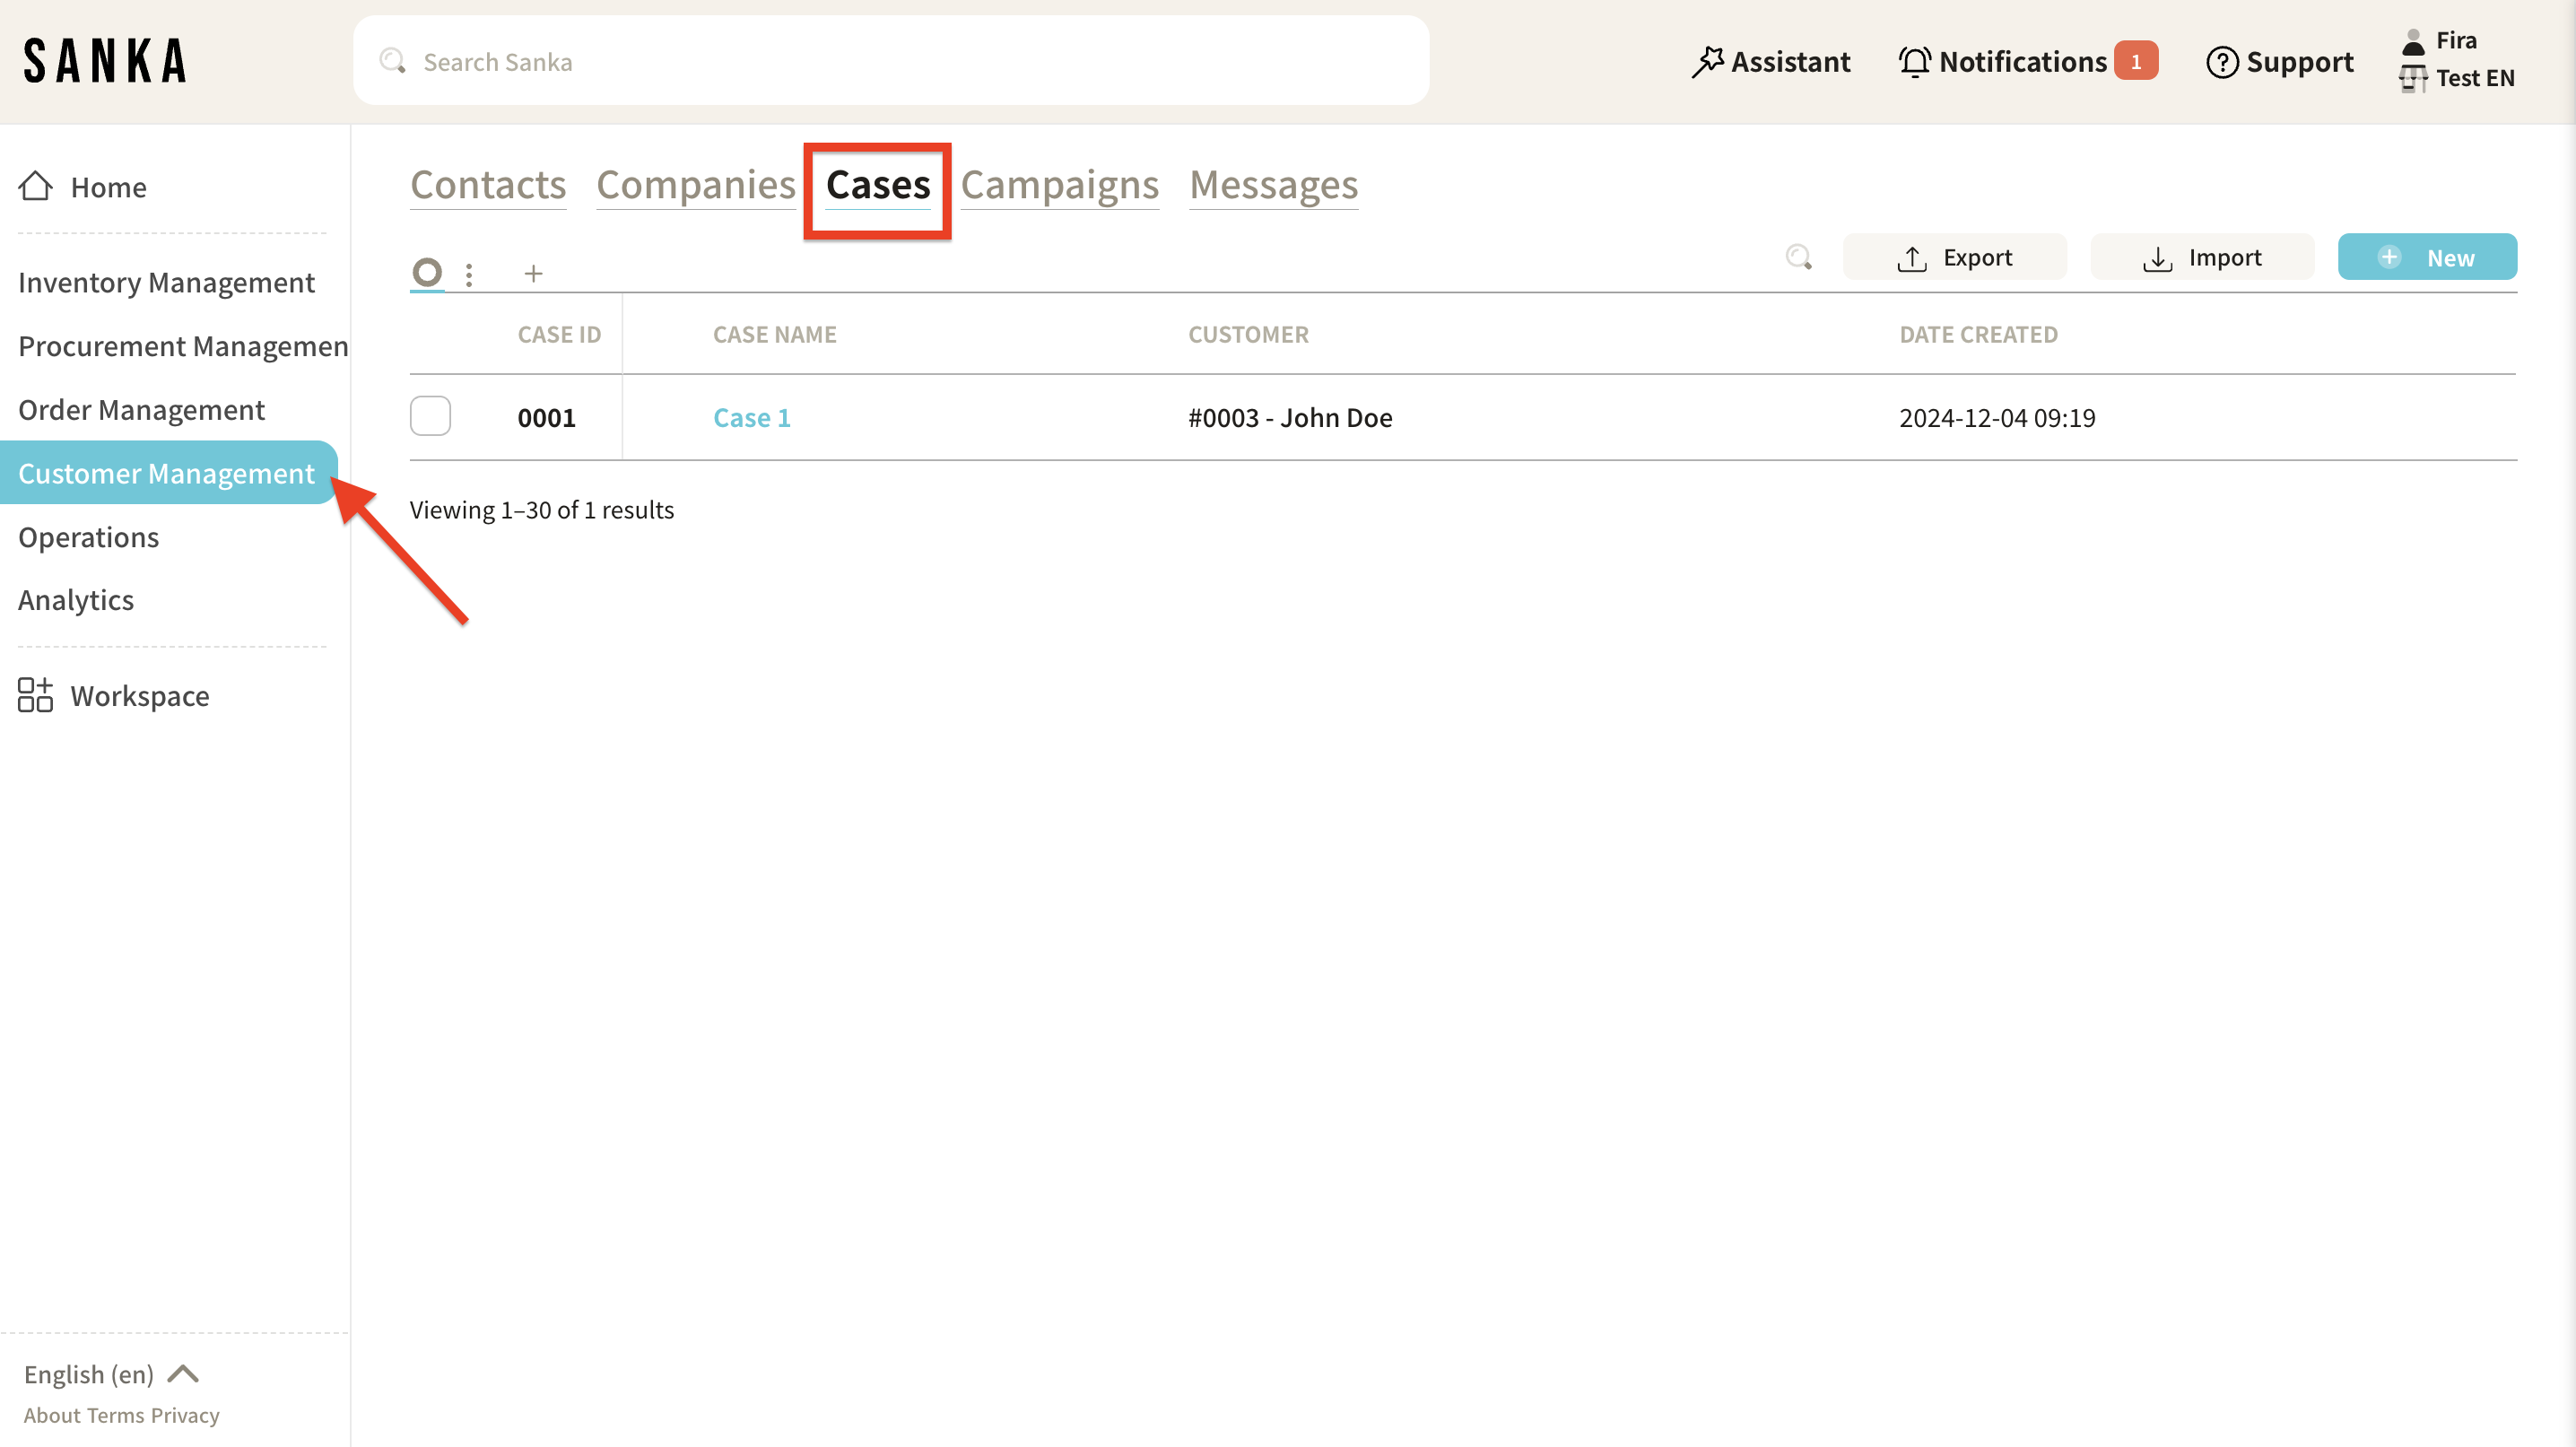
Click the "Customer Management" module on the left side of the screen, then select the "Case" object.
-
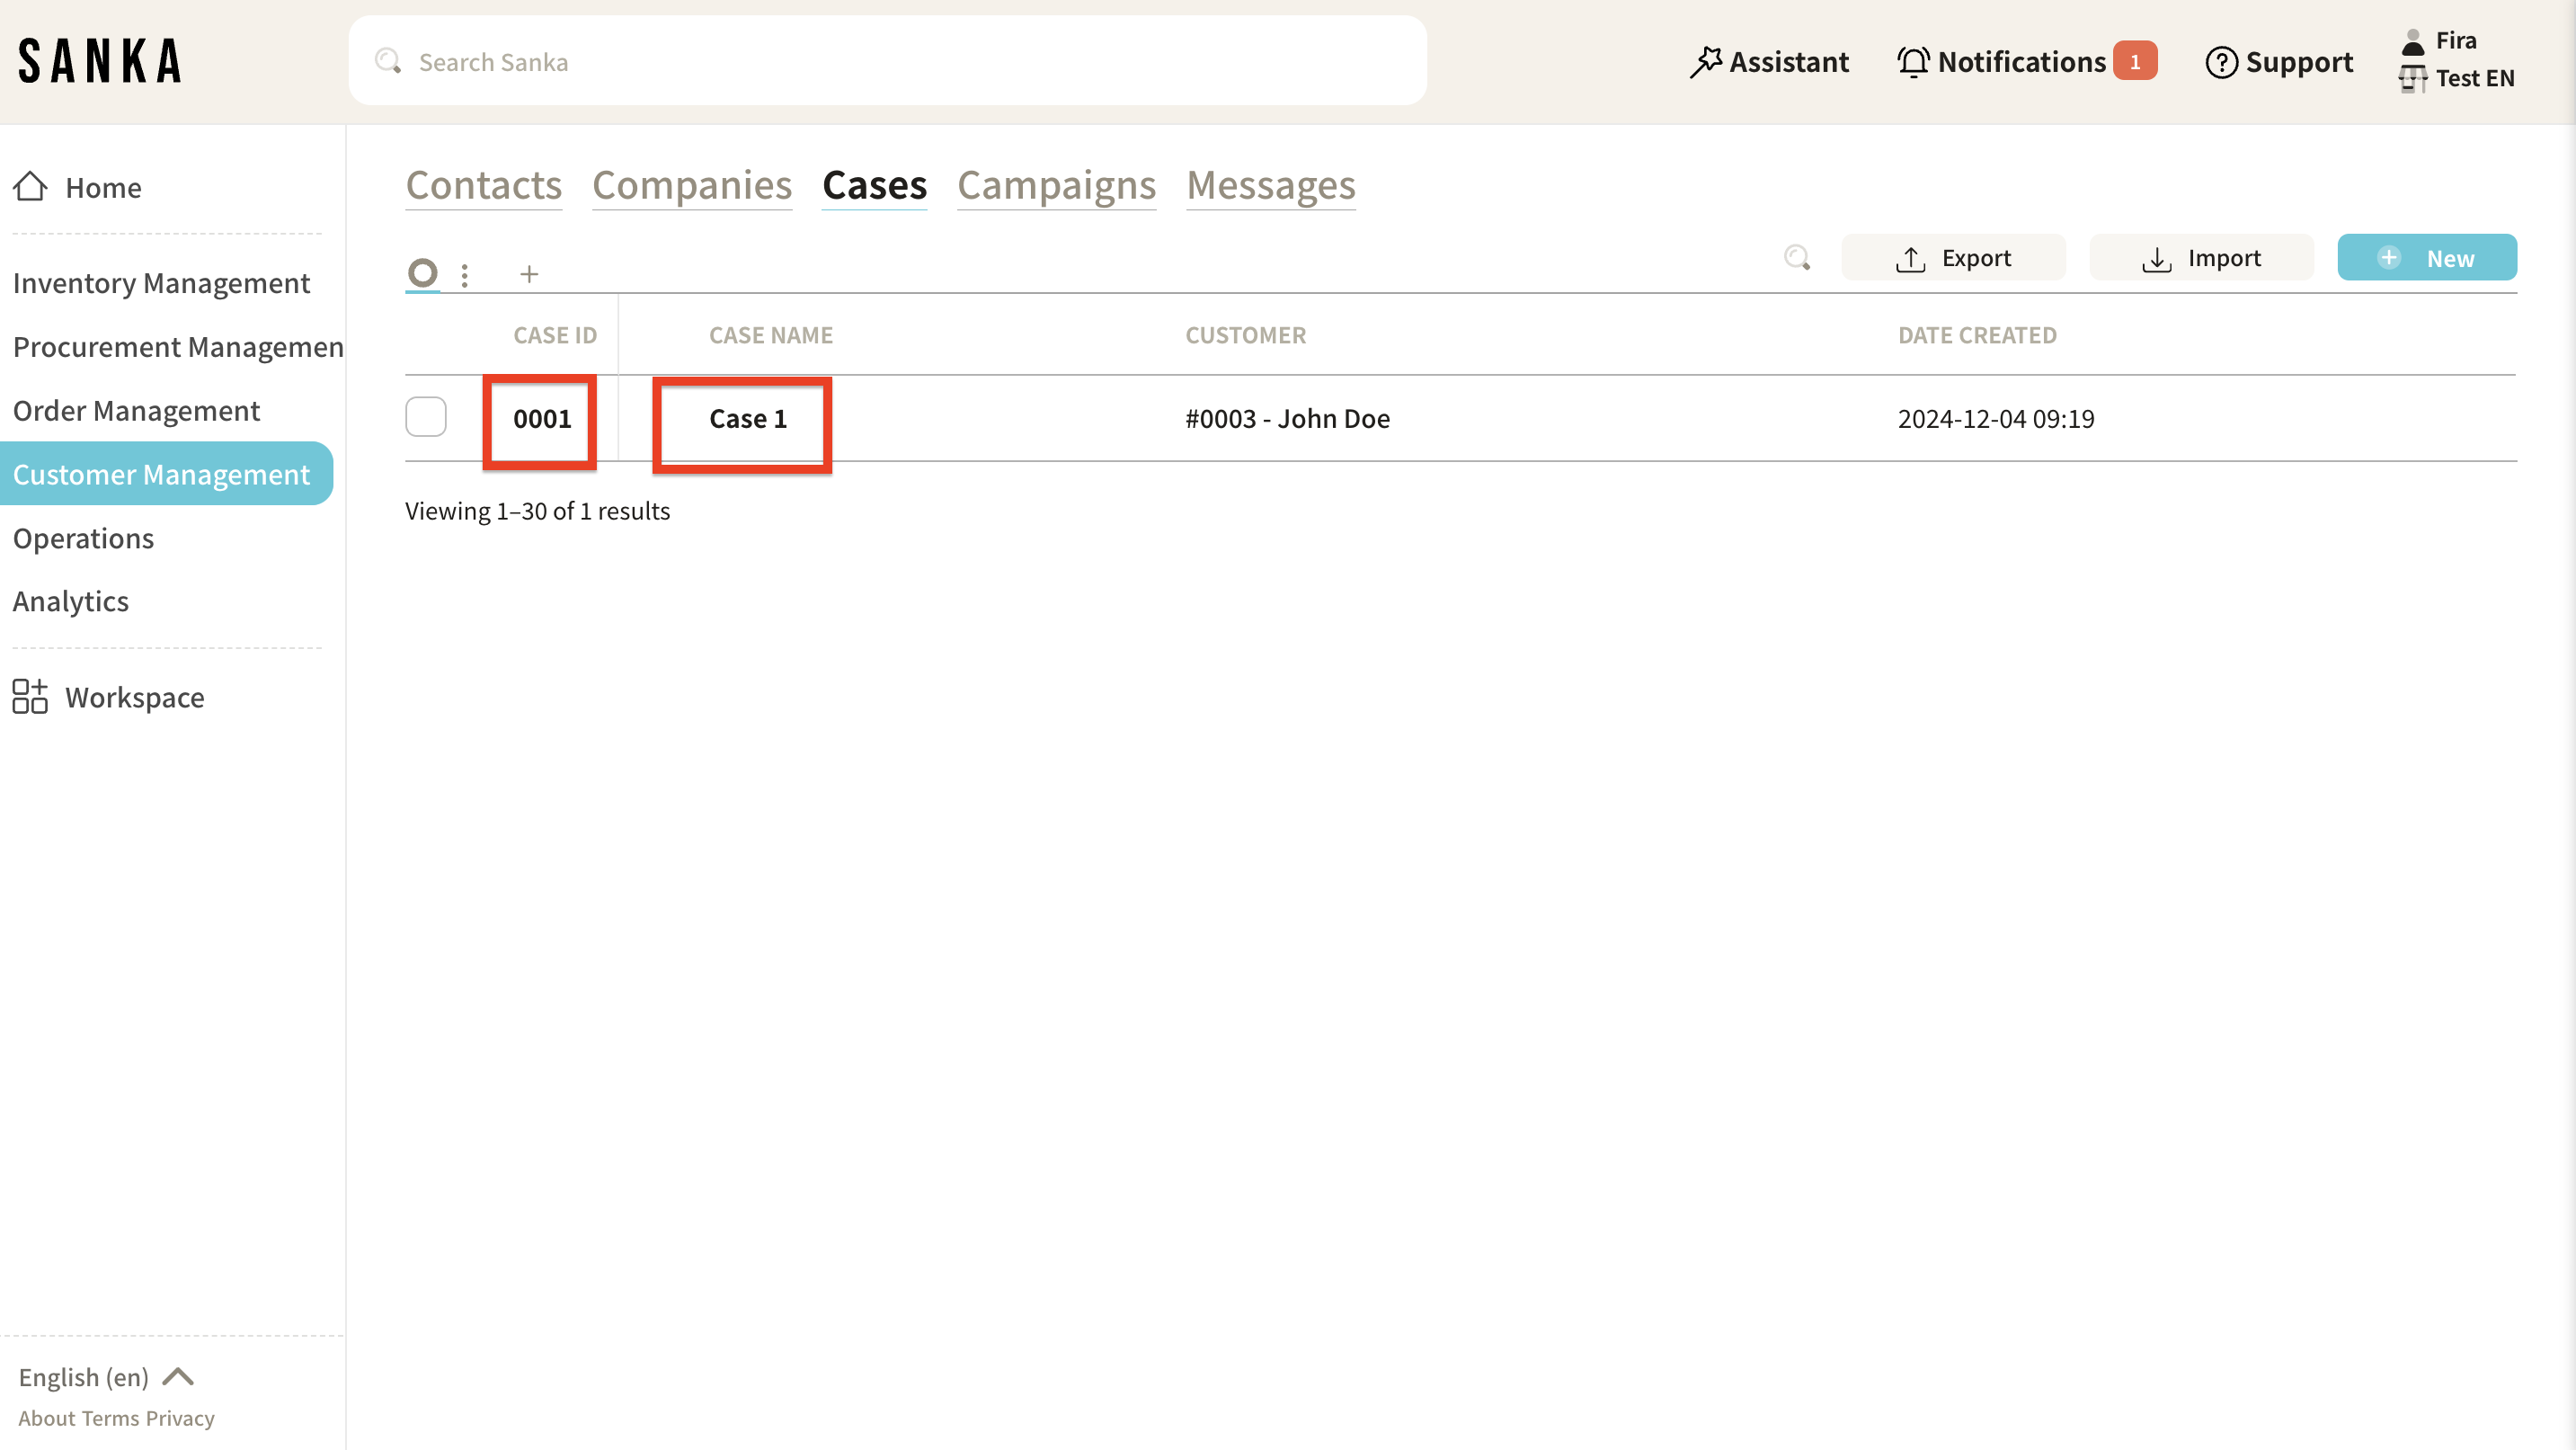
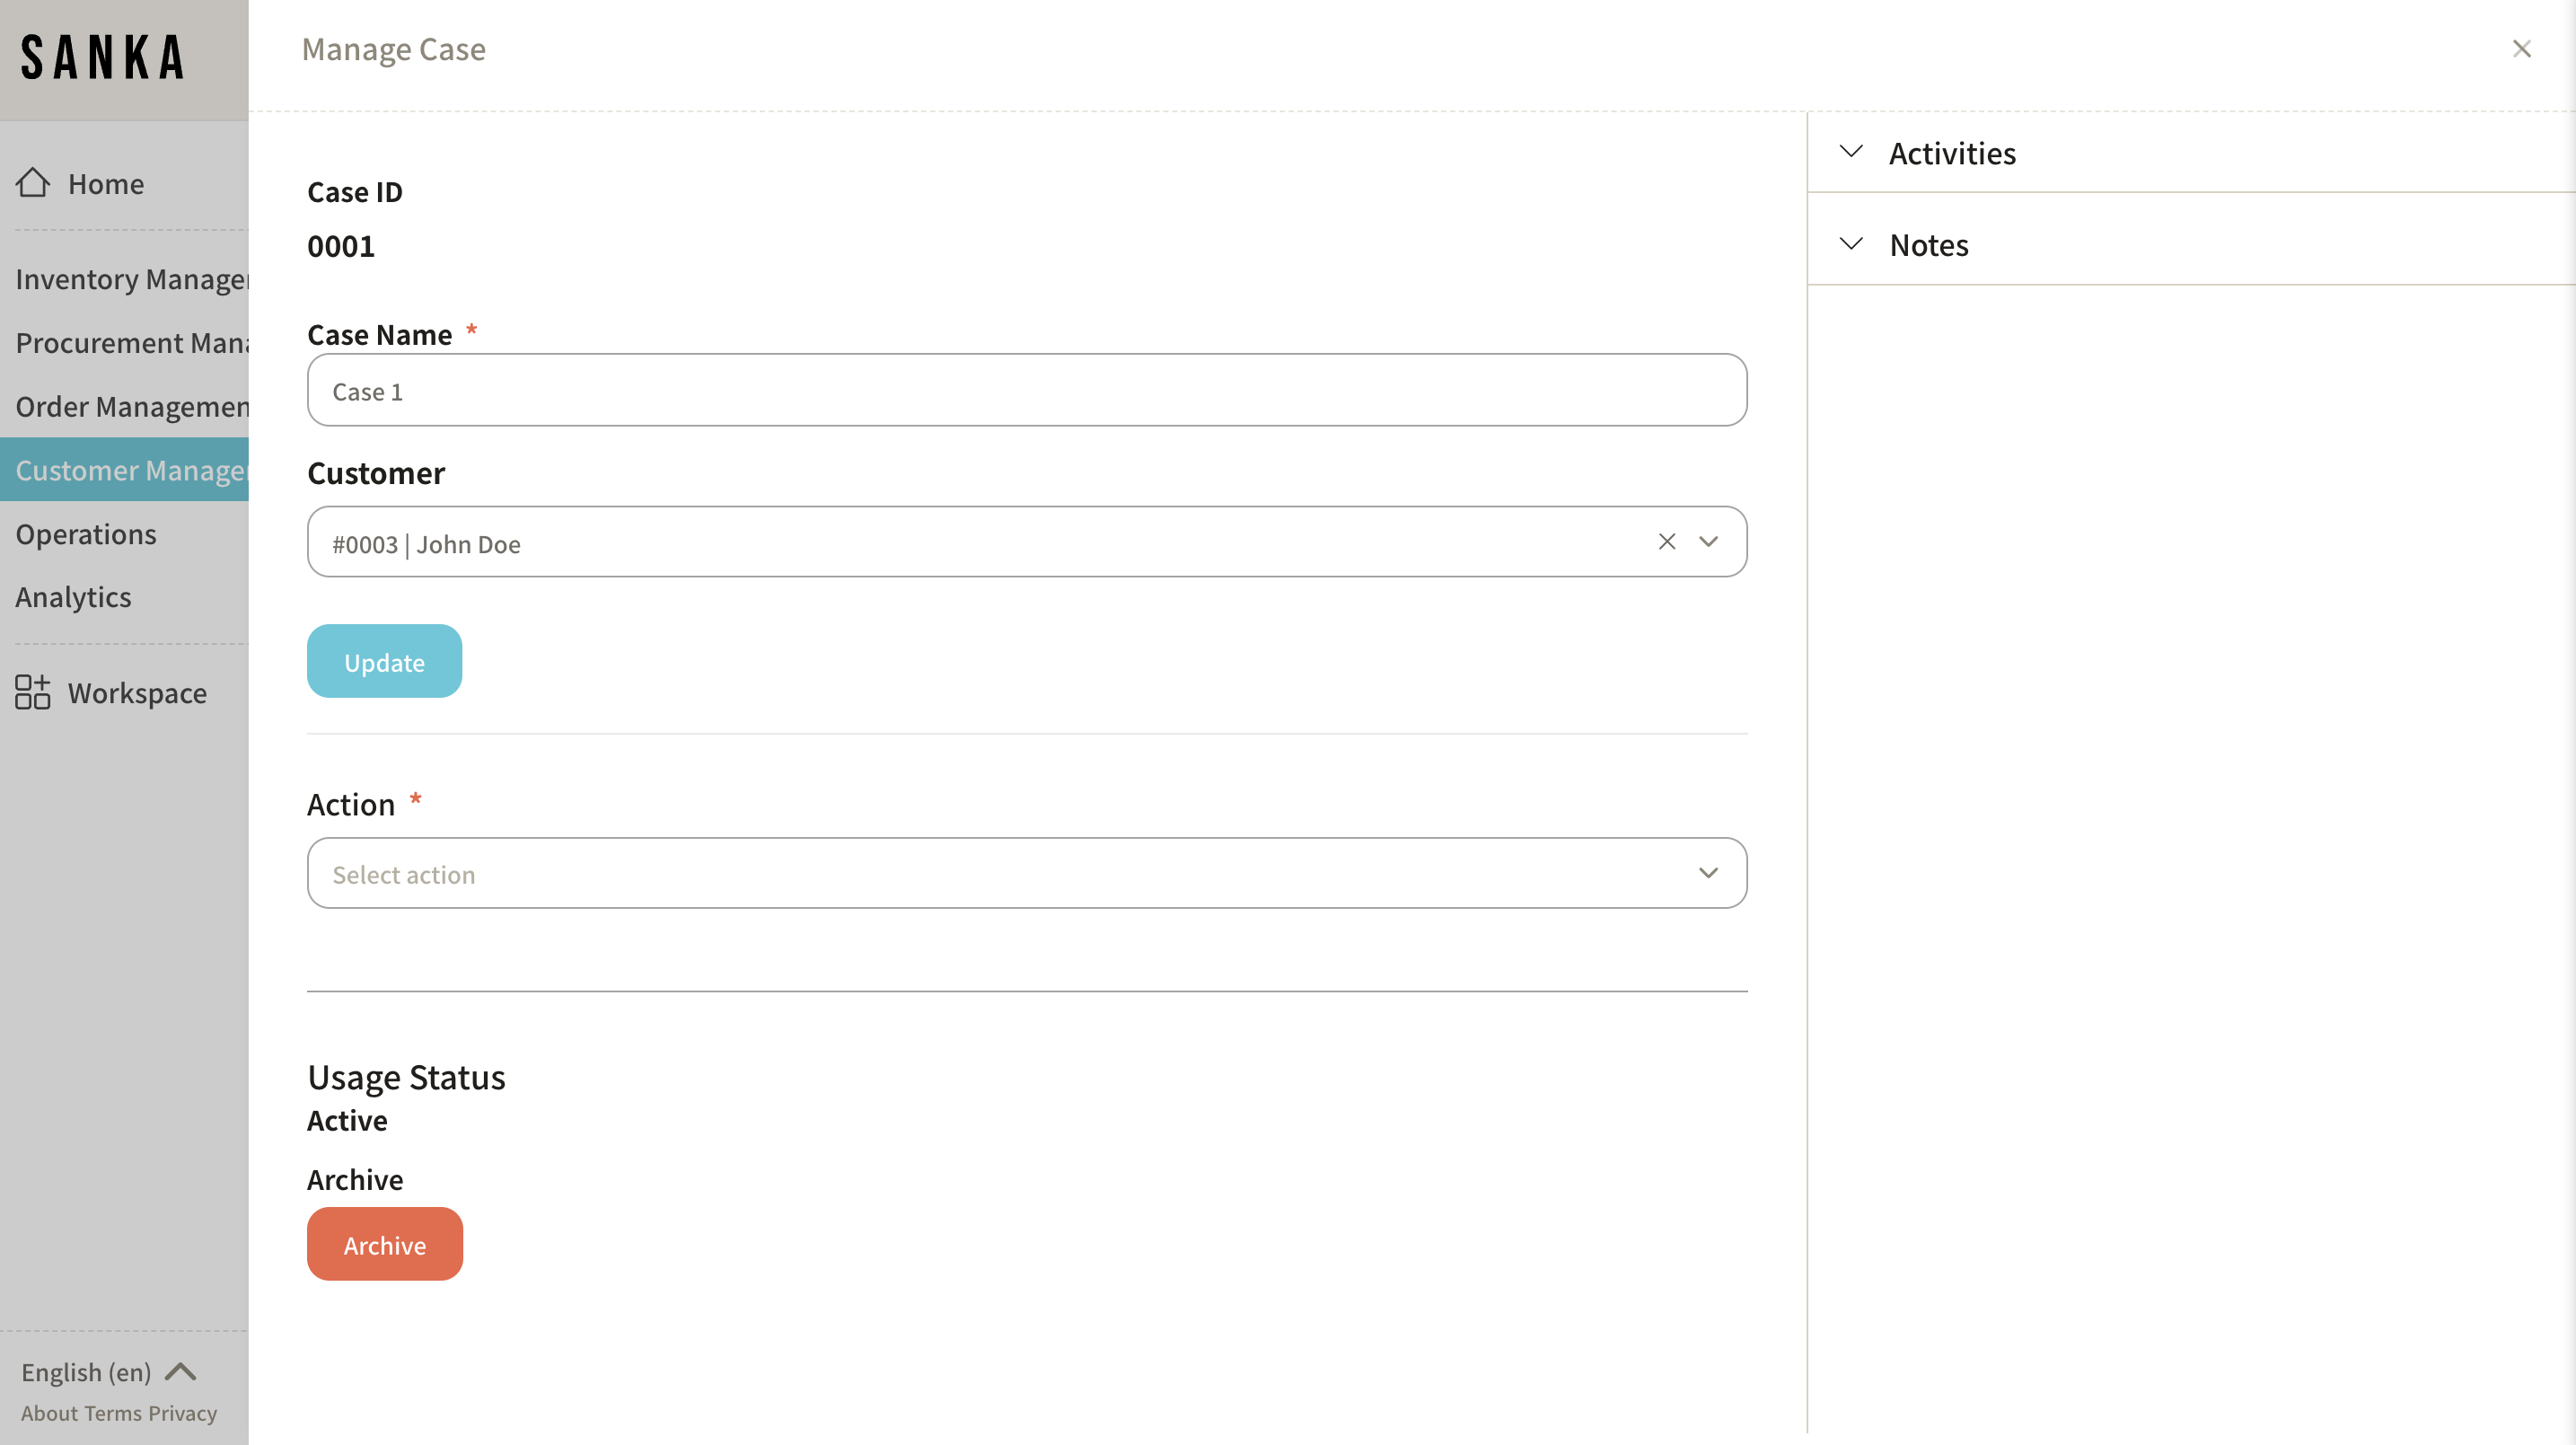
Click on the "Case ID" or "Case Name" to open the "Case Management" menu, where you can edit the information.
Finally, click "Update."
How to archive a case
Using the archive function, you can hide a registered case from the table.
-
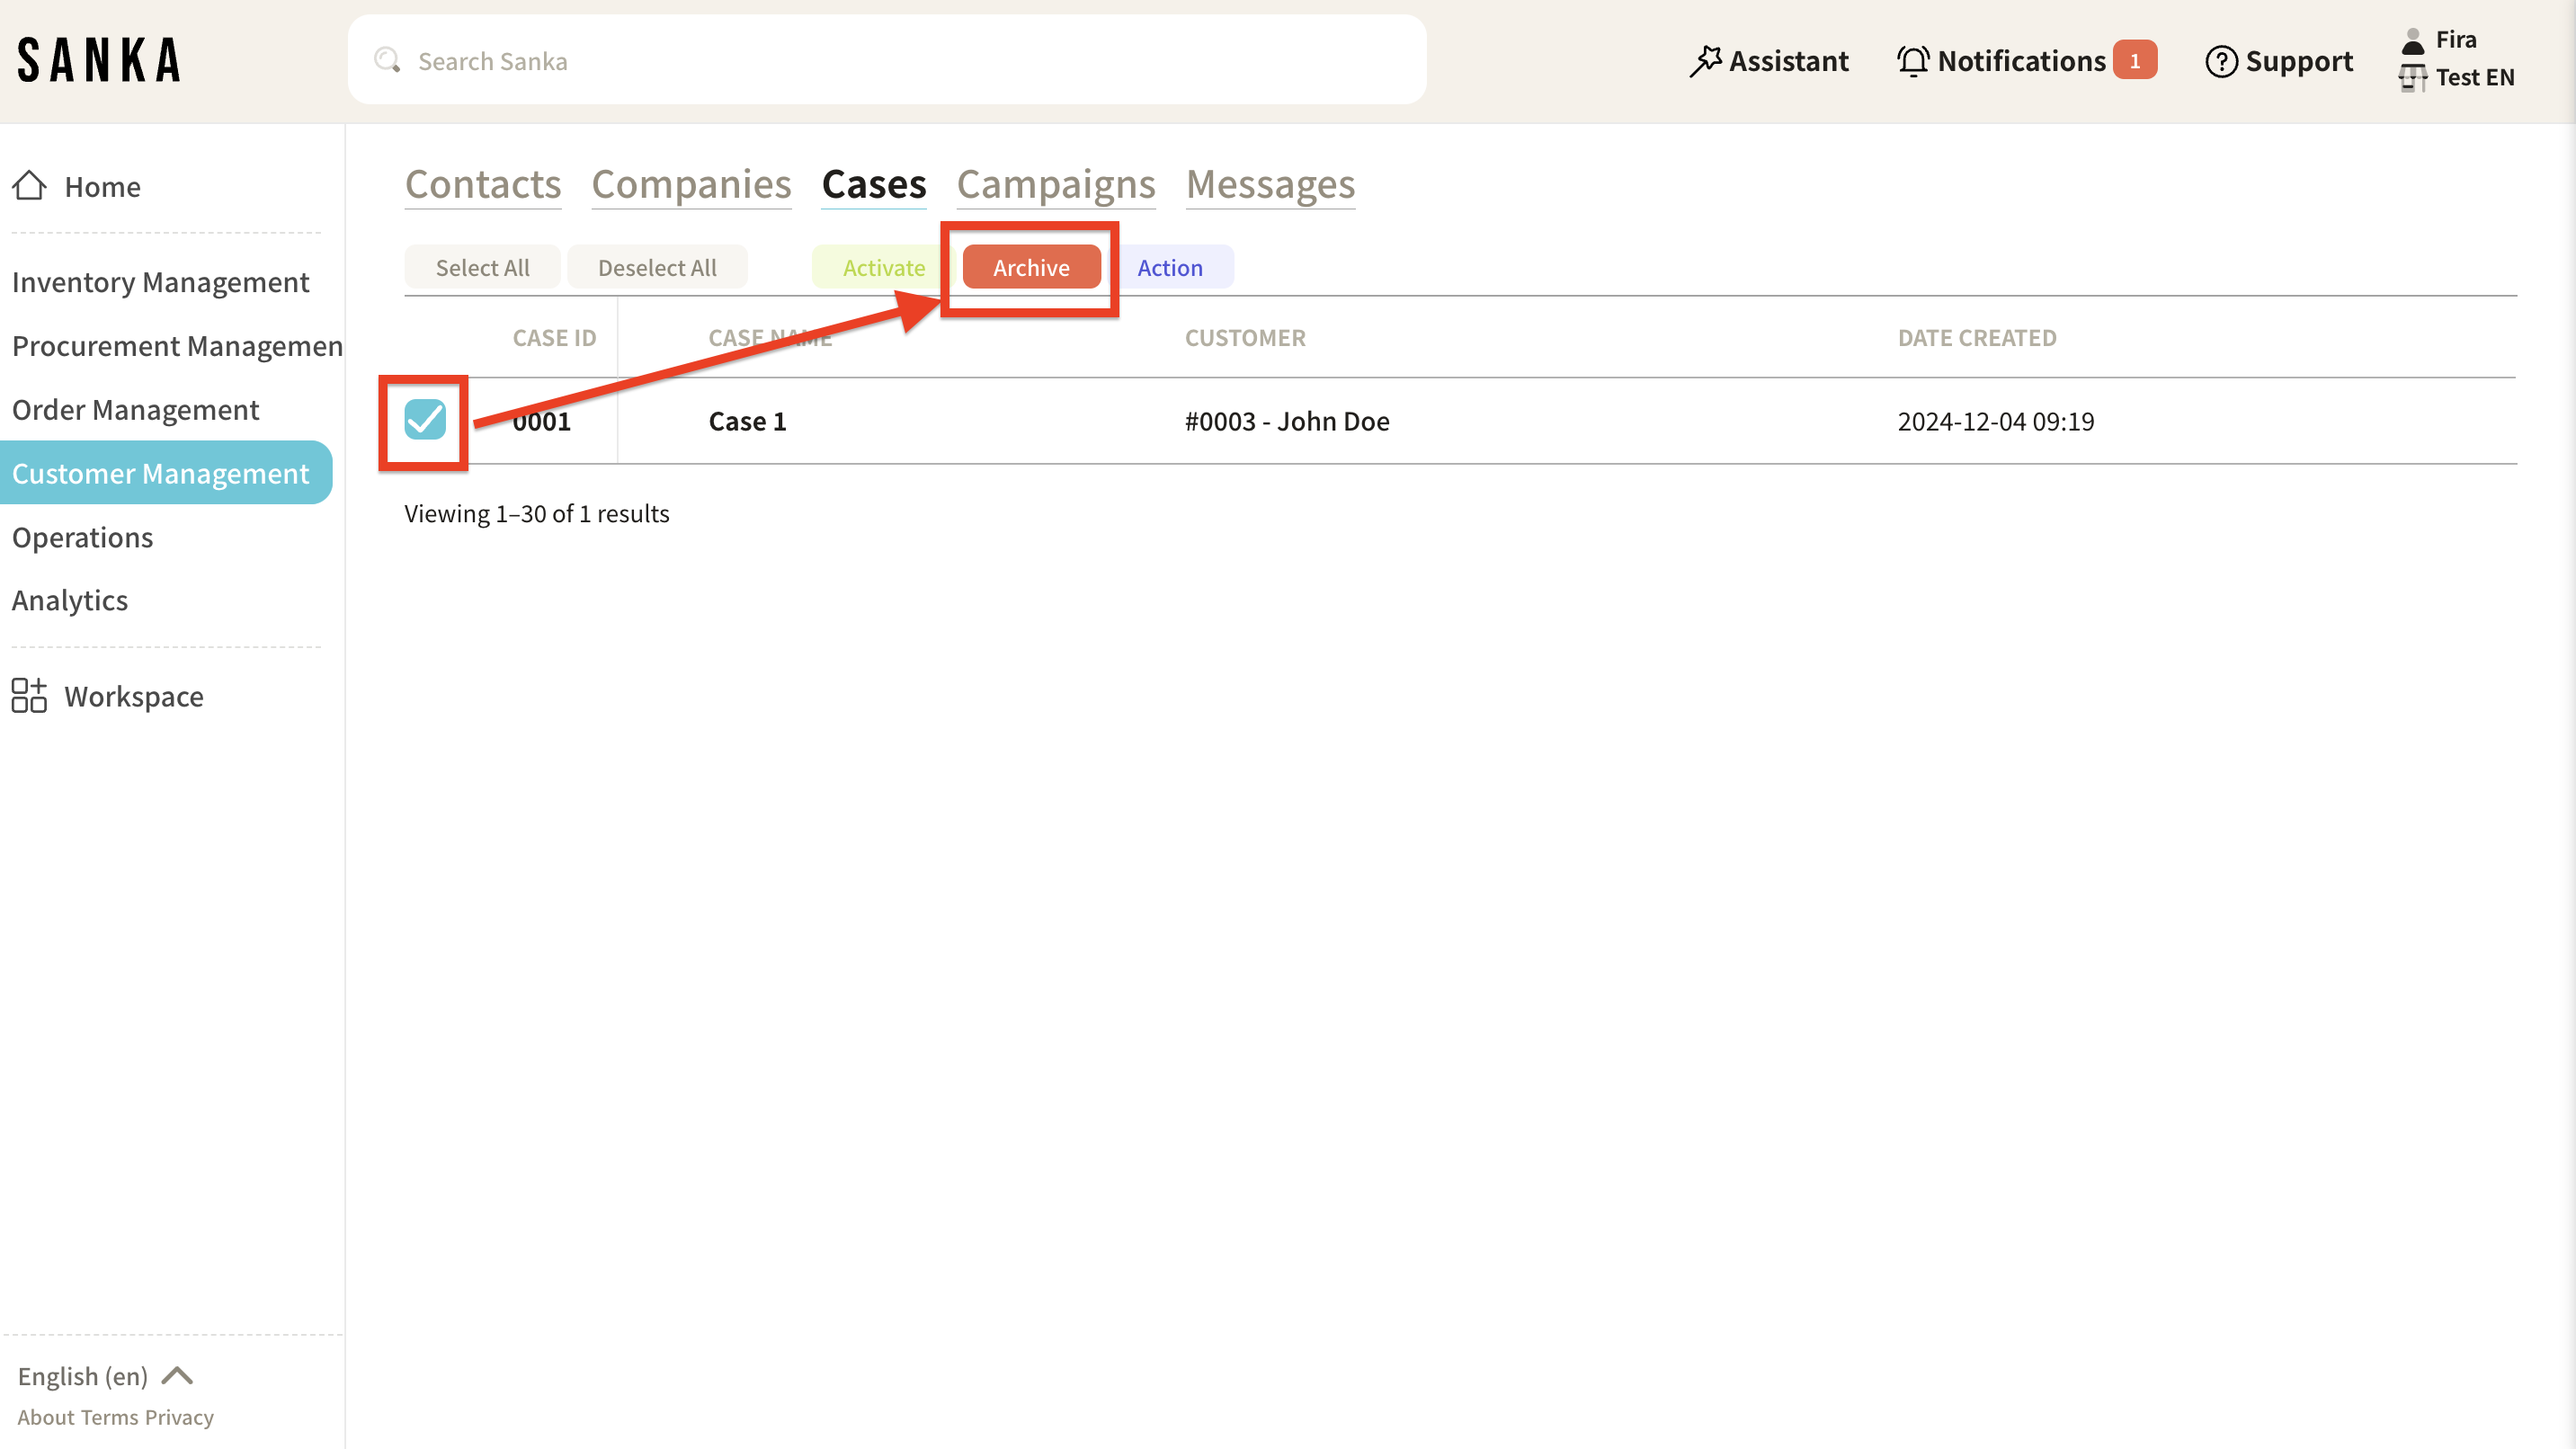
Click the box of the case you want to archive, and select "Archive."
-
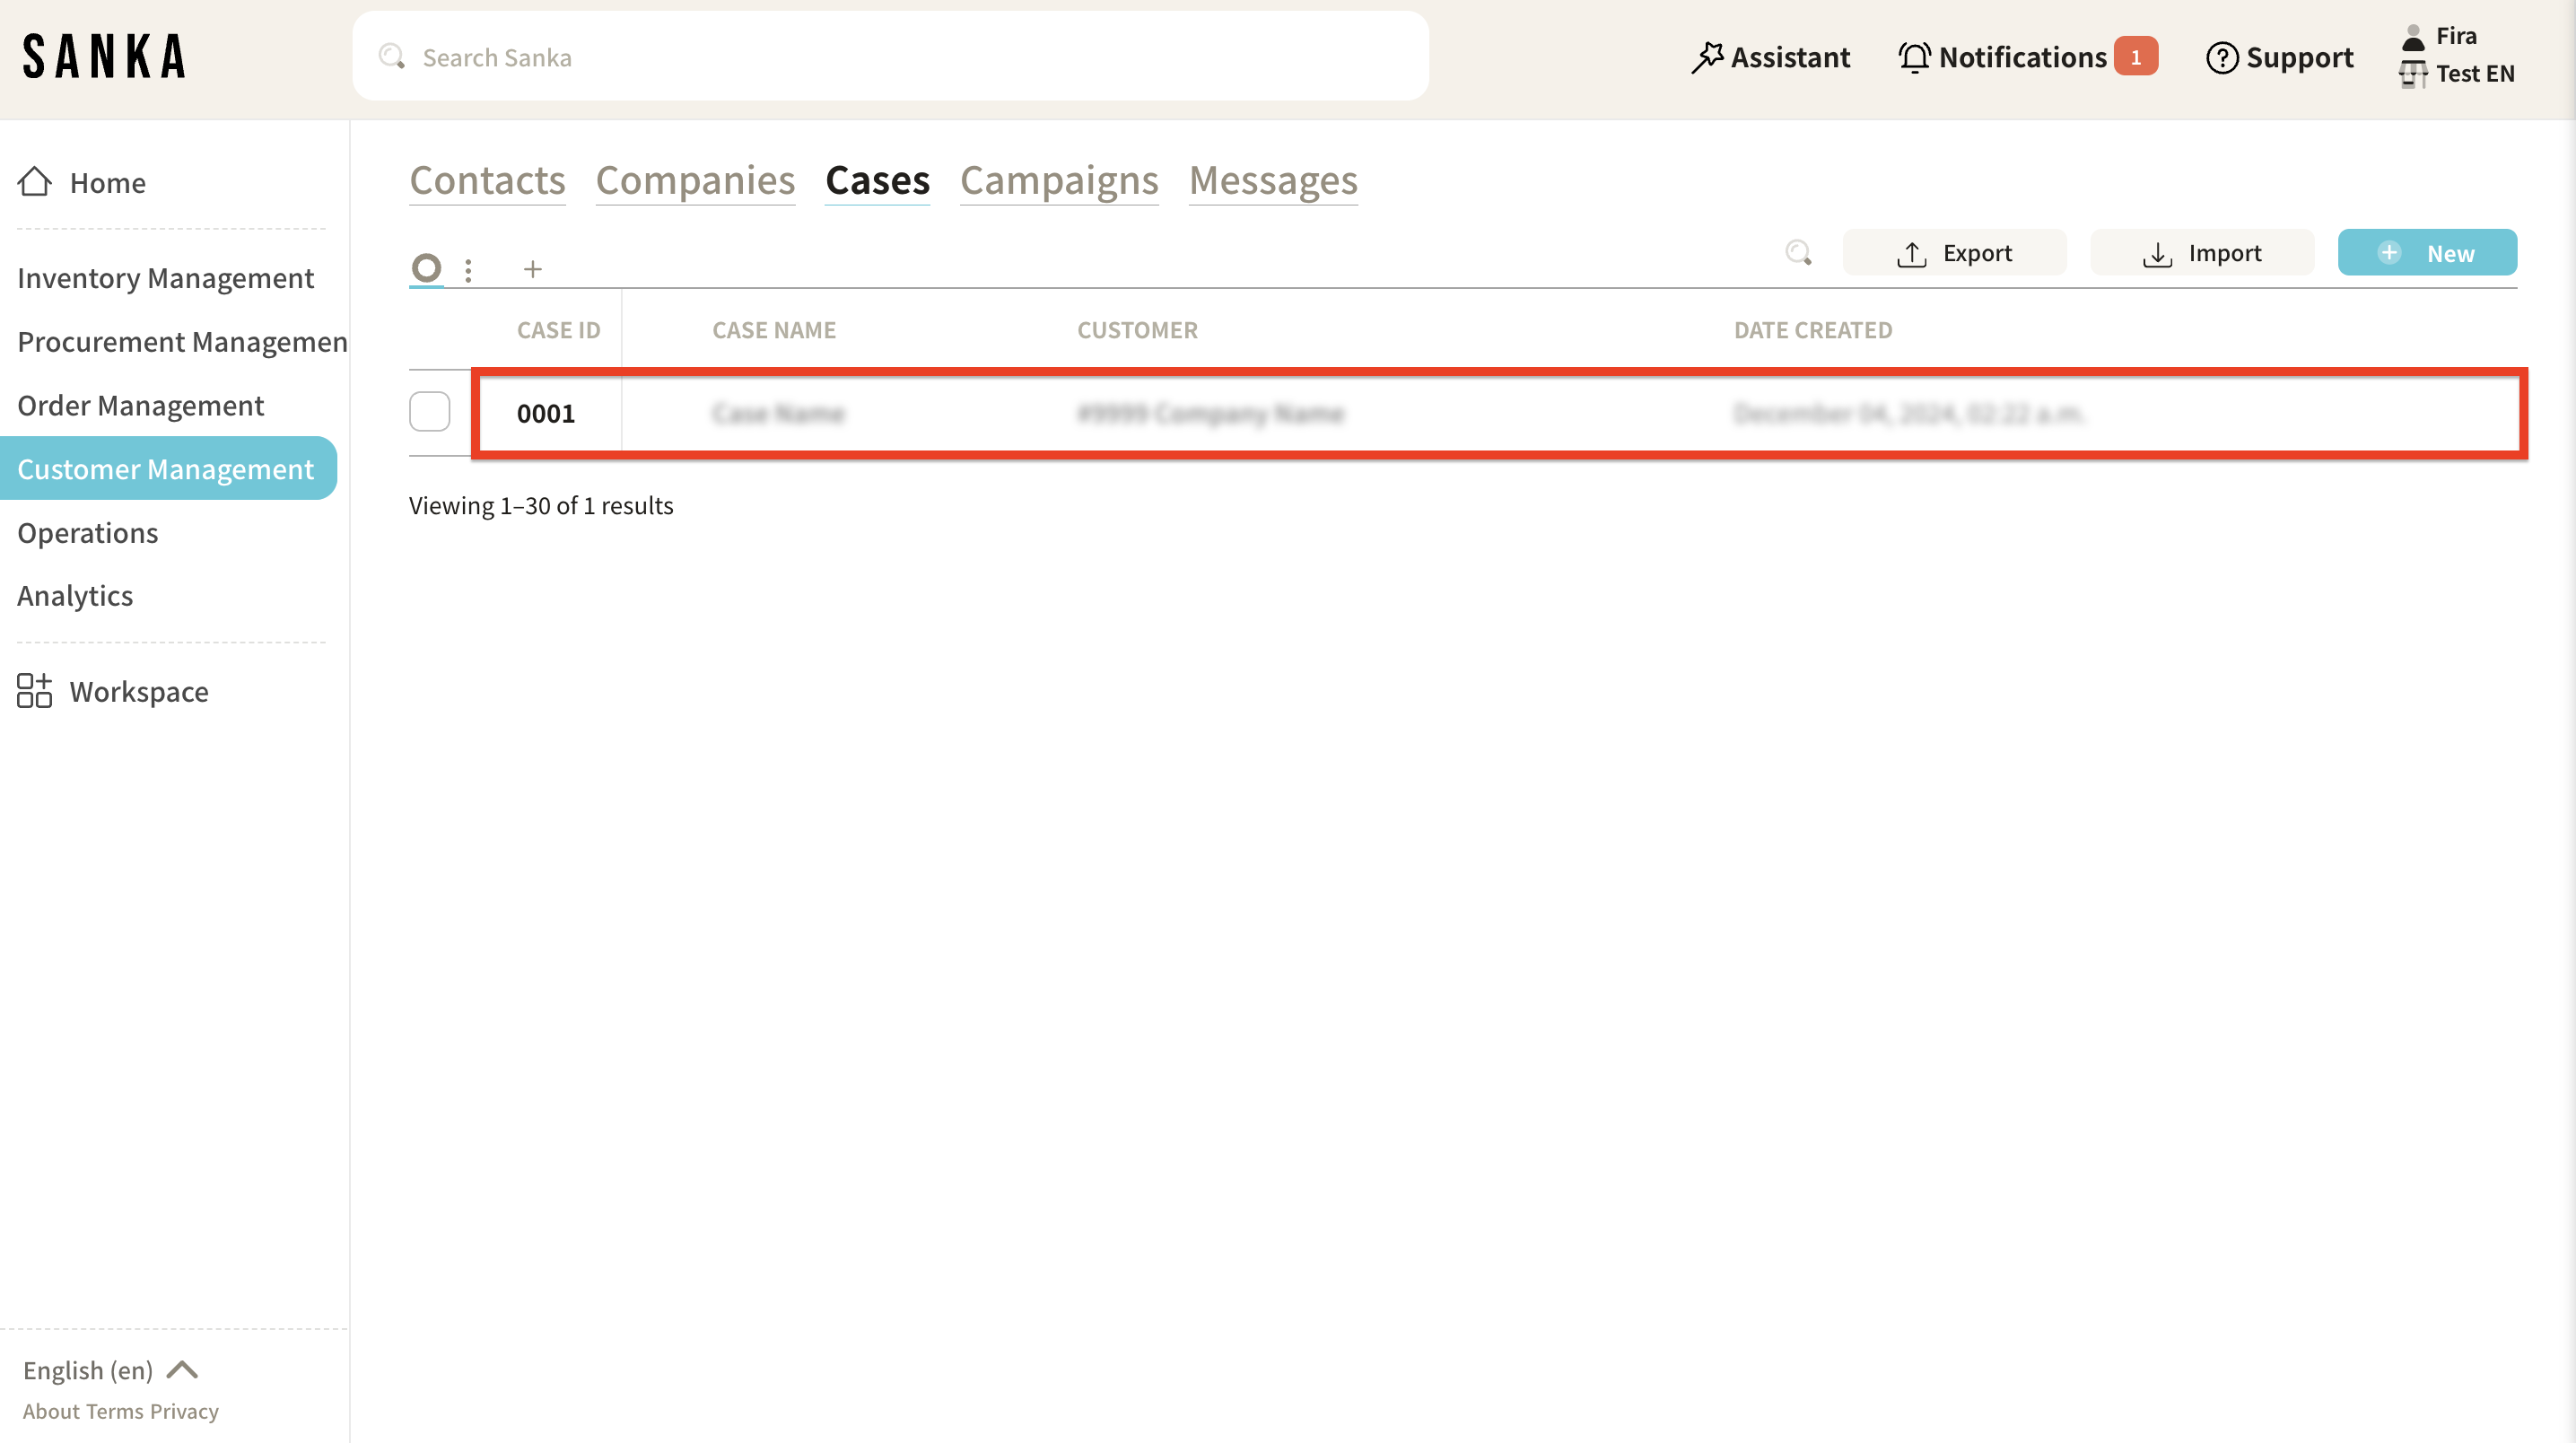
Archived cases will be grayed out.
-
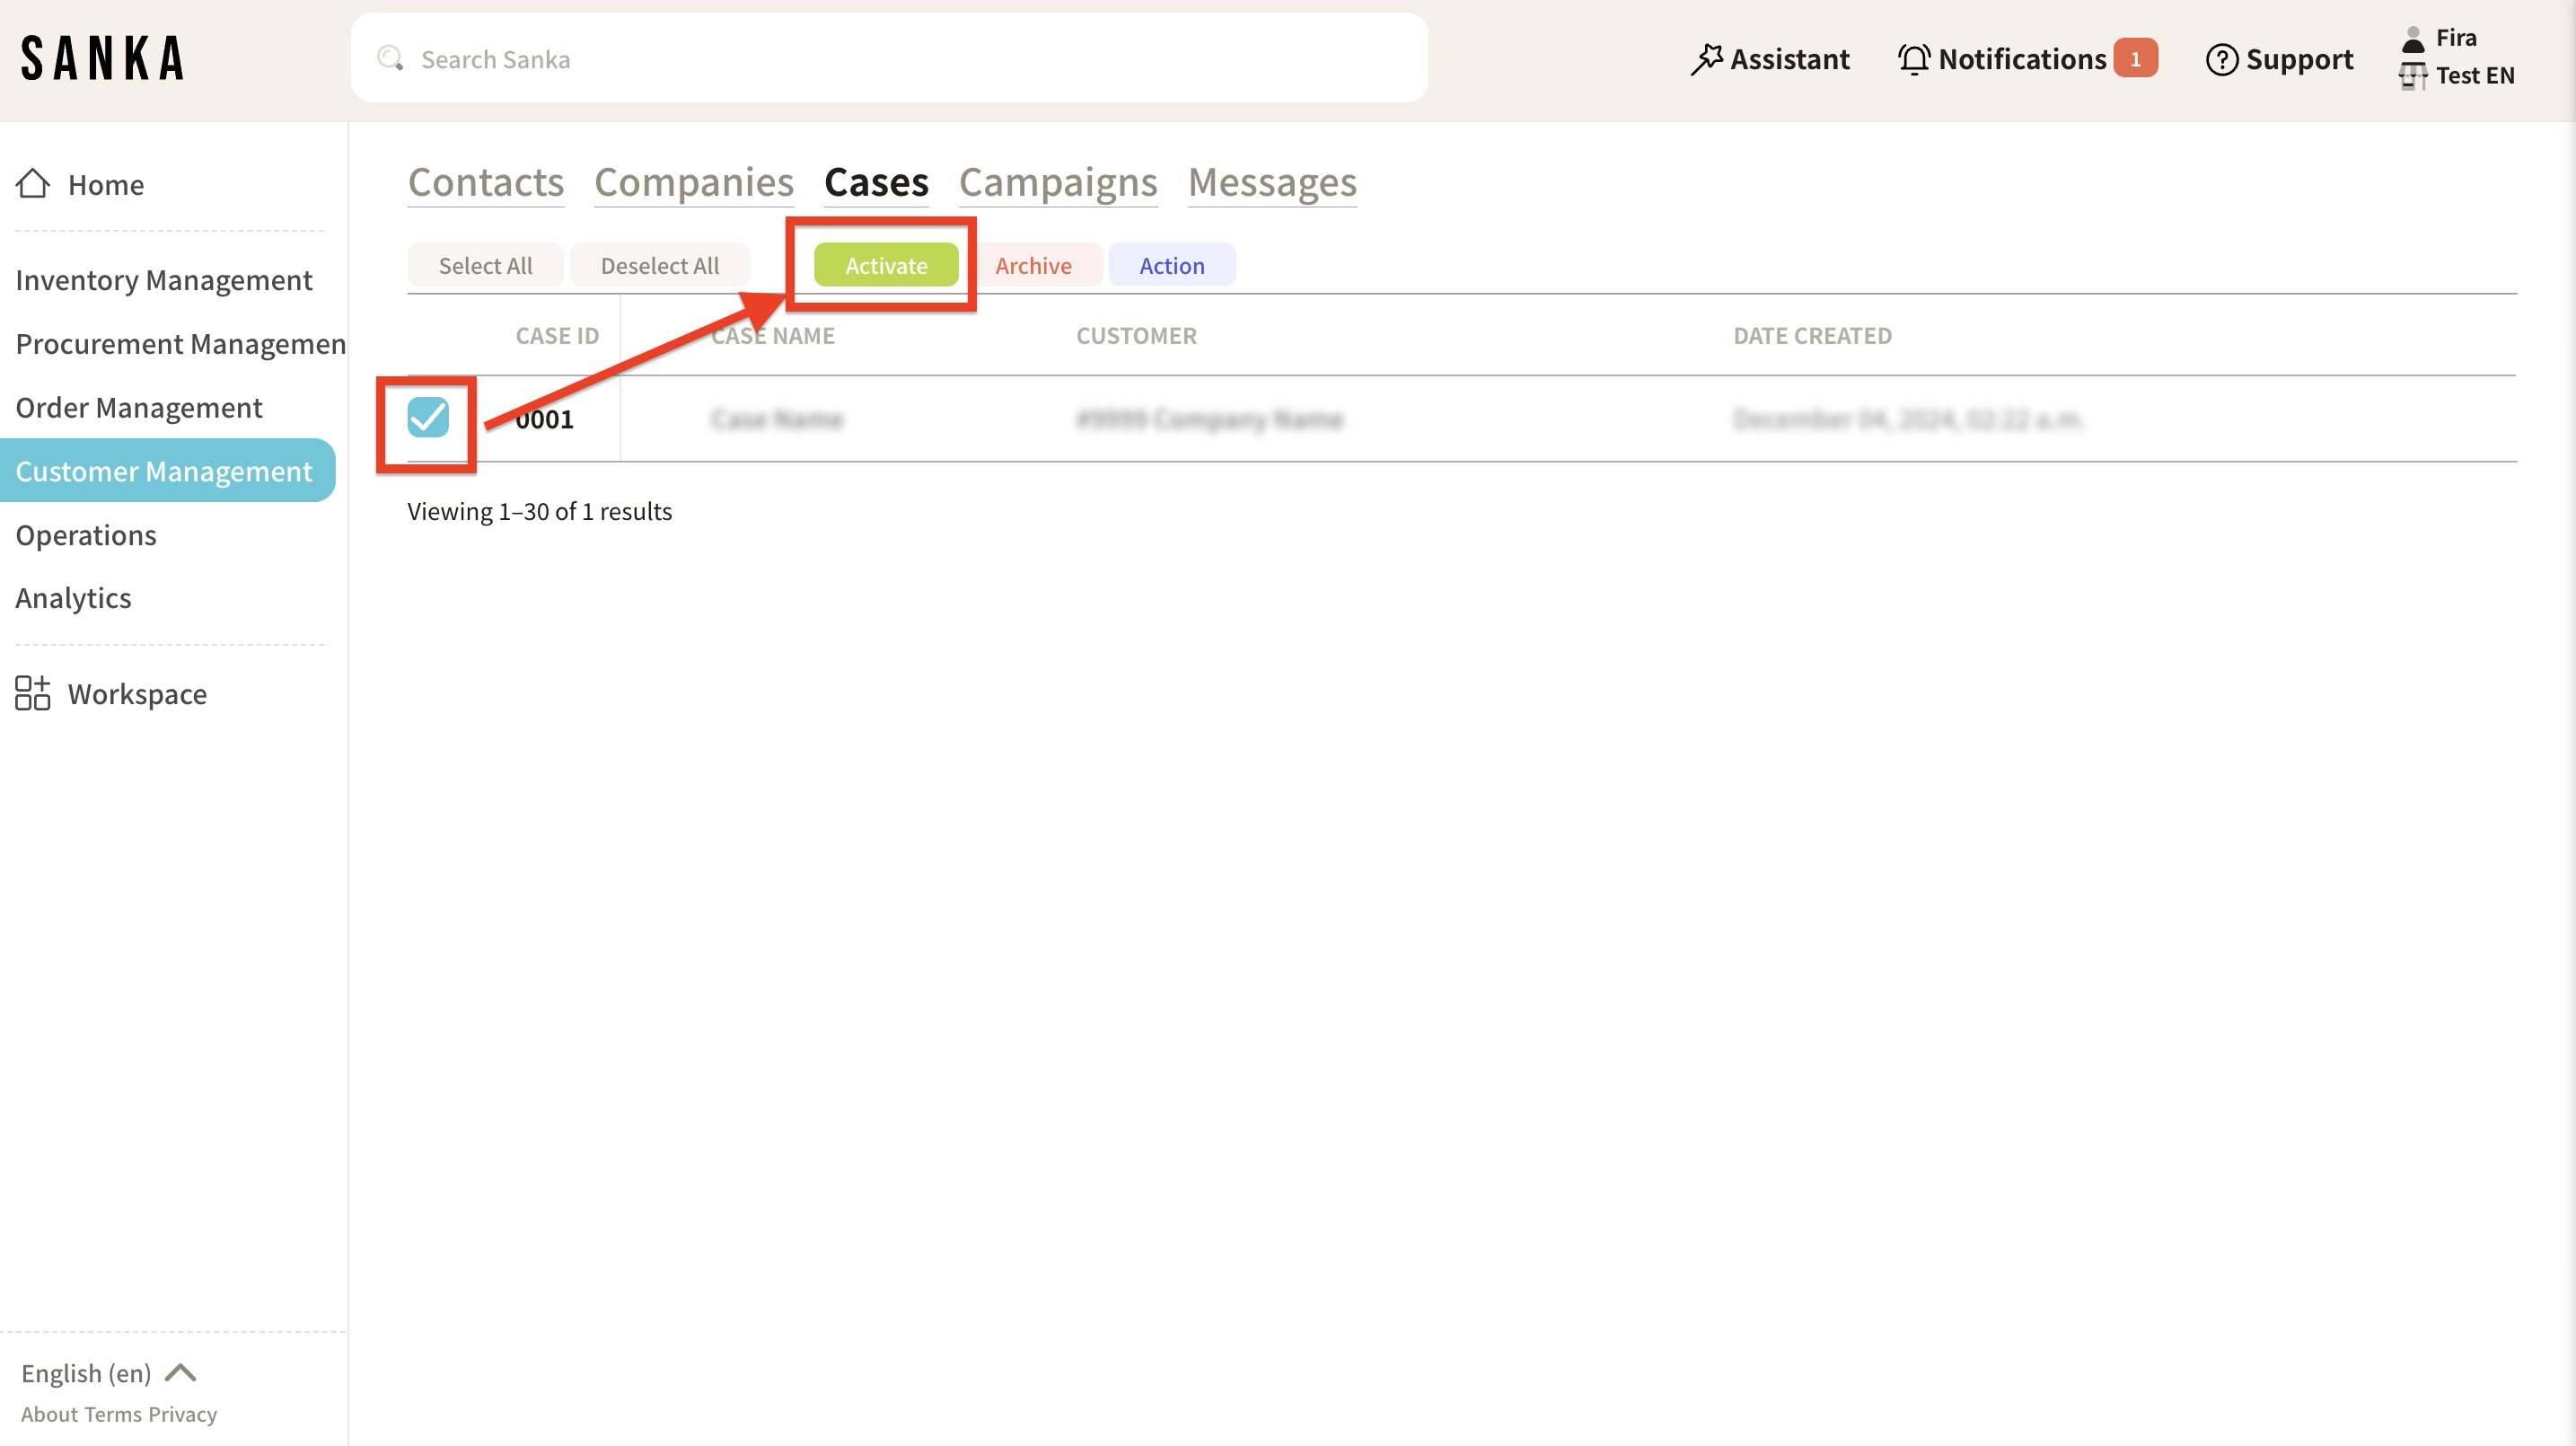
To unarchive, click the box of the archived case and select "Activate."
-
The grayed-out status will be removed, and the case will return to normal display.
How to use the messaging feature
In Sanka, you can exchange messages within the system.
-
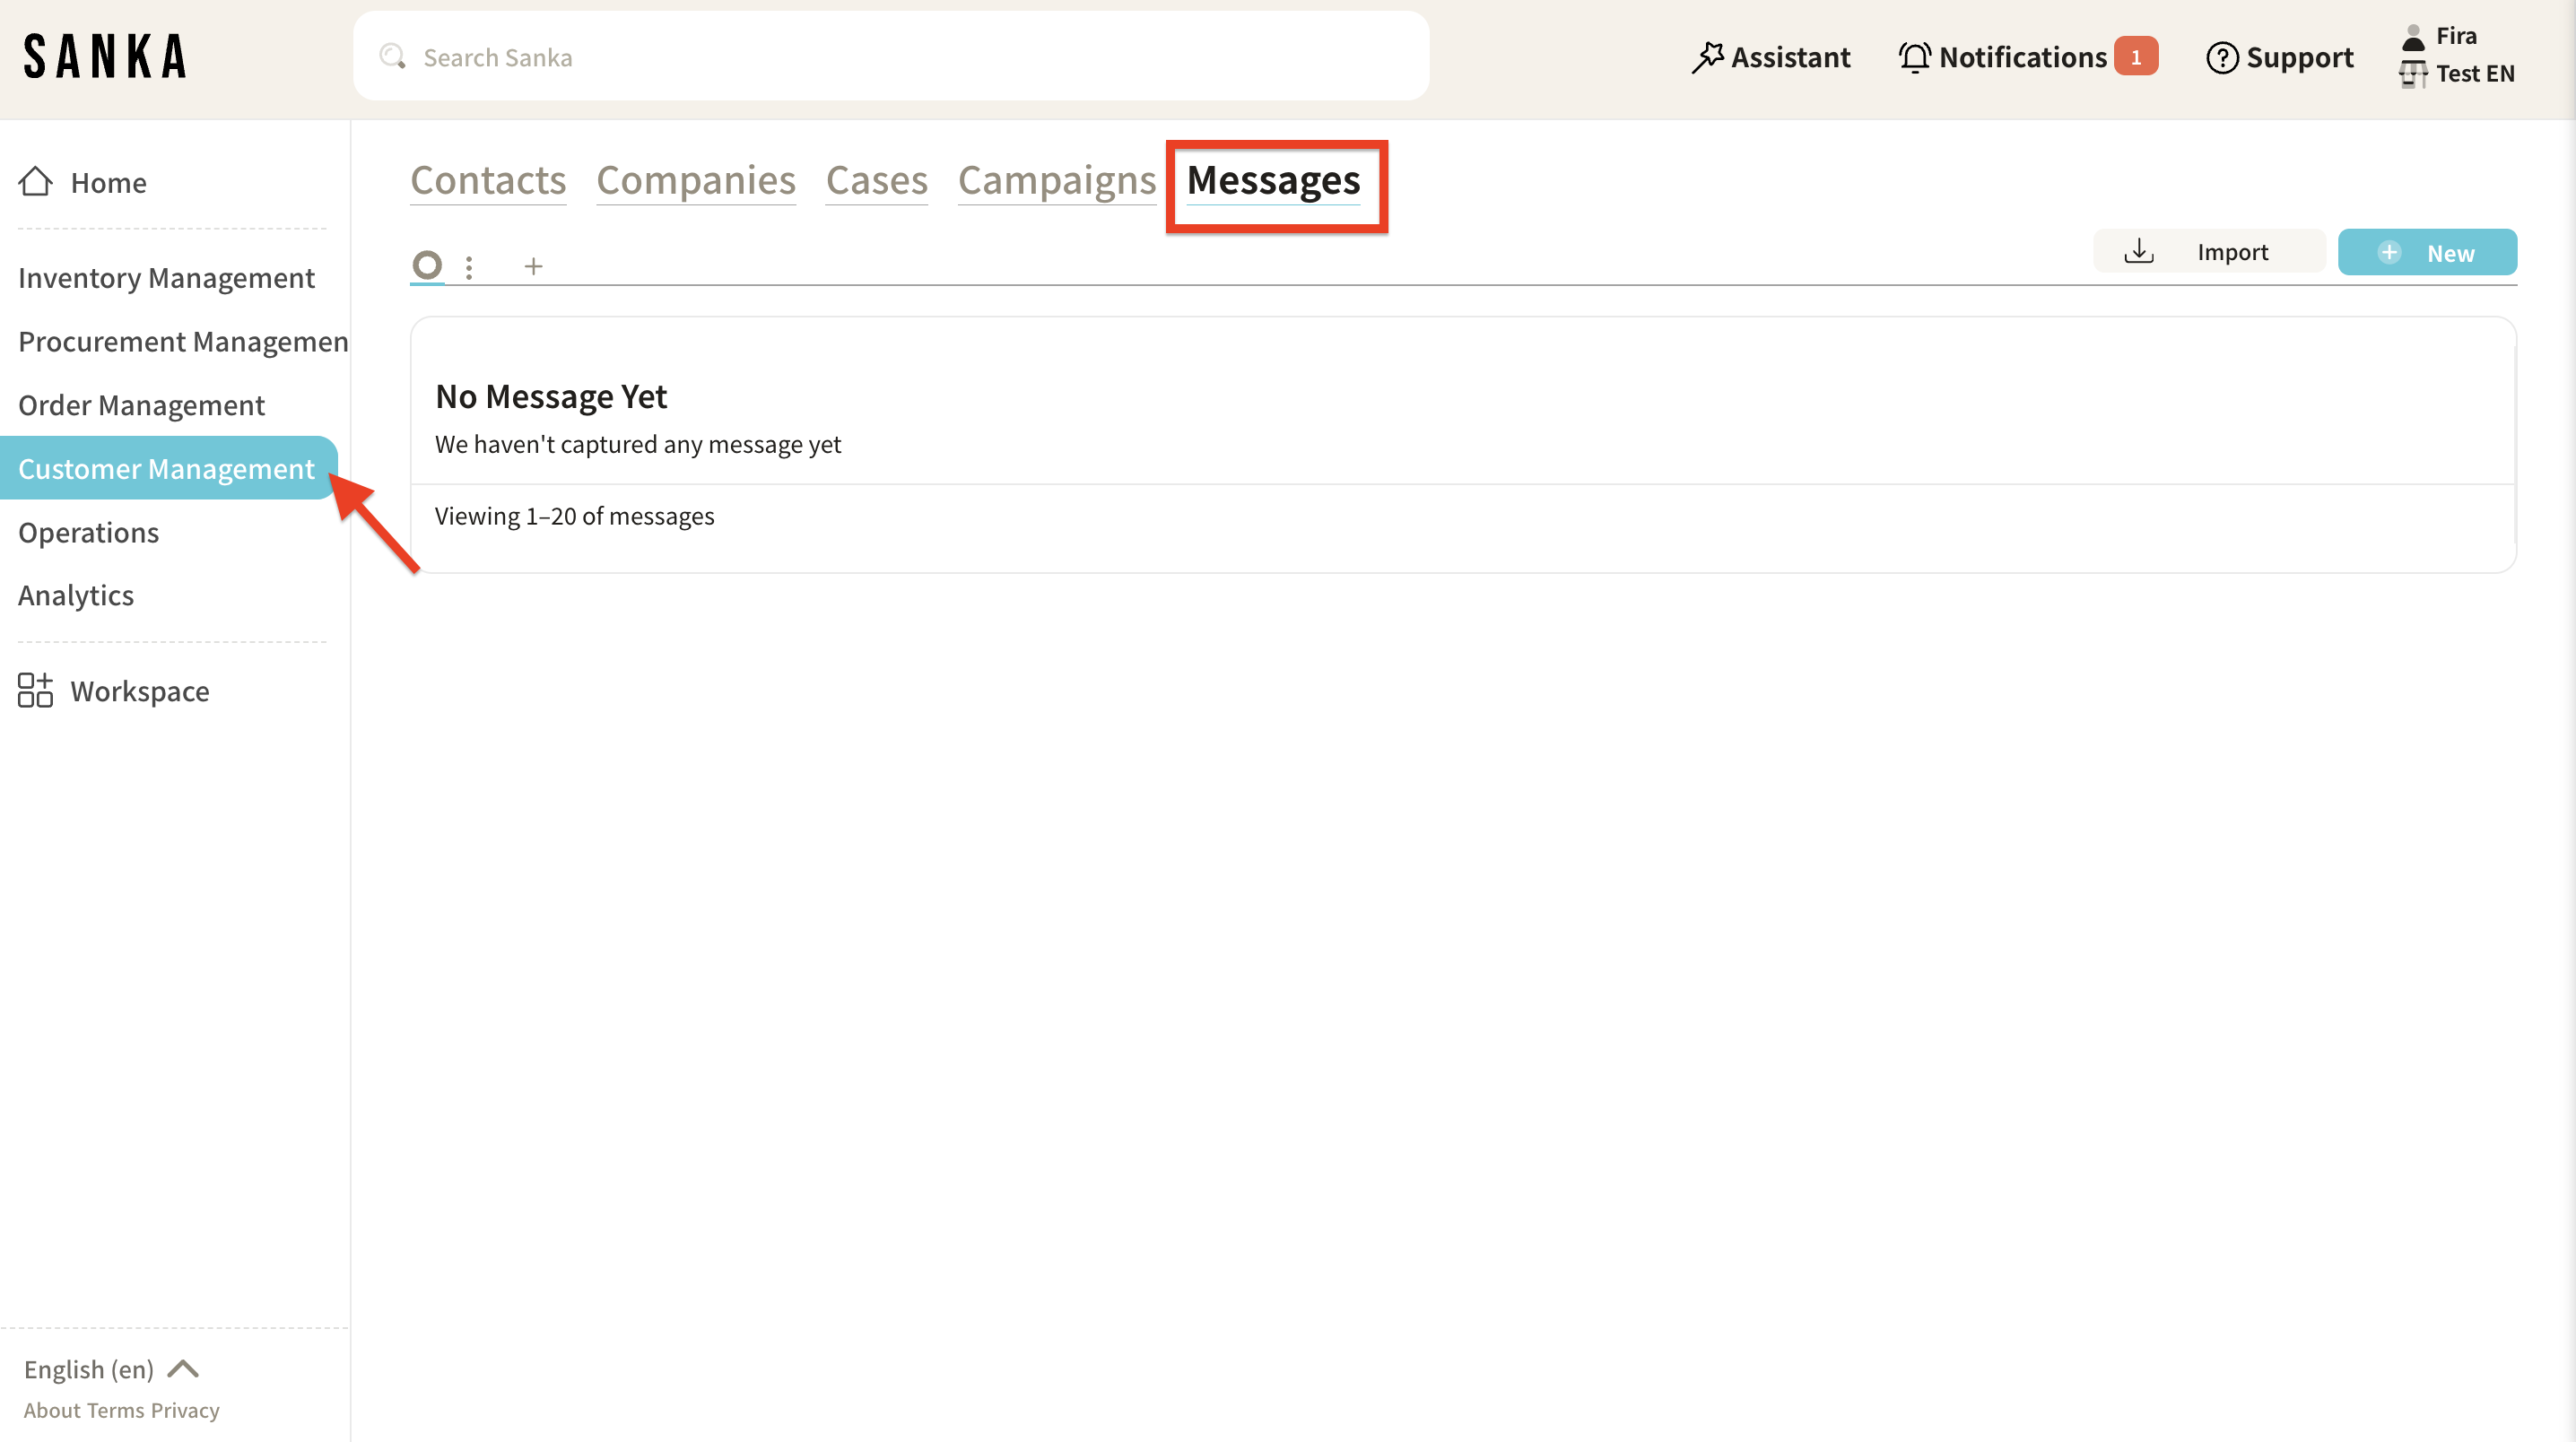
Click the "Customer Management" module and select the "Messages" object.
-
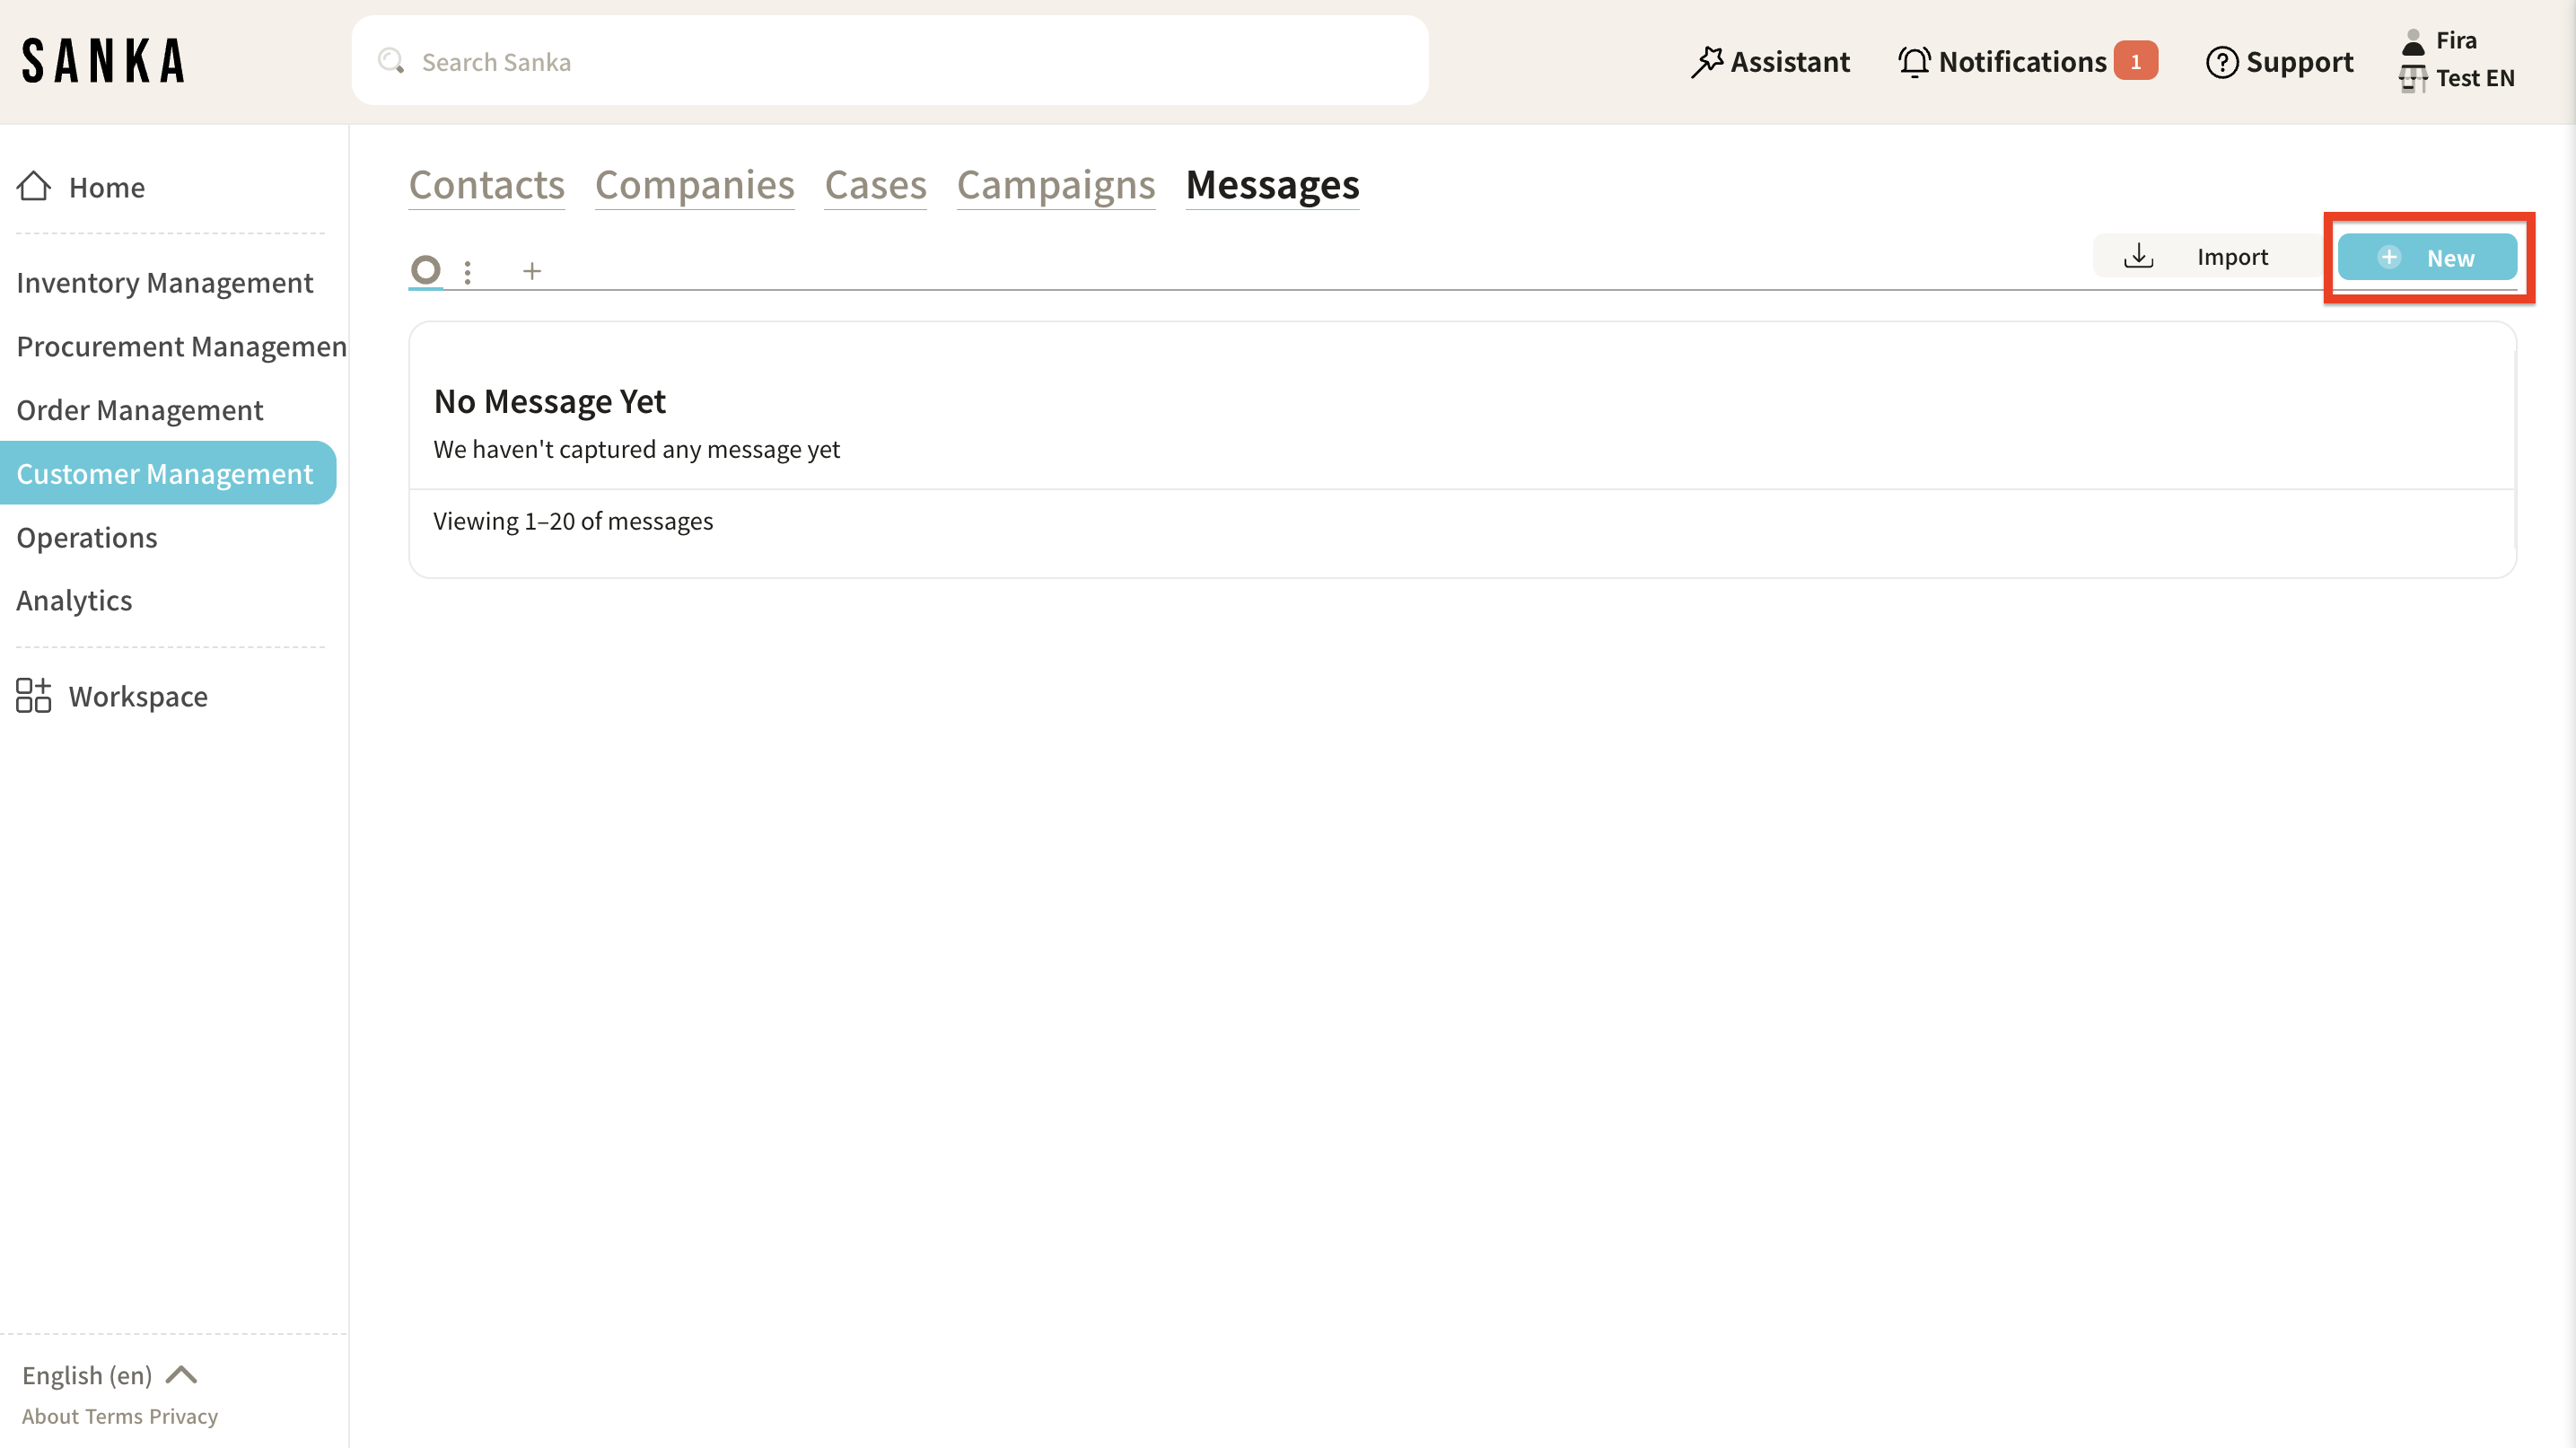
Click "New" in the upper right corner.
-
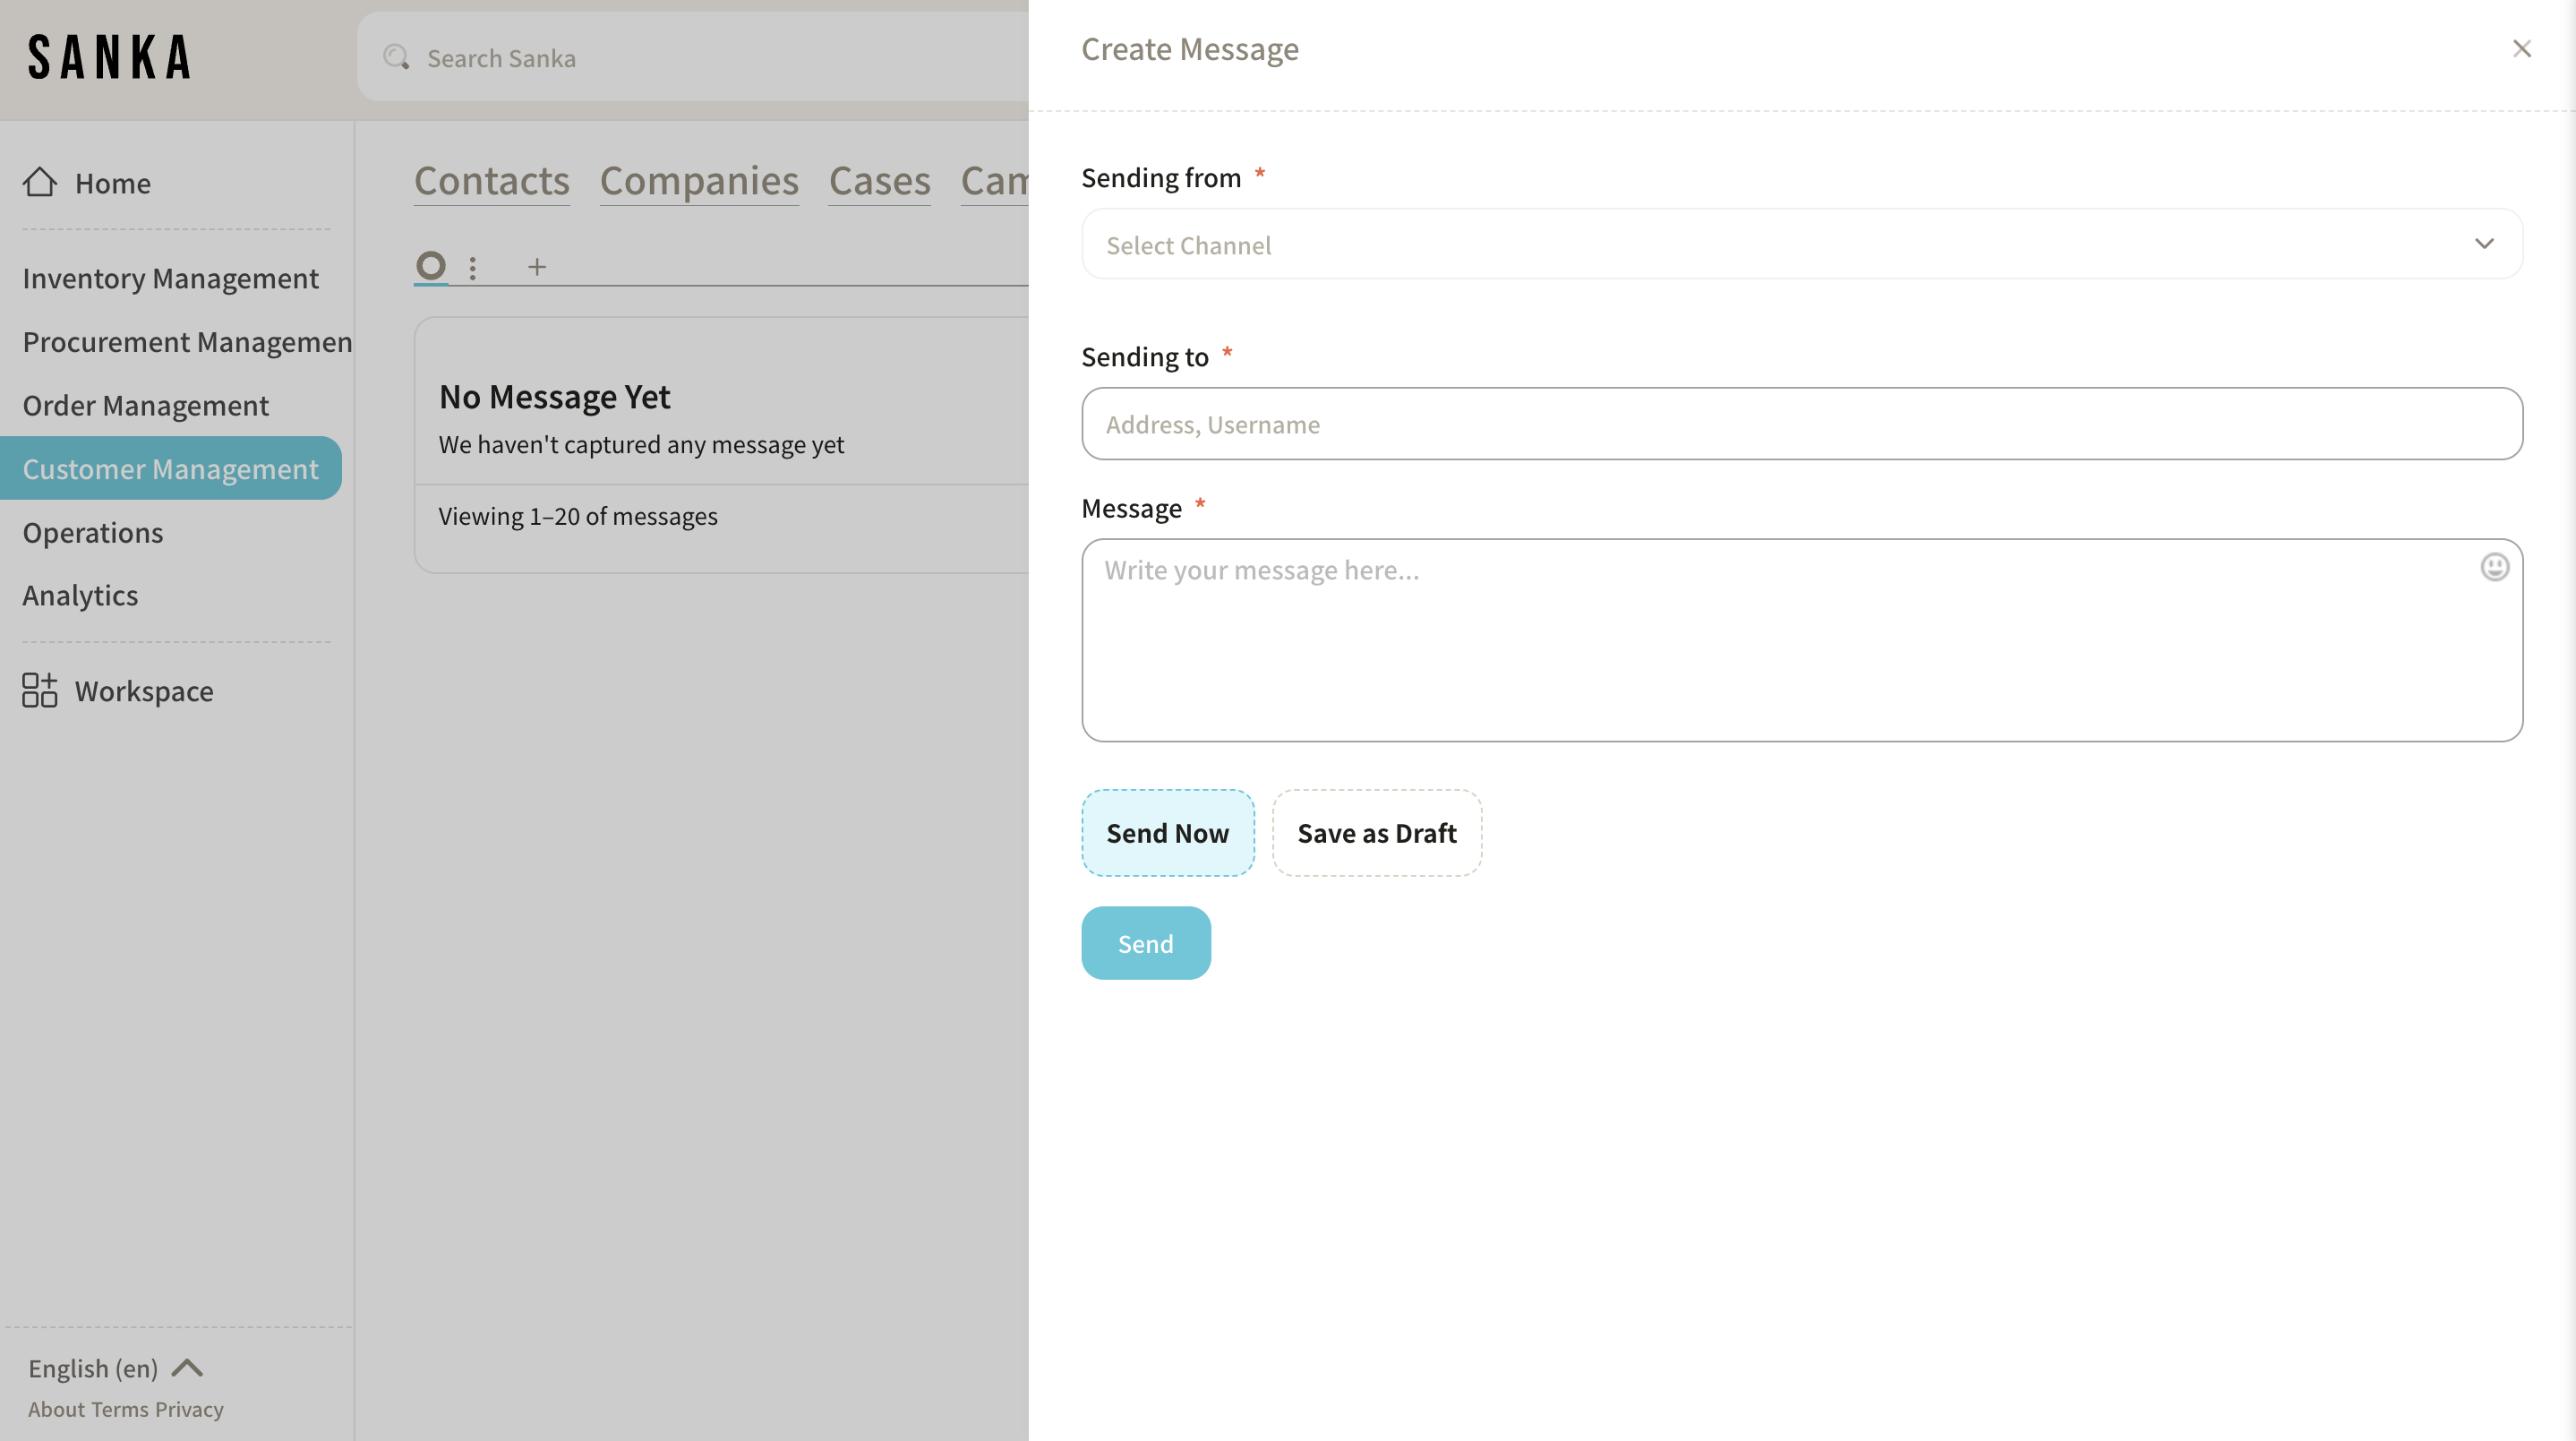
The "Create Message" menu will appear, so fill in the required information.
Next Steps
Here are other things you can do in the Customer Management system:


