What you will learn from this article:
- Overview about what is Workspace in Sanka
- Create or add a new Workspace in existing account
- Basic setting of the created Workspace
Overview
What is Workspace in Sanka?
A Workspace in Sanka is the foundational structure that organizes all your operations, modules, and data within the platform.
It acts as a centralized hub where teams collaborate, manage tasks, and track progress efficiently.
Each workspace is customizable to reflect the unique needs of your organization, project, or business unit.
In a Workspace you can do:
- Configure settings such as currency, timezone, and user roles.
- Access solutions offered by Sanka and manage it as per you business needs.
- Share access with team members, assign roles, and enable seamless teamwork.
Create a New Workspace
1: In Sanka, you can add more Workspace within one user. You need to create an account at Sanka and successfully directed to a Workspace.
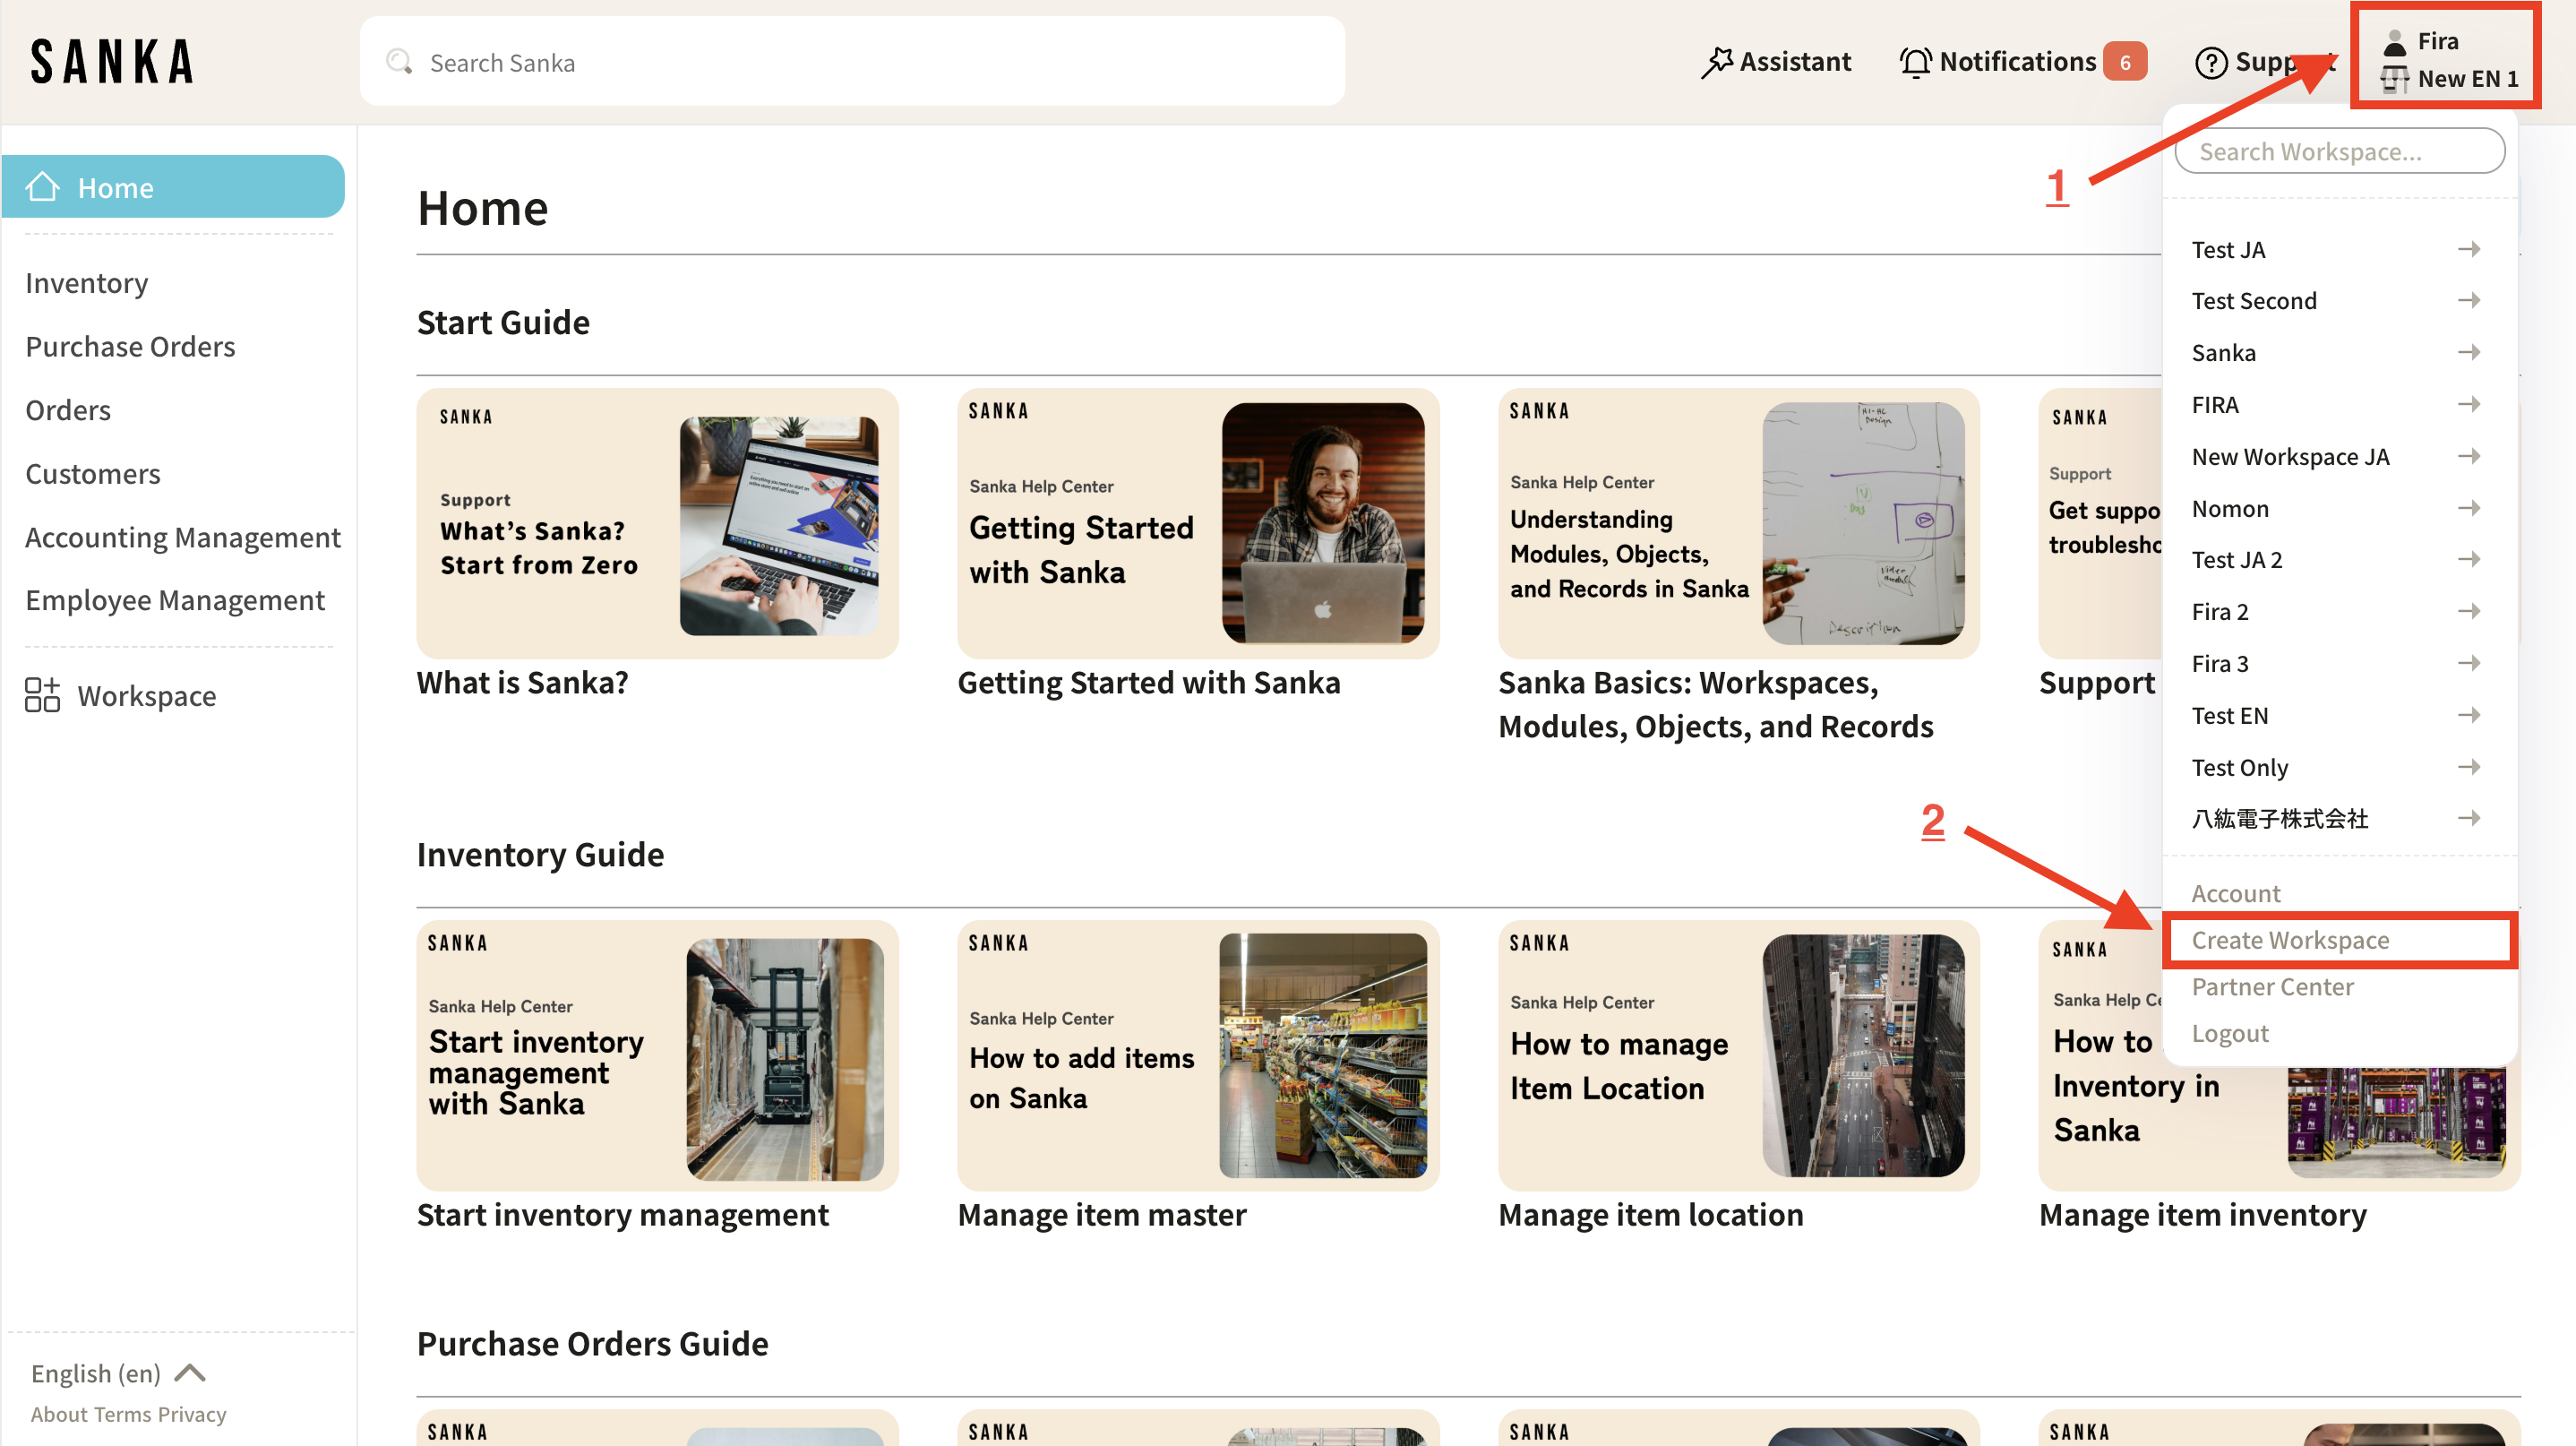
2: At your home page, click on the existing Workspace icon or name then click Create Workspace from the menu.
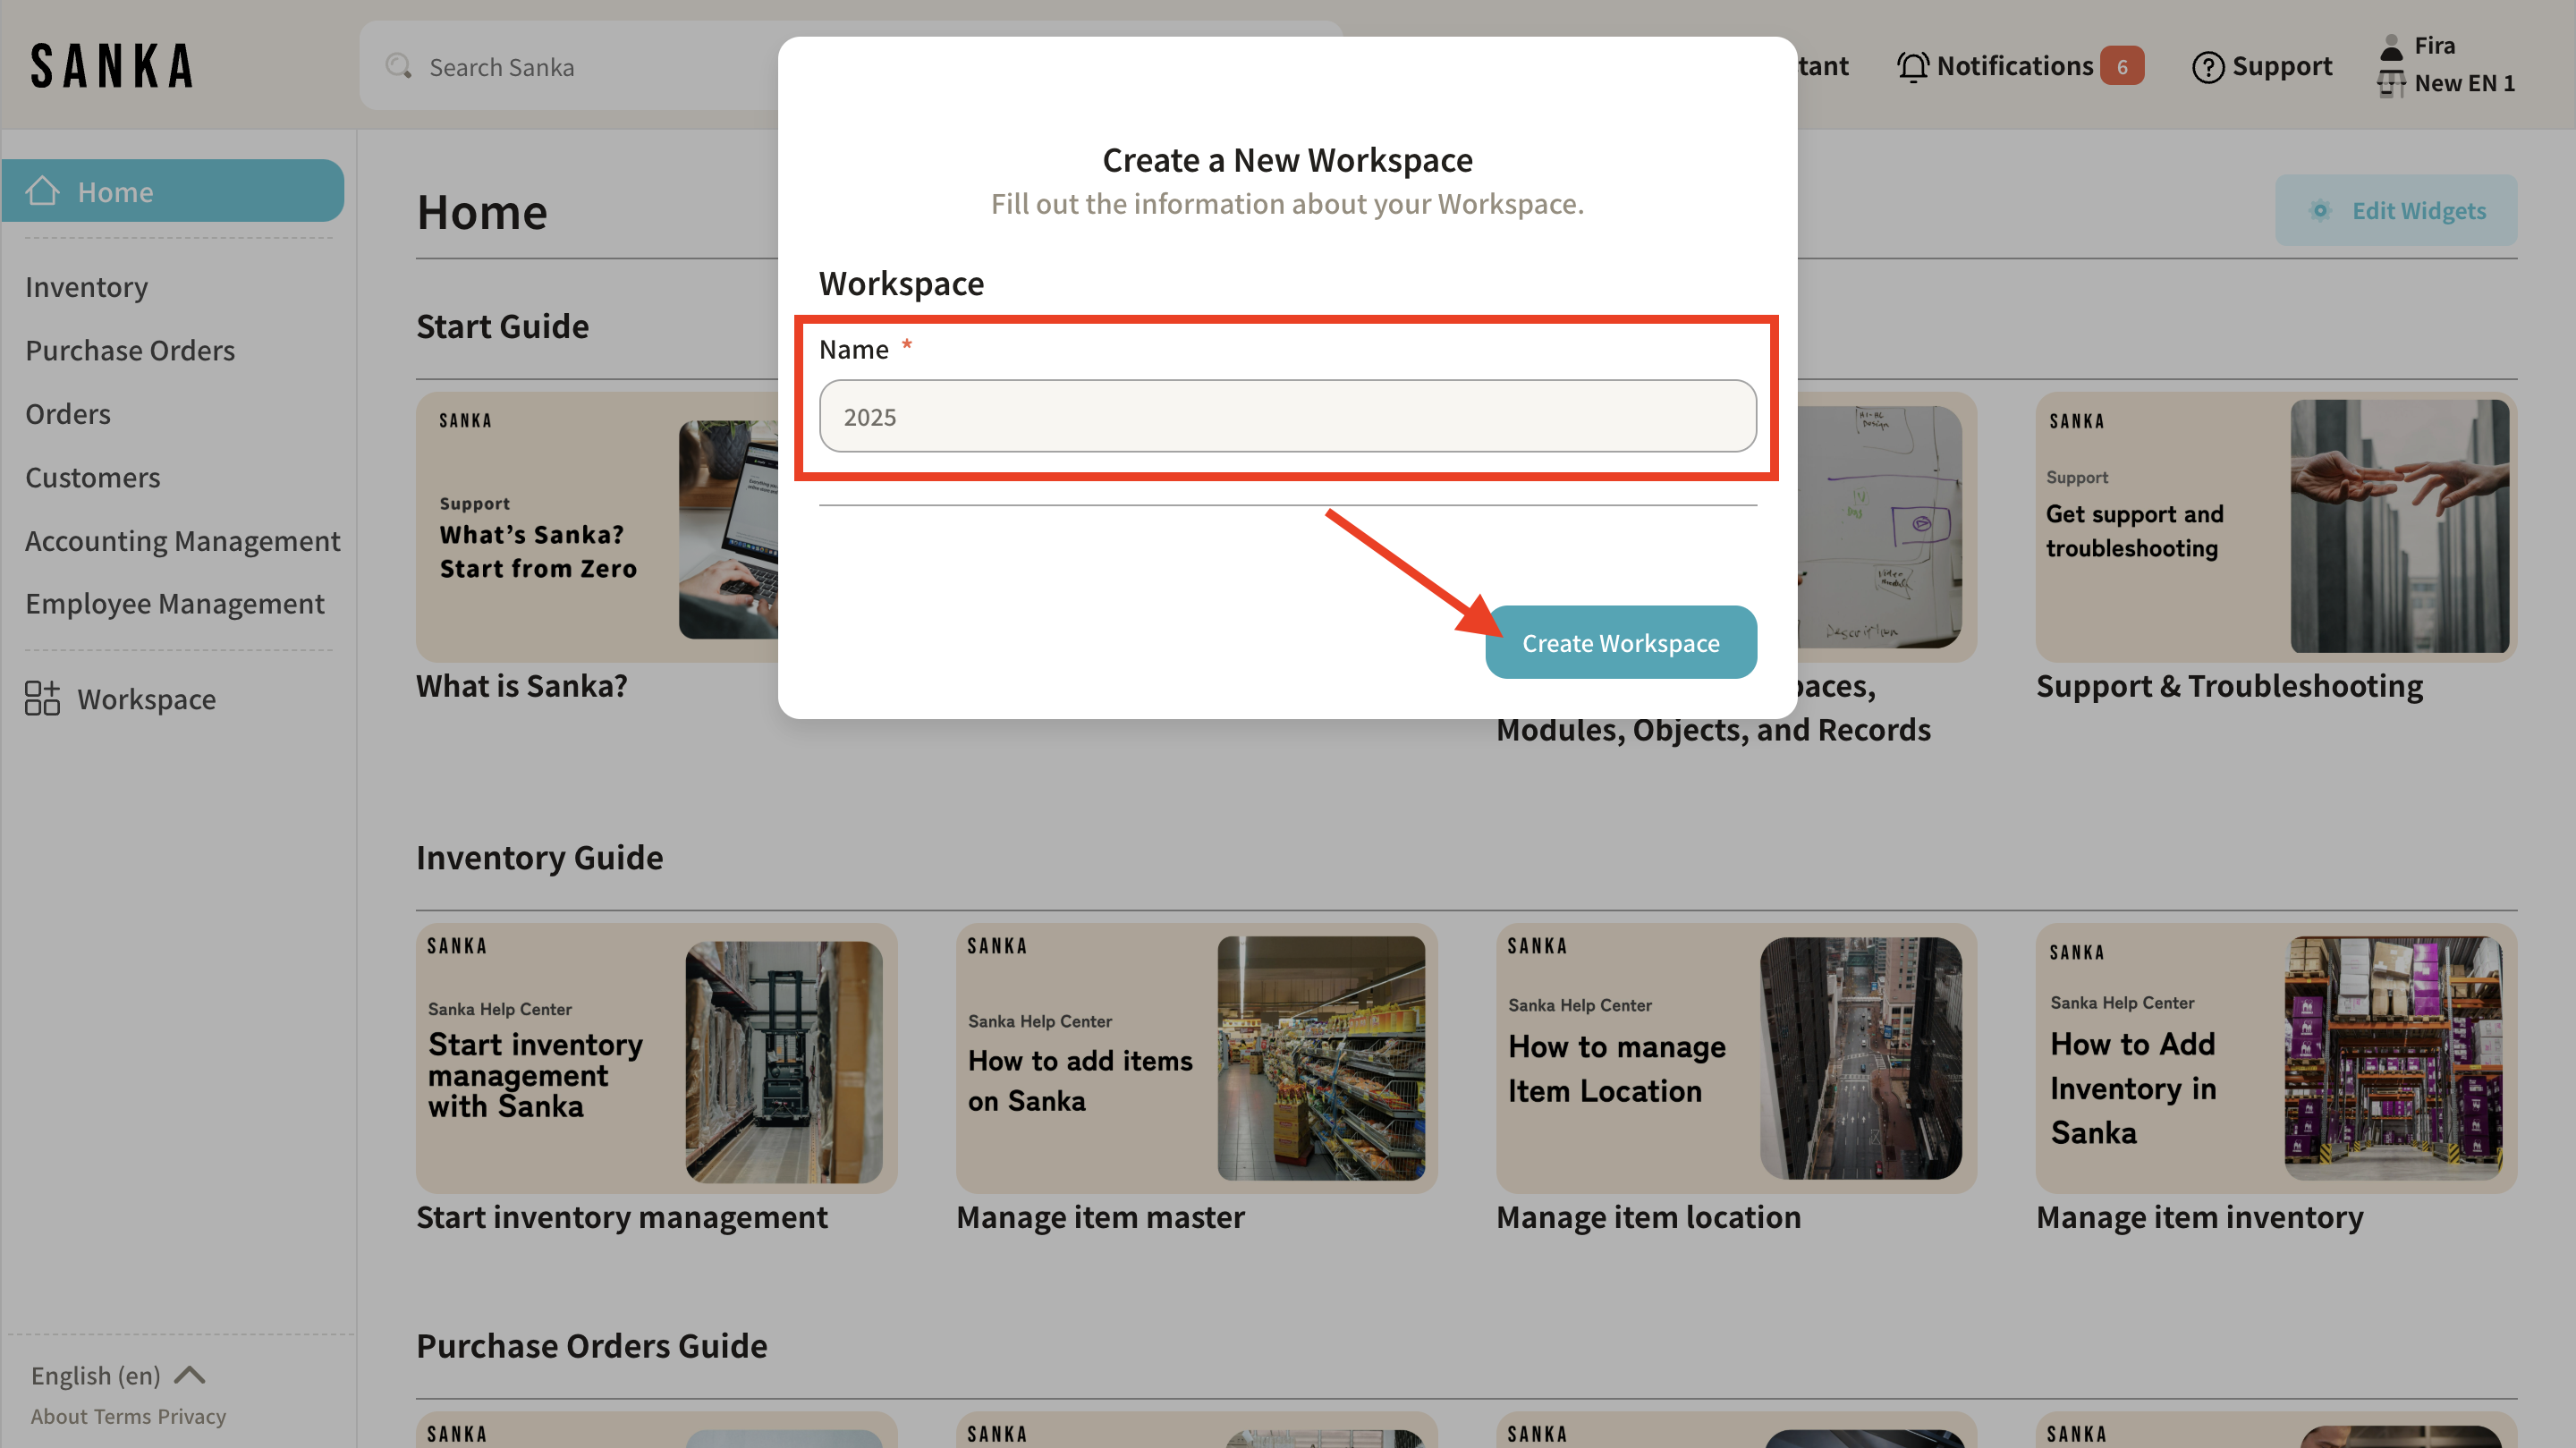
3: Provide a name that represents your team, project, or business. After enter the name, click Create Workspace button.
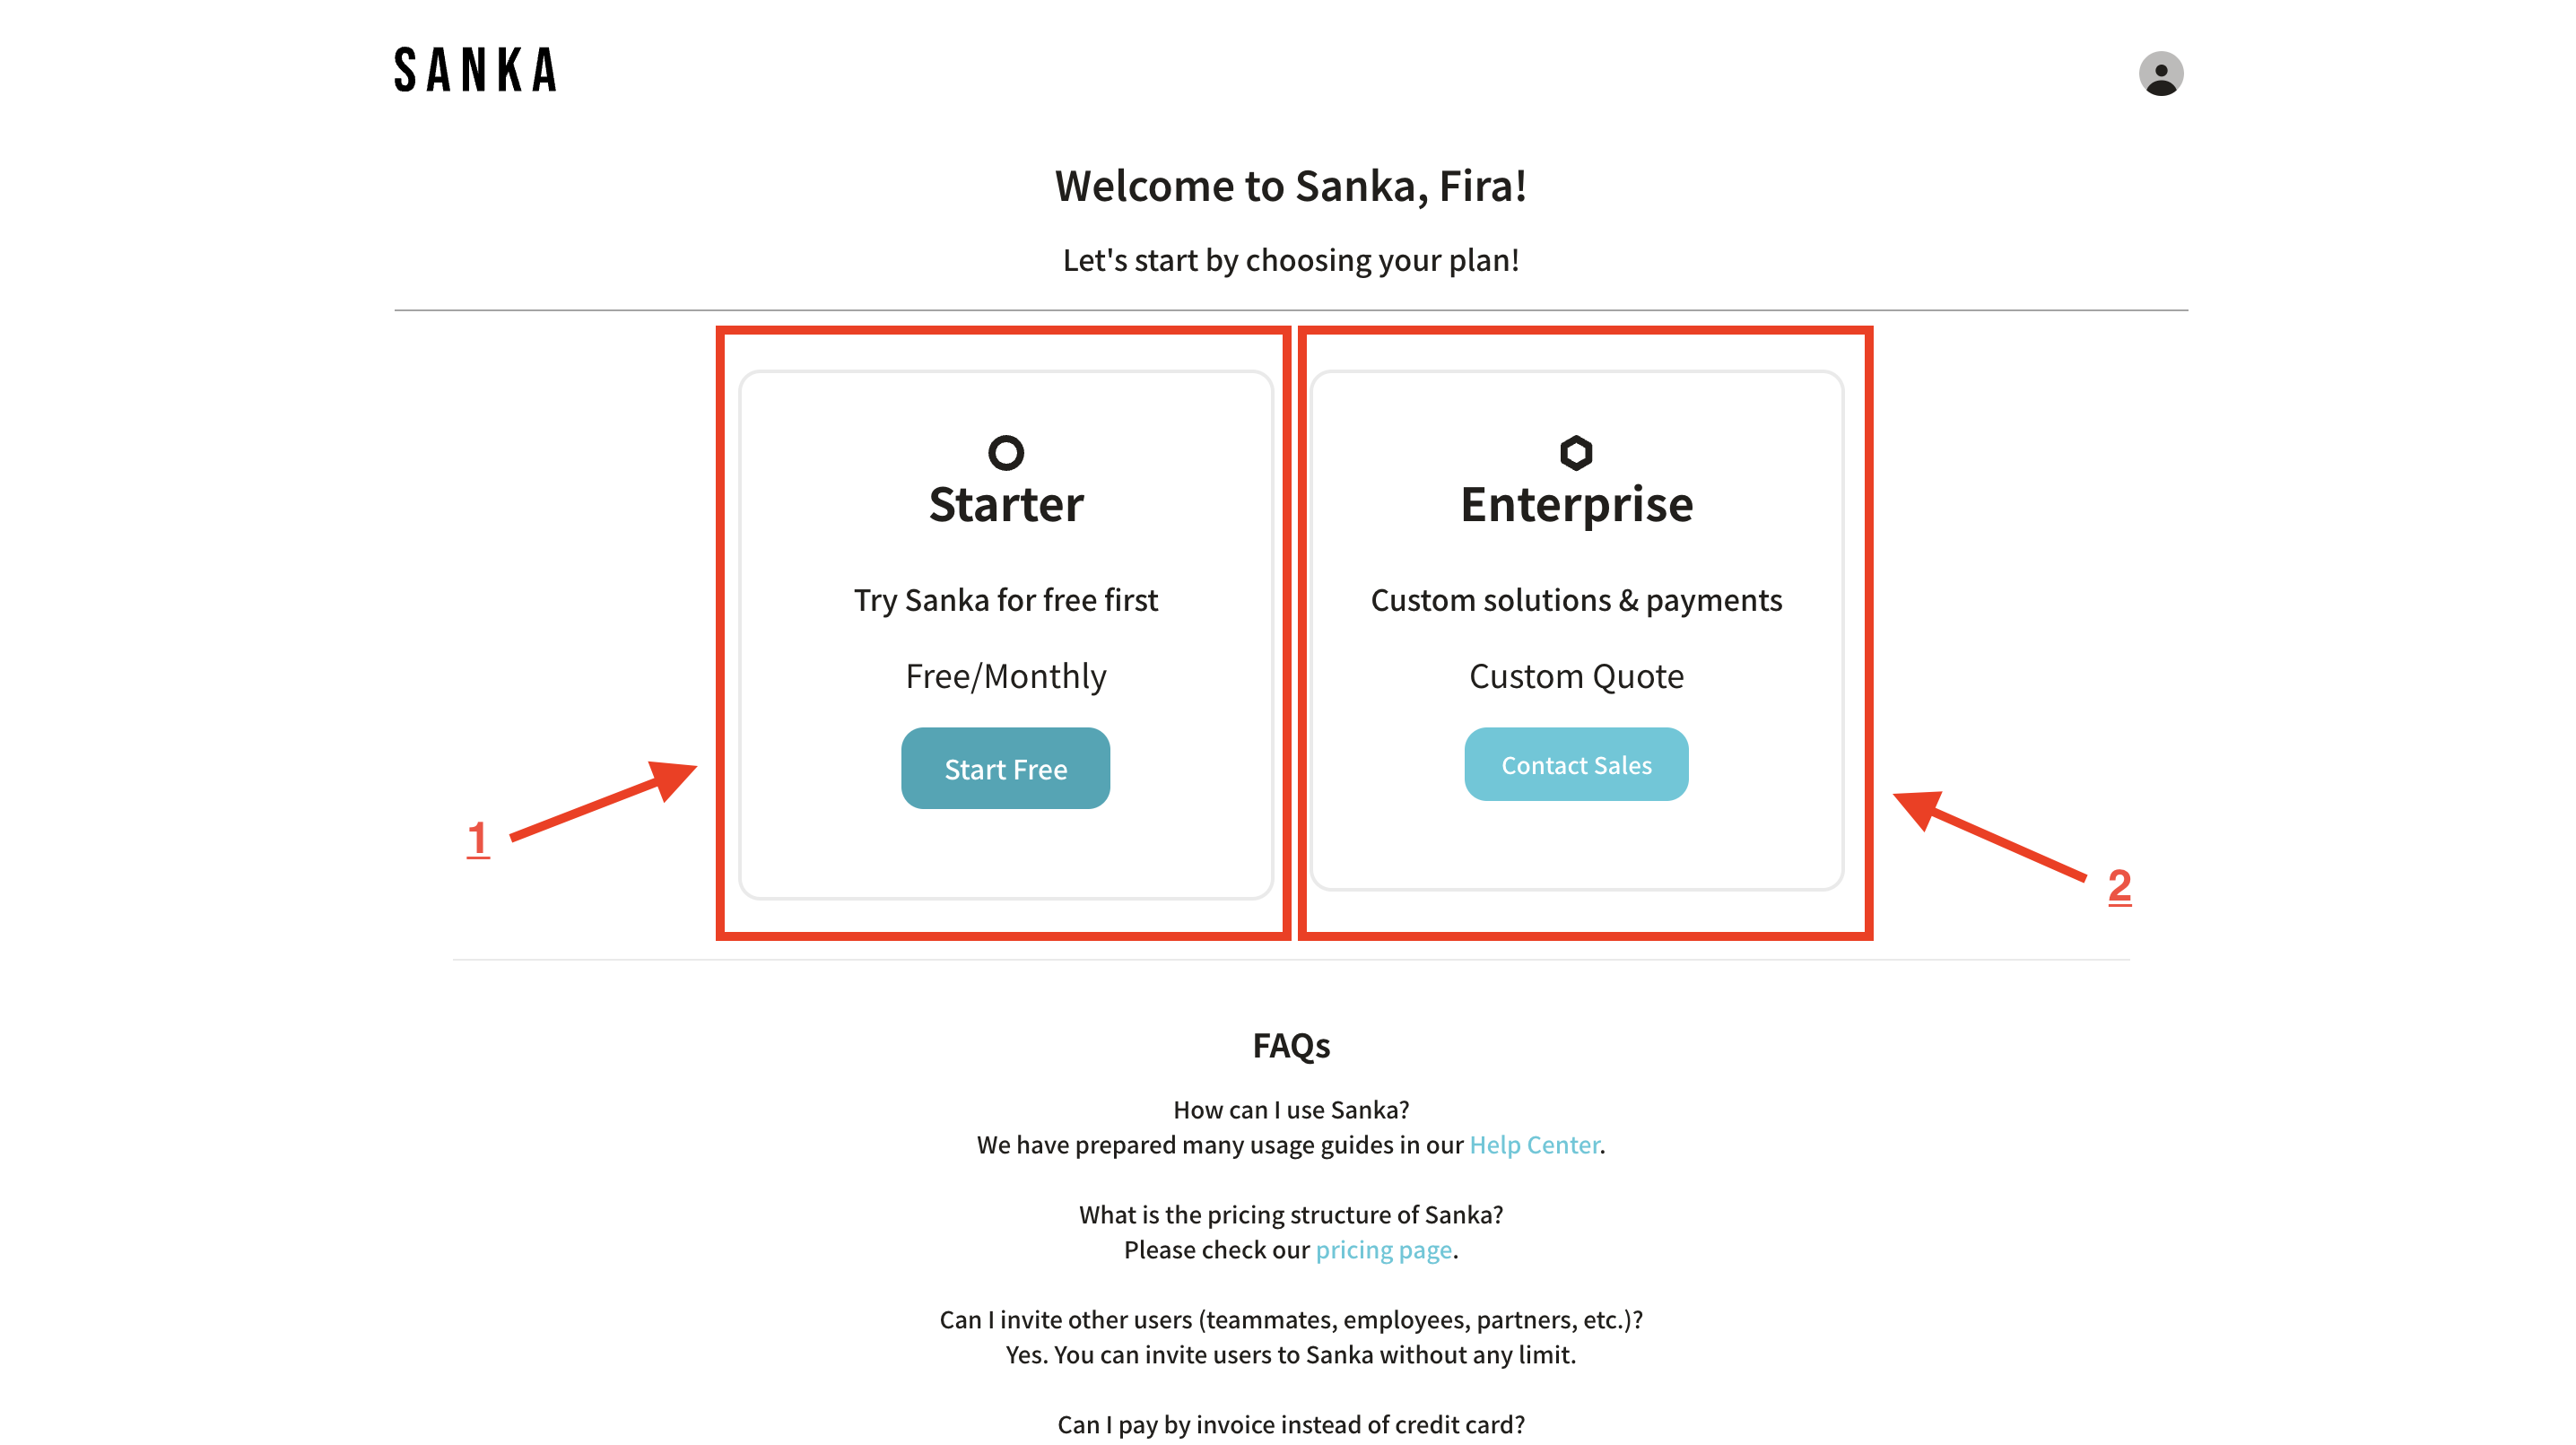
4: Choose the plan. We recommend Starter Plan for your initial use (1). If you need custom solutions or features that aligned for your business, directly contact our sales team for more details of Enterprise Plan (2).
5: After you’ve selected the plan, select the features you want. Features here refer to Modules or Solutions that you’ll be used in Sanka’s Workspace.
Learn about Modules here.
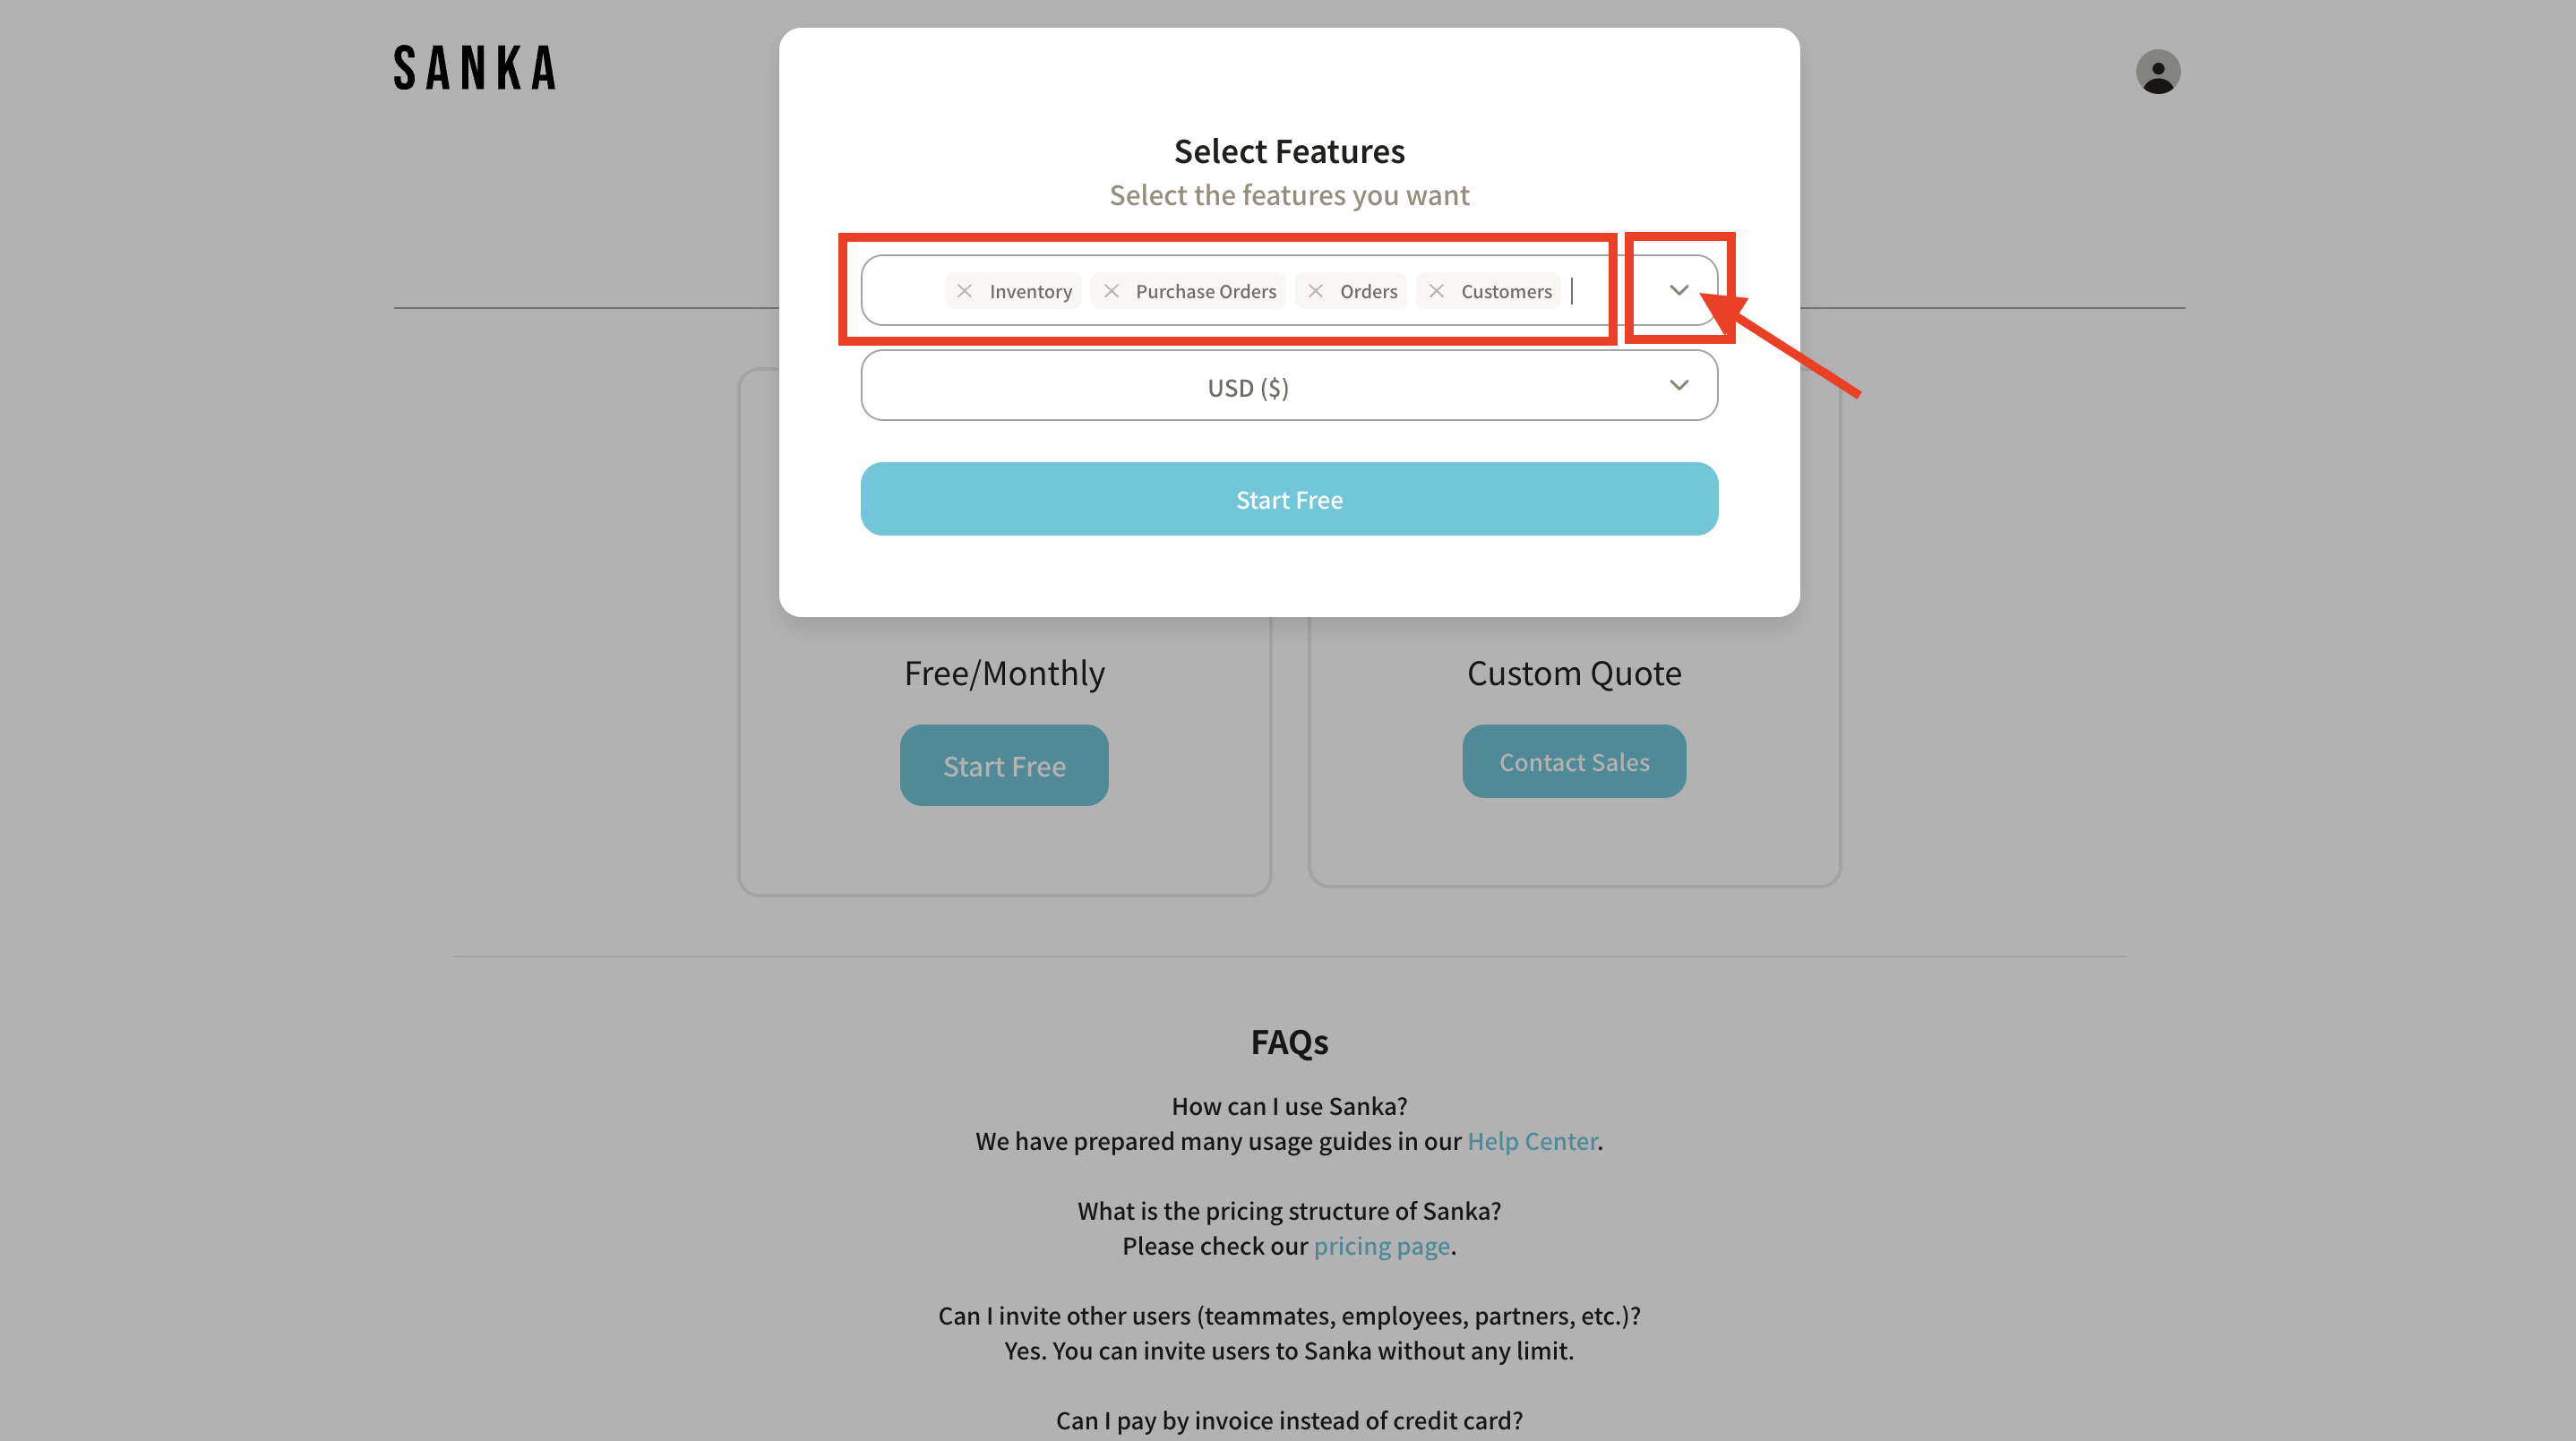
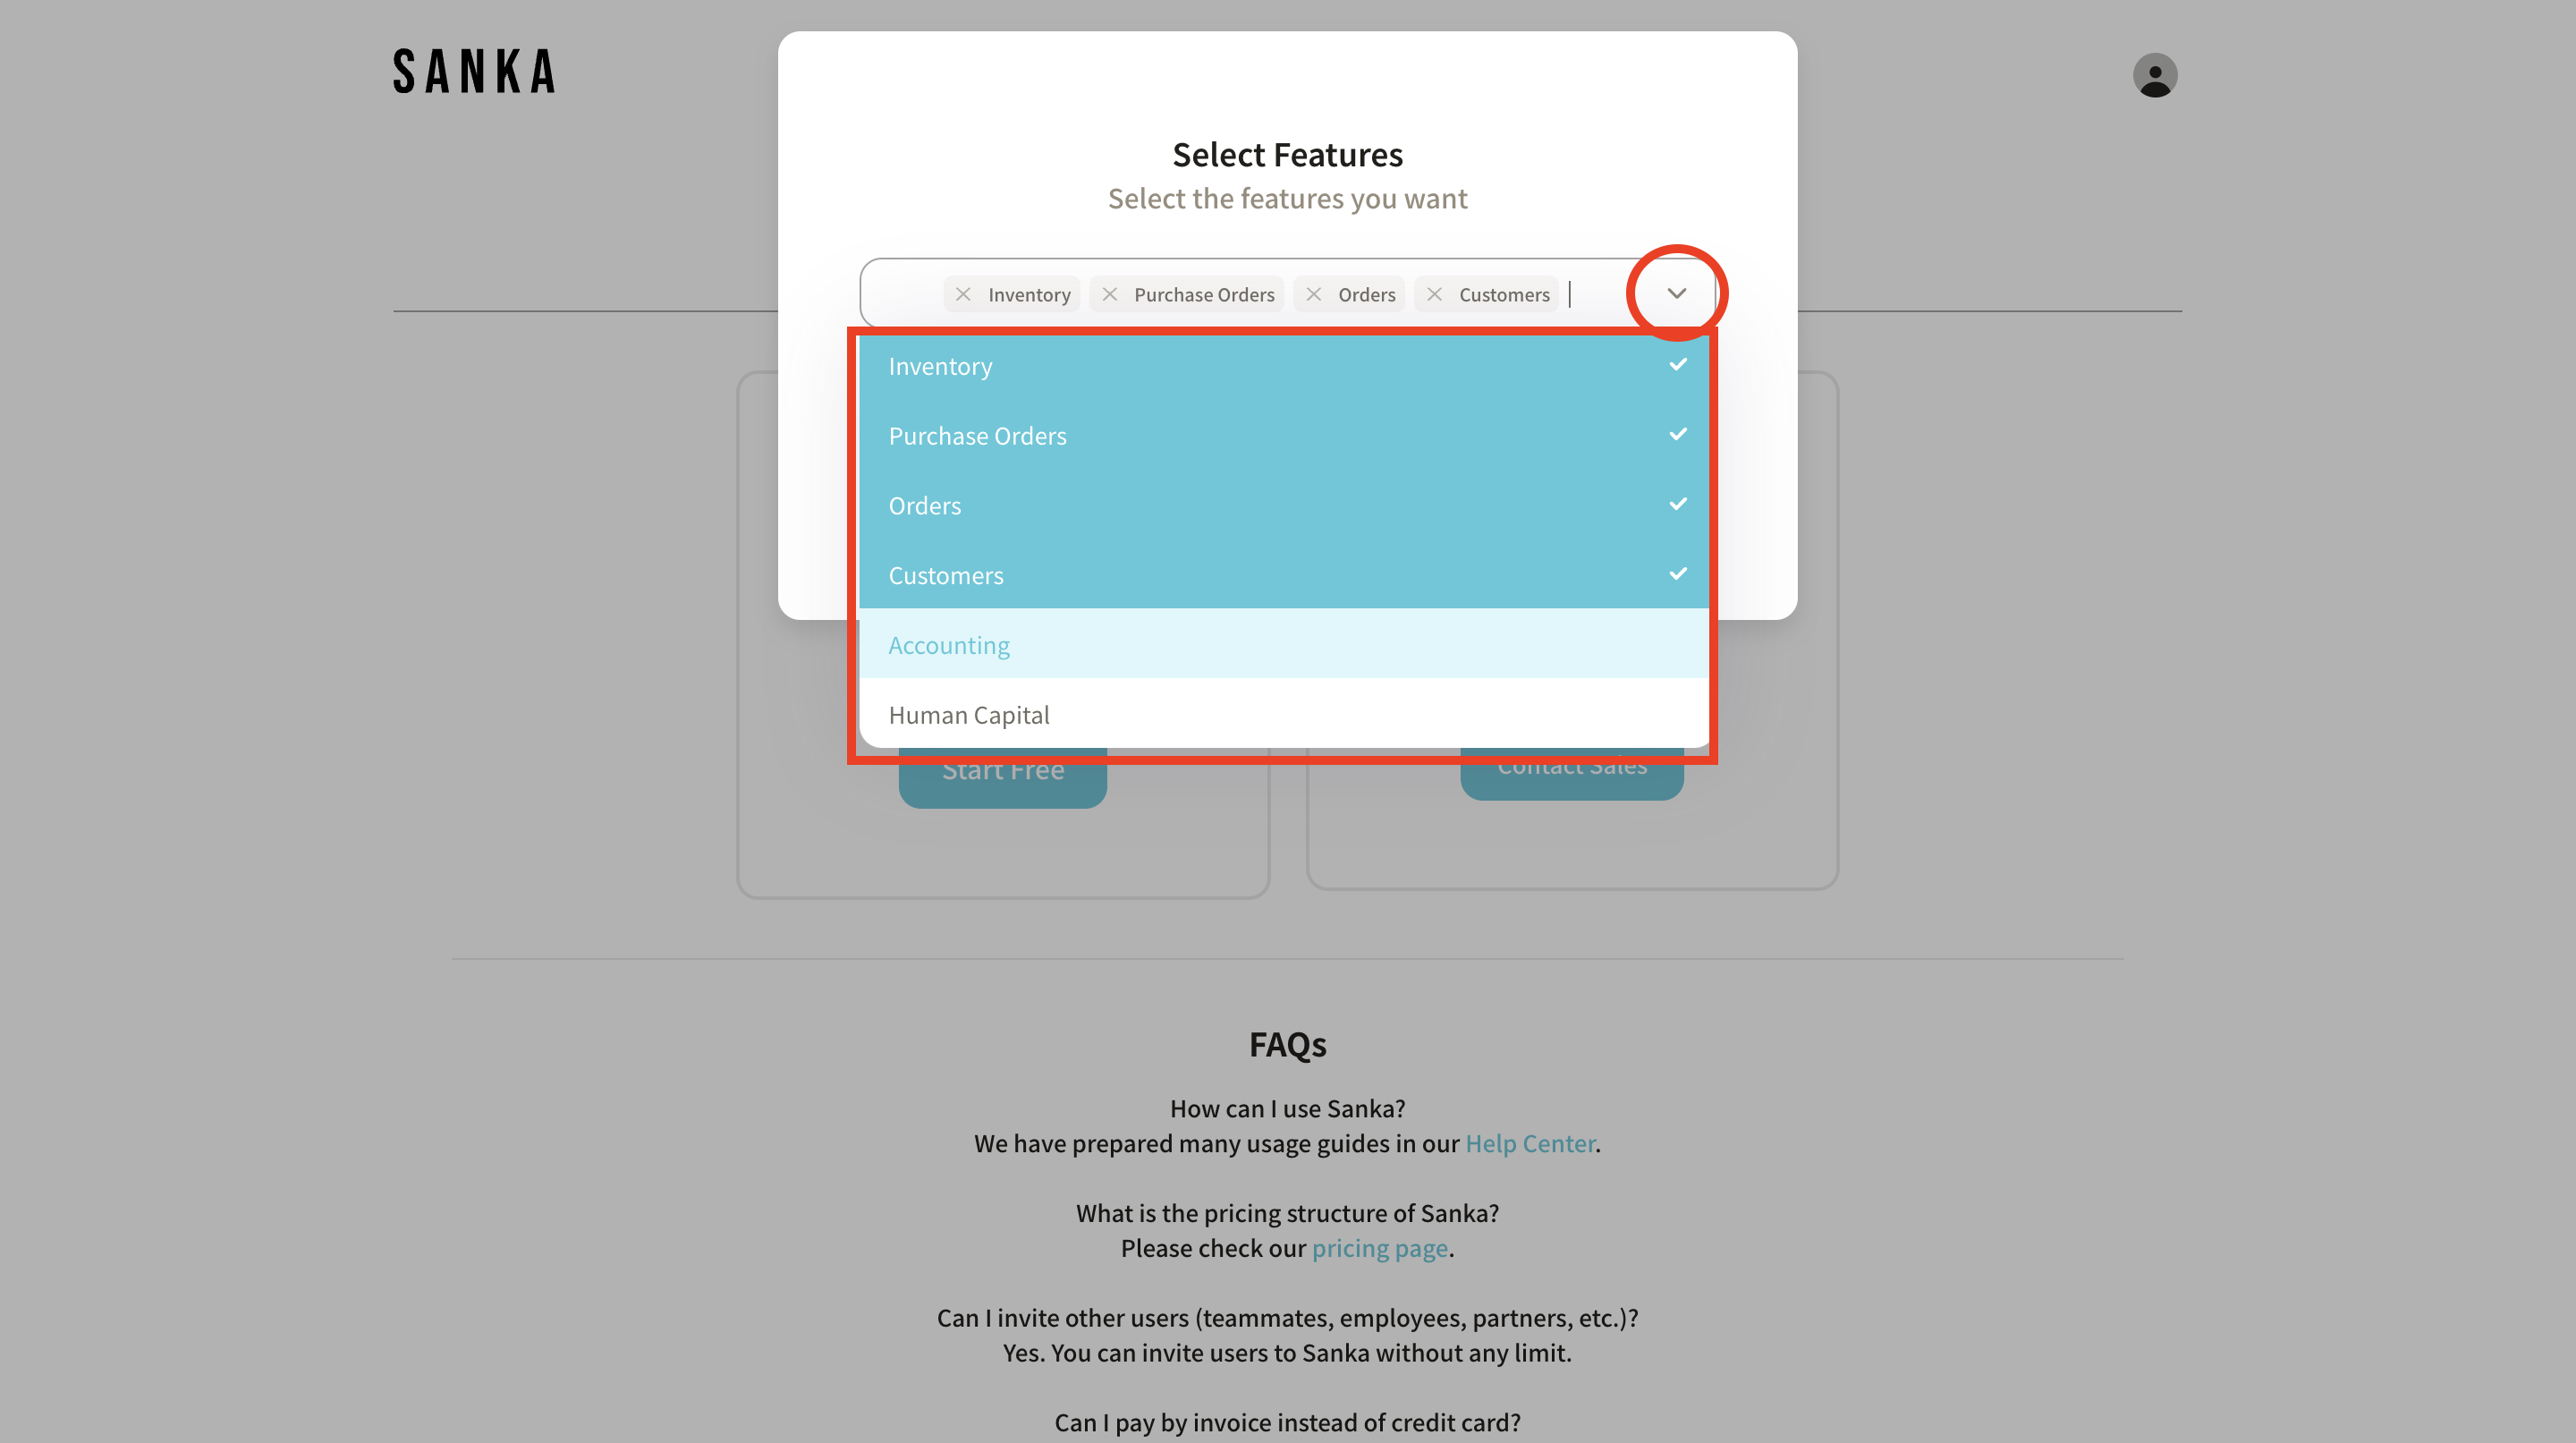
6: Show more features by clicking the dropdown menu. If you can’t find the features you need, please contact our customer service.
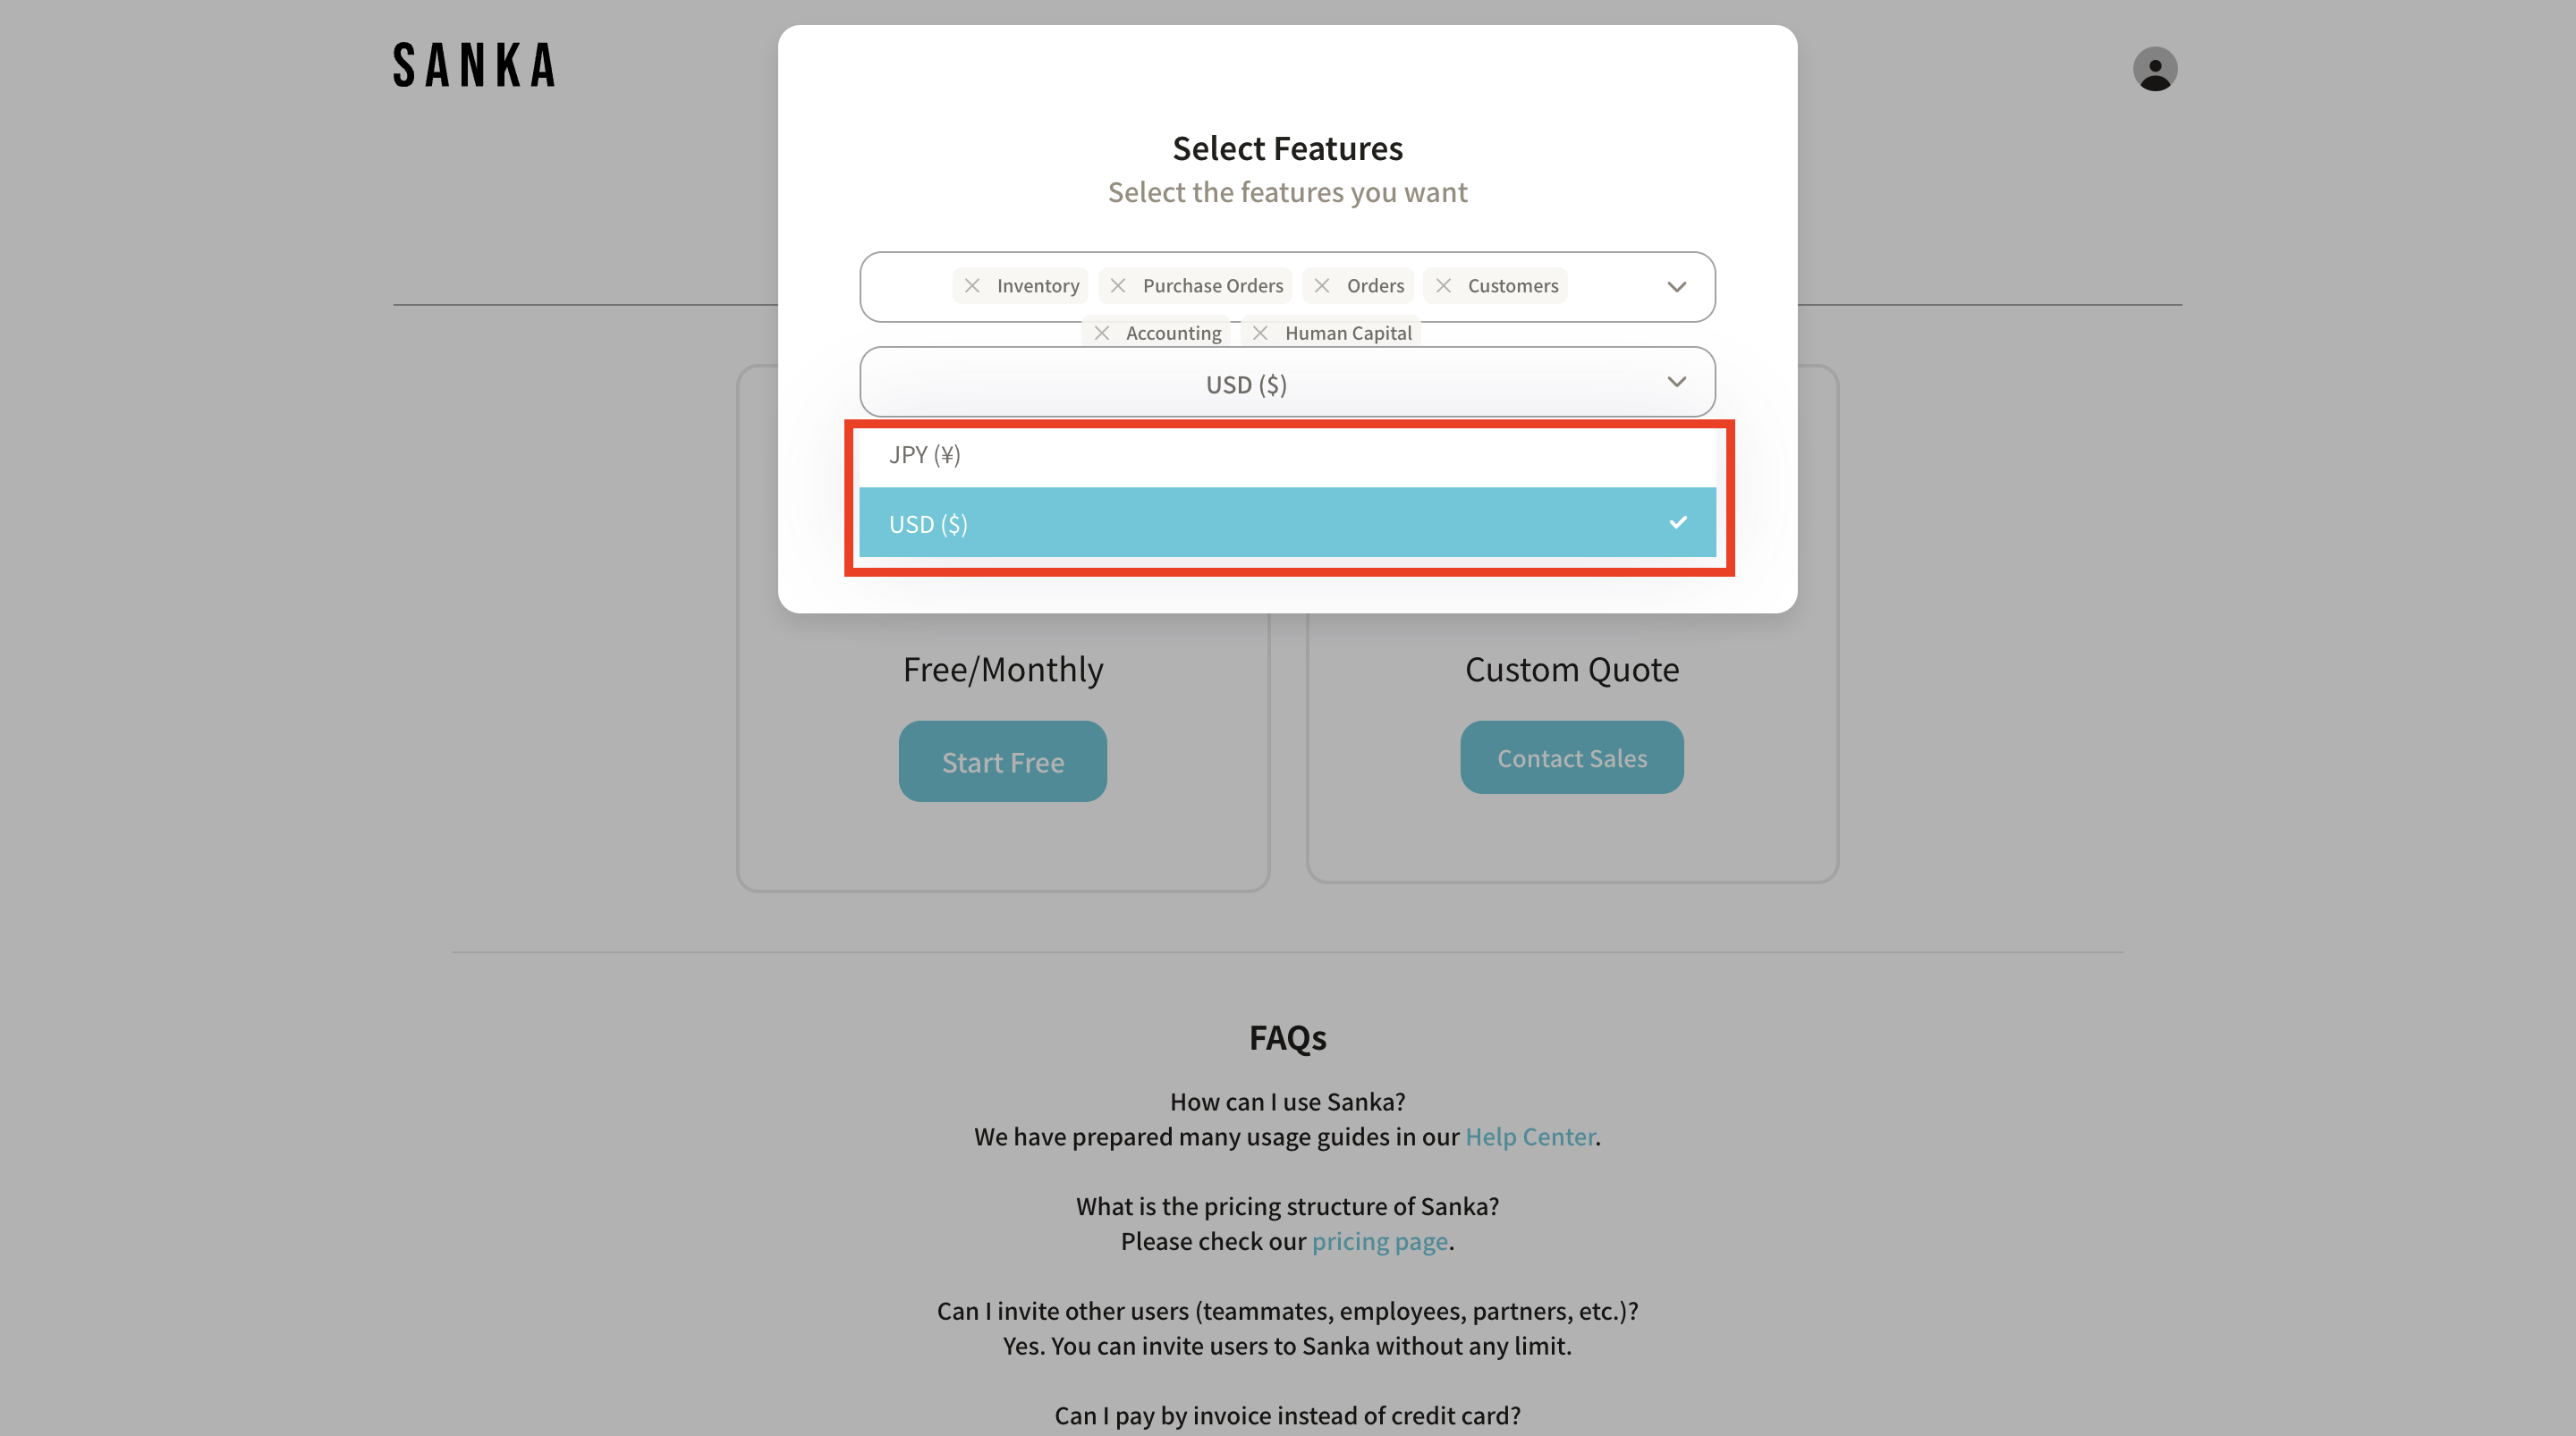
7: The next step is choosing your default currency. You can change it later at Workspace Setting.
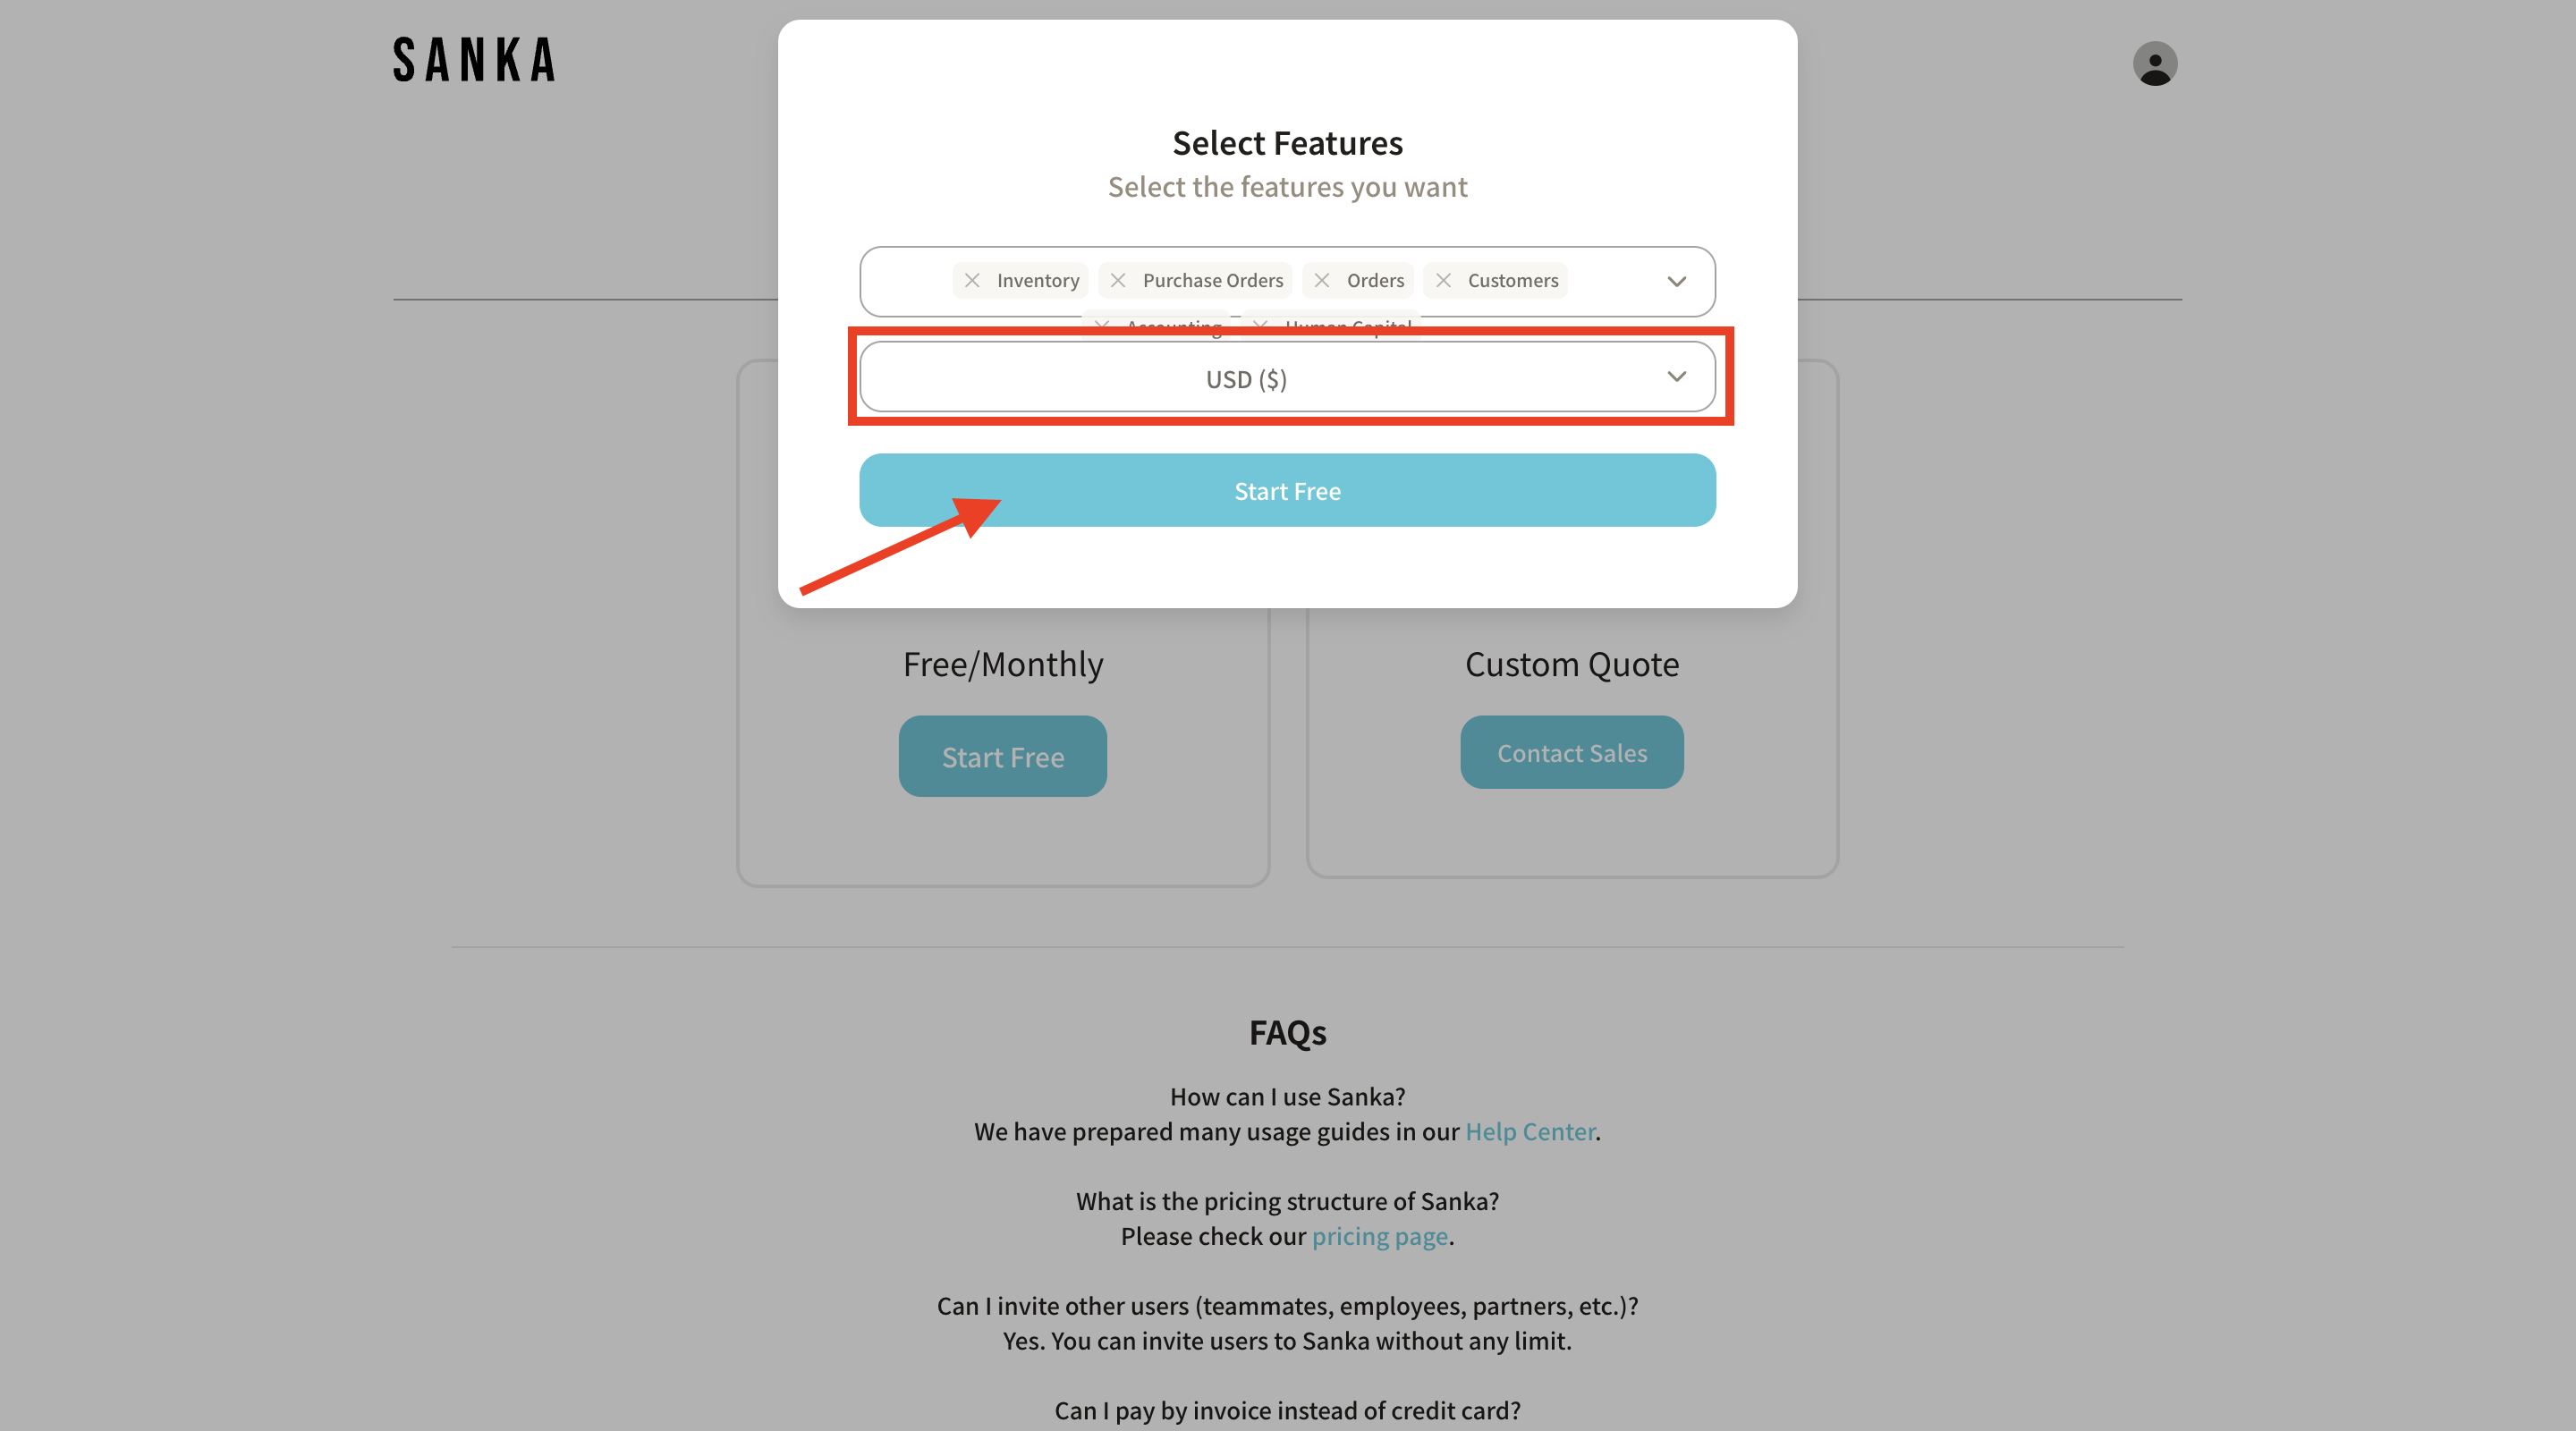
8: If you’ve finished, click the Start Free button.
9: You’ll be directed to Home page. It will now appear in your workspace list.
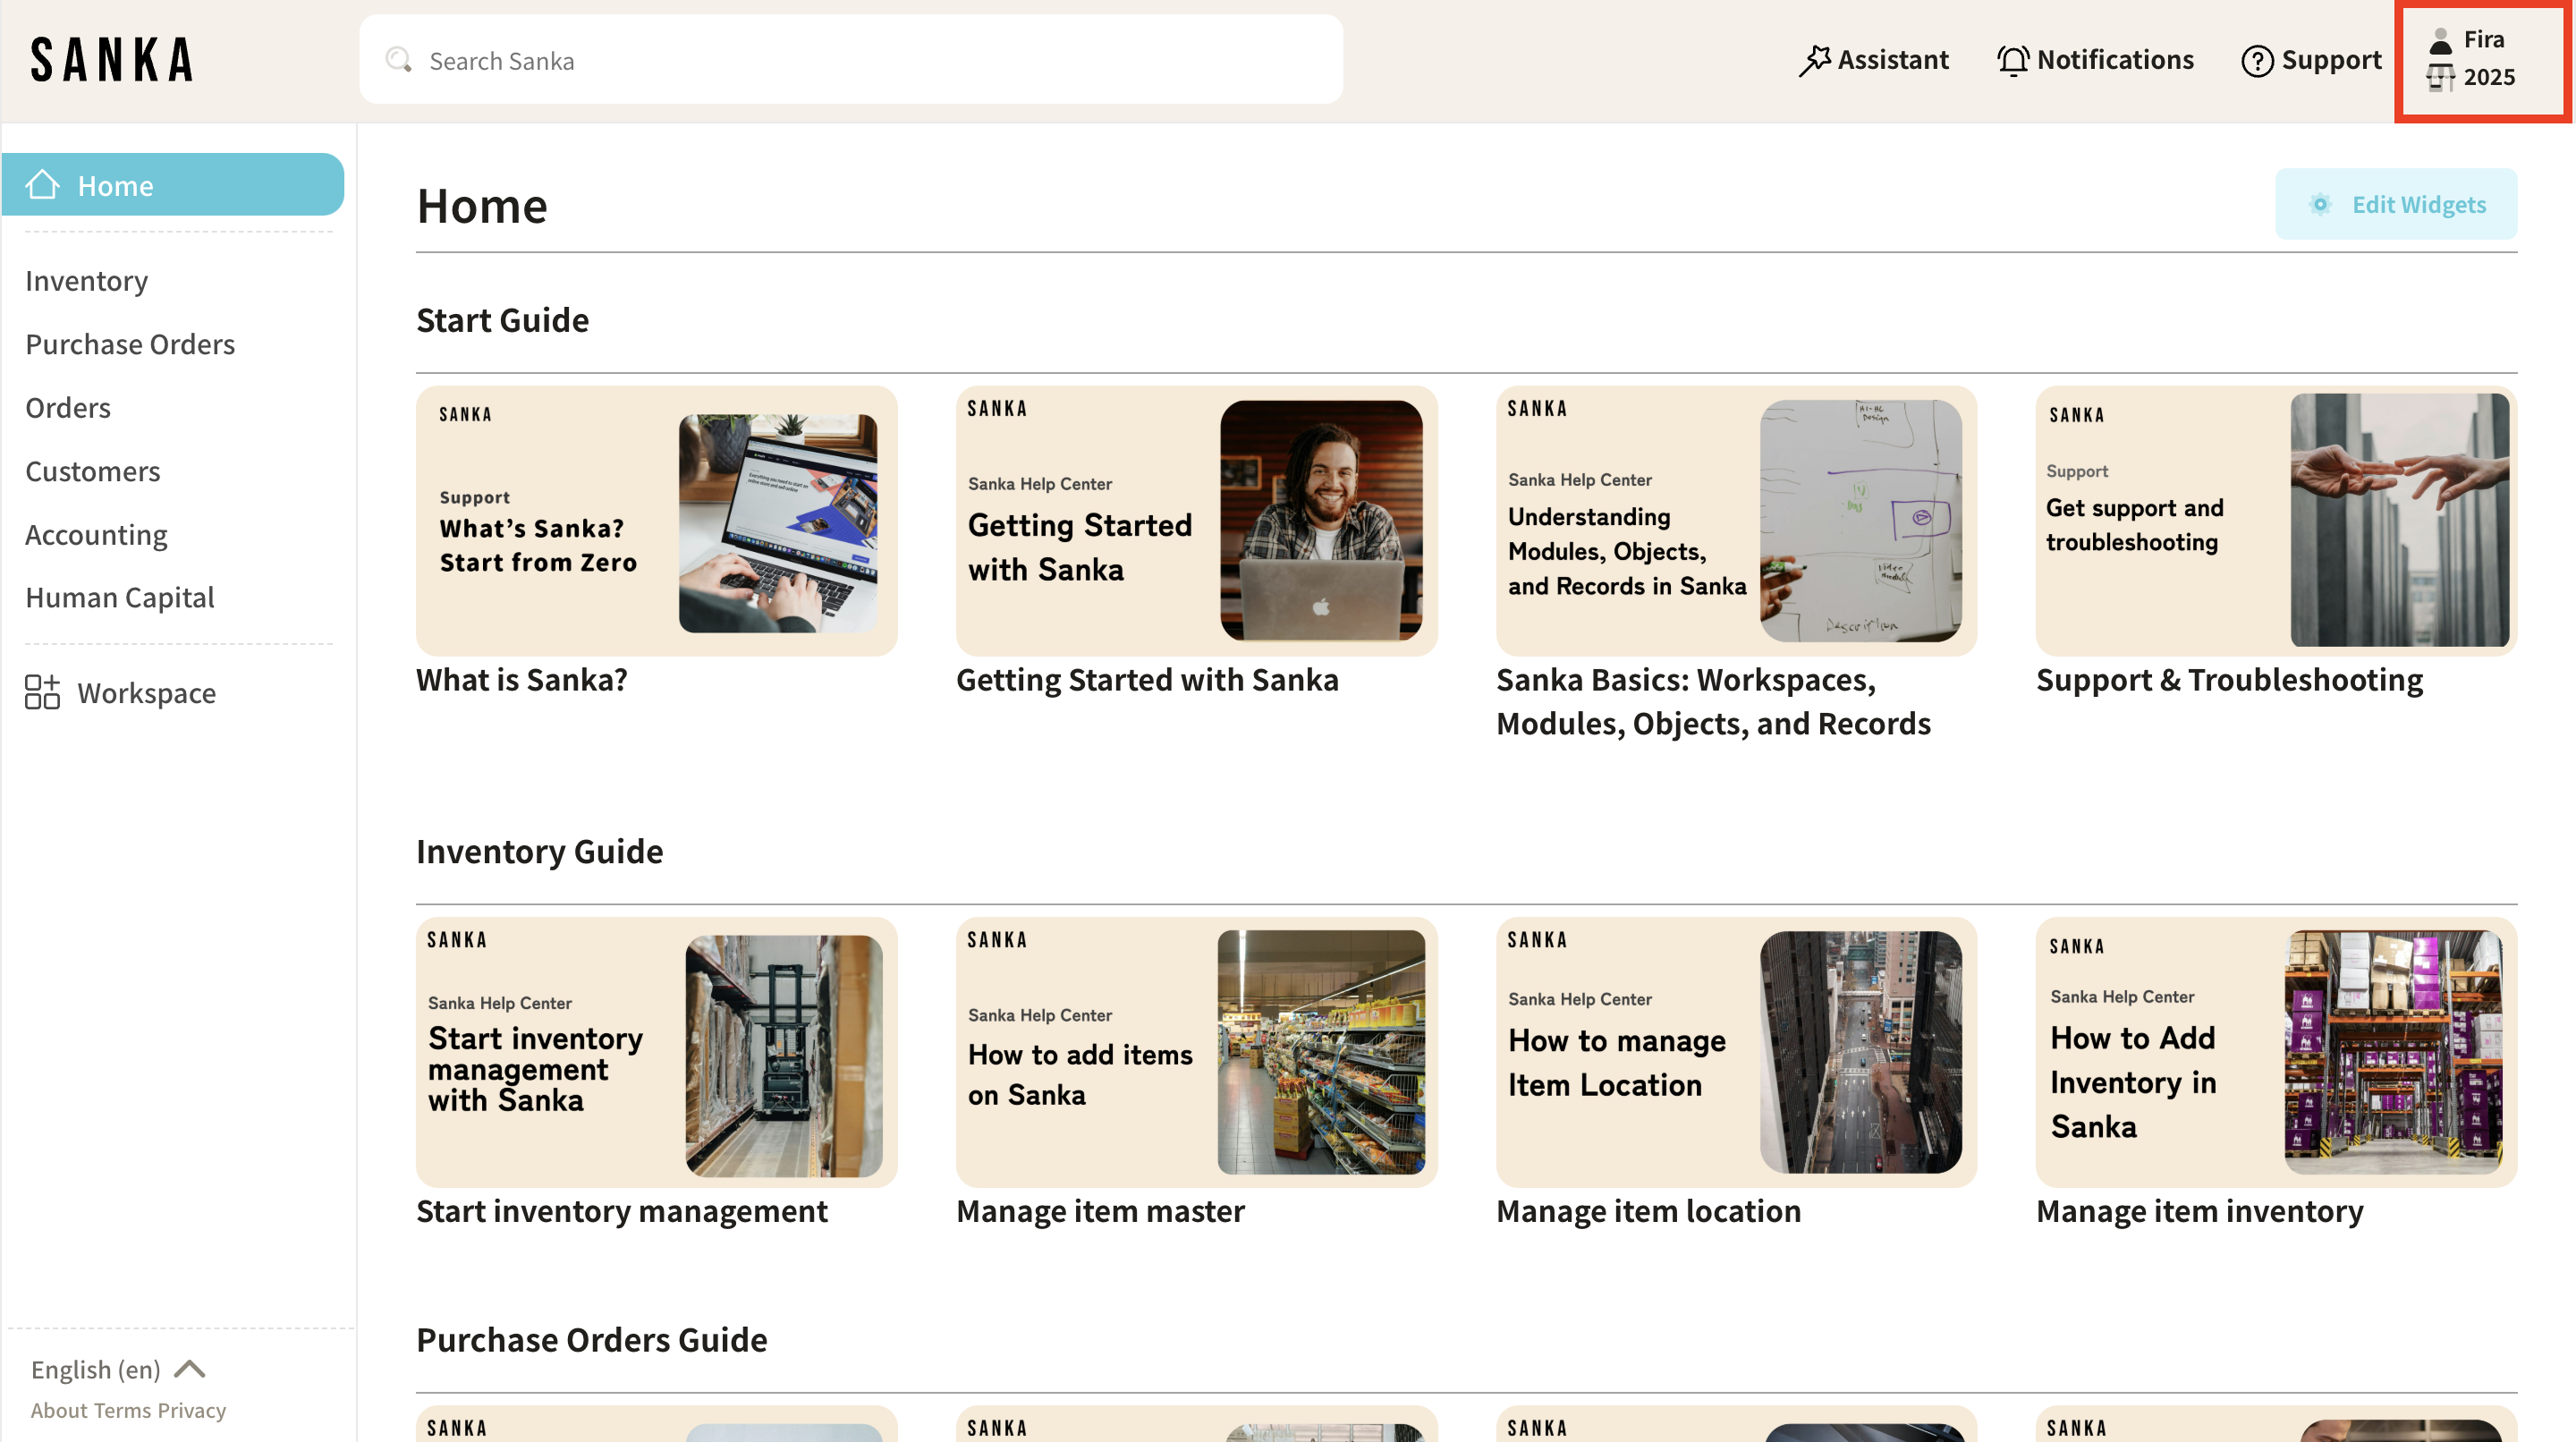
Manage Your Workspace
10: After creating a workspace, you can configure or change its settings if needed. Go to workspace dashboard and click on Workspace Settings.
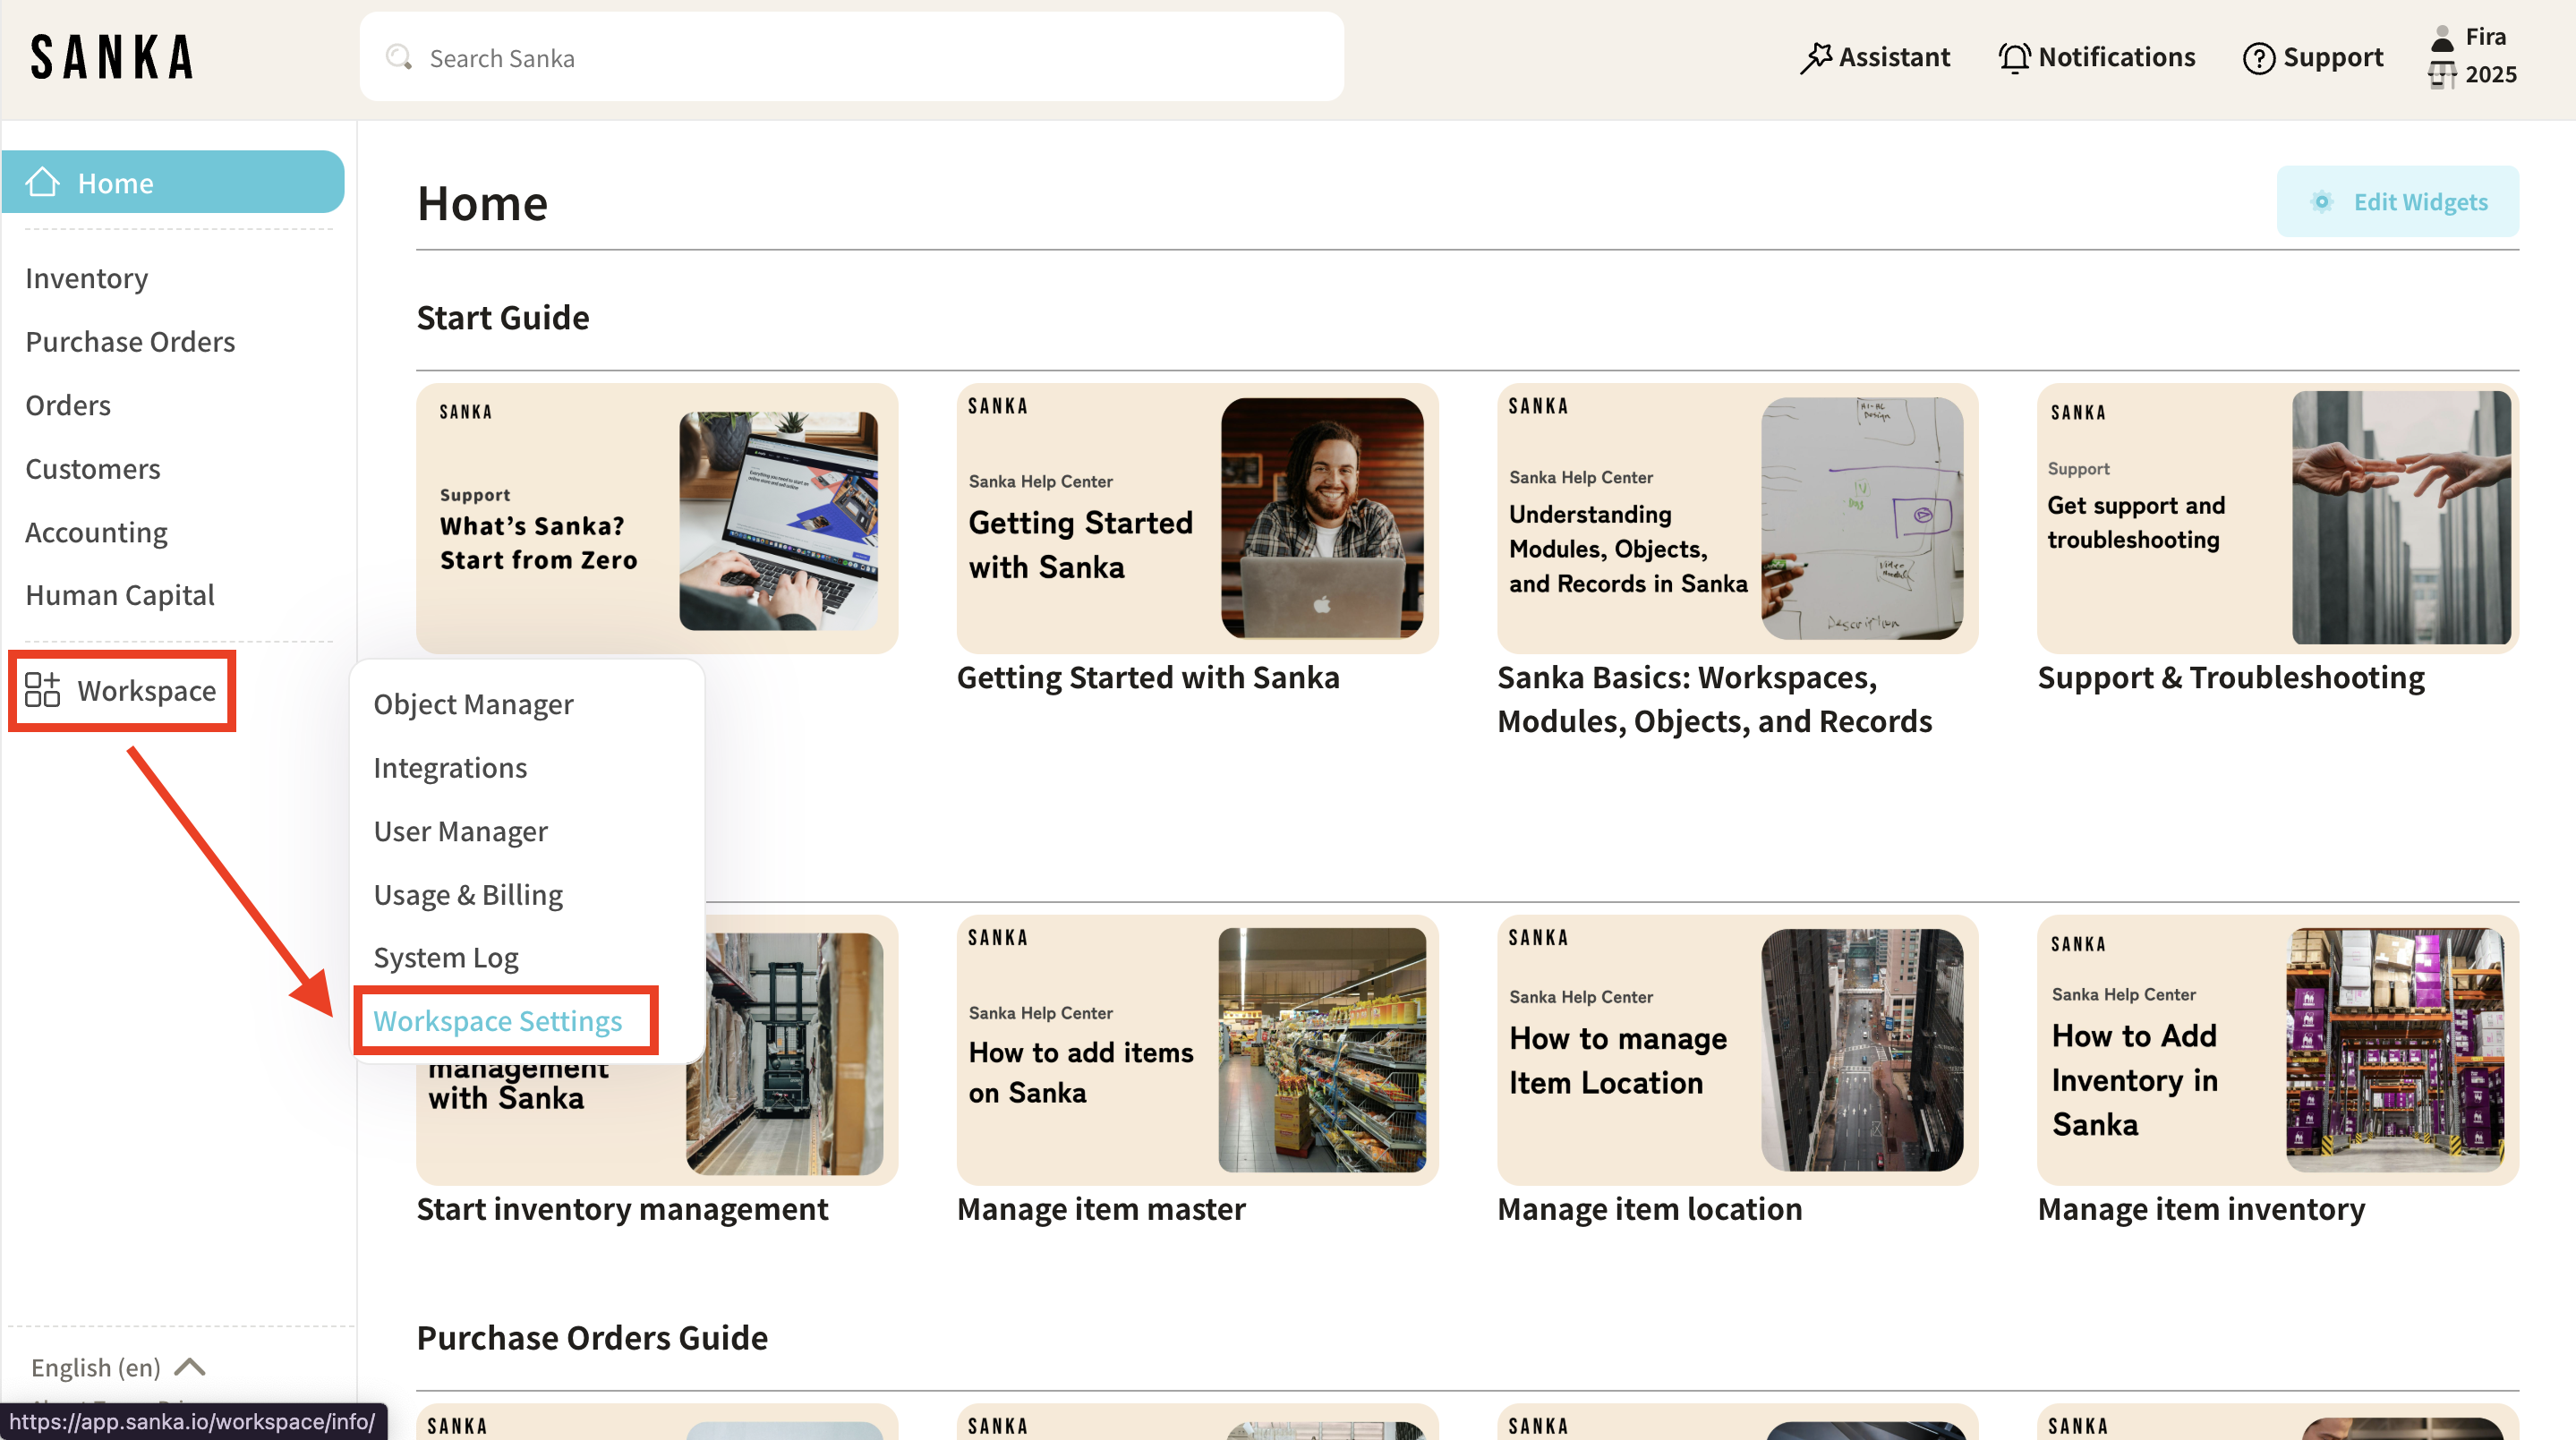
11: The detailed page of Workspace Setting will appear.
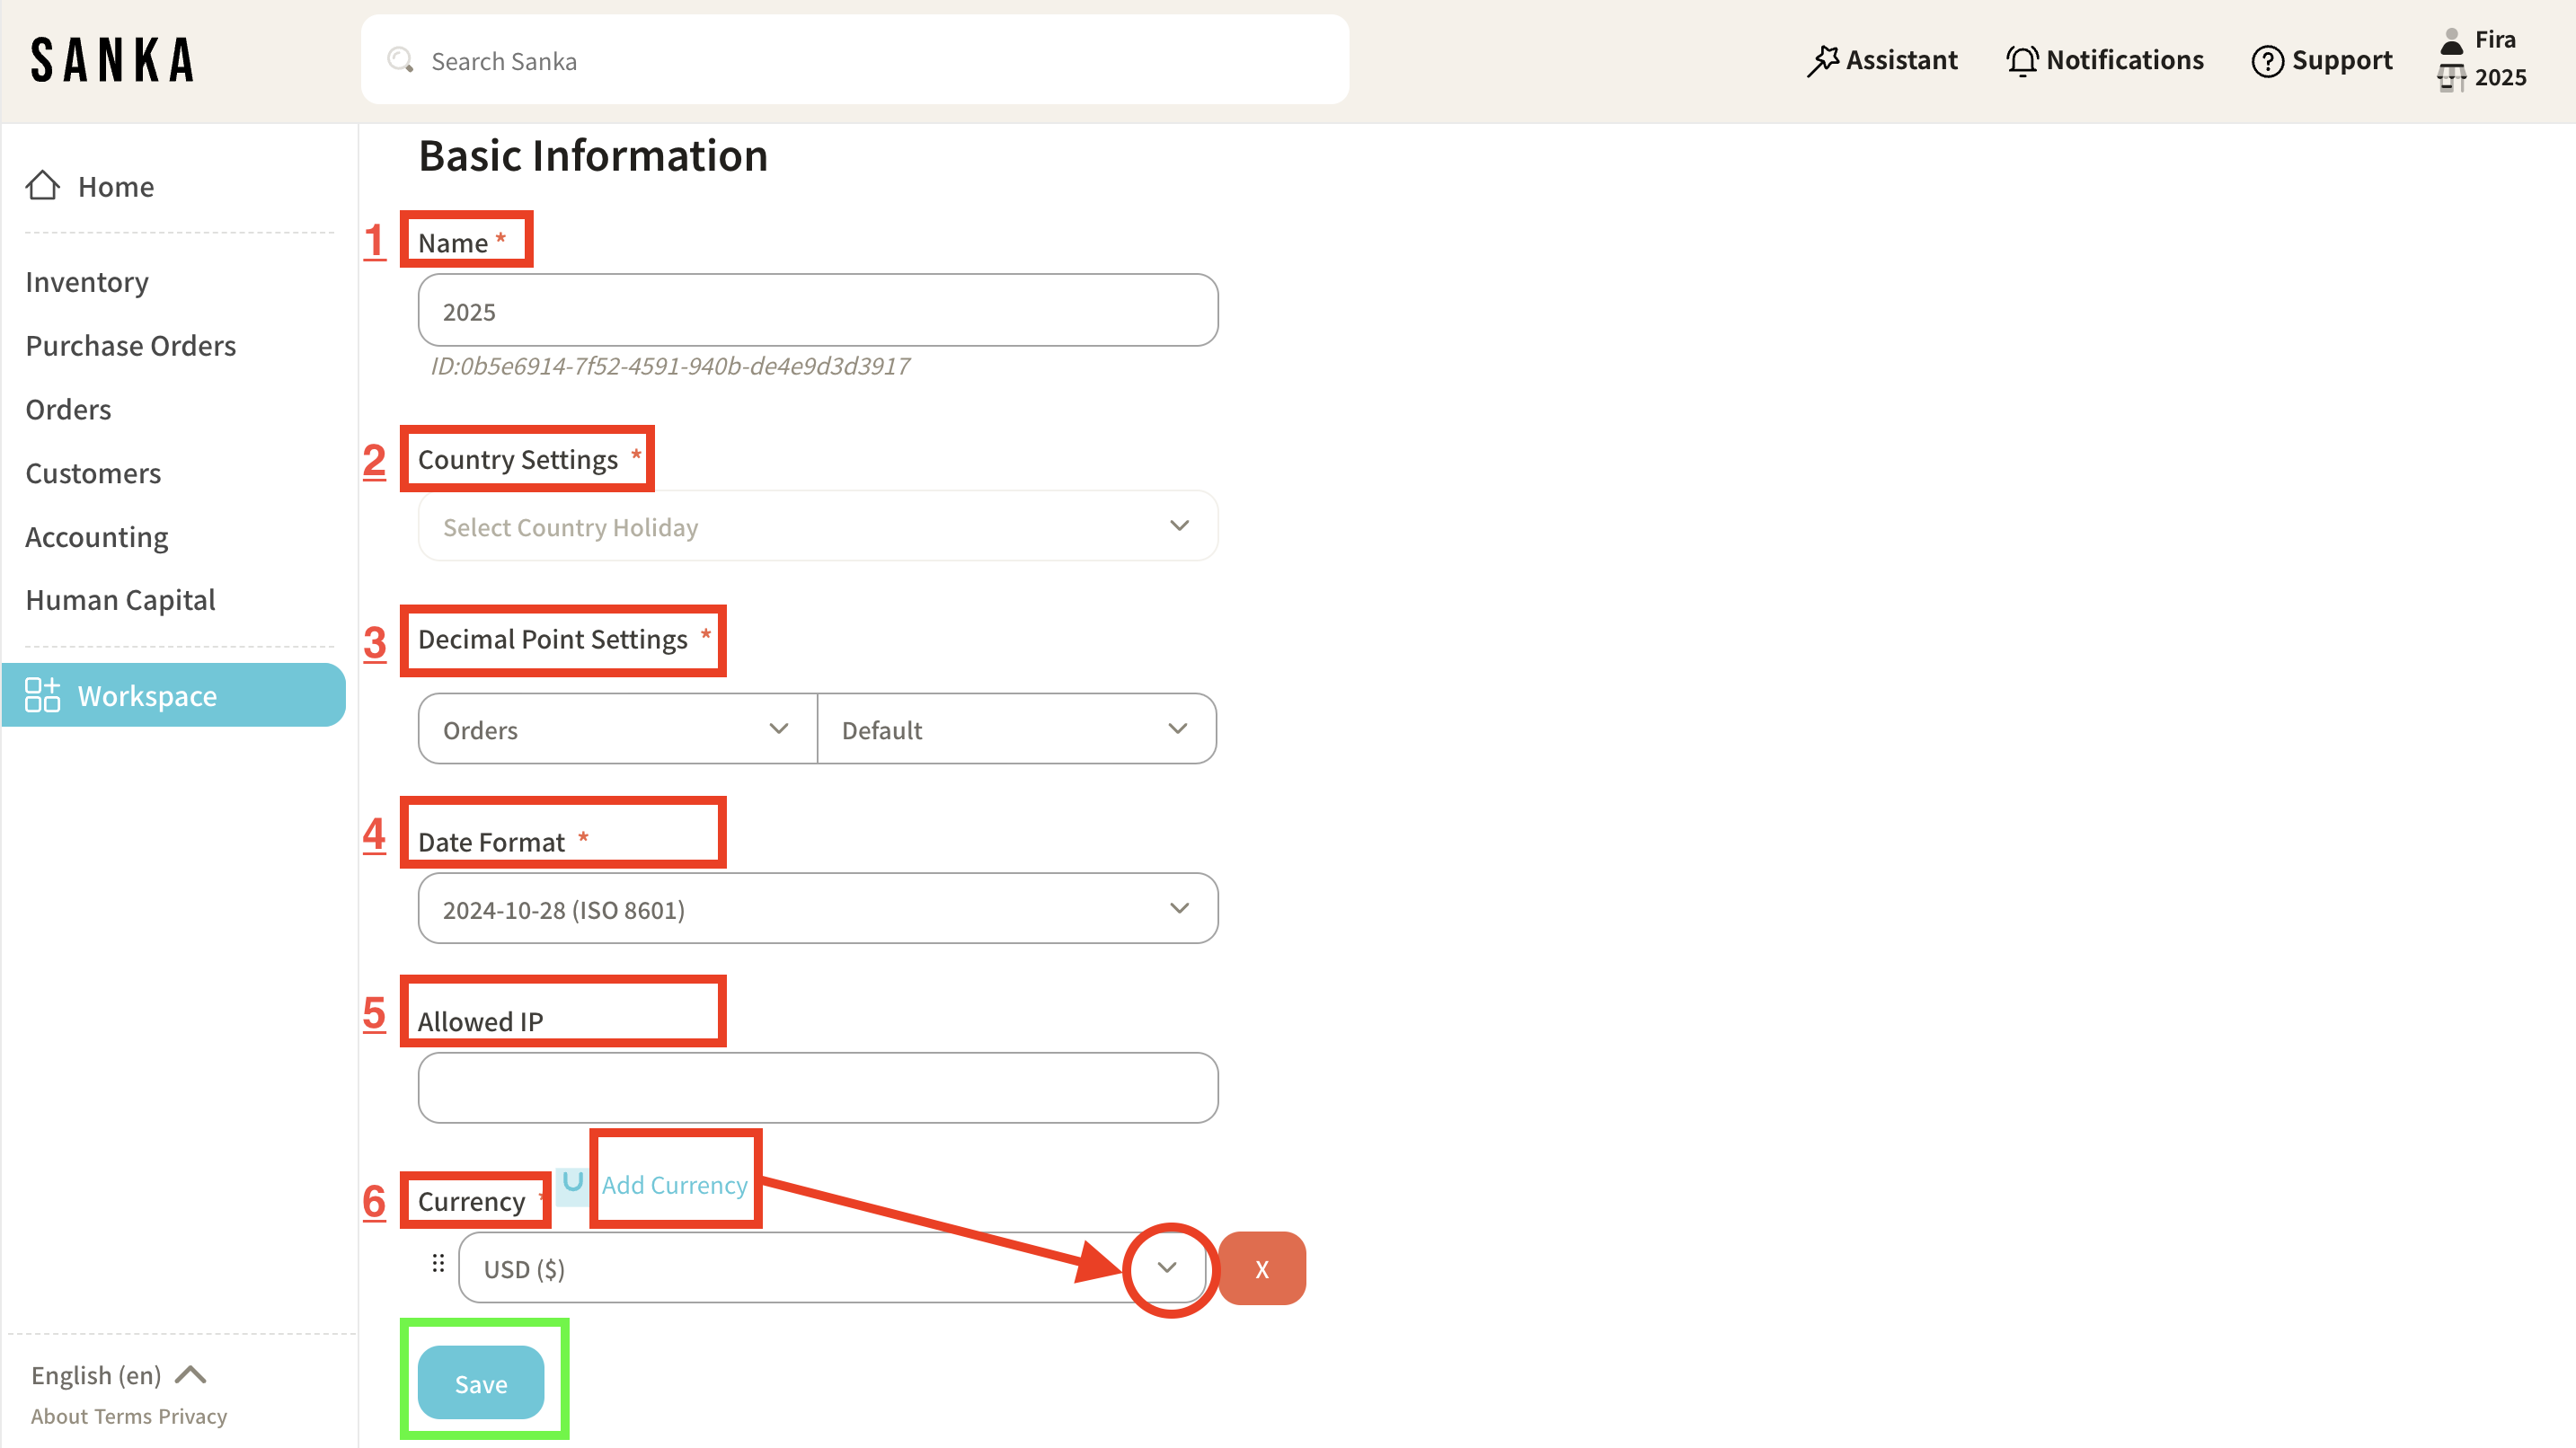
- You can change basic information like name, country settings, decimal point settings, date format, allowed IP, or currency.
- To add currency as your default currency, simply click the drop down menu at currency field and choose your preferred currency.
- Click Save to finalize your workspace setup.
